To capture stunning night reflection shots, start by locating ideal reflective surfaces like water, glass buildings, or wet pavements. Next, master long exposure techniques using a sturdy tripod and manual camera settings. Set your ISO low (100-400), choose a narrow aperture (high f-number), and experiment with shutter speeds between 10-30 seconds for smooth water or 1-5 seconds for city light trails. Finally, adjust your camera settings manually for full control. Use manual mode to fine-tune aperture, shutter speed, and ISO based on your specific scene. These pro tips will elevate your night photography, but there's always more to explore in the world of reflections after dark.
Find Reflective Surfaces

Reflection-hunting is key to capturing stunning night shots. You'll need to keep your eyes peeled for surfaces that can mirror the city lights, stars, or moon.
Water is the most obvious choice, so seek out lakes, rivers, ponds, or even puddles after rain. Calm bodies of water offer the clearest reflections, but don't discount slightly rippled surfaces for interesting effects.
Urban environments provide plenty of reflective opportunities too. Look for glass-fronted buildings, polished car hoods, or wet pavements.
Metal surfaces like stainless steel sculptures or mirrored facades can also create enchanting reflections.
Don't overlook unconventional surfaces. A wine glass on an outdoor table, a shiny smartphone screen, or even a pair of sunglasses can offer unique perspectives.
In natural settings, ice, smooth rocks, or dewdrops on leaves can reflect starry skies.
Use Long Exposure Techniques

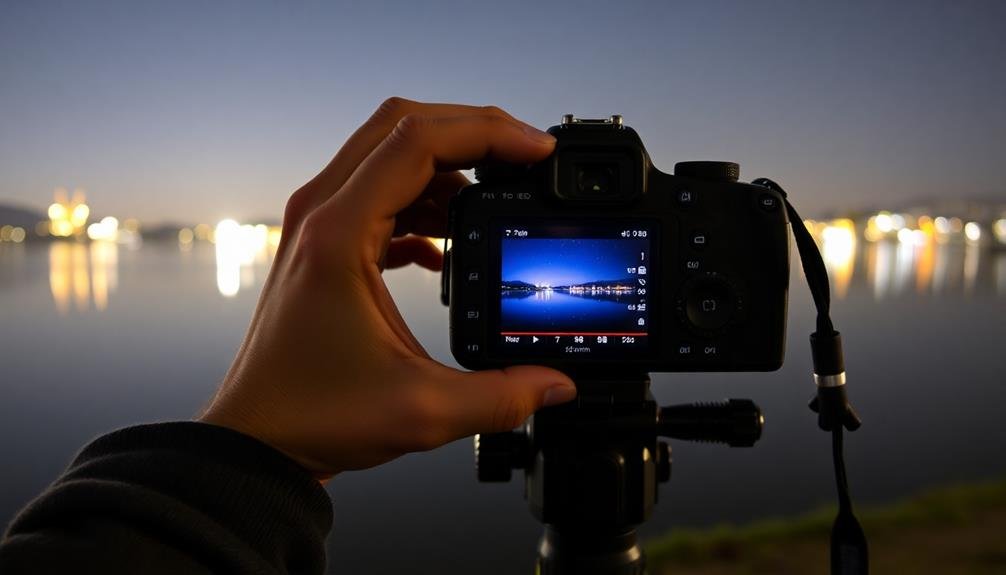
Mastery of long exposure techniques is essential for capturing stunning night reflections. To achieve this, you'll need a sturdy tripod and a camera with manual settings.
Start by setting your ISO low, typically between 100-400, to minimize noise. Choose a narrow aperture (high f-number) to increase depth of field and guarantee both the subject and its reflection are in focus.
The key to long exposure is selecting the right shutter speed. For smooth, glassy water reflections, aim for exposures between 10-30 seconds. If you're shooting city lights, try 1-5 seconds to capture light trails without overexposing. Use your camera's bulb mode for exposures longer than 30 seconds.
To prevent camera shake, use a remote shutter release or your camera's self-timer. Consider using a neutral density filter in brighter conditions to allow for longer exposures without overexposing the image.
Experiment with different shutter speeds to find the perfect balance between capturing movement and maintaining detail in your reflections. Remember, each scene is unique, so don't be afraid to adjust your settings as needed to achieve the desired effect.
Adjust Camera Settings Manually

While long exposure techniques form the foundation of night reflection photography, manually adjusting your camera settings is key to fine-tuning your shots. Start by setting your camera to manual mode, giving you full control over aperture, shutter speed, and ISO.
For night reflections, you'll want to use a narrow aperture (high f-number) to guarantee both the foreground and background are in focus. Set your shutter speed to at least 10 seconds, allowing enough light to enter the camera. Adjust your ISO to the lowest possible setting to minimize noise.
Here's a quick reference guide for manual settings in different night reflection scenarios:
| Scene Type | Aperture | Shutter Speed | ISO |
|---|---|---|---|
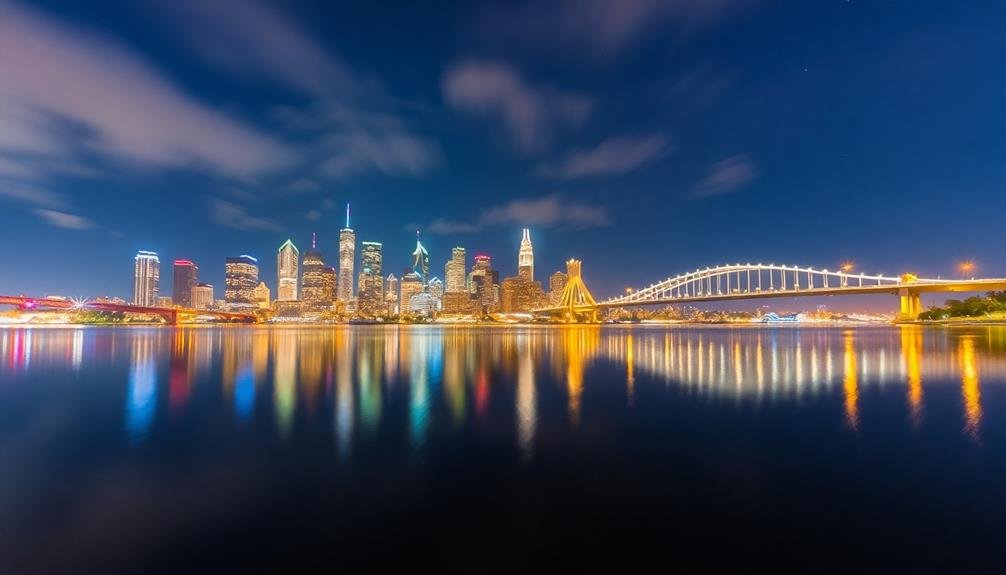
| City lights | f/11-f/16 | 15-30 seconds | 100-400 |
| Moonlit lake | f/8-f/11 | 20-30 seconds | 400-800 |
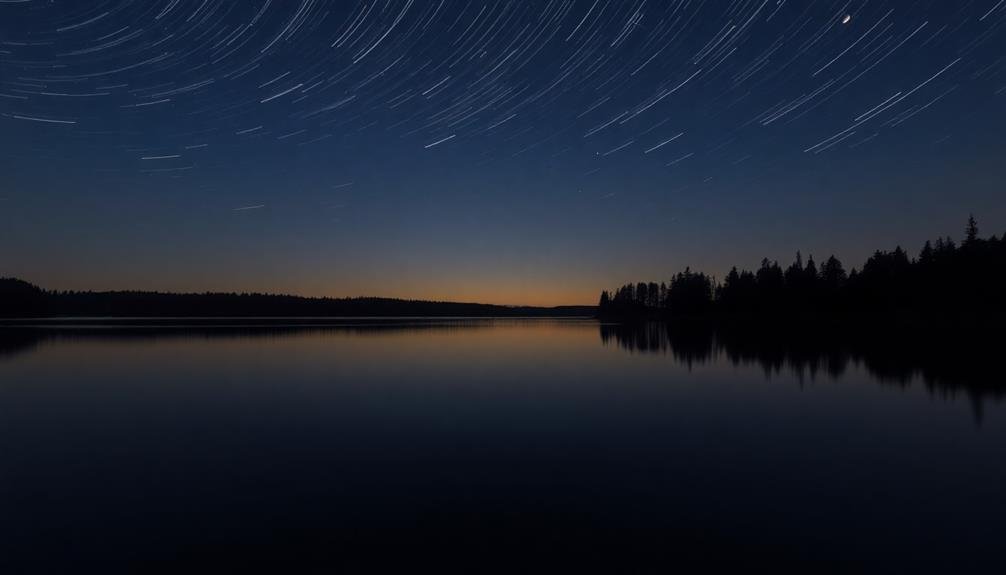
| Star trails | f/4-f/5.6 | 30+ minutes | 400-1600 |
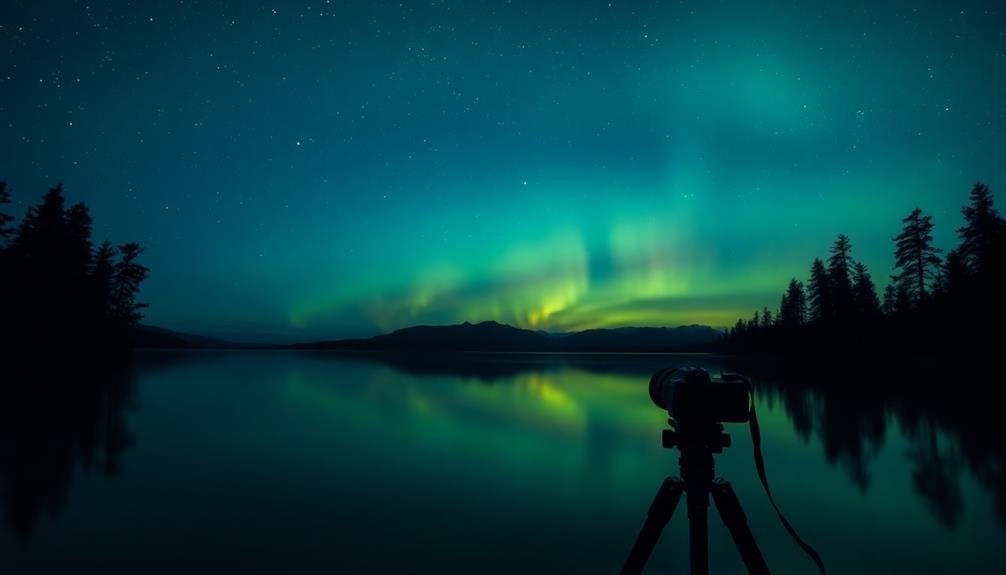
| Aurora | f/2.8-f/4 | 5-15 seconds | 800-3200 |
| Light painting | f/8-f/11 | 30-60 seconds | 100-400 |
Remember to use your camera's live view mode to focus accurately and check your histogram to guarantee proper exposure. Don't be afraid to experiment with different settings to achieve your desired effect.
Frequently Asked Questions
What's the Best Time of Night to Capture Reflection Shots?
You'll get the best reflection shots during the "blue hour," just after sunset or before sunrise. It's when there's still some light in the sky, but city lights are on, creating a perfect balance for reflections.
How Do You Prevent Camera Shake During Long Exposures?
To prevent camera shake during long exposures, you'll need a sturdy tripod. Use a remote shutter or timer to avoid touching the camera. Enable mirror lock-up if available, and turn off image stabilization when using a tripod.
Are There Any Post-Processing Techniques to Enhance Night Reflection Photos?
You can enhance night reflection photos in post-processing by adjusting contrast, boosting shadows, and fine-tuning highlights. Don't forget to reduce noise, sharpen details, and experiment with color grading to create a moody atmosphere. Play with symmetry for added impact.
What Type of Lens Is Ideal for Night Reflection Photography?
For night reflection photography, you'll want a wide-angle lens with a large aperture. It'll capture more of the scene and allow more light in. A 14-24mm f/2.8 or 16-35mm f/2.8 are excellent choices for stunning reflections.
How Do You Handle Light Pollution in Urban Night Reflection Shots?
You can handle light pollution in urban night shots by using filters, adjusting your camera settings, and choosing your location wisely. Try shooting on clearer nights, positioning yourself away from bright lights, and embracing the city's glow creatively.
In Summary
You've now got the tools to capture breathtaking night reflections. Remember to scout for reflective surfaces, master long exposure techniques, and take control of your camera settings. Don't be afraid to experiment with different angles and compositions. With practice, you'll create stunning images that showcase the magical interplay between light and water. So grab your gear, head out after dark, and let your creativity shine through these mesmerizing night reflection shots.


Leave a Reply