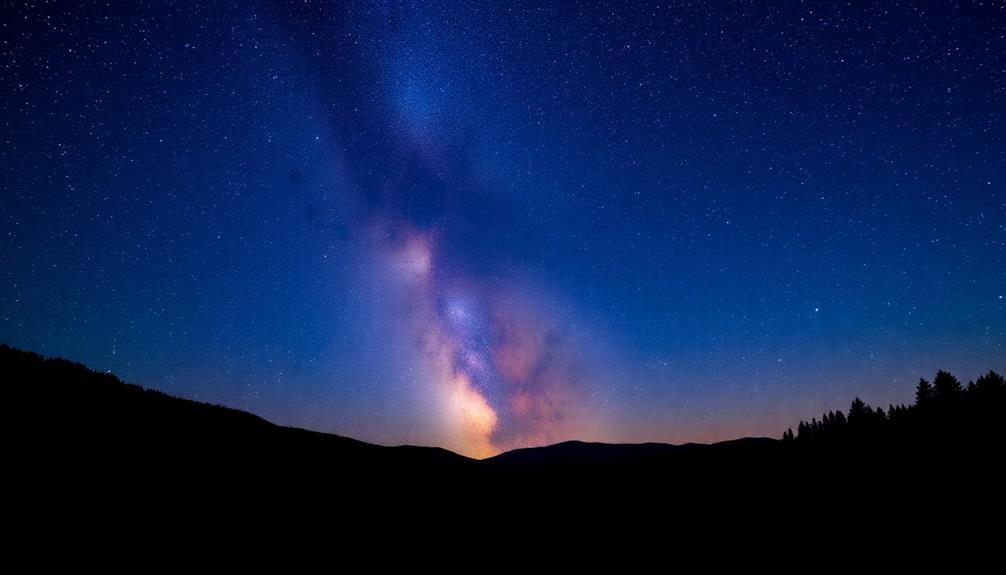
To make night sky photos pop on your phone, start by using dedicated low-light or night modes. Experiment with manual settings, adjusting ISO, shutter speed, and focus to infinity. Stabilize your phone with a tripod for sharper images during long exposures. Compose your shot thoughtfully, incorporating foreground elements for depth and interest. Try capturing star trails or using light painting techniques for creative effects. Don't forget to take into account the moon phase and timing for ideal darkness. Post-processing apps can enhance details and colors, while stacking multiple exposures reduces noise. With these techniques, you'll be on your way to stunning celestial snapshots. The sky's the limit for what you can achieve.
Low-Light Camera Modes
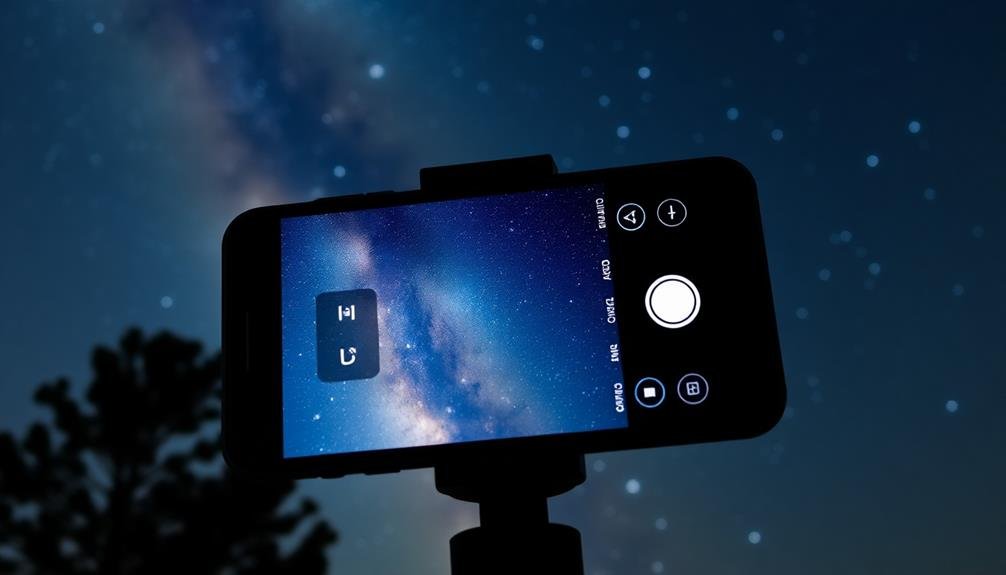
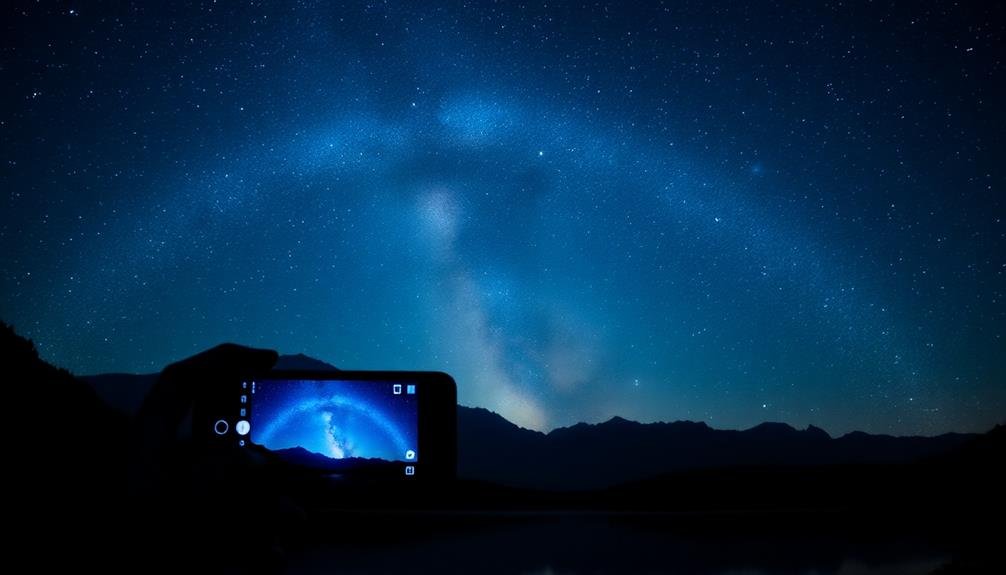
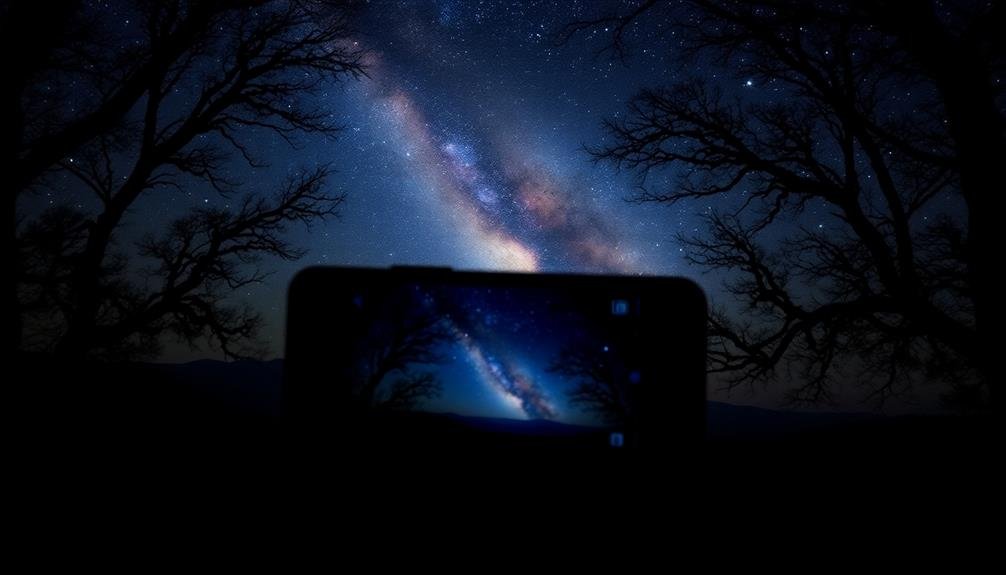
Smartphones have come a long way in their ability to capture stunning night sky photos. Most modern devices now feature dedicated low-light camera modes that greatly enhance your nighttime photography. These modes, often called "Night Mode" or "Night Sight," use advanced algorithms and longer exposure times to gather more light and reduce noise in your images.
When you activate your phone's low-light mode, it'll automatically adjust settings like ISO, shutter speed, and white balance to optimize for dark conditions. The camera will take multiple exposures and combine them into a single, well-exposed image. This process helps capture more detail in the stars and reduces the graininess often associated with night photography.
To get the best results, you'll need to keep your phone steady during the exposure. Use a tripod or prop your device against a stable surface. Some phones even offer astrophotography modes specifically designed for capturing the night sky.
These modes can expose for several minutes, allowing you to capture star trails and faint celestial objects. Remember to experiment with different settings and compositions to find what works best for your specific scene and lighting conditions.
Manual Exposure Settings
While low-light modes are impressive, mastering manual exposure settings can take your night sky photos to the next level. You'll gain more control over your shots and capture the night sky's true beauty.
Start by adjusting your ISO. Higher ISO values increase light sensitivity but can introduce noise. Find a balance between brightness and image quality.
Next, set a wider aperture (lower f-number) to allow more light in. This also creates a shallower depth of field, which can add depth to your starry compositions.
Shutter speed is essential for night sky photography. Longer exposures capture more light and star trails, while shorter ones freeze stars in place. Experiment with different speeds to achieve your desired effect.
Use a tripod or stabilize your phone to prevent camera shake during long exposures.
Don't forget about white balance. The "daylight" or "tungsten" settings often work well for night skies, but you can fine-tune to capture the sky's natural colors accurately.
Lastly, shoot in RAW format if your phone supports it. This gives you more flexibility in post-processing to adjust exposure, color, and detail without sacrificing image quality.
Tripod and Stability
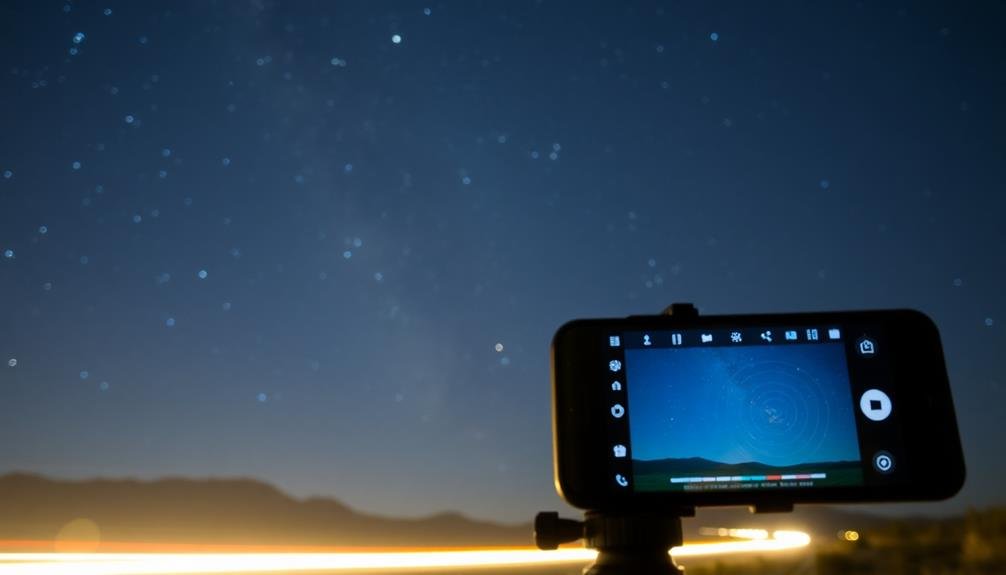
Three key factors make a tripod essential for night sky photography: stability, longer exposures, and composition. When you're shooting in low light, even the slightest movement can blur your image. A tripod eliminates camera shake, ensuring sharp, clear photos. It also allows you to use slower shutter speeds, capturing more light and detail in the night sky.
For your phone, consider a compact, lightweight tripod that's easy to carry. Look for one with flexible legs that can wrap around objects, giving you more setup options. Don't forget a phone mount to securely attach your device to the tripod.
If you don't have a tripod, improvise. Use a flat surface like a rock or table, or prop your phone against a stable object. In a pinch, you can even use a bag of rice as a makeshift support.
Remember to use your phone's timer or a remote shutter release to avoid touching the device when taking the photo. This further reduces the risk of camera shake.
With your phone steady, you'll be amazed at the quality of night sky photos you can capture.
Long Exposure Techniques
You can create stunning night sky images using long exposure techniques on your smartphone.
Try capturing star trails by setting a long exposure time and pointing your phone at the North Star to record the circular motion of stars around it.
For added creativity, experiment with light painting by moving a light source during the exposure, allowing you to "draw" glowing shapes or illuminate foreground elements in your night sky compositions.
Capturing Star Trails
Star trails offer a mesmerizing way to capture the night sky's beauty with your smartphone. To achieve this effect, you'll need to use long exposure techniques and specialized apps.
Start by finding a dark location away from light pollution and setting up your phone on a stable tripod.
Download a dedicated star trail app like NightCap or Star Trails, which allow for extended exposures. These apps take multiple photos over an extended period and stack them to create the trail effect. Set your exposure time to at least 30 minutes, but longer durations will yield more dramatic results.
Compose your shot with an interesting foreground element to add depth and context. Point your camera towards the north star (Polaris) for circular trails, or in any other direction for arc-shaped trails.
Enable your phone's night mode if available, and manually adjust focus to infinity.
During the capture process, avoid touching your phone or moving the tripod. Once complete, the app will process the images into a single star trail photo.
Experiment with different settings and locations to refine your technique and create stunning celestial images.
Light Painting Techniques
Light painting offers a creative twist on long exposure night photography, allowing you to "draw" with light in your smartphone images. To get started, you'll need a tripod and a light source like a flashlight or LED wand. Set your phone's camera to manual mode or use a specialized long exposure app. Choose a dark location and frame your shot, including an interesting foreground element.
Once you're ready, start the exposure and use your light source to paint patterns, write words, or illuminate objects in the scene. Experiment with different movements, colors, and intensities to create unique effects. Remember, anything illuminated will appear in your final image, so plan your movements carefully.
| Technique | Effect | Best For |
|---|---|---|
| Writing | Glowing text | Messages, names |
| Tracing | Outlining objects | Emphasizing shapes |
| Sweeping | Light trails | Abstract patterns |
To enhance your light painting, try combining it with star trails or moonlit landscapes. You can also use colored gels on your light source for added variety. With practice, you'll develop your own style and create stunning, one-of-a-kind night sky images using just your smartphone and some creative lighting techniques.
Composition and Framing
When composing your night sky photos, you'll want to apply classic techniques like the Rule of Thirds to create visually appealing images.
By placing key elements along imaginary grid lines, you can achieve a balanced and dynamic composition.
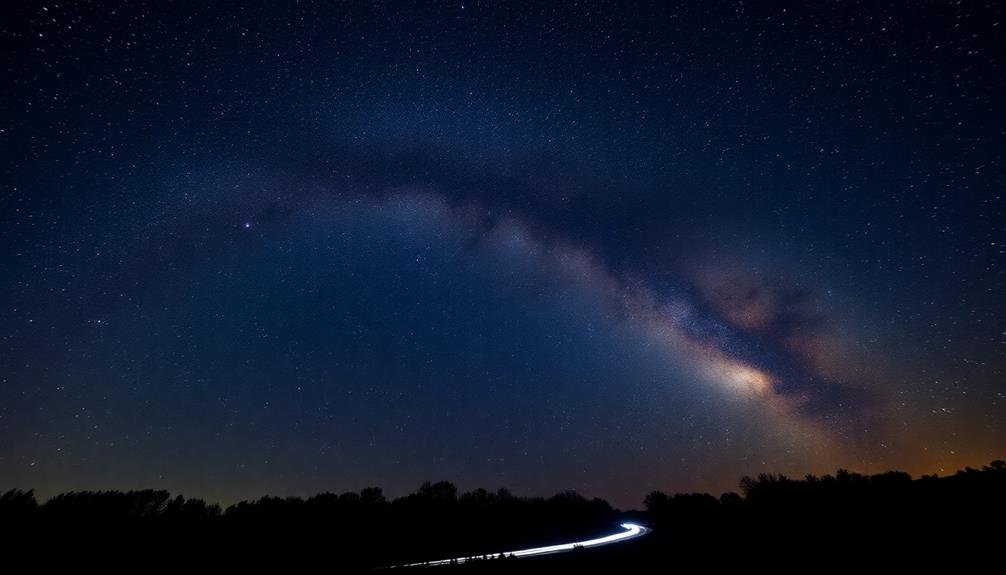
Additionally, incorporating leading lines, such as a winding road or a row of trees, can guide the viewer's eye towards the starry sky and add depth to your nighttime shots.
Rule of Thirds
Mastering the rule of thirds can dramatically improve your night sky photography. This fundamental composition technique involves dividing your frame into a 3×3 grid and placing key elements along these lines or at their intersections.
For night sky shots, you'll want to position the horizon on either the upper or lower third line, depending on whether you want to emphasize the sky or the foreground.
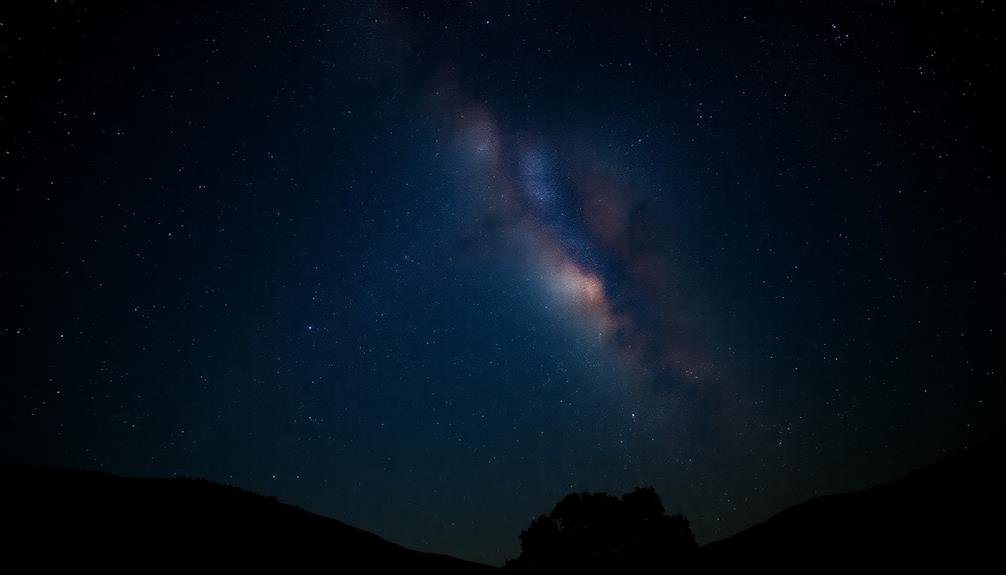
When capturing stars or the Milky Way, try aligning them with the vertical grid lines. This creates a sense of movement and draws the viewer's eye through the image. For shots including the moon, position it at one of the grid's intersections rather than dead center. This off-center placement adds visual interest and balance to your composition.
Don't forget about foreground elements. Use the rule of thirds to incorporate silhouettes of trees, buildings, or landscapes in the lower third of your frame. This adds depth and context to your night sky photos.
Leading Lines Technique
Another powerful composition technique for night sky photography is the use of leading lines. This method draws the viewer's eye into the image and guides them towards the main subject – in this case, the night sky.
You'll want to look for natural or man-made elements that create lines pointing towards the sky. These could be roads, fences, shorelines, or even tree branches.
To use leading lines effectively, position your phone so that these elements start at the bottom or sides of the frame and lead upwards. You might angle your shot to capture a winding path that curves into the distance, or align your camera with a straight fence that points directly at the stars.
Remember, the lines don't have to be perfectly straight; S-curves can be just as effective.
When composing your shot, consider how the leading lines interact with other elements in the frame. They should complement, not compete with, the night sky.
Experiment with different angles and positions to find the most compelling composition. You'll often find that combining leading lines with the rule of thirds creates a particularly striking image.
Focus on Celestial Objects
The key to capturing stunning night sky photos on your phone lies in focusing on specific celestial objects. When you're aiming for that perfect shot, don't try to capture the entire sky. Instead, choose a prominent feature like the moon, a bright planet, or a constellation.
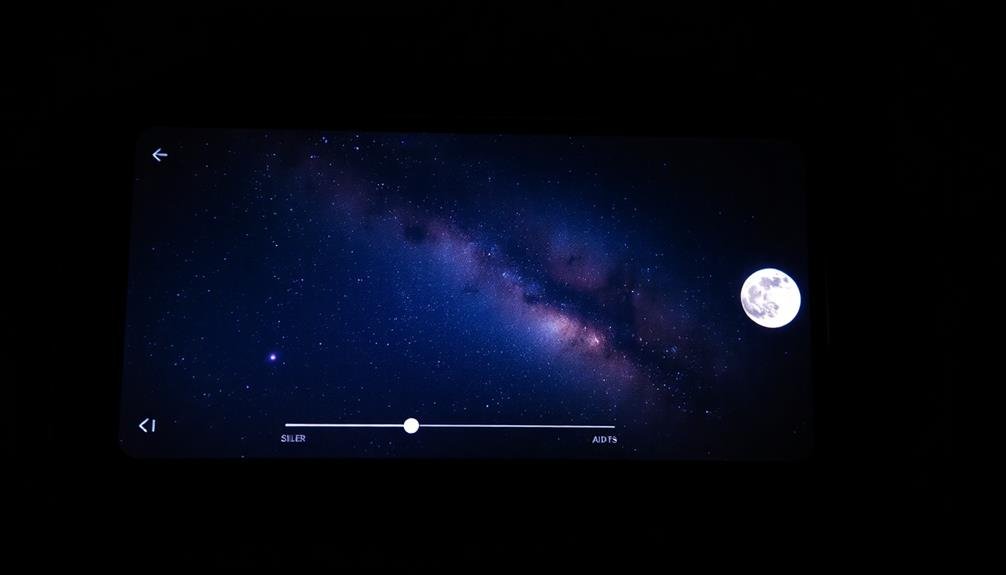
For the moon, use your phone's manual focus and exposure settings. Tap on the moon to focus, then adjust the exposure by sliding your finger up or down. This prevents overexposure and reveals the moon's details.
When shooting planets, like Venus or Jupiter, use a tripod to keep your phone steady. These appear as bright dots, so focus on framing them with interesting foreground elements.
Constellations require longer exposures. Use a night mode app that allows for extended shutter speeds. Place your phone on a stable surface or use a tripod. Focus on the brightest star in the constellation, then capture the entire pattern.
Light Pollution Considerations
To capture stunning night sky photos, you'll need to seek out dark sky locations away from city lights.
Look for rural areas, national parks, or designated dark sky preserves where light pollution is minimal.
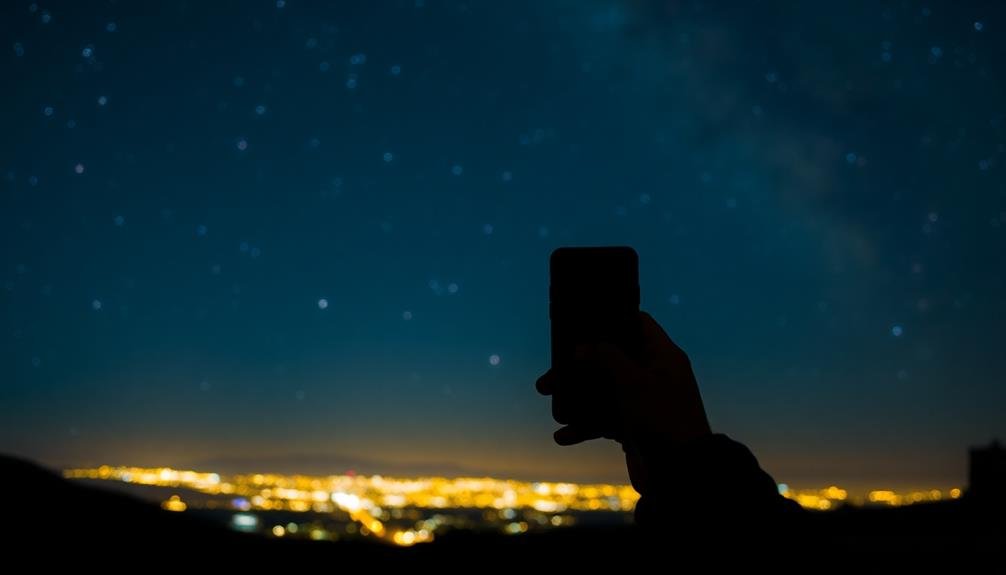
If you can't escape urban areas entirely, try to find spots that shield you from direct light sources and reduce the impact of urban glow on your images.
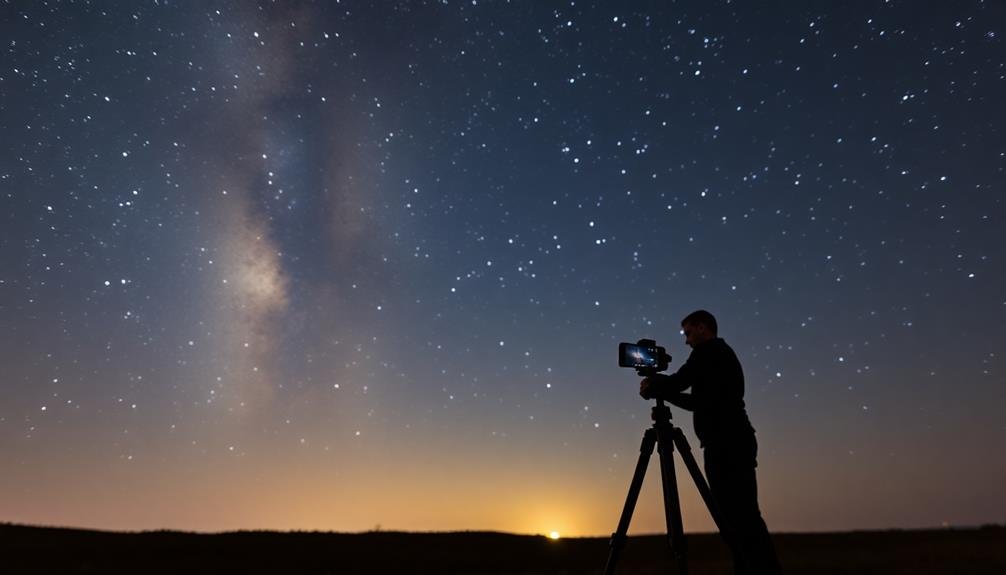
Dark Sky Locations
Finding ideal dark sky locations is essential for capturing stunning night sky photos with your phone. To locate these spots, consult dark sky maps or use apps that highlight areas with minimal light pollution. National parks, remote rural areas, and designated dark sky reserves are excellent choices.
Look for places at higher elevations, as they often have clearer air and less atmospheric interference.
When you've found a promising location, scout it during daylight hours to verify it's safe and accessible at night. Check for potential obstacles like trees or buildings that might obstruct your view.
Consider the moon phase and its position in the sky, as a full moon can wash out fainter stars. Plan your visit during a new moon for the darkest skies.
Remember that even in dark sky locations, you'll need to give your eyes time to adjust to the darkness. Allow at least 20-30 minutes for your night vision to fully develop.
Avoid using white light sources, opting instead for red-light headlamps or flashlights to preserve your night vision while traversing the area.
Reducing Urban Glow
Light pollution's urban glow can greatly impact your ability to capture clear night sky photos, even in relatively dark locations. To reduce this unwanted light, you'll need to employ several techniques.
First, try to position yourself away from direct light sources, such as streetlamps or buildings. Use natural or artificial barriers like hills, trees, or even large objects to block light from entering your frame.
Consider timing your photo sessions to coincide with periods of reduced human activity, typically late at night or in the early morning hours. This can help minimize artificial light from traffic and businesses.
Additionally, you can use specialized light pollution filters that attach to your phone's camera lens to cut down on certain wavelengths of light associated with urban glow.
Here are some key strategies to reduce urban glow in your night sky photos:
- Use manual camera settings to control exposure
- Experiment with different ISO levels
- Try longer exposure times for darker scenes
- Post-process your images to enhance contrast
- Utilize HDR techniques to balance light and dark areas
Post-Processing Apps
Post-processing apps can transform your night sky photos from good to extraordinary. These tools allow you to enhance details, adjust colors, and create stunning visual effects that bring out the best in your nighttime captures.
Popular apps like Snapseed, Lightroom Mobile, and VSCO offer a range of features tailored for astrophotography. You'll find options to reduce noise, increase contrast, and fine-tune exposure. Use selective adjustments to brighten stars without overexposing the foreground.
Experiment with clarity and sharpening tools to make celestial objects pop. Color grading is essential for night sky photos. Adjust white balance to eliminate unnatural color casts and enhance the natural hues of the Milky Way.
Many apps provide preset filters designed specifically for astrophotography, which can serve as excellent starting points. Don't shy away from local adjustments. Use masking tools to selectively enhance different areas of your image.
You can brighten specific constellations, emphasize the core of the Milky Way, or add a subtle glow to foreground elements.
Panorama for Wide Skies
While single-frame shots can capture stunning night sky scenes, panoramas allow you to showcase vast celestial vistas. By stitching together multiple images, you can create breathtaking wide-angle views of the night sky that wouldn't be possible with a single shot.
To capture a panorama, start by finding a dark location with minimal light pollution and a clear view of the horizon.
When shooting your panorama, keep these tips in mind:
- Use a tripod to guarantee stability across all frames
- Set your camera to manual mode for consistent exposure
- Overlap each frame by about 30% for seamless stitching
- Shoot in RAW format for maximum editing flexibility
- Consider using a star tracker for longer exposures
Begin at one end of your desired composition and slowly pan across the scene, taking multiple shots. Most smartphone cameras have a built-in panorama mode, but for more control, you can take individual shots and stitch them together later using dedicated software.
Remember to keep your camera level throughout the process to avoid distortion. With practice, you'll be able to create stunning wide-field images that showcase the beauty of the night sky in all its glory.
Timing and Moon Phases
When it comes to capturing stunning night sky photos, timing is everything. You'll want to take into account both the time of night and the moon phase to get the best results. For ideal stargazing conditions, plan your shoot during a new moon or when the moon is below the horizon. This darkness allows fainter stars and celestial objects to shine through.
If you're after moon shots, aim for the first quarter or last quarter phases. These create dramatic shadows and highlight the moon's craters. Full moons can be tricky, often appearing as a bright, featureless disc in photos.
Don't forget about the "blue hour" – the period just after sunset or before sunrise when the sky takes on a deep blue hue. This can add a beautiful backdrop to your night sky shots.
Seasonal changes also affect your photos. Summer's Milky Way offers a spectacular sight, while winter skies tend to be clearer and crisper.
Use astronomy apps to track celestial events and plan your shoots accordingly. Remember, patience is key – sometimes you'll need to wait for clouds to clear or for the perfect alignment of stars and landscape.
Stacking Multiple Exposures
Now that you've mastered timing, let's explore a powerful technique to enhance your night sky photos: stacking multiple exposures. This method involves taking several shots of the same scene and combining them to reduce noise and increase detail. By merging multiple images, you'll capture more light and create a cleaner, sharper final photo.
To stack exposures on your phone, you'll need a tripod and a stacking app. Here are some key benefits of this technique:
- Reduces image noise considerably
- Enhances faint stars and celestial objects
- Improves overall image sharpness
- Increases dynamic range
- Allows for longer total exposure times
Start by taking 10-20 exposures of the night sky, keeping your phone perfectly still. Use your stacking app to align and merge the images. The app will average out random noise while preserving consistent details across all frames.
Experiment with different exposure settings and numbers of shots to find what works best for your scene. Remember, stacking isn't just for stars – it can also enhance foreground elements in your composition.
With practice, you'll be creating stunning, professional-looking night sky photos right from your phone.
Foreground Elements
Beyond capturing the celestial wonders above, incorporating foreground elements can elevate your night sky photos from good to extraordinary. These terrestrial features provide context, scale, and visual interest to your compositions.
Look for silhouettes of trees, mountains, or buildings that can frame the starry sky. Rock formations, lakes, or even man-made structures like lighthouses can serve as compelling focal points in the foreground.
To capture both the foreground and stars effectively, you'll need to experiment with your phone's manual settings. Use a longer exposure for the foreground while keeping the stars sharp. You might need to take separate exposures for the sky and foreground, then blend them later.
Alternatively, try light painting the foreground during a long exposure to bring out details.
Don't forget about leading lines. A winding road, a fence, or even a pier can draw the viewer's eye from the foreground into the star-filled sky.
Using Night Sky Apps
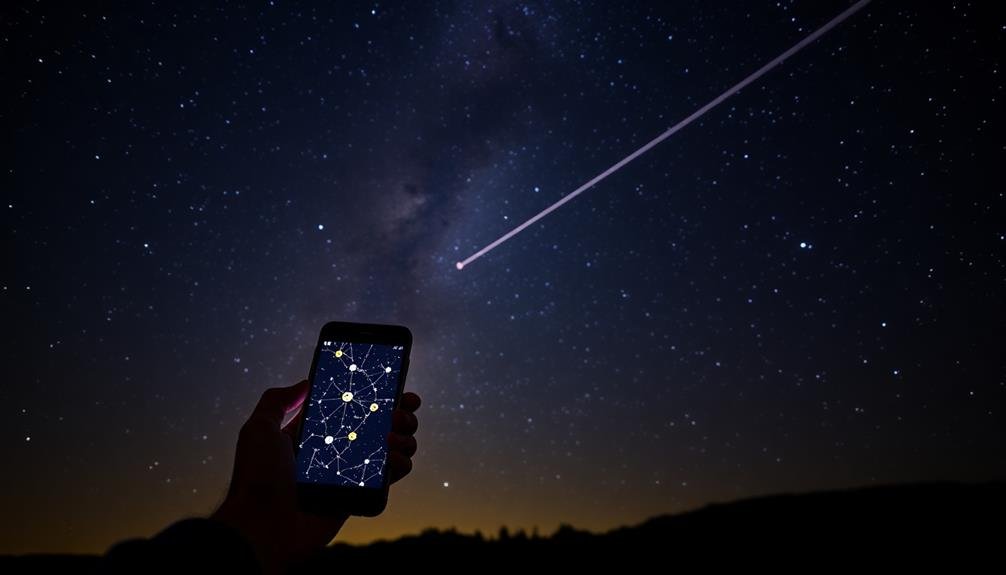
While your phone's camera is essential for night sky photography, specialized apps can greatly enhance your stargazing and shooting experience. These apps provide valuable information and tools to help you plan and execute your night sky shots. They can assist with identifying celestial objects, tracking their movements, and even predicting ideal shooting conditions.
Some popular night sky apps include:
- Stellarium: A planetarium app that shows you what's visible in the sky
- PhotoPills: Helps with planning and calculating settings for astrophotography
- Star Walk 2: Offers augmented reality sky mapping
- Dark Sky Finder: Locates areas with minimal light pollution
- Clear Outside: Provides detailed weather forecasts for astrophotography
To make the most of these apps, familiarize yourself with their features before heading out. Use them to scout locations, plan your shots, and learn about the night sky.
Many apps offer real-time information, so you can adjust your plans on the spot. Don't forget to dim your phone's screen to preserve your night vision.
With practice, you'll find these apps become indispensable tools in your night sky photography toolkit.
Capturing Star Trails
To capture stunning star trails on your phone, you'll need to master long exposure techniques specifically designed for night sky photography.
You can optimize your camera settings by adjusting the ISO, shutter speed, and focus to achieve the best results for your device.
After capturing your images, you'll enhance the star trails through post-processing techniques, which can transform your raw photos into enchanting celestial masterpieces.
Long Exposure Techniques
Have you ever wondered how photographers capture those mesmerizing star trail images? The secret lies in long exposure techniques. With your smartphone, you can achieve similar results using specialized apps and a few key strategies.
To capture star trails, you'll need to keep your phone's shutter open for an extended period, typically 30 minutes to several hours. Here are some essential tips for successful long exposure night sky photography:
- Use a tripod or stable surface to eliminate camera shake
- Enable your phone's manual mode or use a long exposure app
- Set ISO to 100-400 to reduce noise
- Choose a wide aperture (f/2.8 or lower) if available
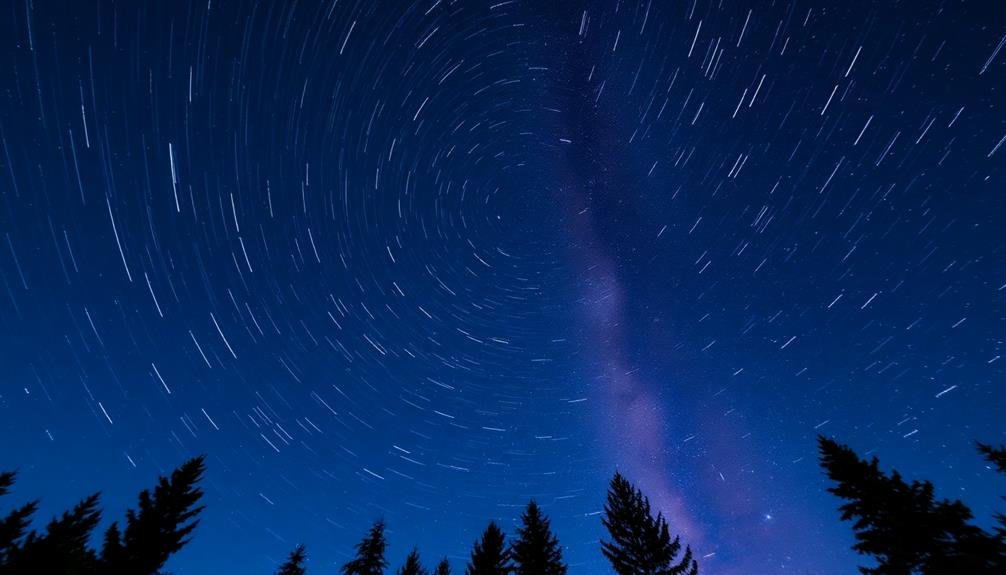
- Focus manually on a bright star or distant light source
During the exposure, Earth's rotation causes stars to appear as streaks across the sky. The longer your exposure, the longer these trails will be.
Remember to find a dark location away from light pollution for the best results. You'll also want to make certain your phone's battery is fully charged or use an external power source, as long exposures can quickly drain your device.
Camera Settings Optimization
Frequently, capturing stunning star trails requires more than just setting a long exposure time. You'll need to optimize your phone's camera settings to achieve the best results.
Start by switching to manual or pro mode if your phone offers it. Set your ISO to the lowest possible value, typically 100 or 200, to minimize noise in your images. Choose a wide aperture (lower f-number) to allow more light into the sensor.
For focus, switch to manual and set it to infinity. This guarantees that distant stars appear sharp. White balance should be set to "daylight" or a cooler temperature around 3500K to preserve the natural colors of the night sky. If your phone allows, shoot in RAW format for greater editing flexibility later.
To capture longer star trails, you'll need to take multiple exposures and stack them. Set your shutter speed to 30 seconds (or the maximum your phone allows) and use an intervalometer app to take continuous shots over several hours.
Later, combine these images using stacking software to create a single, dramatic star trail photograph.
Post-Processing Star Trails
The magic of star trails truly comes to life during post-processing. After capturing your long-exposure shots, you'll need to blend them seamlessly to create that mesmerizing celestial movement.
Start by importing your images into a photo editing software that supports layer blending. Stack your photos as separate layers, then use the "lighten" or "screen" blending mode to merge them effectively.
To enhance your star trails, consider these post-processing techniques:
- Adjust contrast and brightness to make the trails pop
- Remove unwanted hot pixels or aircraft trails
- Apply noise reduction to smooth out the sky
- Experiment with color balance to highlight different star hues
- Add a subtle vignette to draw focus to the center of the image
Don't forget to fine-tune your foreground elements, as they'll provide context and depth to your star trail composition.
You might need to mask certain areas to avoid over-processing static elements. Finally, sharpen your image selectively, focusing on the star trails themselves.
Frequently Asked Questions
How Do Weather Conditions Affect Night Sky Photography on Smartphones?
Weather conditions greatly impact your night sky photos. Clear skies are ideal, while clouds and humidity can obscure stars. Cold temperatures reduce noise, and calm winds prevent blur. Moon phases also affect visibility of celestial objects.
Can Smartphone Astrophotography Capture the Milky Way's Colors Accurately?
You'll struggle to capture the Milky Way's true colors with a smartphone. While you can get decent shots, they won't match the accuracy of dedicated cameras. Still, you'll be amazed at what your phone can achieve.
What's the Battery Life Impact of Extended Night Sky Photography Sessions?
You'll notice significant battery drain during long night sky photo sessions. Your phone's screen, camera, and processing power work overtime. It's wise to bring a portable charger or spare battery to guarantee you don't miss any stellar shots.
Are There Any Safety Concerns When Taking Night Sky Photos in Remote Areas?
When taking night sky photos in remote areas, you'll need to be cautious. Bring a friend, tell someone your plans, pack essential supplies, and watch for wildlife. Don't forget a flashlight and warm clothes.
How Does Smartphone Sensor Size Influence Night Sky Photography Quality?
Your smartphone's sensor size greatly impacts night sky photo quality. Larger sensors capture more light, reducing noise and improving detail. They'll give you clearer, brighter images of stars and celestial objects in low-light conditions.
In Summary
You've now got the tools to capture stunning night sky photos with your phone. Remember, it's all about experimentation. Don't be afraid to play with settings, try different techniques, and push your phone's capabilities. With practice, you'll develop an eye for composition and learn to work with your device's strengths. So grab your phone, head outside on a clear night, and start shooting. The cosmos is waiting for you to capture its beauty.


Leave a Reply