To capture perfect night sky photos with your phone, start by using Manual or Pro mode for full control. Set a high ISO (1600-6400) and experiment with longer shutter speeds (10-30 seconds). Use manual focus, aiming for infinity, and adjust white balance to "Daylight" or between 3200K-4800K. Enable long exposure noise reduction if available. Shoot in RAW format for better post-processing flexibility. Compose your shot using the rule of thirds and include interesting foreground elements. A tripod is essential for sharp images. Apps like NightCap Camera or Slow Shutter Cam can enhance your phone's capabilities. These tips are just the beginning of your astrophotography journey.
Essential Camera Modes
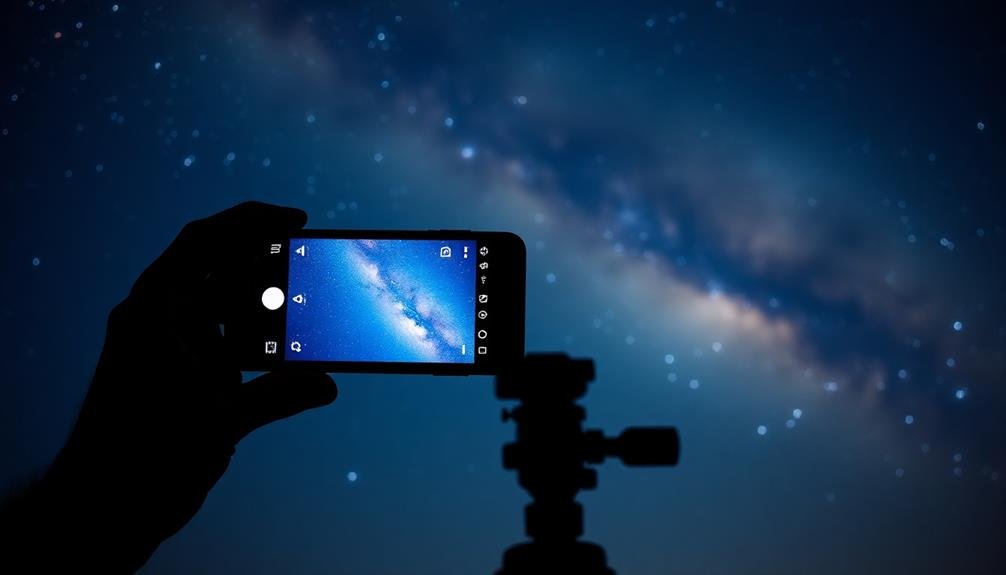
Mastery of your phone's camera modes is essential for capturing stunning night sky photos. The most significant mode for astrophotography is manual or pro mode, which gives you full control over settings like ISO, shutter speed, and focus.
Enable this mode to adjust these parameters for ideal results in low-light conditions.
Night mode is another valuable feature, as it uses AI and image stacking to brighten dark scenes while reducing noise. However, it may not always be perfect for capturing stars, as it can sometimes blur pinpoint light sources.
Don't overlook your phone's HDR (High Dynamic Range) mode. While primarily used for daytime shots, it can help balance the exposure between bright stars and dark skies in some night scenes.
For capturing star trails, look for a dedicated long exposure or light trails mode. If your phone doesn't have this, you can use third-party apps that offer similar functionality.
Lastly, if you're photographing the moon, some phones now offer a specific moon mode that enhances settings for lunar photography.
Experiment with these modes to find what works best for your specific night sky subject.
ISO Settings for Starry Skies
With your camera mode set, it's time to fine-tune your ISO settings for capturing starry skies. ISO controls your camera's sensitivity to light, essential for night photography. For starry nights, you'll want to push your ISO higher than usual, but not so high that you introduce excessive noise.
Start with an ISO of 1600 and adjust from there. If your image is too dark, gradually increase to 3200 or even 6400. Be cautious, though, as higher ISOs can create grainy photos. Modern smartphones handle noise better, so don't be afraid to experiment with higher settings.
Remember, your ISO choice depends on other factors like aperture and shutter speed. If you're using a slower shutter speed, you might get away with a lower ISO. Conversely, a faster shutter speed may require a higher ISO to capture enough light.
Use your phone's manual mode to find the sweet spot between brightness and noise. Take test shots and zoom in to check for star clarity and overall image quality.
With practice, you'll develop an intuition for the right ISO settings in various night sky conditions.
Shutter Speed Adjustments
When shooting the night sky, you'll need to adjust your shutter speed to achieve different effects.
For capturing star trails, set your phone's exposure time to several minutes, allowing stars to create streaks across the image.
To reduce motion blur and freeze stars in place, opt for shorter exposures of 10-30 seconds, balancing between light gathering and star movement.
Capturing Star Trails
To capture mesmerizing star trails with your phone camera, you'll need to adjust your shutter speed settings. Opt for long exposure times, typically ranging from 15 to 30 seconds, depending on your phone's capabilities. Some advanced camera apps allow for even longer exposures, which can produce more dramatic trails.
Start by finding a dark location away from light pollution. Set up your phone on a stable tripod to minimize camera shake. Enable manual mode in your camera app and adjust the ISO to a low setting, around 100-400, to reduce noise. Choose a wide aperture (lowest f-number) to let in more light.
Experiment with different exposure times to achieve your desired effect. Shorter exposures will capture subtle trails, while longer ones create more pronounced streaks across the sky. For truly spectacular results, consider using an intervalometer app to take multiple consecutive shots over an extended period. You can then stack these images in post-processing software to create stunning, hour-long star trail compositions.
Remember to focus manually on a bright star or distant light source to guarantee sharp images.
With practice and patience, you'll soon master the art of capturing breathtaking star trails with your phone camera.
Reducing Motion Blur
Although capturing star trails requires long exposures, reducing motion blur in night sky photography often demands the opposite approach. To freeze stars in place and avoid unwanted streaks, you'll need to use faster shutter speeds.
The general rule of thumb is the 500 rule: divide 500 by your lens's focal length to determine the maximum exposure time in seconds before stars start to trail.
For most smartphone cameras, this means keeping your shutter speed between 15 to 30 seconds. You'll want to experiment with different settings to find the sweet spot for your specific device and conditions. Remember to use a tripod or stabilize your phone to minimize camera shake.
To create vivid night sky images with minimal blur:
- Set your phone on a sturdy tripod, aiming at a dark, star-filled portion of the sky
- Enable your camera's night mode or pro mode for manual control
- Adjust ISO to the highest setting that doesn't introduce excessive noise
Long Exposure Techniques
After mastering the basics of reducing motion blur, it's time to explore long exposure techniques for capturing stunning night sky photos. Long exposures allow your phone's camera to gather more light, revealing celestial details invisible to the naked eye.
Start by adjusting your shutter speed. Most phone cameras offer manual controls or "Pro" modes that let you extend exposure times. Experiment with different durations:
| Exposure Time | Best For | Challenges |
|---|---|---|
| 10-15 seconds | Star trails | Camera shake |
| 20-30 seconds | Milky Way | Noise increase |
| 30+ seconds | Light painting | Overexposure |
| 1-5 minutes | Star circles | Battery drain |
| Multiple shots | Star stacking | Post-processing |
As you increase exposure time, use a tripod or stable surface to prevent camera movement. Consider using a remote shutter or timer to avoid touching your phone during capture.
For ultra-long exposures, try stacking multiple shots. This technique involves taking several long-exposure images and combining them in post-processing. It helps reduce noise and enhances star visibility.
Focus Techniques for Clarity
You'll need to master manual focus to capture sharp night sky images with your phone.
Try setting your lens to infinity focus, which aligns distant objects like stars.
If your phone camera doesn't have an infinity setting, focus on the furthest visible object or use a focusing app designed for astrophotography.
Manual Focus Mastery
For capturing stunning night sky photos, mastering manual focus is essential. Your phone's autofocus may struggle in low light, often resulting in blurry, out-of-focus images. By taking control of your focus manually, you'll guarantee sharp, crisp shots of stars and celestial objects.
To manually focus your phone camera, first locate the manual focus option in your camera app's settings or pro mode. Once enabled, you'll typically see a slider or adjustment wheel on your screen. Use this to fine-tune your focus. A good starting point is to set focus to infinity, then slightly adjust back from there.
To help you achieve perfect focus, try these techniques:
- Use your phone's digital zoom to magnify a bright star or planet.
- Adjust focus until the star appears as a tiny, sharp point of light.
- Take test shots and review them at full size, refining focus as needed.
Infinity Focus Tricks
Leveraging infinity focus can greatly enhance the clarity of your night sky photos. This technique allows you to capture sharp, detailed images of distant celestial objects. To achieve infinity focus, you'll need to trick your phone's camera into focusing on the farthest possible point.
Start by turning off autofocus in your camera app's settings. Then, aim your phone at a bright star or planet. Tap the screen to focus on this point, and you'll notice the focus circle expanding. This indicates that your camera is attempting to focus on infinity. If your app has a manual focus slider, slowly adjust it until the stars appear at their sharpest.
Another method involves using a distant light source during the day to set your focus. Find a faraway streetlight or building, focus on it, and lock your focus. This setting will remain when you shoot at night.
Some apps offer an "infinity focus" option, which automatically sets the focus to the farthest point.
White Balance Considerations
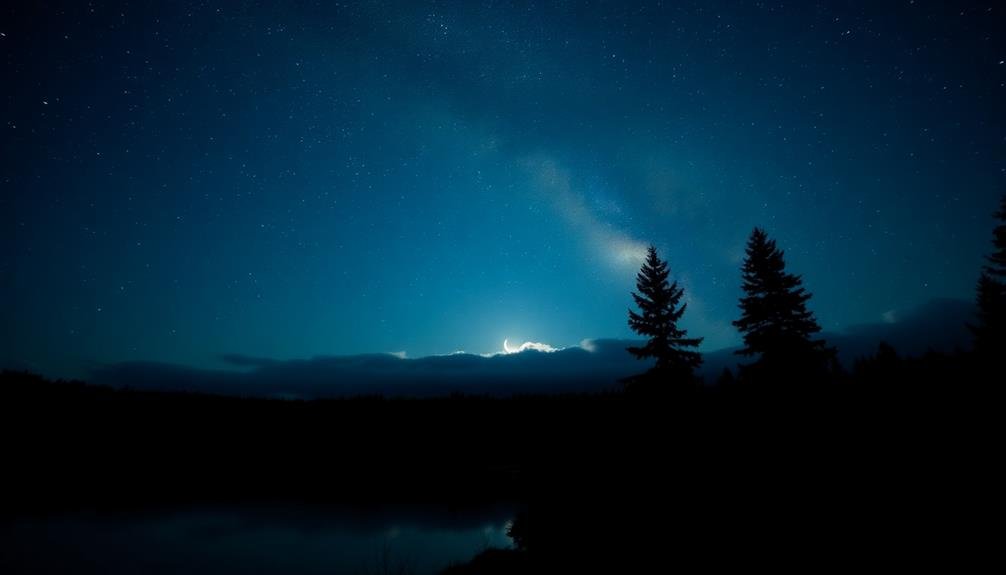
Most modern smartphones offer various white balance settings, which can dramatically affect the color temperature of your night sky photos. When shooting the night sky, you'll want to capture the true colors of stars, planets, and the Milky Way. The "Auto" white balance setting often struggles in low-light conditions, potentially leading to unnatural-looking images.
Instead, try using the "Daylight" or "Sunny" white balance preset. This setting typically produces more accurate colors for astrophotography. If your phone allows manual white balance adjustment, experiment with temperatures between 3200K and 4800K. These cooler settings can help preserve the natural blue hues of the night sky while maintaining the warm tones of stars and celestial objects.
To visualize the impact of white balance on your night sky photos, imagine:
- A deep, inky blue sky dotted with twinkling white stars
- The Milky Way's silvery band stretching across the frame
- Warm, orange-tinted stars contrasting against the cool background
Remember that you can always fine-tune the white balance during post-processing. However, starting with the right in-camera setting will give you a better foundation for editing.
Don't be afraid to take multiple shots with different white balance settings to compare results and find your preferred look.
Exposure Compensation Tips

Exposure compensation is an essential tool for capturing stunning night sky photos with your smartphone. It allows you to adjust the brightness of your image beyond what your camera's automatic settings might choose. For night sky photography, you'll often need to increase the exposure compensation to capture more light and reveal faint stars.
Start by setting your exposure compensation to +1 or +2 and take a test shot. If the image is too dark, gradually increase the value. Be careful not to overexpose, as this can wash out star details and create unwanted noise. You might find that a setting between +2 and +4 works best for most night sky scenes.
Remember that exposure compensation affects your entire image. If you're including foreground elements, they may become too bright as you increase the exposure for the stars. In this case, you might need to compromise or consider using HDR mode to balance the exposure across different parts of the scene.
Experiment with different settings and review your results on a larger screen to fine-tune your approach for the best night sky photos.
Noise Reduction Strategies
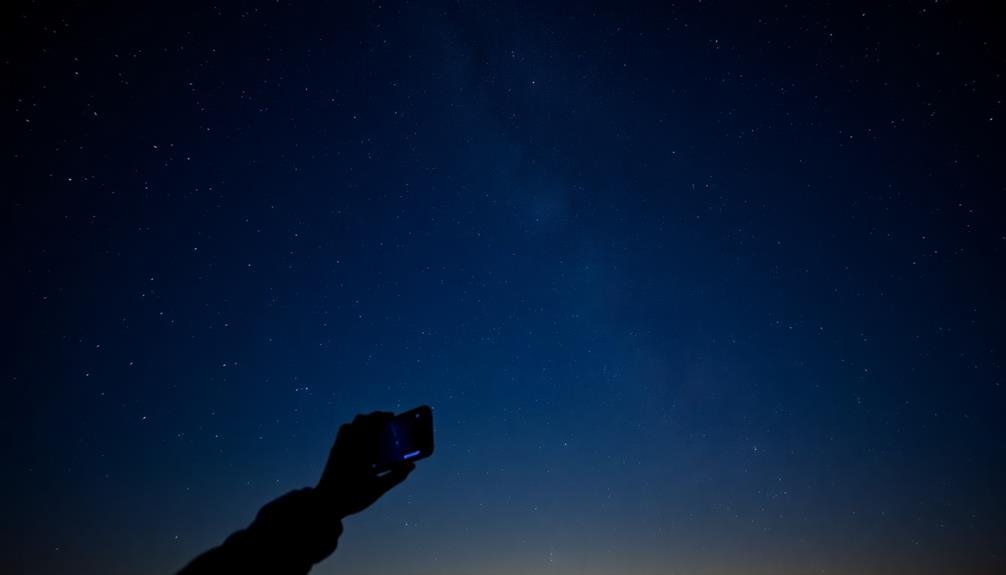
To reduce noise in your night sky photos, you'll want to use your phone's Long Exposure Noise Reduction feature if available.
Keep your ISO settings as low as possible while still capturing enough light.
After taking your shots, you can further minimize noise through post-processing techniques using photo editing apps or software.
Long Exposure Noise Reduction
Long exposure noise reduction is an essential feature for capturing stunning night sky photos with your phone. When you're shooting long exposures, your camera's sensor heats up, causing unwanted noise in your images. This feature helps combat that issue by taking two shots: one with the shutter open and another with it closed. It then compares the two and removes the noise patterns.
To use long exposure noise reduction effectively:
- Enable the feature in your camera app's settings
- Set your exposure time to at least 15 seconds
- Keep your phone as still as possible during the entire process
Remember that this technique doubles your shooting time, as it needs to capture two images. While it can greatly improve image quality, it may not be ideal for all situations. If you're shooting star trails or time-lapses, you might want to disable this feature to avoid gaps in your final image.
Experiment with different exposure times and ISO settings to find the right balance between capturing enough light and minimizing noise.
You'll notice a marked improvement in your night sky photos when using long exposure noise reduction effectively.
Low ISO Settings
Noise, the digital grain that plagues low-light photos, can be considerably reduced by using low ISO settings. While it's tempting to crank up the ISO for brighter images, you'll sacrifice image quality. Instead, aim for the lowest ISO your phone allows, typically between 50 and 200. This approach will require longer exposure times, so make certain your phone is stable.
To balance ISO and exposure, consider these guidelines:
| ISO | Exposure Time | Best For |
|---|---|---|
| 100 | 15-30 seconds | Starry landscapes |
| 200 | 10-15 seconds | Moon shots |
| 400 | 5-10 seconds | Northern lights |
| 800 | 2-5 seconds | Star trails |
Post-Processing Noise Removal
While using low ISO settings can greatly reduce noise in your night sky photos, some level of digital grain is often unavoidable.
That's where post-processing noise removal techniques come in handy. By applying noise reduction tools in editing software, you can markedly improve the quality of your night sky images.
Start by adjusting the luminance noise reduction slider to target brightness-related grain. This will smooth out the image without losing too much detail.
Next, tackle color noise by adjusting the relevant slider, which helps eliminate random color specks in darker areas. Be careful not to overdo it, as excessive noise reduction can lead to a loss of fine details and stars.
For more advanced noise reduction:
- Use masking to apply noise reduction selectively to different areas of the image
- Experiment with frequency separation techniques to preserve textures while reducing noise
- Try stacking multiple exposures to average out noise and increase signal-to-noise ratio
RAW Vs JPEG Format

When it comes to capturing the night sky, your choice of image format can make or break your photos. RAW and JPEG are the two primary formats you'll encounter, each with its own advantages and drawbacks.
RAW files contain all the data captured by your phone's image sensor, giving you greater flexibility in post-processing. You'll have more control over white balance, exposure, and color adjustments. This format is especially beneficial for night sky photography, where you often need to recover details from shadows or adjust highlights.
However, RAW files are larger and require processing before sharing.
JPEG files, on the other hand, are compressed and processed in-camera. They're ready to share immediately and take up less storage space. But this convenience comes at a cost: you'll have less editing latitude and might lose important details in the dark areas of your night sky shots.
For the best results, shoot in RAW if your phone supports it. You'll preserve more information and have greater control over the final image.
If storage is a concern, consider using JPEG, but be prepared to nail your settings in-camera.
Composition Techniques for Night Skies
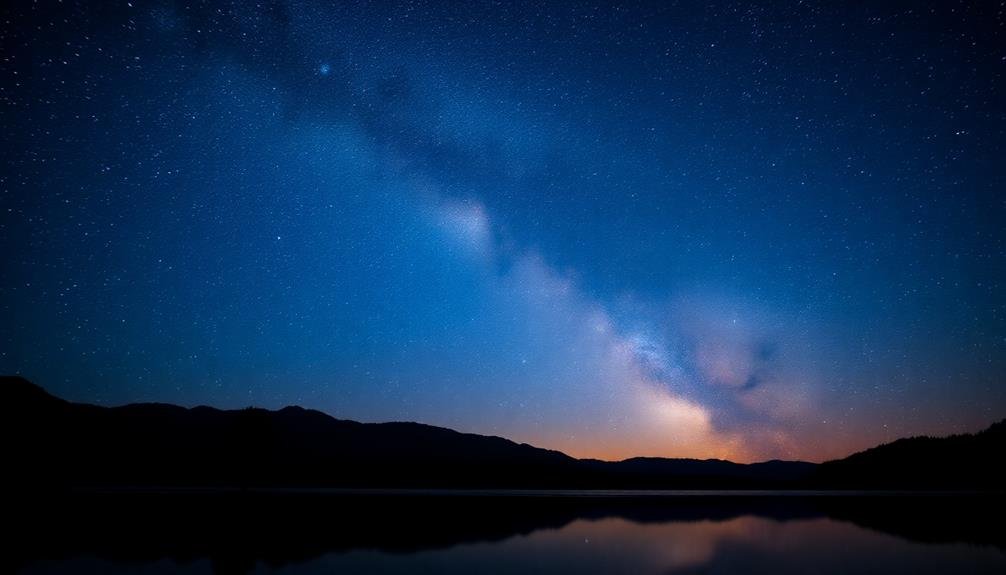
Mastery of composition is essential for capturing stunning night sky photos. When framing your shot, consider the Rule of Thirds to create a balanced image. Place the horizon on the lower third line to emphasize the vast expanse of the night sky.
Include interesting foreground elements, such as trees, mountains, or buildings, to add depth and context to your photo. Use leading lines to draw the viewer's eye towards the main subject, whether it's the Milky Way or a particular constellation. Natural elements like roads, rivers, or fences can serve as effective leading lines in night photography.
Don't forget to experiment with different angles and perspectives to find the most engaging composition.
To create enchanting night sky imagery, try these techniques:
- Frame the Milky Way between two towering pine trees, creating a natural archway
- Position a silhouetted person gazing up at the stars, adding a sense of scale and wonder
- Capture star trails circling around a prominent landmark, blending terrestrial and celestial elements
Remember to keep your camera steady using a tripod or stable surface. With practice and patience, you'll soon be capturing breathtaking night sky compositions that showcase the beauty of the cosmos.
Best Smartphone Apps

In addition to proper camera settings, smartphone apps can greatly enhance your night sky photography experience. Several apps stand out for their ability to help you capture stunning celestial images.
NightCap Camera is a powerful app that allows for long exposures and offers specialized modes for star trails and Northern Lights. It's user-friendly and produces impressive results.
Slow Shutter Cam is another excellent choice, providing manual control over exposure time and ISO settings.
For planning your shoot, Sky Map and Star Walk 2 are invaluable. These apps use augmented reality to help you locate and identify celestial objects. They'll show you where to point your camera for the best compositions.
PhotoPills is an extensive tool that combines planning features with a night AR mode. It helps you visualize the Milky Way's position and calculate exposure settings.
Lastly, don't overlook editing apps. Snapseed and Lightroom Mobile offer powerful tools to enhance your night sky photos. They let you adjust contrast, reduce noise, and bring out details in your images.
Frequently Asked Questions
How Can I Stabilize My Phone for Long Exposures Without a Tripod?
You can stabilize your phone for long exposures without a tripod by using everyday objects. Rest it against a wall, lean it on a rock, or place it on a flat surface. You'll also want to use your phone's timer feature.
What Are the Best Locations for Capturing Clear Night Sky Photos?
You'll find the best night sky photos in dark, rural areas away from light pollution. Look for high elevations, clear skies, and minimal obstructions. National parks, deserts, and remote mountains often offer stunning views of the stars.
How Do Weather Conditions Affect Night Sky Photography With Smartphones?
Weather greatly impacts your night sky shots. Clear skies are ideal. Clouds obstruct stars, while humidity can cause haze. Wind might blur images. Cold temperatures enhance clarity but drain your battery faster. Moon phases also affect visibility.
Can I Stack Multiple Exposures Using My Smartphone for Improved Results?
Yes, you can stack multiple exposures on your smartphone for better night sky photos. You'll need a specialized app that supports this feature. It'll help reduce noise, increase detail, and improve overall image quality.
What Post-Processing Techniques Can Enhance Smartphone Night Sky Photos?
You'll want to adjust contrast and brightness, reduce noise, and sharpen details. Try enhancing colors, especially blues. Don't overdo it though. Subtle edits often work best. Consider using dedicated astrophotography apps for more advanced processing options.
In Summary
You've now got the tools to capture stunning night sky photos with your smartphone. Remember to experiment with different settings and techniques. Don't be afraid to try new apps or composition styles. With practice, you'll master the art of low-light photography. Keep pushing your boundaries, and soon you'll be sharing breathtaking images of starry nights that'll make your followers envious. So grab your phone, head outside, and start shooting those celestial wonders!



Leave a Reply