To capture sweeping views at events, start by scouting ideal vantage points with unobstructed views. Stabilize your smartphone using a tripod or improvised support for crisp shots. Enable gridlines to guarantee straight horizons and balanced compositions. Master the panning technique for smooth camera movement across the scene. Adjust exposure settings manually to handle varying light conditions. Capture multiple overlapping shots, aiming for 30-50% overlap between frames. Don't forget to experiment with vertical panoramas for towering subjects or dramatic scenes. These tips will help you create stunning panoramic images that tell the full story of your event. Dive deeper to reveal even more panoramic potential.
Scout Ideal Vantage Points
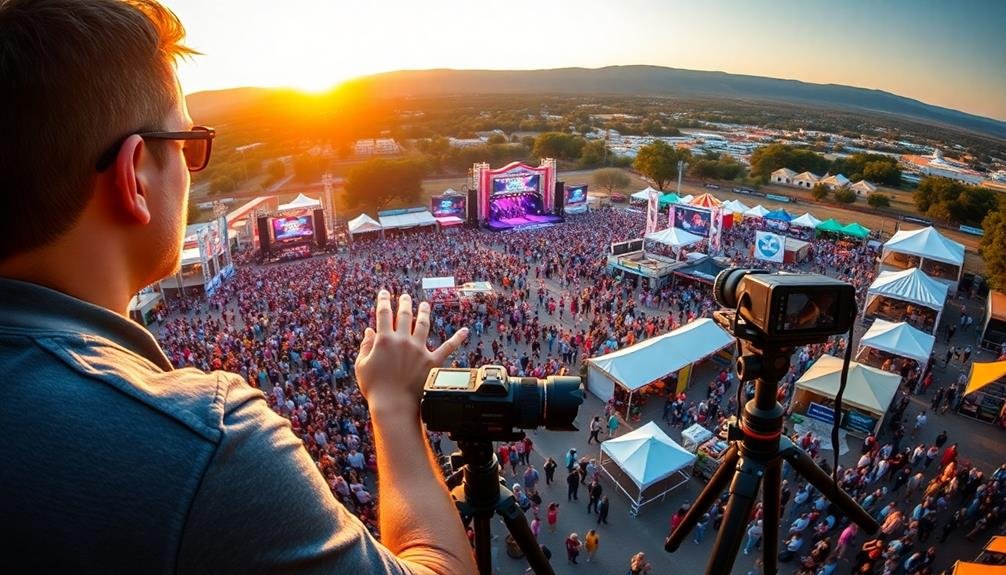
Scope out potential vantage points before the event begins. Look for elevated spots that offer unobstructed views of the entire venue. Consider balconies, rooftops, or hillsides that provide a commanding perspective.
Don't forget to check if these locations are accessible to the public or if you'll need special permission.
Arrive early to secure your chosen spot and set up your equipment. This will give you time to test different angles and compositions without feeling rushed.
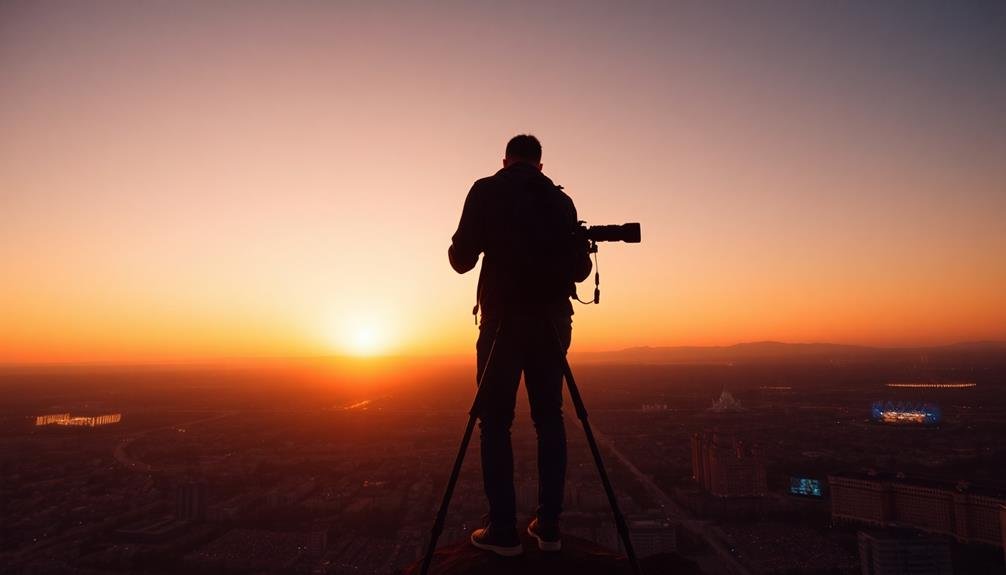
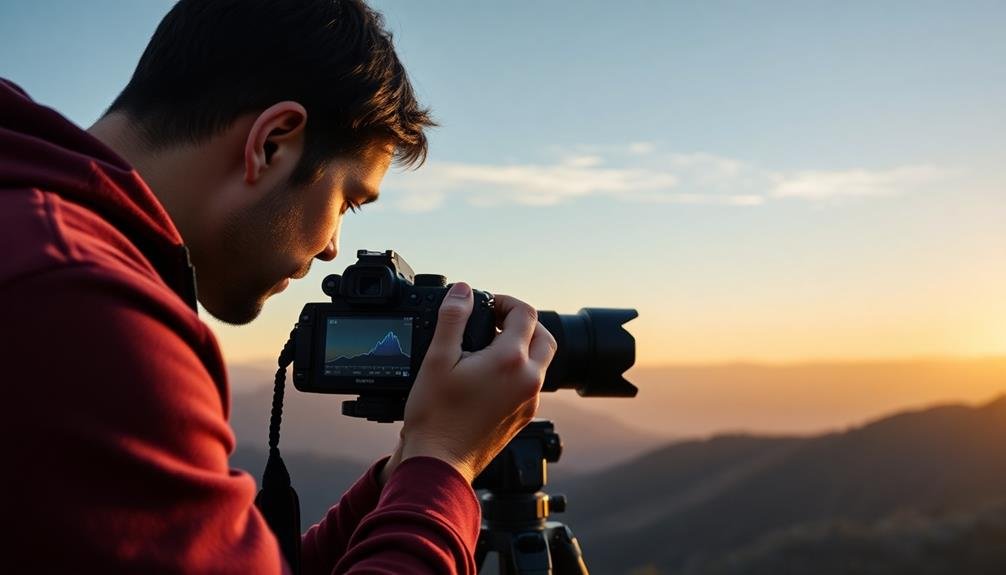
Pay attention to the direction of sunlight and how it might change throughout the event. You'll want to avoid shooting directly into the sun if possible.
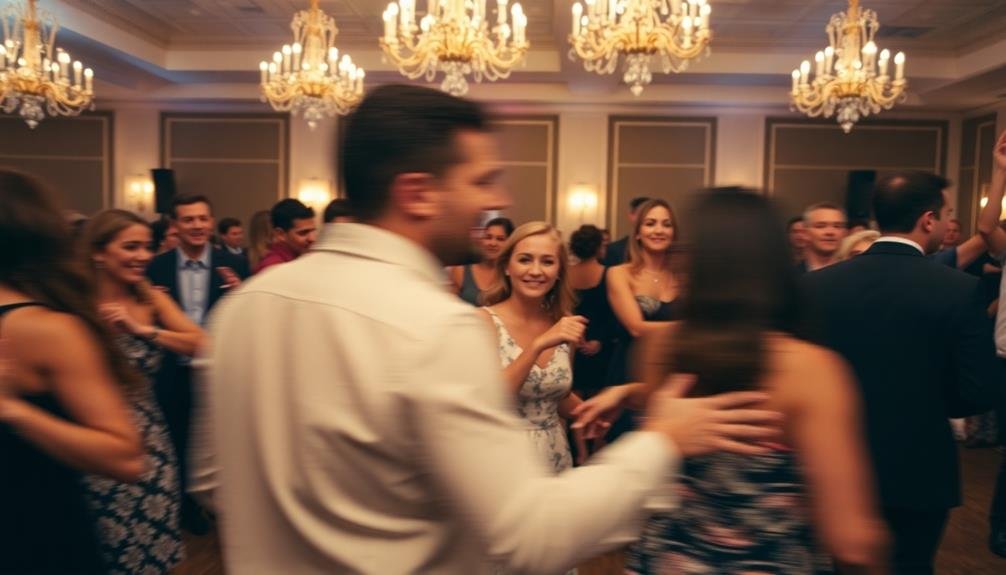
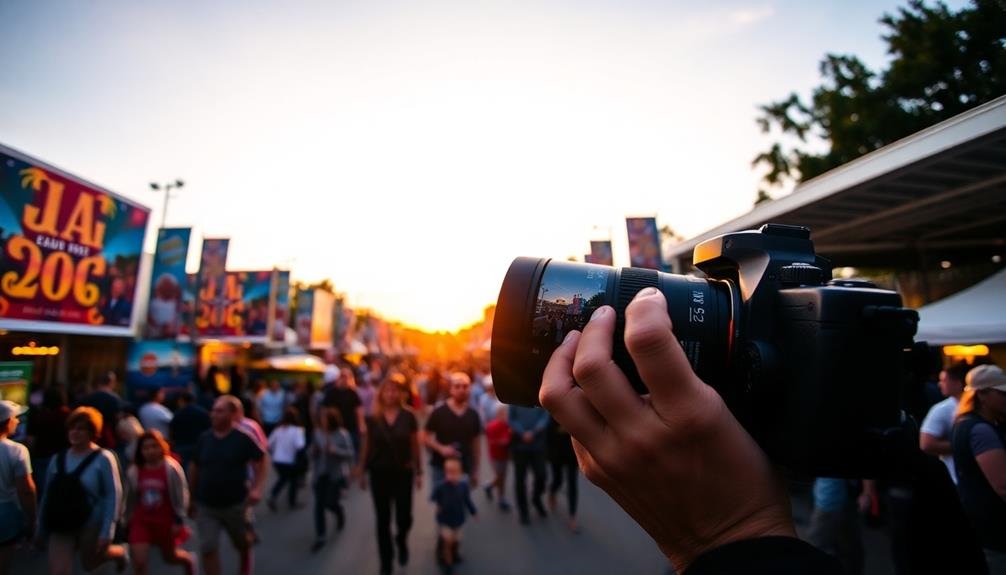
Think about the event's focal points and how you can capture them in your panorama. For concerts, aim to include the stage and the crowd.
At sporting events, position yourself to capture both the field and the stands. In urban settings, look for iconic landmarks or skylines to incorporate into your shot.
Consider movement within the scene. A higher vantage point can help you capture the flow of people or vehicles, adding dynamism to your panorama.
Stabilize Your Smartphone
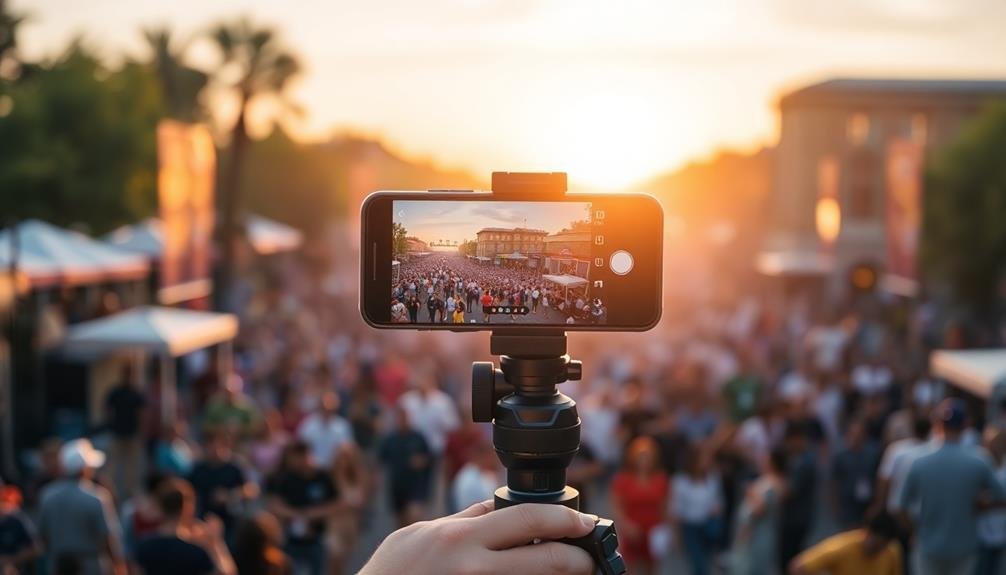
Once you've found the perfect vantage point, it's time to focus on keeping your smartphone steady for crisp, clear panoramas. Stabilizing your device is essential for capturing seamless, high-quality images without distortion or blurring.
Start by adopting a stable stance. Plant your feet shoulder-width apart and keep your elbows tucked close to your body. This will minimize camera shake as you pan. If possible, use a smartphone tripod or gimbal for ideal stability. These tools can greatly reduce hand tremors and guarantee smooth motion.
If you don't have specialized equipment, improvise with your surroundings. Lean against a wall or sturdy object to anchor yourself. Alternatively, rest your elbows on a railing or flat surface to create a makeshift tripod.
When taking the panorama, move your body smoothly, pivoting from your hips rather than just your arms. Keep the phone level and maintain a consistent speed as you pan. Many smartphones have built-in level indicators or gridlines – use these to maintain proper alignment throughout the shot.
Remember to hold your breath while capturing the image to further reduce movement. With practice, you'll master the art of steady panoramas, resulting in stunning, professional-looking event photos.
Use Gridlines for Alignment
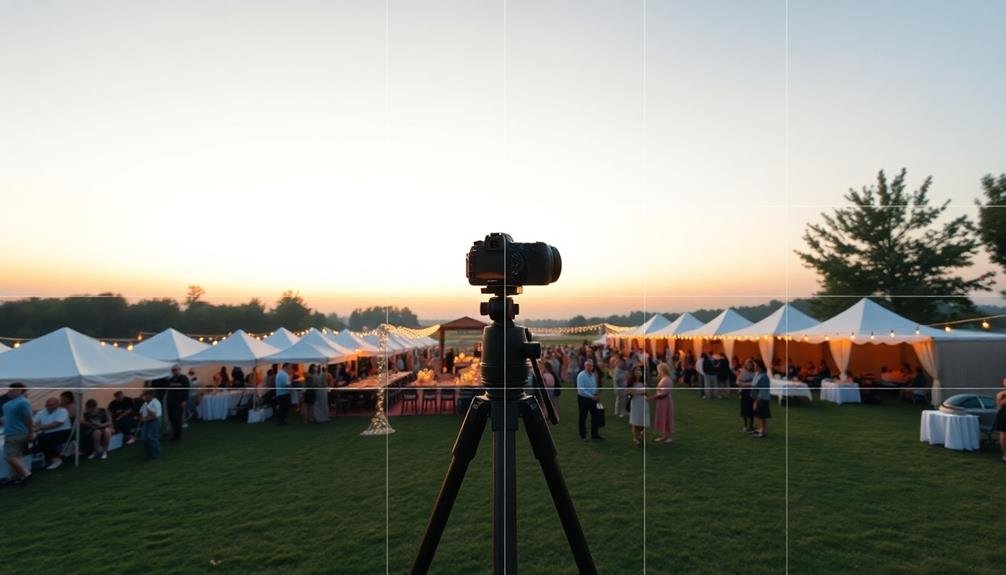
Gridlines are your secret weapon for creating perfectly aligned panoramas at events.
Enable them in your camera settings to guarantee straight horizon lines and avoid tilted or crooked images.
You'll also find gridlines invaluable for balancing composition elements, helping you place key subjects at ideal points within your panoramic frame.
Straight Horizon Lines
Maintaining straight horizon lines is essential for creating visually appealing panoramas at events. When your horizon isn't level, it can make viewers feel disoriented and detract from the overall impact of your image.
To achieve straight horizons, use your camera's built-in level or grid overlay feature. These tools will help you align your shots accurately as you pan across the scene.
If your camera doesn't have these features, don't worry. You can still create straight horizons by using external references. Look for vertical structures like buildings or poles in your frame, and verify they're perfectly upright as you shoot. Alternatively, use the natural horizon line if you're photographing landscapes or seascapes.
During post-processing, you can fine-tune your horizon line using editing software. Most programs offer straightening tools that allow you to rotate the image slightly to perfect the alignment.
However, it's always best to get it right in-camera to maintain maximum image quality and avoid cropping out important details. Remember, a straight horizon line will guide viewers' eyes smoothly across your panorama, enhancing the sense of scale and grandeur in your event photos.
Balanced Composition Elements
Beyond straight horizons, balanced composition elements are key to creating enchanting panoramas at events. When composing your shot, use gridlines to guarantee proper alignment and balance. Most cameras and smartphones offer gridline overlays, which divide the frame into thirds both horizontally and vertically. These lines serve as guides for placing key elements within your panorama.
Align significant features with these gridlines or their intersections to create a visually appealing image. This technique, known as the rule of thirds, helps distribute visual weight across the frame. For event panoramas, consider placing the main stage, focal point, or crowd at these strategic locations.
To further enhance your panoramic compositions:
- Look for natural framing elements like archways or trees to add depth
- Incorporate leading lines that guide the viewer's eye through the scene
- Balance bright and dark areas to maintain visual harmony
Master Panning Technique
To master the panning technique for panoramic event photography, you'll need to focus on two key elements.
First, guarantee your camera movement is smooth and steady throughout the entire pan.
Second, practice maintaining a consistent rotation speed as you sweep across the scene, which will help prevent distortions in your final image.
Smooth, Steady Camera Movement
Mastering smooth, steady camera movement is essential for capturing stunning panoramas at events. As you pan across the scene, keep your movements fluid and deliberate. Imagine you're painting a smooth line with your camera, avoiding any jerky motions that could disrupt the final image.
To achieve this smooth movement, practice proper body positioning. Stand with your feet shoulder-width apart, knees slightly bent, and your elbows tucked close to your body. Pivot from your hips rather than twisting your upper body, which helps maintain stability throughout the pan.
Consider using a tripod with a panoramic head for even smoother results. This setup allows for precise control and consistent rotation, ensuring your images align perfectly when stitched together.
Here are some additional tips for smooth, steady camera movement:
- Use a remote shutter release to minimize camera shake
- Practice your panning technique before the event
- Maintain a consistent speed throughout the panorama capture
Practice Consistent Rotation Speed
Consistent rotation speed is the cornerstone of a successful panoramic shot. As you sweep your camera across the scene, maintain a steady pace to guarantee a smooth, seamless final image. Practice this technique before the event to develop muscle memory and improve your results.
To master consistent rotation speed, follow these tips:
- Use a tripod with a panning head for added stability.
- Set your camera to manual mode to maintain consistent exposure.
- Start slow and gradually increase your speed as you become more comfortable.
- Focus on a distant point and use it as a guide for your rotation.
- Count or use a metronome app to maintain a steady rhythm.
Here's a breakdown of rotation speeds and their effects:
| Speed (degrees/second) | Best for | Image Quality | Difficulty |
|---|---|---|---|
| 5-10 | Detailed scenes | Excellent | Easy |
| 10-20 | General landscapes | Very Good | Moderate |
| 20-30 | Fast-moving events | Good | Challenging |
| 30-40 | Action shots | Fair | Difficult |
| 40+ | Experimental techniques | Variable | Expert |
Adjust Exposure Settings
Exposure mastery is essential when capturing panoramic shots at events. As you sweep across the scene, lighting conditions can vary dramatically, potentially ruining your panorama. To combat this, set your camera to manual mode and choose exposure settings that work for the entire scene. Start by metering the brightest area and adjust your settings to avoid overexposure.
Consider using these techniques to maintain consistent exposure:
- Bracket your shots, taking multiple exposures of each frame
- Use exposure compensation to fine-tune your settings
- Employ graduated neutral density filters for scenes with extreme brightness variations
Remember that the goal is to maintain a balanced exposure across all frames. If you're shooting in changing light conditions, such as during sunset, you may need to adjust your settings slightly as you pan. However, try to keep these adjustments minimal to avoid noticeable shifts in your final panorama.
Pay special attention to your camera's histogram, ensuring that you're not clipping highlights or losing shadow detail.
Capture Multiple Overlapping Shots
The key to a successful panorama lies in capturing multiple overlapping shots. To guarantee seamless stitching, aim for 30-50% overlap between each frame. Start by positioning yourself at one end of the scene and slowly pan your camera across, taking photos at regular intervals. Keep your camera level and maintain a consistent height throughout the process.
For vertical panoramas, follow the same principle but move your camera from bottom to top. Pay attention to moving objects or people in the scene, as they can create ghosting effects in the final image. If possible, wait for a moment when there's less movement.
Here's a quick guide to help you determine the number of shots needed based on the field of view:
| Field of View | Horizontal Shots | Vertical Shots | Total Shots |
|---|---|---|---|
| 360° | 8-12 | 2-3 | 16-36 |
| 180° | 4-6 | 2-3 | 8-18 |
| 90° | 2-3 | 2-3 | 4-9 |
| 45° | 1-2 | 2-3 | 2-6 |
Experiment With Vertical Panoramas
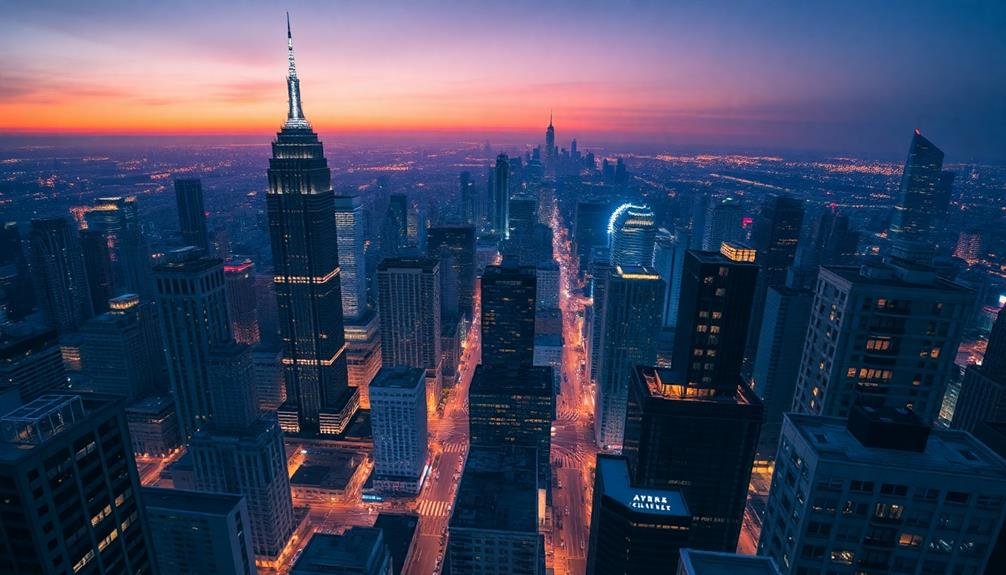
While horizontal panoramas are popular, vertical panoramas offer a unique perspective that can capture tall structures or expansive landscapes in a striking way.
To create a vertical panorama, turn your camera sideways and sweep from bottom to top or vice versa. This technique is especially effective for photographing:
- Towering architecture like skyscrapers or cathedrals
- Natural wonders such as waterfalls or redwood trees
- Dramatic scenes with interesting foreground and sky elements
When shooting vertical panoramas, pay attention to your composition. Start with a compelling foreground element and work your way up to the sky or distant background.
Maintain a consistent exposure throughout the sequence by using manual mode or locking your exposure settings. Remember to overlap each shot by about 30% to guarantee seamless stitching later.
Don't be afraid to experiment with different angles and perspectives. Try capturing a vertical panorama from a low angle to emphasize height, or incorporate leading lines to draw the viewer's eye through the image.
Frequently Asked Questions
How Do I Stitch Together Multiple Panorama Shots Into One Image?
To stitch panorama shots, you'll need specialized software. Import your images, align them carefully, and let the program blend them seamlessly. Adjust overlaps and exposure as needed. Fine-tune the result for a smooth, cohesive final panorama.
What's the Best Time of Day to Capture Panoramic Event Photos?
You'll get the best panoramic event photos during the "golden hour" – just after sunrise or before sunset. The soft, warm light enhances colors and reduces harsh shadows, creating a stunning backdrop for your wide-angle shots.
Can I Create Panoramas Using a Drone for Aerial Event Shots?
Yes, you can create panoramas using a drone for aerial event shots. You'll need to fly your drone steadily, overlapping each image by 30-40%. Use manual settings for consistent exposure and consider stitching software for best results.
Are There Specific Apps Recommended for Panoramic Photography on Smartphones?
Yes, there are several great apps for panoramic photography on smartphones. You'll want to try Google Street View, Microsoft Pix, or Panorama 360. These apps offer user-friendly interfaces and advanced features to enhance your panoramic shots.
How Do I Handle Moving Subjects When Shooting Panoramas at Events?
When shooting panoramas with moving subjects, you'll want to work quickly. Try to capture them in one section of the frame, or ask them to stay still briefly. If possible, shoot multiple panoramas and combine them later.
In Summary
You've now got the tools to create stunning panoramas at your next event. Don't be afraid to experiment with different techniques and angles. Remember, practice makes perfect. The more you try, the better you'll become at capturing those breathtaking wide-angle shots. So go ahead, put these tips to use, and wow your friends and followers with your impressive panoramic event photos. Happy shooting!
Leave a Reply