To capture pro-level portrait mode photos on your phone, focus on three key secrets. First, master depth-of-field control by positioning your subject 2-8 feet from the camera and experimenting with distances to optimize the effect. Second, perfect your lighting by prioritizing natural light sources, such as windows or shaded outdoor areas, and shooting during the golden hour for warm, diffused illumination. Finally, compose with background blur in mind by placing your subject several feet from the background and selecting complementary textures or colors. These techniques will elevate your portrait mode shots, but there's much more to explore in the world of smartphone photography.
Master Depth-of-Field Control

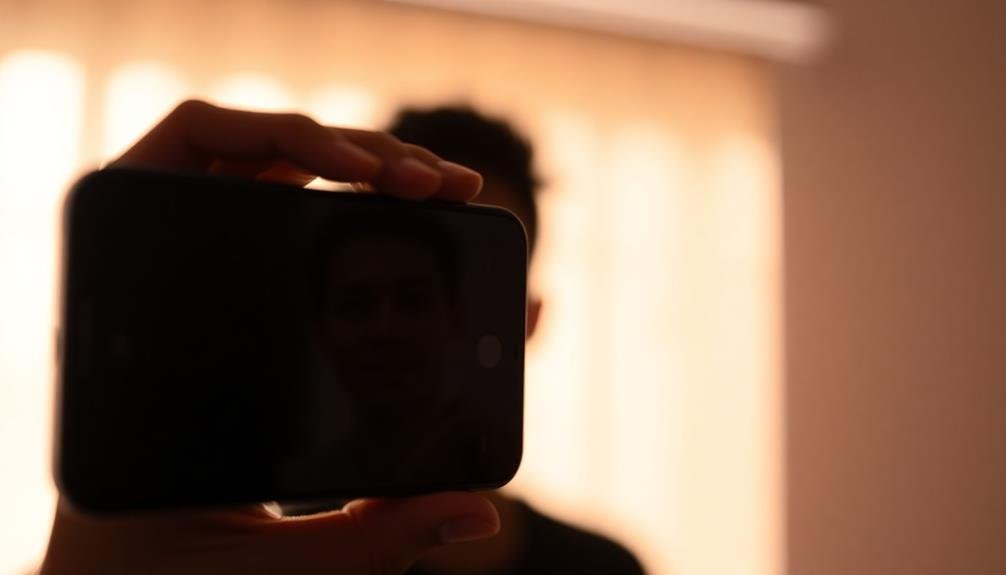
Diving into depth-of-field control is essential for mastering portrait mode on your phone. This feature allows you to create a sharp focus on your subject while blurring the background, mimicking the effect of high-end DSLR cameras.
To achieve this, position your subject 2-8 feet away from the camera and guarantee there's adequate distance between them and the background.
Experiment with different distances to find the sweet spot for your phone's portrait mode. Most smartphones offer adjustable depth-of-field after taking the photo, so don't hesitate to fine-tune the effect.
Pay attention to edges around your subject, as AI can sometimes struggle with complex outlines like hair or glasses.
For best results, choose backgrounds that contrast with your subject and avoid busy patterns. Soft, uniform backgrounds work well for highlighting your subject.
When shooting, tap on your subject's face to set focus and exposure. If your phone allows, adjust aperture settings to control the intensity of the background blur.
Perfect Lighting for Portrait Mode
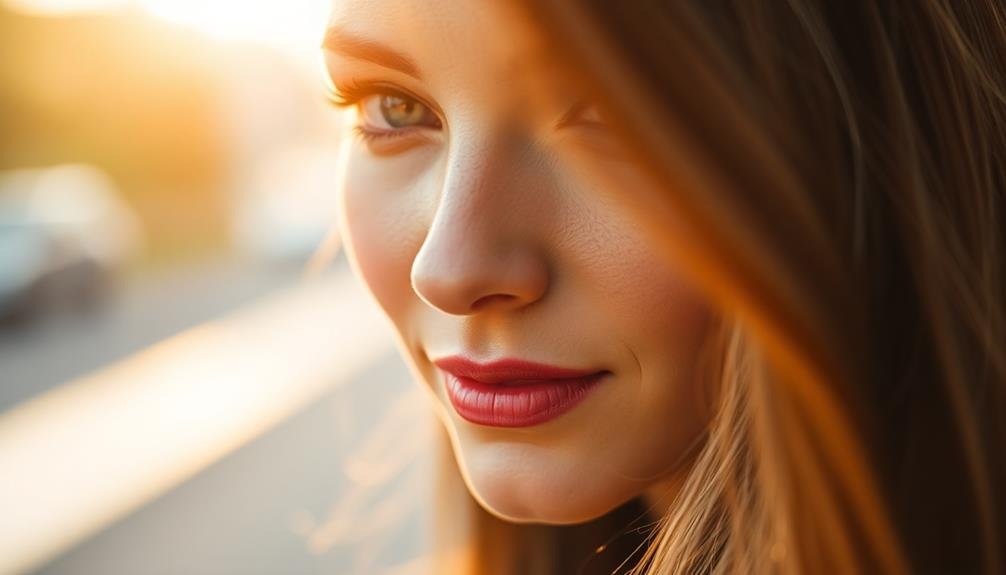
In light of creating stunning portrait mode photos, mastering lighting techniques is essential. Proper lighting can elevate your portraits from amateur snapshots to professional-looking masterpieces. When shooting in portrait mode, always prioritize natural light whenever possible. Position your subject near a window or in a shaded outdoor area to achieve soft, flattering illumination.
If you're shooting indoors, consider these lighting tips:
- Use a large window as your main light source
- Reflect light onto the shadow side of your subject's face using a white sheet or reflector
- Avoid harsh overhead lighting, which can create unflattering shadows
For outdoor portrait mode shots, aim for the golden hour – just after sunrise or before sunset – when the light is warm and diffused. If you're shooting in bright sunlight, find a shaded area to prevent harsh shadows and squinting.
Remember, the direction of light matters. Side lighting can add drama and dimension, while front lighting minimizes wrinkles and imperfections.
Don't be afraid to experiment with different lighting setups. Try backlighting your subject for a dreamy, ethereal effect, or use a small LED light to add a catchlight to your subject's eyes.
With practice, you'll develop an intuitive understanding of how light impacts your portrait mode photos.
Compose With Background Blur
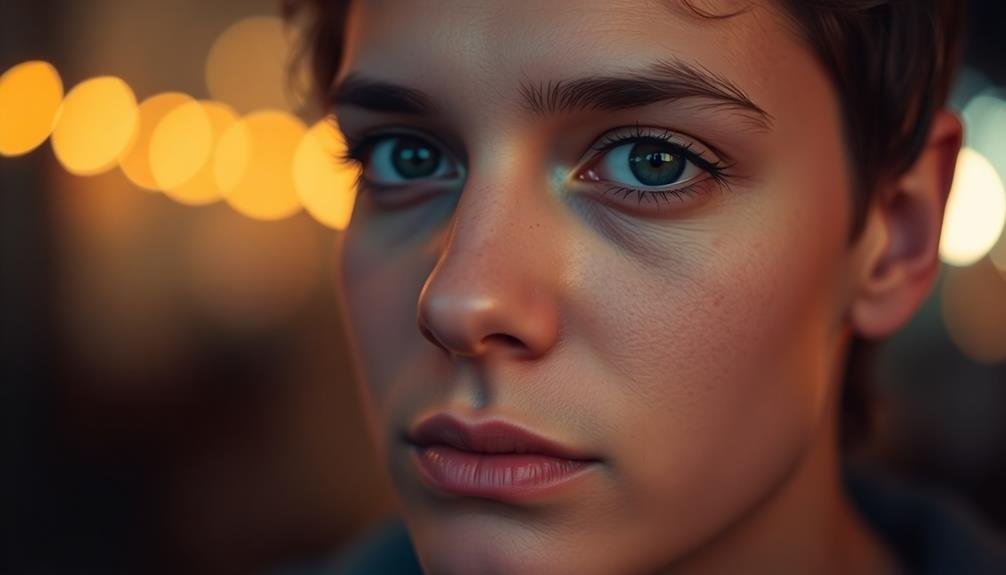
While mastering lighting is key, the true magic of portrait mode lies in its ability to create stunning background blur. This effect, known as bokeh, can transform an ordinary snapshot into a professional-looking portrait. To make the most of this feature, you'll need to take into account both your subject and the background carefully.
Start by positioning your subject at least a few feet away from any background elements. This distance allows the camera to create a more pronounced blur effect. Next, look for interesting background textures or colors that will complement your subject without overpowering them. Soft, muted tones often work best, but don't be afraid to experiment with bolder options for more dramatic results.
Pay attention to the edges of your frame, ensuring there aren't any distracting elements creeping in. You can use the background blur to your advantage by framing your subject with blurred foreground elements, creating depth and visual interest.
Frequently Asked Questions
How Do I Take Portrait Mode Photos of Pets or Animals?
To capture great portrait mode photos of pets, you'll want to get down to their level. Keep treats handy to hold their attention. Guarantee good lighting and focus on their eyes for a sharp, engaging shot.
Can I Use Portrait Mode for Landscape or Still-Life Photography?
You can use portrait mode for landscapes and still-life shots, but it's not ideal. It's designed for people and pets. Instead, try your phone's standard or wide-angle modes for better results with these subjects.
What's the Best Distance Between Subject and Camera for Portrait Mode?
For the best portrait mode results, you'll want to keep your subject about 3-8 feet away from your camera. This distance allows for ideal depth sensing and background blur. Experiment to find what works best for your phone.
How Can I Fix Portrait Mode Errors or Imperfections After Taking the Photo?
You can fix portrait mode errors by using editing apps. They'll let you adjust the blur, refine edges, and touch up imperfections. Don't forget to tweak lighting and color for a polished look.
Are There Any Apps That Enhance or Add Portrait Mode to Older Phones?
You'll find several apps that can add or enhance portrait mode on older phones. Try FocosPro, Snapseed, or AfterFocus. They'll let you simulate depth effects, blur backgrounds, and refine edge detection for portrait-style photos.
In Summary
You've now revealed the secrets to stunning portrait mode photos. By mastering depth-of-field control, perfecting your lighting, and expertly composing with background blur, you'll elevate your phone photography to pro levels. Remember, practice makes perfect, so don't hesitate to experiment with these techniques. As you apply these tips, you'll notice a dramatic improvement in your portraits. Keep pushing your creative boundaries, and soon you'll be capturing breathtaking images that rival those of professional photographers.


Leave a Reply