Transform your mobile portraits with these seven lens tips. Choose the right attachment for your desired effect: wide-angle for environmental shots, telephoto for flattering compression, or macro for stunning close-ups. Master bokeh by adjusting aperture settings and subject placement. Experiment with macro photography to highlight intricate details. Play with wide-angle perspectives for dramatic compositions. Utilize telephoto lenses to compress and flatter features. Optimize lighting using filters like polarizers or ND filters. Finally, try anamorphic lenses for a cinematic look with distinctive flares. These techniques will elevate your portrait game, but there's even more to explore in the world of phone lens photography.
Choose the Right Lens Attachment

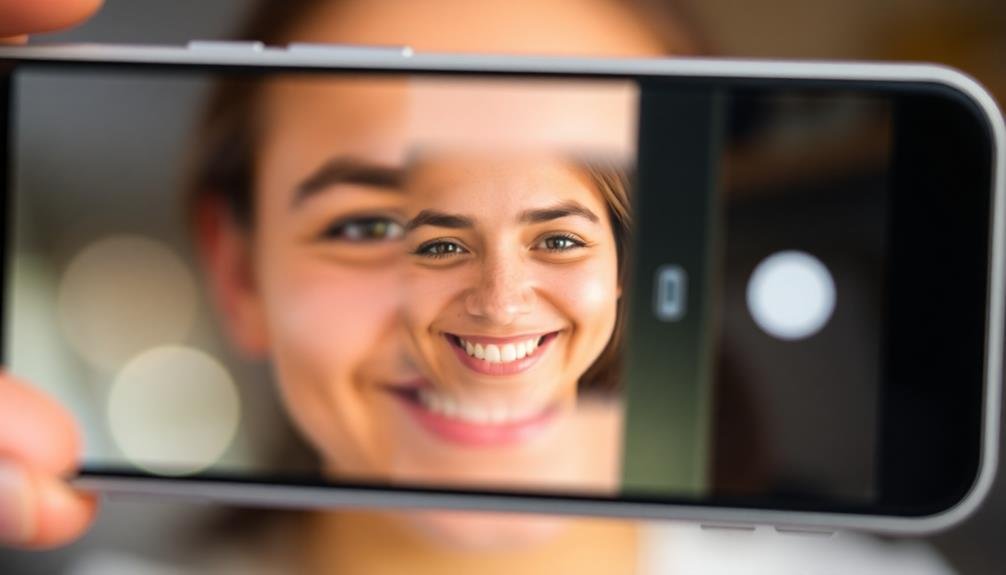
Selecting the right lens attachment can dramatically enhance your smartphone portrait photography. When choosing a lens, consider the type of portraits you want to create.
Wide-angle lenses are great for environmental portraits, capturing your subject within their surroundings. However, they can distort facial features if you get too close, so use them carefully.
For classic portraits, opt for a telephoto lens attachment. These lenses compress perspective, flatter facial features, and create a pleasing background blur. They're ideal for headshots and upper body portraits.
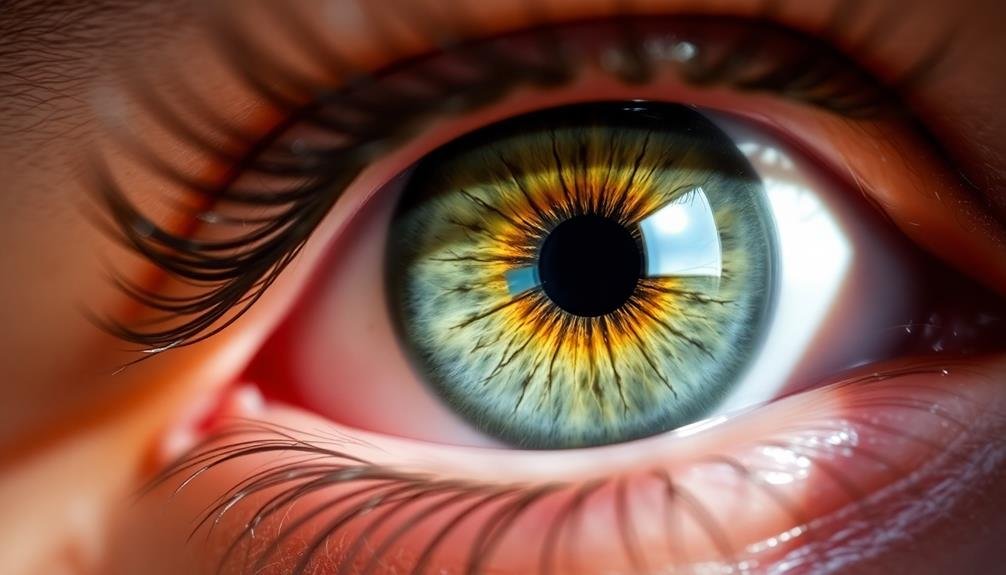
If you're after a unique look, try a macro lens attachment. While not traditional for portraits, they can capture stunning detail in close-up shots of eyes or other facial features.
Fisheye lenses offer a creative twist, producing circular images with extreme distortion. They're perfect for quirky, artistic portraits but aren't suitable for traditional shots.
Whatever lens you choose, verify it's compatible with your phone model and case. Look for high-quality glass to maintain image sharpness.
Test different lenses to find what works best for your style and subjects. Remember, the right lens can elevate your portraits from ordinary to extraordinary.
Master the Bokeh Effect

To achieve a stunning bokeh effect in your portrait photos, you'll need to master a few key techniques.
Start by adjusting your phone's aperture settings to create a shallow depth of field, blurring the background while keeping your subject sharp.
Position your subject at the right distance from both you and the background, and incorporate contrasting background elements to enhance the dreamy, out-of-focus aesthetic.
Aperture Settings for Blur
One of the most sought-after effects in portrait photography is the bokeh effect, which creates a beautifully blurred background to make your subject stand out.
To achieve this effect, you'll need to adjust your phone's aperture settings. Most modern smartphones allow you to control the aperture through the camera app's portrait or pro mode.
A wider aperture (smaller f-number) creates a shallower depth of field, resulting in a more pronounced bokeh effect. Experiment with different f-stops to find the ideal balance between subject sharpness and background blur.
Remember, the distance between your subject and the background also plays a significant role in achieving the desired effect.
To create stunning bokeh portraits:
- Choose a location with interesting background lights or textures
- Position your subject at least 6 feet away from the background
- Get close to your subject, ideally within 3-5 feet
Distance From Subject
Distance plays an essential role in mastering the bokeh effect for your smartphone portraits. To achieve that coveted blurred background, you'll need to position yourself closer to your subject while ensuring they're farther away from the background elements. This separation creates depth and helps your phone's camera distinguish between the focal point and the surroundings.
For ideal results, try to maintain a distance of about 3-6 feet from your subject. This range allows you to capture detailed facial features while still leaving room for the bokeh effect to work its magic. As you move closer, the background blur becomes more pronounced, but be careful not to get too close, or you'll risk losing focus on important features.
Experiment with different distances to find the sweet spot for your specific phone model and lens. Some smartphones have multiple lenses or portrait modes that can enhance the bokeh effect at various distances.
Don't forget to take into account the background when choosing your shooting distance – a more distant background will blur more easily, creating a softer, dreamier atmosphere in your portraits.
Contrasting Background Elements
While distance is key, the background you choose can make or break your bokeh effect. To create stunning portraits with your phone's lens, seek out contrasting background elements that complement your subject.
Look for areas with varied colors, shapes, or light sources that will blur beautifully when out of focus.
Consider these background options for enchanting bokeh:
- Natural settings with dappled sunlight filtering through trees or foliage
- Urban environments with distant streetlights or neon signs
- Indoor locations with fairy lights, candles, or other small light sources
Position your subject so that these elements are far behind them, allowing your phone's lens to create that coveted soft, dreamy background.
Experiment with different angles and compositions to find the most flattering arrangement of background elements.
Experiment With Macro Photography
Three exciting ways to explore macro photography with your phone lens await you.
First, try capturing extreme close-ups of your subject's eyes. The intricate patterns in the iris and the reflection in the pupil can create stunning, otherworldly portraits. Use your phone's macro mode or a clip-on macro lens for best results.
Next, focus on small details like freckles, eyelashes, or individual strands of hair. These often-overlooked features can become the focal point of your portrait, adding depth and intimacy to your shots. Experiment with different angles and lighting to highlight these minute details.
Lastly, incorporate small objects into your portraits for a unique perspective. Place a tiny figurine or miniature prop near your subject's face, and use macro photography to create an illusion of scale. This technique can result in whimsical, surreal images that captivate viewers.
When shooting macro portraits, keep your hand steady and use a tripod if possible. Guarantee proper lighting to avoid shadows, and experiment with your phone's manual focus for precise control.
Don't be afraid to take multiple shots, as macro photography often requires patience and practice to achieve the perfect image.
Play With Wide-Angle Perspectives
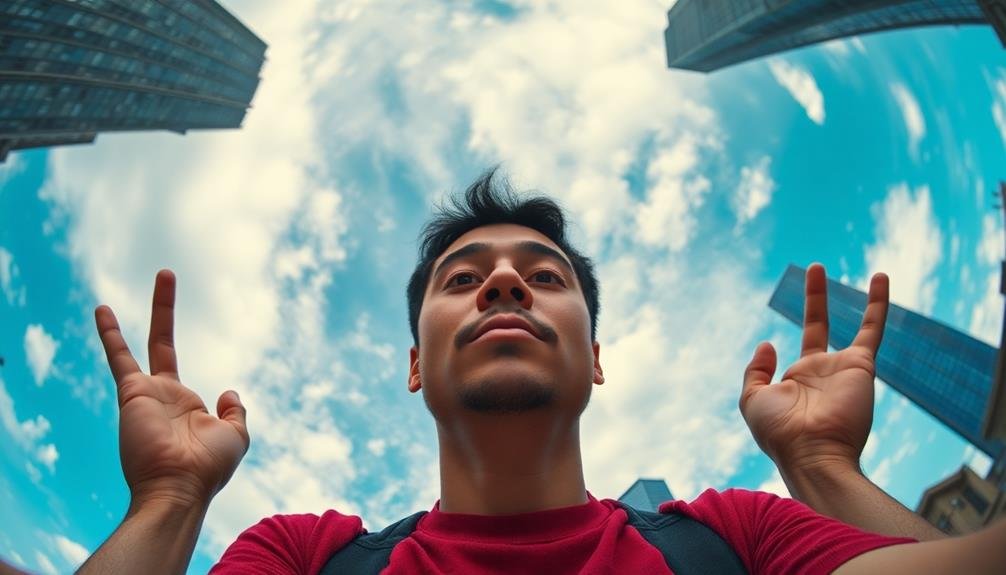
Expanding your creative horizons, wide-angle photography offers a fresh perspective for portrait shots. With a wide-angle lens attachment for your phone, you'll capture more of the surrounding environment, adding context and depth to your portraits. This technique works particularly well for environmental portraits, where you want to showcase your subject within their natural habitat or a specific setting.
To make the most of wide-angle portraits:
- Get close to your subject while maintaining a wider frame. This creates an interesting distortion effect, emphasizing facial features and creating a sense of intimacy.
- Use leading lines in the environment to draw attention to your subject. Wide-angle lenses accentuate these lines, creating dynamic compositions.
- Experiment with unconventional angles, such as shooting from below or above, to create unique and dramatic portraits.
Be mindful of distortion at the edges of the frame, which can be unflattering for portraits. Position your subject towards the center to minimize this effect.
When used creatively, wide-angle photography can add a sense of drama, scale, and storytelling to your portrait shots, elevating them from simple headshots to compelling visual narratives.
Utilize Telephoto for Compression
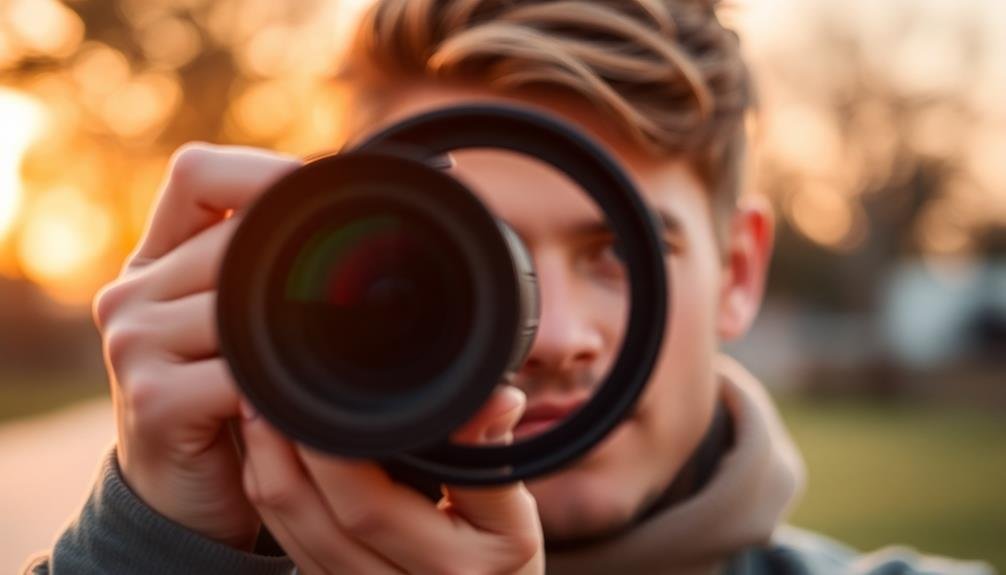
Telephoto lens attachments for your phone offer a unique way to capture portraits with a compressed perspective. These lenses create the illusion of a flattened image, bringing the background closer to your subject. This compression effect can result in stunning portraits with a professional look.
When using a telephoto lens, you'll need to step back from your subject. This increased distance allows you to capture more of the background while keeping your subject in sharp focus. The compressed perspective also helps to blur the background, creating a pleasing bokeh effect that draws attention to your subject's features.
Experiment with different focal lengths to achieve varying levels of compression. Longer focal lengths will produce more dramatic results, while shorter ones offer a subtler effect. Pay attention to how the compression affects facial features, as it can be flattering for some subjects but may exaggerate certain characteristics in others.
To make the most of telephoto compression, look for interesting backgrounds that complement your subject. Urban environments with distant buildings or natural settings with layered landscapes work particularly well.
Remember to maintain a steady hand or use a tripod to guarantee sharp images, as telephoto lenses are more susceptible to camera shake.
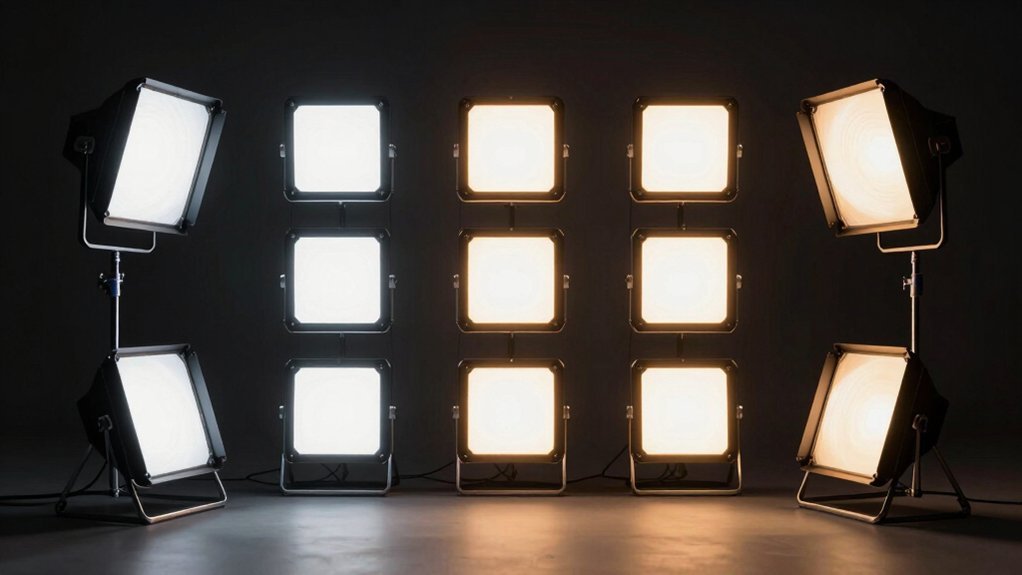
Optimize Lighting With Lens Filters
When shooting portraits with your phone, lens filters can dramatically improve your lighting.
You'll find polarizing filters helpful for reducing glare and enhancing colors, while neutral density filters allow you to balance exposure in bright conditions.
For a touch of atmosphere, try color filters to add warmth or coolness to your portraits, subtly altering the mood of your shots.
Polarizing Filters Reduce Glare
Have you ever struggled with unwanted reflections or glare ruining your portrait shots? Polarizing filters can be your secret weapon against these common photography challenges. By attaching a polarizing filter to your phone's lens, you'll dramatically reduce glare and enhance the overall quality of your portraits.
These filters work by selectively blocking light waves that cause reflections, resulting in:
- Deeper, more vibrant colors in your subject's clothing and surroundings
- Clearer skin tones without distracting shine or reflections
- Enhanced contrast between your subject and the background
To use a polarizing filter effectively, rotate it while looking at your phone's screen until you achieve the desired effect. You'll notice the glare disappearing and colors becoming more saturated. This technique is particularly useful when shooting outdoors or near reflective surfaces like water or glass.
Keep in mind that polarizing filters can slightly reduce the amount of light entering your lens, so you may need to adjust your exposure settings accordingly. In low-light situations, consider removing the filter to maintain image quality.
With practice, you'll master the art of using polarizing filters to create stunning, glare-free portraits that truly capture your subject's essence.
Neutral Density Balances Exposure
Portrait photographers' secret weapon for achieving perfectly balanced exposures in challenging lighting conditions is the neutral density (ND) filter. This versatile tool reduces the amount of light entering your phone's camera lens without affecting color, allowing you to maintain proper exposure in bright environments. You'll be able to use wider apertures or slower shutter speeds, giving you more creative control over your portraits.
When shooting outdoors, ND filters help you tame harsh sunlight, preventing overexposed highlights and allowing for a shallower depth of field. They're especially useful when you want to blur backgrounds or create a dreamy, soft effect in your portraits.
Here's a quick guide to ND filter strengths and their effects:
| ND Filter | Light Reduction | F-Stop Reduction | Use Case |
|---|---|---|---|
| ND2 | 1 stop | 1 | Subtle light control |
| ND4 | 2 stops | 2 | Bright daylight |
| ND8 | 3 stops | 3 | Very bright scenes |
| ND16 | 4 stops | 4 | Extreme brightness |
To use an ND filter effectively, start with a lower strength and adjust as needed. Experiment with different combinations of aperture, shutter speed, and ISO to achieve your desired portrait look while maintaining proper exposure.
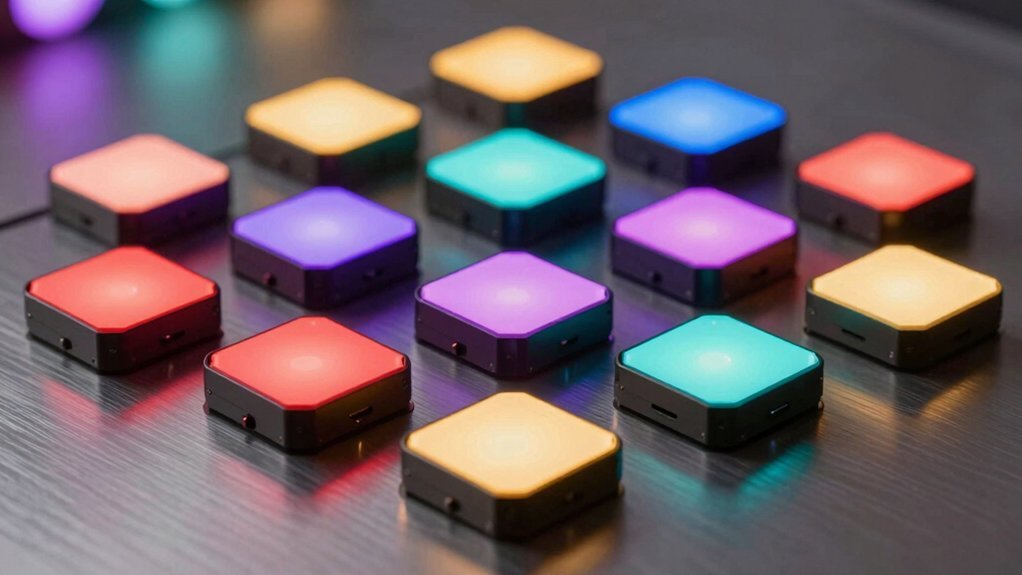
Color Filters Enhance Atmosphere
Color filters offer another powerful tool for portrait photographers looking to enhance the atmosphere and mood of their shots. These filters attach to your phone's lens and alter the colors in your images, creating unique effects that can dramatically change the feel of your portraits.
When using color filters, consider the emotional impact you want to achieve. Warm filters, like orange or yellow, can create a cozy, inviting atmosphere, perfect for golden hour shots or indoor portraits. Cool filters, such as blue or purple, can evoke a sense of calm or mystery, ideal for moody or dramatic portraits. Green filters can add a natural, earthy feel to outdoor shots.
To make the most of color filters in your portrait photography:
- Experiment with different filter colors to find the best match for your subject's skin tone and clothing.
- Use subtle color filters to enhance natural lighting conditions, like a warm filter during sunset.
- Try dramatic color filters for creative, stylized portraits that stand out on social media.
Remember to adjust your camera settings to compensate for the filter's effect on light transmission.
With practice, you'll master the art of using color filters to create stunning, atmospheric portraits that capture your subject's essence.
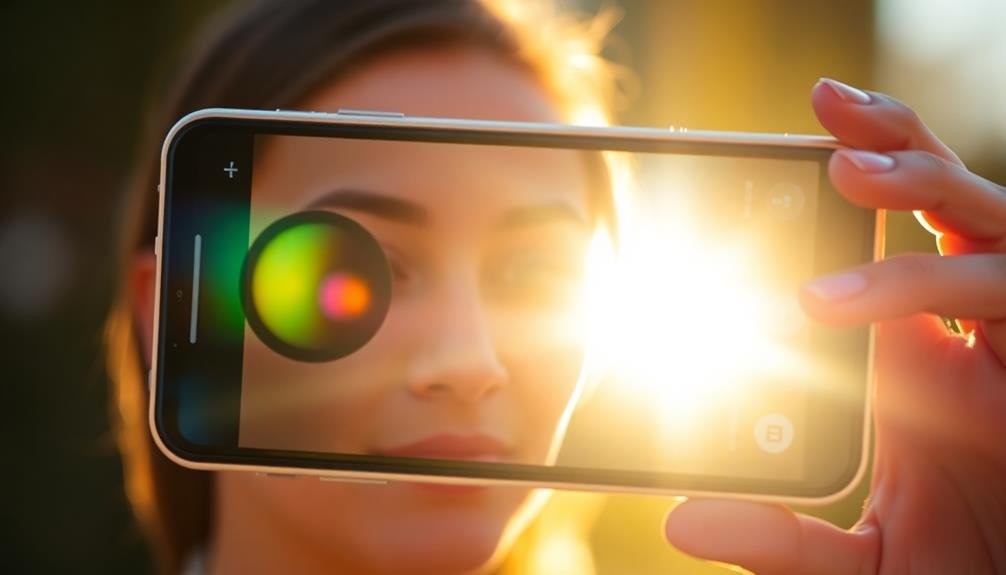
Enhance Portraits With Anamorphic Lenses
Ever wondered how to give your smartphone portraits a cinematic edge? Anamorphic lenses are your secret weapon. These unique attachments can transform your phone's camera into a tool for creating Hollywood-style portrait shots.
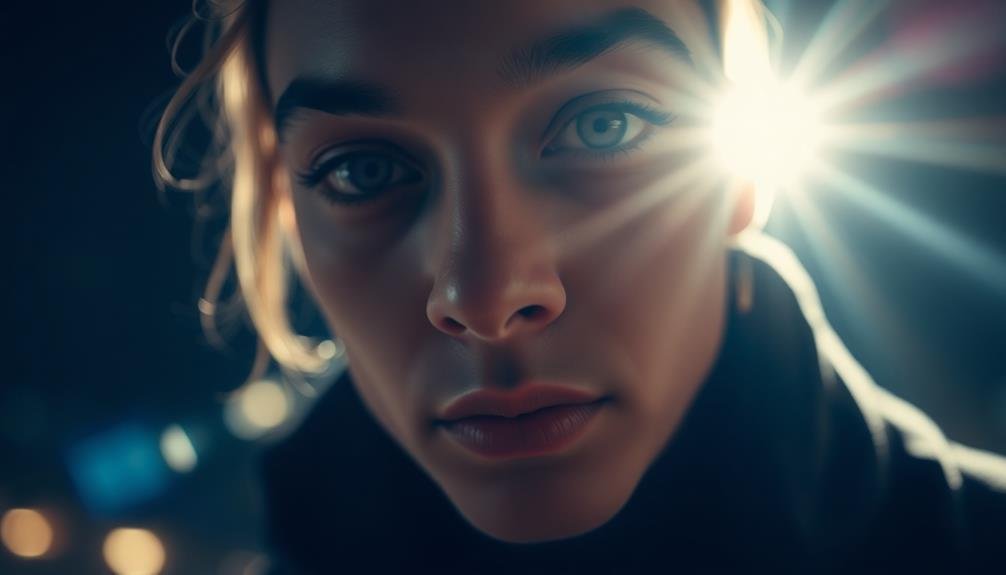
Anamorphic lenses stretch the image horizontally, producing a wider aspect ratio that's reminiscent of widescreen movies. This effect adds a dramatic flair to your portraits, making them stand out from typical smartphone photos. You'll notice distinctive lens flares and a subtle oval bokeh that further enhance the cinematic look.
To use an anamorphic lens, simply clip it onto your phone's camera. When composing your shot, leave extra space on the sides to accommodate the wider field of view. During editing, you'll need to de-squeeze the image to correct the proportions.
For best results, shoot in landscape orientation and position your subject slightly off-center. Experiment with backlighting to accentuate those signature lens flares.
Remember, anamorphic lenses work well for both close-up portraits and environmental shots that showcase your subject within a broader context.
With practice, you'll master the art of anamorphic portraiture, elevating your smartphone photography to new cinematic heights.
Frequently Asked Questions
How Do I Clean and Maintain My Phone Lens Attachments?
To clean your phone lens attachments, you'll want to use a microfiber cloth for regular dusting. For deeper cleaning, use a lens cleaning solution. Store them in a protective case when not in use to prevent scratches and damage.
Can I Use Phone Lens Attachments With a Protective Case?
You can use phone lens attachments with a protective case, but it depends on the case and lens design. Some cases have cutouts for lenses, while others may interfere. You'll need to test or choose compatible options.
Are There Lens Attachments Compatible With Multiple Phone Models?
Yes, you'll find universal lens attachments that work with various phone models. They often use clip-on or magnetic systems to fit different devices. However, you should check compatibility before purchasing to guarantee a proper fit for your specific phone.
How Do I Prevent Vignetting When Using Phone Lens Attachments?
To prevent vignetting with phone lens attachments, you'll want to center the lens carefully. Don't zoom in, as it'll worsen the effect. Clean your lenses regularly and avoid stacking multiple attachments. Consider upgrading to higher-quality lenses if possible.
What's the Best Way to Store and Transport Phone Lens Attachments?
You'll want to keep your phone lens attachments safe and clean. Use a padded case or pouch for storage and transport. Don't forget to include lens caps and cleaning cloths. Keep them in a cool, dry place when not in use.
In Summary
You've now got the tools to transform your smartphone into a portable portrait studio. Don't be afraid to experiment with different lenses and techniques. Remember, practice makes perfect. As you explore these tips, you'll develop your own unique style. Keep pushing your creative boundaries, and soon you'll be capturing stunning portraits that'll make your followers do a double-take. So grab your phone, attach that lens, and start shooting!
Leave a Reply