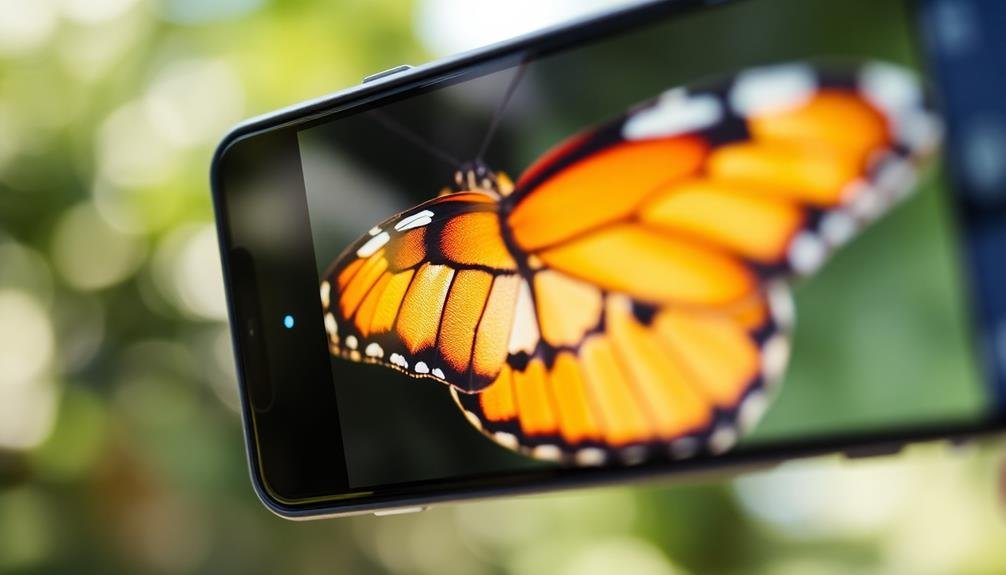
To capture stunning RAW macro photos on your mobile, start by choosing a smartphone with advanced camera capabilities. Master manual focus for precise control, and optimize lighting using natural or artificial sources. Stabilize your device with a mini tripod or built-in features. Apply composition techniques like the rule of thirds and leading lines. Post-process your RAW images to enhance details and colors. Experiment with lens attachments for unique perspectives. Learn to manage depth of field for creative effects. Use specialized editing apps for mobile RAW files. By implementing these pro tips, you'll elevate your macro photography skills to new heights.
Choose the Right Smartphone

When selecting a smartphone for RAW macro photography, it's vital to choose a device with advanced camera capabilities. Look for phones with dedicated macro lenses or those that can capture RAW images.
Apple's iPhone Pro models and Google Pixel phones are excellent choices, offering RAW support and powerful image processing.
Consider devices with larger sensors, as they typically perform better in low-light conditions and capture more detail. Optical image stabilization is important for macro shots, helping you maintain sharpness when shooting close-up subjects.
Pay attention to the camera app's features. Some phones offer manual controls for focus, exposure, and white balance, which are invaluable for macro photography.
Check if the device supports third-party camera apps that can enhance your RAW shooting capabilities.
Don't overlook the phone's processing power. RAW files are larger and require more computational resources to handle. A device with a powerful processor and ample RAM will guarantee smooth performance when editing your macro shots.
Lastly, consider the phone's display quality. A high-resolution, color-accurate screen will help you better evaluate and edit your RAW macro photos on the go.
Master Manual Focus

Why is manual focus essential for RAW macro photography on mobile? When you're capturing tiny subjects up close, your phone's autofocus might struggle to lock onto the right area. Manual focus gives you precise control, ensuring your subject is sharp and crisp.
To master manual focus on your smartphone:
- Enable manual focus in your camera app's settings.
- Use focus peaking or magnification tools to aid in accuracy.
- Adjust focus slowly and deliberately for best results.
Here's a quick reference guide for manual focus techniques:
| Technique | Benefit | Best For |
|---|---|---|
| Tap to Focus | Quick and easy | Stationary subjects |
| Slider Control | Fine-tuned adjustments | Detailed macro work |
| Focus Stacking | Increased depth of field | Complex, layered subjects |
Practice these techniques regularly to improve your skills. Remember, RAW macro photography requires patience and precision. Don't rush the process; take your time to get the focus just right. Experiment with different focal points to create unique compositions and highlight specific details in your subject. As you become more comfortable with manual focus, you'll notice a significant improvement in the sharpness and overall quality of your macro shots.
Optimal Lighting for Macro Shots

When it comes to macro photography, lighting can make or break your shot.
You'll need to decide between natural light, which offers a soft, organic feel, and artificial light, which provides more control over your scene.
If you're dealing with harsh light sources, consider using diffusers to soften the illumination and create a more even, flattering look for your subject.
Natural vs. Artificial Light
Two primary lighting options exist for macro photography on mobile: natural and artificial light.
Natural light, such as sunlight, offers a soft, diffused quality that can beautifully illuminate your subject. It's often the preferred choice for outdoor macro shots, as it reveals textures and colors in their most authentic form. However, natural light can be unpredictable and may require patience to achieve the desired effect.
Artificial light, on the other hand, gives you more control over your lighting conditions. You can use LED panels, ring lights, or even your phone's built-in flash to illuminate your subject. This option is particularly useful for indoor shots or when natural light is insufficient.
Artificial light allows you to adjust intensity and direction, helping you highlight specific details or create dramatic shadows.
When choosing between natural and artificial light, consider your subject and desired outcome. Natural light works well for capturing the subtle nuances of flowers or insects, while artificial light can help you emphasize textures or create high-contrast images.
Experiment with both to find what works best for your macro photography style.
Diffusing Harsh Light Sources
While both natural and artificial light have their merits, harsh lighting can often detract from the intricate details in your macro shots. To combat this, diffusing harsh light sources is essential for achieving soft, even illumination that enhances your subject's textures and colors.
You can create a DIY diffuser using common household items. A white plastic bag or tissue paper stretched over a wire frame works wonders. For more professional results, invest in a collapsible diffuser or a small softbox designed for mobile photography.
When using artificial light, position your diffuser between the light source and your subject. For natural light, place it between the sun and your macro subject. Experiment with distance and angles to find the perfect balance of soft illumination and subtle shadows.
| Diffuser Type | Pros | Cons | Best For |
|---|---|---|---|
| DIY (plastic bag) | Cheap, readily available | Less durable | Beginners |
| Collapsible | Portable, versatile | Moderate cost | Enthusiasts |
| Softbox | Professional quality | Bulky, expensive | Pros |
| Reflector | Dual-purpose, adjustable | Requires practice | Versatile use |
Stabilize Your Device

When shooting macro photos on your mobile device, stability is essential for sharp images.
You'll want to use a mini tripod to keep your phone steady, or prop it against stable objects if a tripod isn't available.
Don't forget to enable your device's built-in image stabilization feature, which can help reduce blur caused by minor movements.
Use Mini Tripod
To achieve razor-sharp macro photos, stabilizing your mobile device is crucial. A mini tripod is an invaluable tool for this purpose.
These compact, lightweight accessories can dramatically improve the quality of your macro shots by eliminating camera shake and allowing for precise framing.
When choosing a mini tripod, opt for one with flexible legs that can wrap around objects or adapt to uneven surfaces. This versatility will let you set up your shot in challenging locations.
Look for a tripod with a universal smartphone mount to guarantee compatibility with your device.
Once you've attached your phone to the tripod, use your camera app's timer function or a remote shutter release to avoid any movement when capturing the image. This will further reduce the risk of blur.
For even more stability, consider using a tabletop or desktop tripod if you're shooting in a controlled environment.
These larger options provide a sturdier base and often offer more height adjustment.
Prop Against Objects
In the absence of a tripod, you can still stabilize your device by propping it up against nearby objects. This technique is especially useful when you're shooting in unpredictable environments or want to travel light. Look for sturdy, stationary items like rocks, tree trunks, or even your water bottle to support your phone.
When propping your device, make certain it's secure and won't slip. Use both hands to position the phone, then carefully remove one hand while maintaining pressure with the other. This helps prevent accidental movements that could blur your macro shot.
If you're using a phone case with grippy edges, it'll provide extra stability against smooth surfaces.
Don't limit yourself to vertical supports. Horizontal surfaces like tables, benches, or even the ground can serve as makeshift tripods. Place your phone on its side or use a small object to angle it slightly upward.
Remember to use your phone's timer or voice activation feature to avoid touching the screen and causing vibrations during the shot. By creatively using your surroundings, you'll achieve the stability necessary for sharp, detailed RAW macro photos, even without dedicated equipment.
Employ Image Stabilization
Image stabilization technology is a powerful ally in your quest for sharp RAW macro photos on mobile devices. It helps counteract hand tremors and subtle movements that can blur your close-up shots. Most modern smartphones come with built-in optical image stabilization (OIS) or electronic image stabilization (EIS), which you should always enable for macro photography.
To maximize the effectiveness of image stabilization:
- Hold your device with both hands, keeping your elbows close to your body for added support.
- Use your phone's volume buttons as a shutter release to minimize camera shake.
- Consider using a mobile gimbal for even smoother results, especially in low light conditions.
- Experiment with your device's "Pro" or "Manual" mode to fine-tune stabilization settings.
Here's a quick comparison of stabilization techniques:
| Technique | Effectiveness | Cost | Ease of Use |
|---|---|---|---|
| OIS/EIS | High | Free | Easy |
| Two-handed grip | Medium | Free | Easy |
| Volume button shutter | Medium | Free | Easy |
| Mobile gimbal | Very High | $$$ | Moderate |
Composition Techniques for Macro

Once you've mastered the technical aspects of macro photography, it's time to focus on composition. In macro photography, small details become the main subject, so you'll need to approach composition differently than in traditional photography.
Consider the rule of thirds when framing your shot. Place your subject off-center to create a more dynamic image. Use leading lines to draw the viewer's eye towards the main subject. These can be natural lines found in leaves, petals, or insect wings.
Pay attention to the background. A cluttered backdrop can distract from your subject. Aim for a clean, simple background that complements your main focus. You can achieve this by adjusting your angle or using a wider aperture to blur the background.
Experiment with symmetry and patterns in nature. Many small subjects, like flowers or insects, have inherent symmetrical qualities that can create visually striking images. Look for repeating patterns or textures to add interest to your composition.
Don't be afraid to get creative with your perspective. Try shooting from unusual angles to provide a unique view of your subject. This can help create more engaging and memorable macro photos.
RAW File Management

After mastering composition techniques, you'll want to focus on managing your RAW files effectively. RAW files contain uncompressed image data, offering greater flexibility in post-processing but requiring more storage space.
To keep your mobile device organized, create a dedicated folder for your RAW macro photos. Use descriptive file names that include the date and subject to easily locate specific images later.
Consider using a cloud storage service to backup your RAW files regularly. This protects your work and frees up space on your device. When editing, always work on a copy of the original file to preserve the raw data.
Invest in a mobile app that supports RAW editing, such as Lightroom Mobile or Snapseed, to make the most of your files' potential.
Don't forget to cull your photos frequently. Delete blurry or redundant shots to maintain a manageable library. When exporting your edited RAW files, save them in a universal format like JPEG for easy sharing.
Keep your original RAW files archived for future editing possibilities. By implementing these RAW file management practices, you'll streamline your workflow and protect your valuable macro photography work.
Post-Processing RAW Macro Images

Once you've captured your RAW macro images, it's time to bring out their full potential through post-processing.
You'll want to start by adjusting the exposure and contrast to guarantee proper lighting and detail visibility.
Next, focus on enhancing colors and sharpness to make your macro subjects truly pop and showcase their intricate textures.
Adjusting Exposure and Contrast
When you're ready to plunge into post-processing your RAW macro images, adjusting exposure and contrast should be your first priority.
Start by evaluating the overall brightness of your image. If it's too dark, increase the exposure slightly, being careful not to blow out the highlights. Conversely, if it's too bright, reduce the exposure to bring back lost details in the highlights.
Next, focus on contrast. Boost the contrast to make your subject pop, but be mindful not to crush the shadows or lose detail in the highlights. Use the shadows and highlights sliders to fine-tune these areas separately.
For macro shots, pay special attention to the texture and details of your subject.
Don't forget about the white balance. RAW files allow you to adjust this without losing quality, so experiment with different color temperatures to achieve the most natural or desired look.
Finally, use the clarity slider sparingly to enhance the mid-tone contrast and bring out fine details in your macro subject. Remember, subtlety is key – aim for a natural look that doesn't appear over-processed.
With these adjustments, you'll bring out the best in your RAW macro photos.
Enhancing Colors and Sharpness
Two key aspects of post-processing RAW macro images are enhancing colors and sharpness.
When working with colors, start by adjusting the white balance to guarantee accurate representation. Use the temperature and tint sliders to fine-tune the overall color cast. Next, boost saturation and vibrance to make colors pop, but be careful not to overdo it. Selective color adjustments can help emphasize specific hues without affecting the entire image.
For sharpness, begin with global sharpening to enhance overall detail. Use the sharpness slider in your editing app, but be mindful of introducing noise. Apply local sharpening to key areas of your macro subject using masks or brushes. This technique allows you to emphasize textures and intricate details without over-sharpening the entire image.
Experiment with clarity and texture sliders to bring out fine details and add depth to your macro shots. These tools can enhance the three-dimensional quality of your subject.
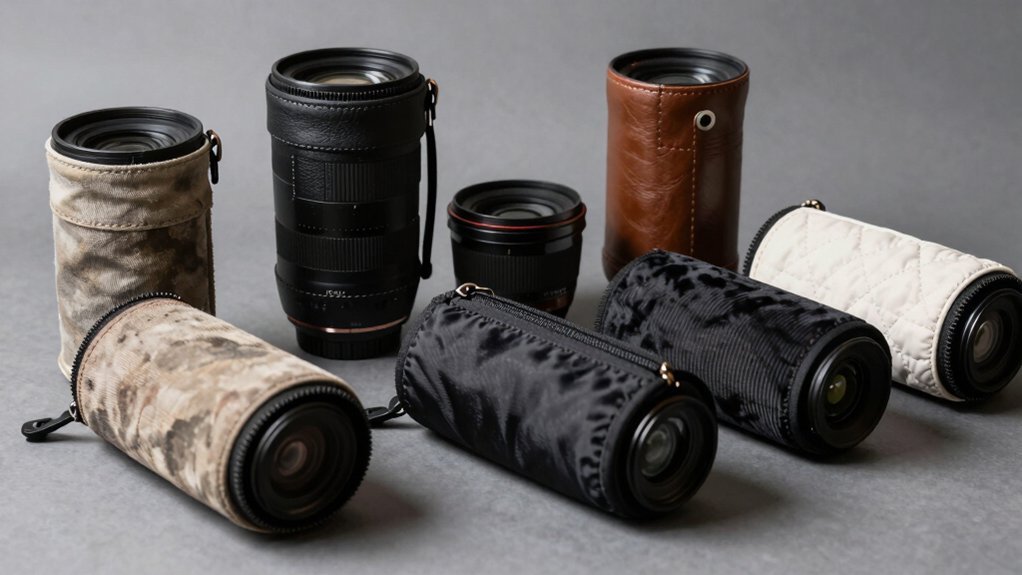
Experiment With Lens Attachments

Lens attachments open up a world of possibilities for mobile macro photography. These small, clip-on accessories can transform your smartphone's camera into a powerful macro tool. You'll find various options available, from simple clip-on lenses to more advanced multi-lens kits.
Start with a basic macro lens attachment to get familiar with the concept. It'll allow you to focus much closer to your subject, revealing intricate details invisible to the naked eye. As you gain confidence, try experimenting with different magnification levels. Higher magnifications will let you capture even tinier subjects, but they'll also require more stability and precision.
Don't limit yourself to just macro lenses. Wide-angle attachments can provide context to your close-up shots, while telephoto lenses allow you to maintain distance from skittish subjects. Some kits even offer fisheye lenses for creative distortion effects.
Mastering Depth of Field

Understanding depth of field is essential for creating stunning macro photos. In macro photography, depth of field is typically very shallow, often just a few millimeters. To master it, you'll need to control your camera's aperture settings. On most mobile devices, you can adjust this by tapping on the screen and sliding the exposure bar up or down.
For a shallower depth of field, use a wider aperture (lower f-number). This will blur the background, making your subject pop. Conversely, a narrower aperture (higher f-number) increases depth of field, keeping more of the image in focus. Experiment with both to see which effect suits your subject best.
Remember, your distance from the subject also affects depth of field. The closer you are, the shallower it becomes. To increase it, try stepping back slightly and using your phone's digital zoom. This maintains the macro effect while giving you more in-focus area.
Lastly, consider focus stacking for ultra-sharp macro shots. Take multiple images at different focus points and combine them in post-processing. This technique allows you to achieve a greater depth of field than your camera can capture in a single shot.
Editing Apps for Mobile RAW

When it comes to editing RAW macro photos on mobile, you'll need powerful apps designed to handle these large, uncompressed files.
Lightroom Mobile is a top choice, offering professional-grade tools and seamless syncing across devices. It's particularly adept at handling RAW files from various camera brands and smartphones.
Snapseed, a free option from Google, provides advanced editing capabilities for RAW photos. Its intuitive interface and powerful features like selective adjustments and healing brush make it a popular choice among mobile photographers.
For iOS users, Darkroom is an excellent RAW editor with a clean interface and robust tools. It supports batch editing and offers a range of presets to streamline your workflow.
VSCO, known for its filters, also supports RAW editing. It's great for achieving specific aesthetic looks while maintaining the flexibility of RAW files.
RawTherapee, an open-source option, offers deep control over RAW processing. While it has a steeper learning curve, it provides extensive editing possibilities for those willing to invest time in mastering it.
Choose an app that fits your editing style and device compatibility to make the most of your RAW macro photos.
Frequently Asked Questions
How Close Should I Get to the Subject for the Best Macro Shots?
For the best macro shots, you'll want to get as close as your camera allows while maintaining focus. Typically, this is within 2-4 inches of your subject. Experiment with different distances to find your camera's sweet spot.
Can I Use Artificial Lighting for Indoor Macro Photography on My Smartphone?
You can definitely use artificial lighting for indoor macro photography on your smartphone. It'll help you capture more detail and control shadows. Try using small LED lights, ring lights, or even a desk lamp to illuminate your subject effectively.
What's the Ideal Time of Day for Outdoor Macro Photography?
For outdoor macro photography, you'll get the best results during the golden hours: early morning or late afternoon. The soft, warm light enhances details and colors. Avoid harsh midday sun, which can create unwanted shadows and overexposure.
How Do I Clean My Smartphone Lens for Crisp Macro Images?
To clean your smartphone lens for crisp macro images, you'll want to use a microfiber cloth. Gently wipe the lens in circular motions. If it's very dirty, lightly dampen the cloth with distilled water first. Avoid harsh chemicals.
Are There Any Accessories to Improve Smartphone Macro Photography Besides Lens Attachments?
You'll find several accessories to enhance your smartphone macro photography. Try using a tripod for stability, LED ring lights for even illumination, and diffusers to soften harsh light. Don't forget a remote shutter to minimize camera shake.
In Summary
You've now got the tools to take stunning raw macro photos on your mobile device. Remember, practice makes perfect. Don't be afraid to experiment with different techniques and settings. Keep pushing your creative boundaries, and you'll soon be capturing intricate details you never thought possible with a smartphone. Whether it's dewdrops on petals or the texture of a butterfly's wing, your macro photography skills will continue to grow. Happy shooting!
Leave a Reply