
To create perfect RAW panoramas on your mobile, start by choosing an app that supports RAW and manual controls. Enable RAW capture mode and set ideal camera settings, including low ISO and higher f-numbers. Plan your composition carefully, ensuring a level horizon. Use manual focus and lock exposure for consistency. Capture overlapping RAW images with 30-40% overlap. Import these files to your computer and use stitching software to merge them. Fine-tune the panorama by adjusting white balance, exposure, and colors. Finally, export your masterpiece in the desired format. Mastering these steps will elevate your mobile photography to new heights.
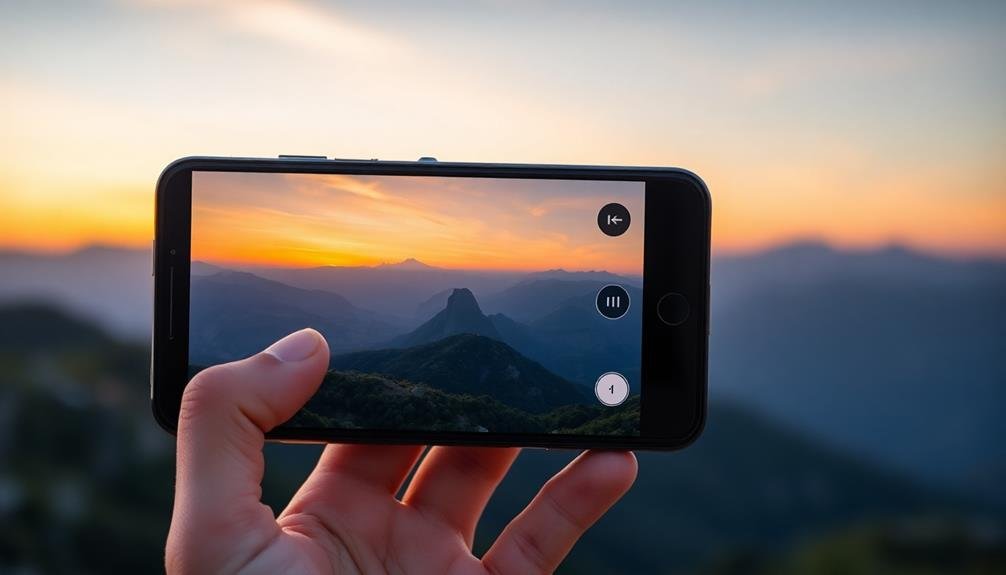
Choose the Right Mobile App
Three key factors should guide your choice of a mobile app for RAW panoramas: RAW capture capability, manual controls, and stitching features.
Look for apps that support RAW format, as it preserves more image data and allows for greater editing flexibility. Make sure the app offers manual control over exposure, focus, and white balance, which are essential for consistent panoramic shots.
Consider apps with built-in stitching capabilities, as they can save time and effort in post-processing. Some popular options include Adobe Lightroom Mobile, ProCam, and Halide.
These apps offer RAW capture and manual controls, with Lightroom also providing stitching features.
Don't overlook your phone's native camera app, as many now support RAW capture and panorama modes. However, they may lack advanced manual controls or stitching options.
If you're comfortable with separate stitching software, focus on apps that excel in RAW capture and manual controls.
Test different apps to find one that suits your workflow and produces the best results for your device.
Remember that the right app can greatly enhance your mobile panorama photography, but it's your skill and creativity that ultimately make the difference.
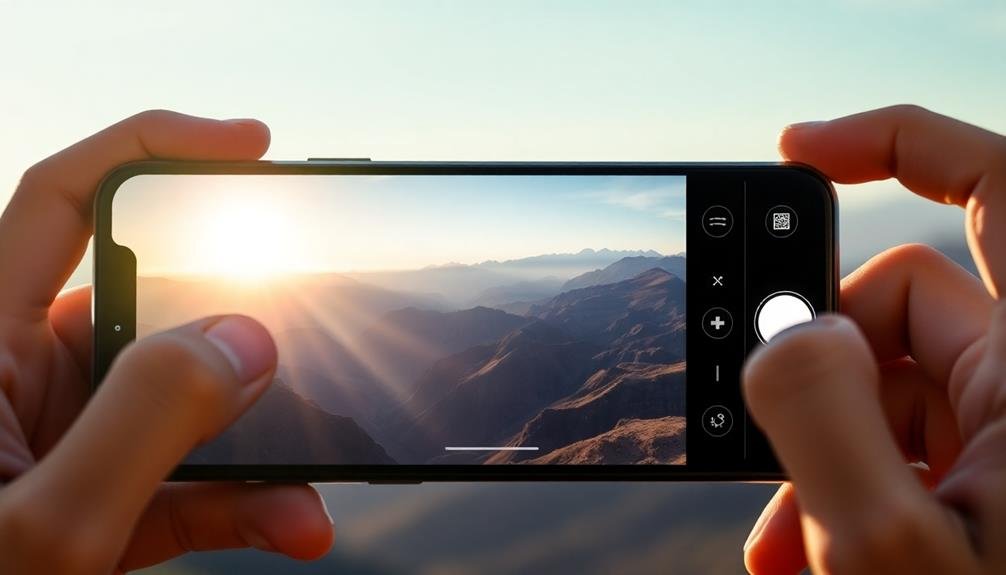
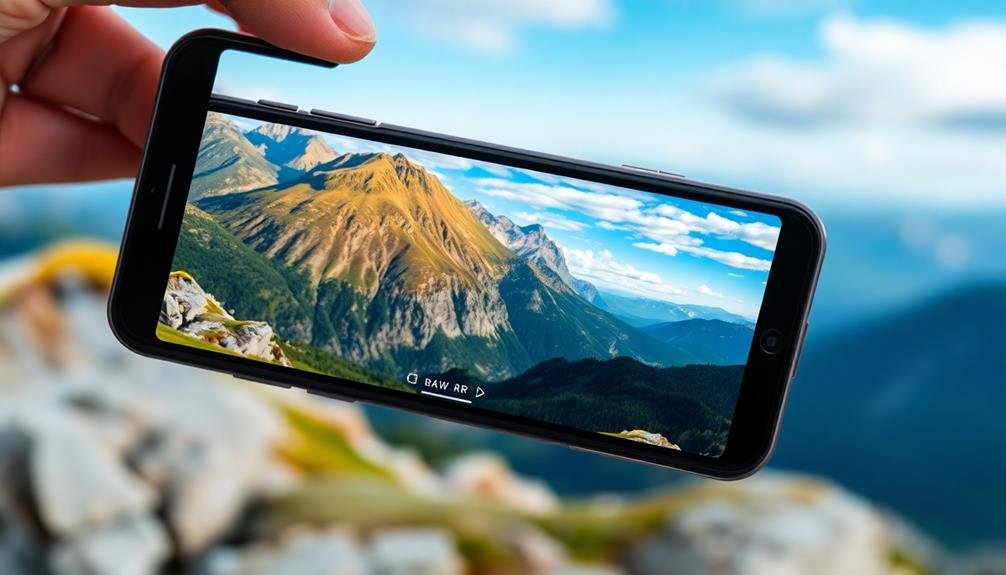
Enable RAW Capture Mode
With your app selected, it's time to confirm you're capturing in RAW format. Most advanced camera apps offer RAW capture, but it's often not enabled by default. Navigate to your app's settings and look for options like "RAW," "DNG," or "Uncompressed." Toggle this setting on to make certain you're capturing all available image data.
RAW files contain considerably more information than JPEGs, allowing for greater flexibility in post-processing. They're especially essential for panoramas, where you'll need to adjust exposure and color across multiple images seamlessly.
Here's a quick comparison of RAW vs. JPEG for panoramas:
| Feature | RAW | JPEG |
|---|---|---|
| File Size | Larger | Smaller |
| Editing Flexibility | High | Limited |
| Dynamic Range | Wide | Narrow |
Remember, RAW files take up more storage space, so verify your device has sufficient capacity. If you're planning an extended shoot, consider bringing a portable hard drive or cloud storage solution.
Once RAW capture is enabled, you're ready to start shooting. Take a test shot and verify that the file extension is .DNG or another RAW format to confirm you're set up correctly.
Set Optimal Camera Settings
Having enabled RAW capture, it's imperative to optimize your camera settings for panoramic photography.
Begin by setting your camera's ISO to the lowest possible value, typically 100 or 200, to minimize noise in your images. Next, adjust your shutter speed to make sure it's fast enough to prevent motion blur. A general rule is to use a shutter speed of at least 1/focal length of your lens.
For panoramas, you'll want to maximize your depth of field. Set your aperture to a higher f-number, usually between f/8 and f/11, to keep all elements in your scene sharp. If your phone allows manual focus, switch to it and set focus to infinity. This guarantees consistent focus across all images in your panorama.
White balance is vital for consistent color across your panorama. Choose a preset that matches your lighting conditions or set a custom white balance.
Disable any automatic features like HDR or AI enhancements, as these can create inconsistencies between frames. Finally, if your phone offers it, enable grid lines to help maintain level horizons and consistent framing as you capture each segment of your panorama.
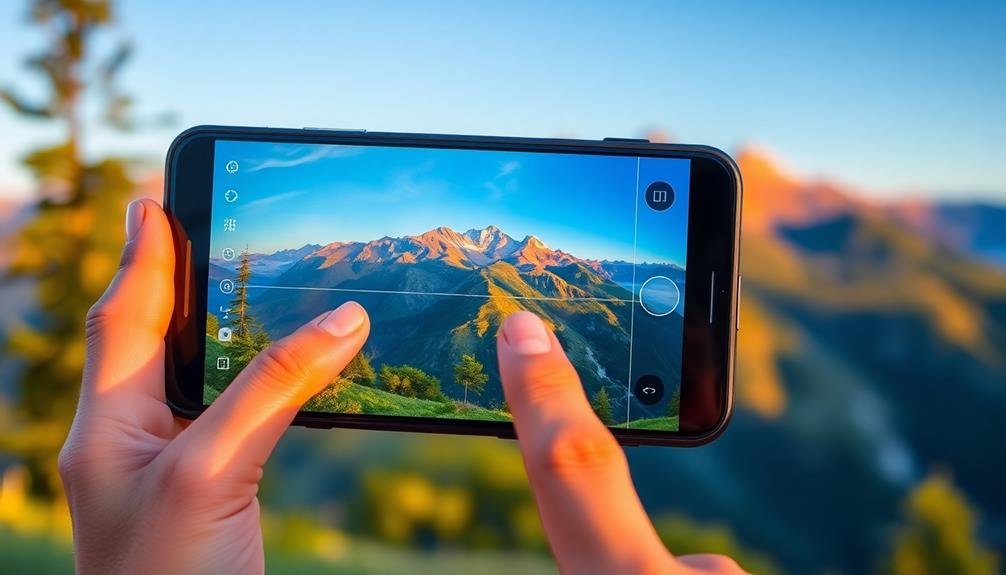
Plan Your Panorama Composition
Panorama composition's success hinges on careful planning before you start shooting. Start by surveying your scene and identifying key elements you want to include. Consider the overall shape of your panorama; will it be horizontal, vertical, or even a 360-degree view? Visualize how these elements will fit together in the final image.
Next, determine your shooting position. Find a spot that offers an unobstructed view and allows you to capture the entire scene without moving your feet. You'll need to rotate around a fixed point to maintain consistency in your shots.
Pay attention to the horizon line. It should be level across all your frames to guarantee a seamless stitch later. Use your phone's grid overlay or built-in level to help keep things straight.
Consider the lighting conditions. Avoid scenes with extreme contrast or moving subjects, as these can complicate the stitching process. If possible, shoot during the golden hour for softer, more even light.
Lastly, plan for overlap between frames. Aim for at least 30-40% overlap to give your stitching software enough information to work with. This will help create a smooth, continuous panorama without visible seams.
Use Manual Focus
When shooting panoramas, you'll want to use manual focus to guarantee consistency across all frames.
Lock your focus on a key element in the scene before you begin capturing the sequence. This approach prevents autofocus from readjusting between shots, which could lead to misaligned or blurry sections in your final panorama.
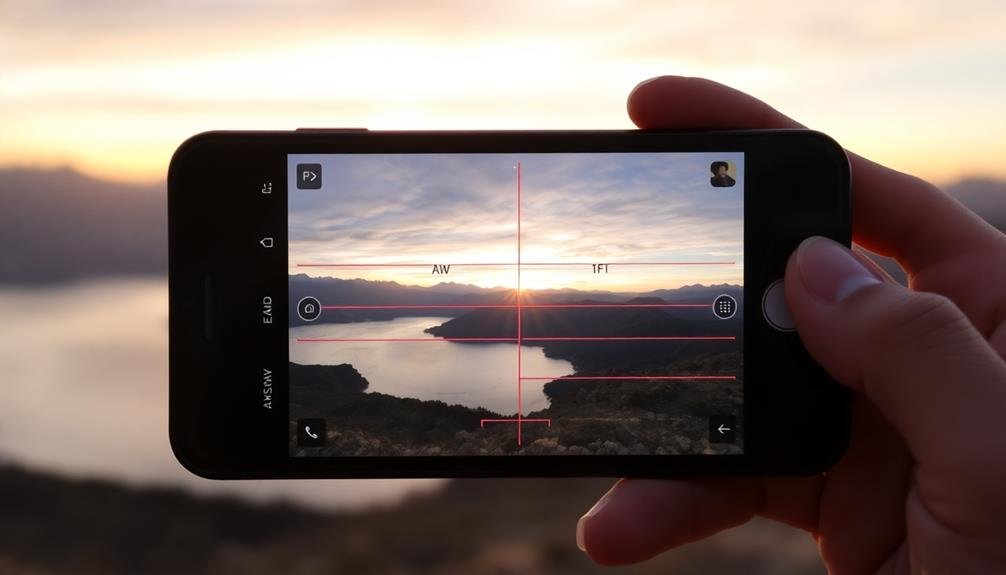
Lock Focus Before Shooting
One essential step in capturing flawless RAW panoramas on your mobile device is locking the focus before you start shooting. This technique guarantees consistent sharpness across all frames, preventing the camera from refocusing between shots. To lock focus, tap on your desired focal point in the frame and hold until you see the AE/AF lock indicator.
Once you've locked focus, you're ready to begin capturing your panorama. Remember to maintain a consistent distance from your subject as you pan, keeping the locked focus point relevant throughout the sequence. If you're shooting a scene with varying distances, choose a focal point that represents the average distance of your subjects.
Here's a quick reference guide for focus locking across popular mobile platforms:
| Platform | Focus Lock Method | AE/AF Lock Indicator | Reset Method |
|---|---|---|---|
| iOS | Tap and hold | Yellow box | Tap screen |
| Android | Tap and hold | Green circle | Tap screen |
| Huawei | Tap AE/AF lock | Star icon | Tap icon |
| Samsung | Tap and hold | Yellow circle | Tap screen |
| Tap and hold | White circle | Tap screen |
Avoid Autofocus Inconsistencies
A crucial step in capturing perfect RAW panoramas is to avoid autofocus inconsistencies by using manual focus. While autofocus can be convenient, it can lead to focus shifts between shots, resulting in misaligned or blurry sections in your final panorama. By switching to manual focus, you'll guarantee consistent sharpness across all frames.
To use manual focus effectively, first focus on the main subject or a point of interest in your scene. Once you've achieved sharp focus, don't touch the focus ring for the remainder of your panorama shots. This technique assures that all images in your sequence will have the same focus point, creating a seamless blend when stitched together.
If your mobile device doesn't offer manual focus, you can use focus lock instead. Tap and hold on your desired focus point until the camera indicates it's locked. Then, maintain this locked focus as you capture each frame of your panorama.
Lock Exposure for Consistency
Exposure consistency is the cornerstone of seamless panoramas. When you're capturing multiple frames to stitch together, even slight variations in brightness can ruin the final result. To avoid this, you'll need to lock your exposure settings before you start shooting.
Most mobile cameras offer an exposure lock feature. Here's how to use it effectively:
- Find a spot in your scene that represents the average brightness you want
- Tap and hold on that area until your camera indicates the exposure is locked
- Keep the lock engaged as you pan and capture your panorama frames
By locking your exposure, you're ensuring that each frame maintains the same level of brightness throughout the entire panorama.
This consistency will make the stitching process much smoother and result in a more professional-looking final image.
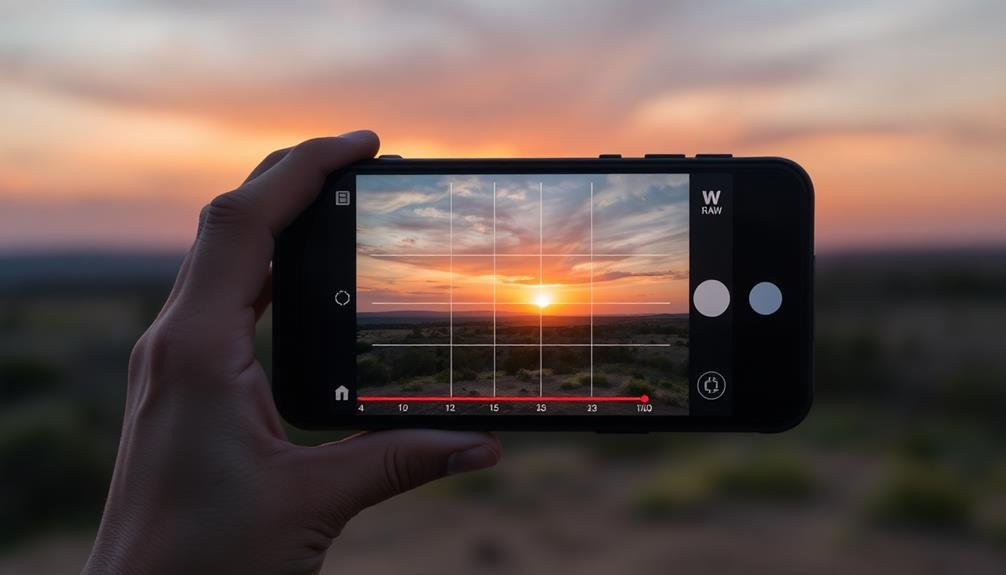
Capture Overlapping RAW Images
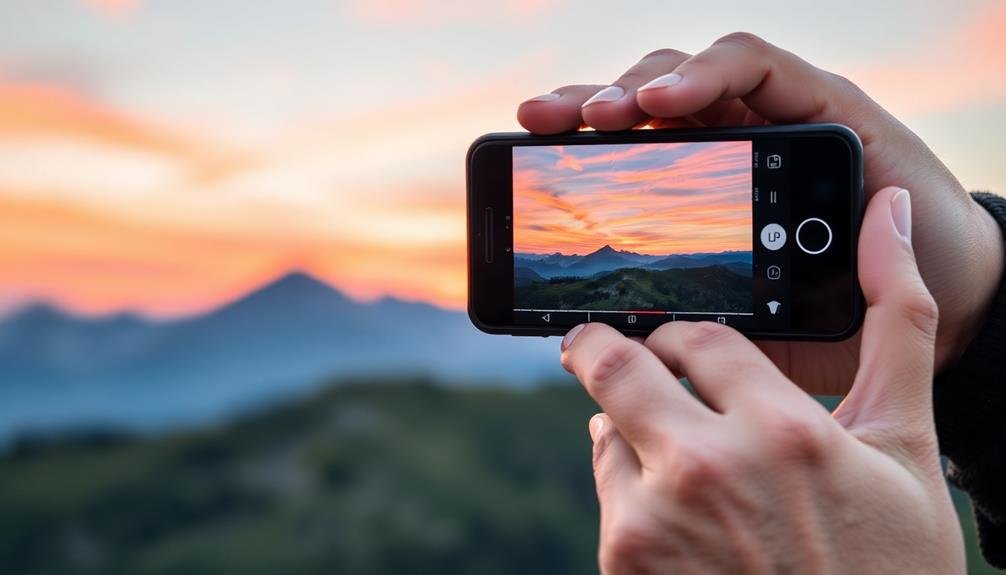
When capturing RAW images for your panorama, aim for a favorable overlap percentage of 30-40% between adjacent shots.
You'll want to maintain consistent exposure settings throughout the sequence to guarantee seamless blending.
Remember to keep your camera steady and level as you pan, preserving the alignment necessary for a flawless final image.
Optimal Overlap Percentage
The ideal overlap percentage between adjacent RAW images is essential for creating seamless panoramas on your mobile device. Aim for a 30-40% overlap to guarantee sufficient matching points between frames. This range provides enough shared information for stitching software to accurately align and blend the images without excessive redundancy.
When capturing your panorama, imagine:
- A series of overlapping postcards laid out side by side
- A row of dominoes, each slightly covering the previous one
- A line of fish scales, neatly arranged with consistent overlap
As you pan your camera, maintain a steady motion and consistent speed. This helps preserve the best overlap percentage throughout the entire sequence.
If you're using a panorama app or built-in camera feature, it may guide you with on-screen indicators or automated capture.
Consistent Exposure Settings
Consistency is key when capturing overlapping RAW images for panoramas. You'll want to maintain the same exposure settings across all shots to guarantee a seamless blend. Lock your camera's exposure by tapping and holding on a well-lit area of the scene. This prevents automatic adjustments between frames.
Choose manual mode if available on your mobile device. Set your ISO, shutter speed, and aperture to values that work well for the entire scene. Avoid auto white balance; instead, select a fixed setting like daylight or cloudy. This guarantees color consistency across all images.
Here's a quick reference guide for exposure settings:
| Setting | Bright Day | Low Light |
|---|---|---|
| ISO | 100-200 | 400-800 |
| Shutter | 1/500-1/1000 | 1/60-1/125 |
| Aperture | f/8-f/11 | f/2.8-f/4 |
Remember to disable HDR and flash features, as they can create inconsistencies between shots. If your phone has a panorama mode, it might be worth comparing results with manual captures. Some newer devices offer RAW capture in panorama mode, potentially simplifying the process while maintaining high image quality.
Import RAW Files to Computer
In light of capturing your perfect RAW panoramas on mobile, it's time to transfer those files to your computer for processing. Connect your device to your computer using a USB cable or utilize wireless transfer methods like AirDrop or cloud services.
Make sure you've selected all the RAW files you need for your panorama before initiating the transfer. Once connected, navigate to your device's storage on your computer. Locate the folder containing your RAW files, typically found in the DCIM or Camera folder.
Create a new folder on your computer specifically for this panorama project, then copy or move the selected RAW files into it. After transferring, double-check that all files have been successfully imported by:
- Comparing the number of files on your device to those in the new folder
- Verifying file sizes to confirm complete transfers
- Opening a few files to ensure they're not corrupted
With your RAW files now safely on your computer, you're ready to begin the post-processing phase. This step is essential for maintaining the highest quality and flexibility in your panorama creation process.
Keep your original files backed up as you move forward with editing and stitching your panorama.
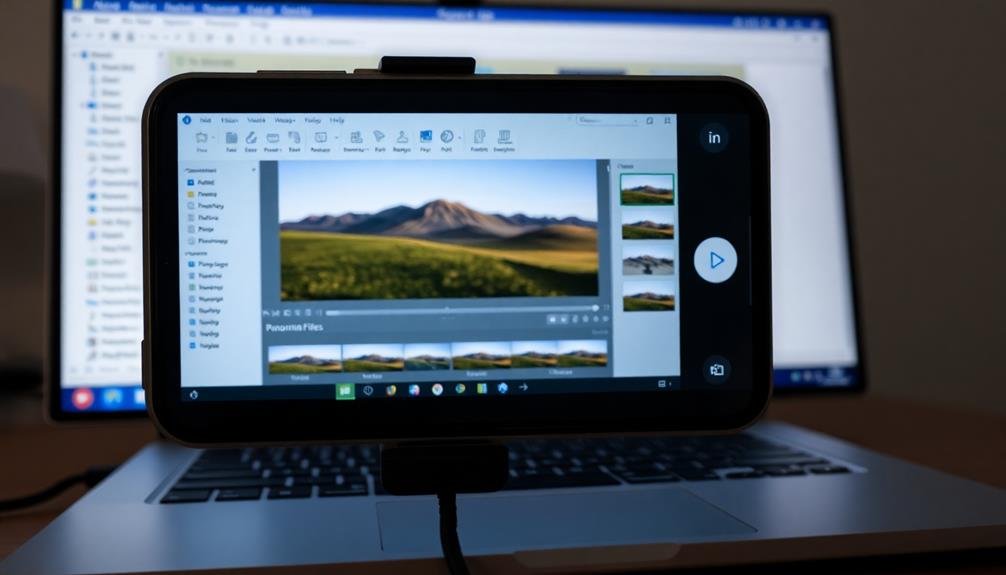
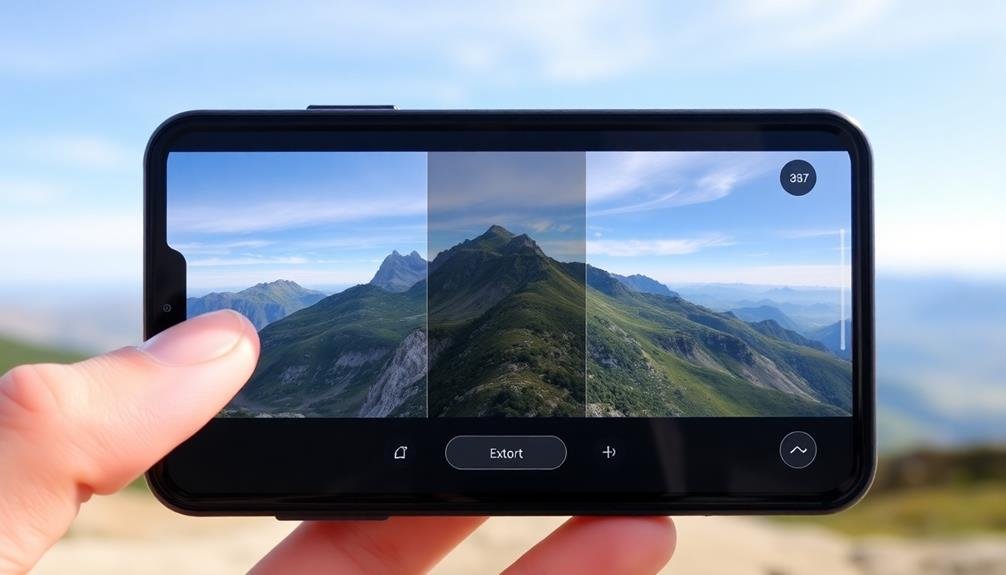
Stitch RAW Images Together
With your RAW files now on your computer, it's time to merge them into a stunning panorama. Use specialized stitching software like PTGui, Hugin, or Adobe Lightroom's Photo Merge feature to combine your images seamlessly. These programs analyze the overlapping areas of your photos and blend them together, creating a single high-resolution panoramic image.
Start by importing your RAW files into your chosen software. Arrange the images in the correct order, ensuring they've sufficient overlap. Most stitching programs will automatically align your photos, but you may need to make manual adjustments for challenging scenes or perspective shifts.
Next, fine-tune the alignment and blending options. Pay attention to exposure differences between frames and use the software's tools to balance them out. Look for ghosting or misalignments in moving subjects and correct them using masking or content-aware fill features.
Once you're satisfied with the preview, initiate the final stitching process. This may take some time, depending on the number and size of your RAW files.
After completion, carefully inspect the result for any artifacts or imperfections. Make final adjustments to crop, straighten, or correct distortions in your newly created panorama.
Fine-tune and Export Panorama
Once you've stitched your RAW panorama, it's time to refine the final image.
You'll want to adjust the colors and exposure to guarantee a cohesive look across the entire panorama.
After fine-tuning, export your masterpiece in formats suitable for various platforms, considering factors like file size and quality requirements.
Adjust Colors and Exposure
After stitching your panorama, it's time to fine-tune its colors and exposure. Start by adjusting the white balance to guarantee consistent color temperature across the entire image. Use the temperature and tint sliders to remove any unwanted color casts.
Next, tackle the overall exposure. Adjust the highlights, shadows, whites, and blacks to bring out detail in both bright and dark areas of your panorama.
Pay attention to the following elements:
- The sky's color and brightness, ensuring it's not overexposed
- The foreground's detail, particularly in shadowy areas
- Any reflections in water or shiny surfaces, enhancing their impact
Now, focus on enhancing the colors. Boost vibrance for a subtle increase in saturation, or use selective color adjustments to target specific hues. Don't overdo it; aim for natural-looking results.
If your panorama includes people or buildings, use local adjustments to brighten faces or correct perspective distortion.
Export for Various Platforms
The final stage of your panorama journey involves preparing your masterpiece for various platforms. Consider your target audience and where you'll be sharing your panorama.
For social media, you'll want to export a compressed JPEG file to meet size restrictions while maintaining quality. Instagram, for example, works best with a 1:1 aspect ratio, so you may need to crop your panorama accordingly.
If you're printing your panorama, export it as a high-resolution TIFF file to preserve maximum detail. For web galleries or professional portfolios, consider using a lossless format like PNG to balance quality and file size.
Don't forget to adjust your image's color profile to sRGB for consistent display across devices.
When exporting, pay attention to your file naming convention. Use descriptive names that include the location and date to help you organize your work.
If you plan to create different versions of your panorama, use suffixes like "_web" or "_print" to distinguish between them.
Frequently Asked Questions
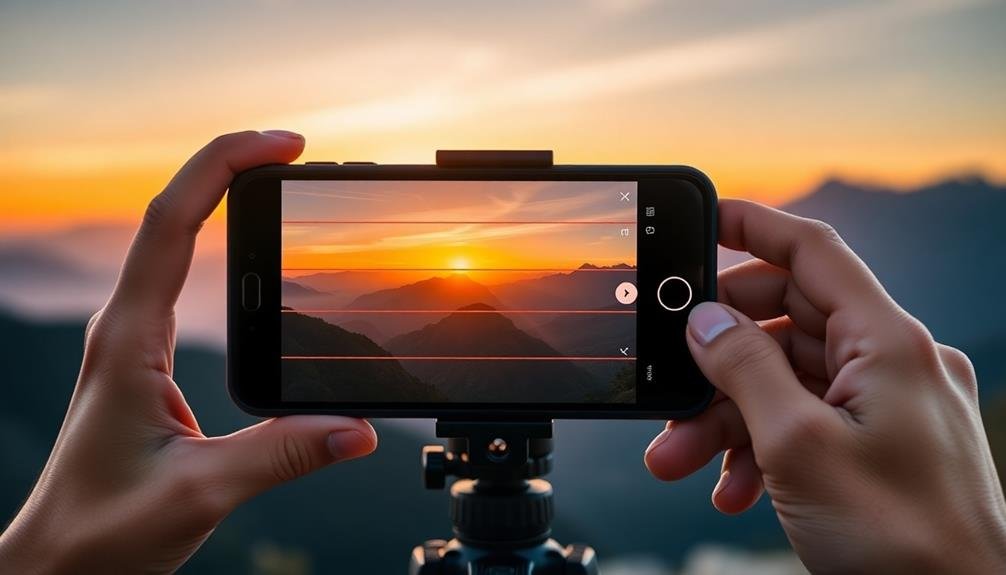
Can I Create RAW Panoramas Without a Tripod?
Yes, you can create RAW panoramas without a tripod. It's challenging but possible. You'll need steady hands and good technique. Try to keep your camera level, rotate around your body's axis, and overlap shots generously for better results.
How Much Storage Space Do RAW Panorama Files Typically Require?
You'll find RAW panorama files are storage-hungry. They can easily take up 100-500MB each, depending on your camera's resolution and the number of images stitched. It's wise to have ample storage space available on your device.
Are There Any Weather Conditions to Avoid When Shooting RAW Panoramas?
You'll want to avoid shooting raw panoramas in heavy rain, strong winds, or extreme temperatures. These conditions can damage your equipment, affect image quality, and make it difficult to capture consistent exposures across frames.
Can I Edit Individual RAW Files Before Stitching the Panorama?
Yes, you can edit individual RAW files before stitching your panorama. It's often beneficial to adjust exposure, white balance, and other settings consistently across all images to guarantee a seamless final result when stitched together.
What's the Maximum Resolution Possible for a Mobile RAW Panorama?
You'll find that the maximum resolution for a mobile RAW panorama depends on your device's capabilities. It's possible to achieve impressive resolutions, often exceeding 100 megapixels, by combining multiple high-resolution RAW images during the stitching process.
In Summary
You've now mastered the art of creating stunning raw panoramas on your mobile device. With these 10 steps, you'll capture breathtaking wide-angle shots with incredible detail and flexibility. Remember to practice and experiment with different scenes and lighting conditions. Don't be afraid to push your mobile camera to its limits. As you refine your technique, you'll soon be producing professional-quality panoramas that rival those taken with high-end cameras. Keep exploring and enjoy your newfound panoramic prowess!
Leave a Reply