
When editing RAW portraits on your mobile device, focus on three essential tips. First, adjust the white balance to achieve natural, true-to-life colors, paying special attention to skin tones. Next, master exposure and shadows by using the histogram to balance tones, lifting shadows slightly, and preserving highlight details. Finally, fine-tune skin tones by adjusting hue and saturation, enhancing texture with clarity, and using local adjustment tools for specific areas. Remember to compare your edits to the original image to maintain a natural look. These techniques will help you transform your mobile portraits into stunning, professional-quality images. Discover how to apply these tips effectively to elevate your editing skills.
Adjust White Balance First

The first step in editing your mobile RAW portraits is adjusting the white balance. This essential adjustment guarantees that the colors in your image appear natural and true to life.
When shooting in RAW, you'll have more flexibility to fine-tune the white balance without losing image quality.
Start by examining your image's overall color temperature. Is it too warm (yellowish) or too cool (bluish)? Use the white balance slider to neutralize any color casts.
Pay close attention to skin tones, as they're often a good indicator of correct white balance. You'll want to achieve natural-looking skin without an orange or blue tint.
Don't forget to take into account the lighting conditions of your original shot. If you were shooting in shade, you might need to warm up the image slightly.
Conversely, indoor lighting might require cooling down the colors. Experiment with the temperature and tint sliders to find the perfect balance.
Master Exposure and Shadows
After nailing the white balance, it's time to tackle exposure and shadows in your RAW portrait. Start by adjusting the overall exposure, ensuring you don't lose detail in the highlights or shadows. Use the histogram as a guide, aiming for a balanced distribution of tones.
Next, focus on the shadows. Lift them slightly to reveal more detail in darker areas, but be careful not to overdo it. You want to maintain depth and contrast in your portrait. Pay special attention to the eyes, as they're often the focal point of a portrait.
Here's a quick guide to adjusting exposure and shadows:
| Adjustment | Increase | Decrease |
|---|---|---|
| Exposure | Brighten | Darken |
| Shadows | Reveal | Deepen |
| Highlights | Recover | Enhance |
| Contrast | Boost | Soften |
Fine-tune Skin Tones
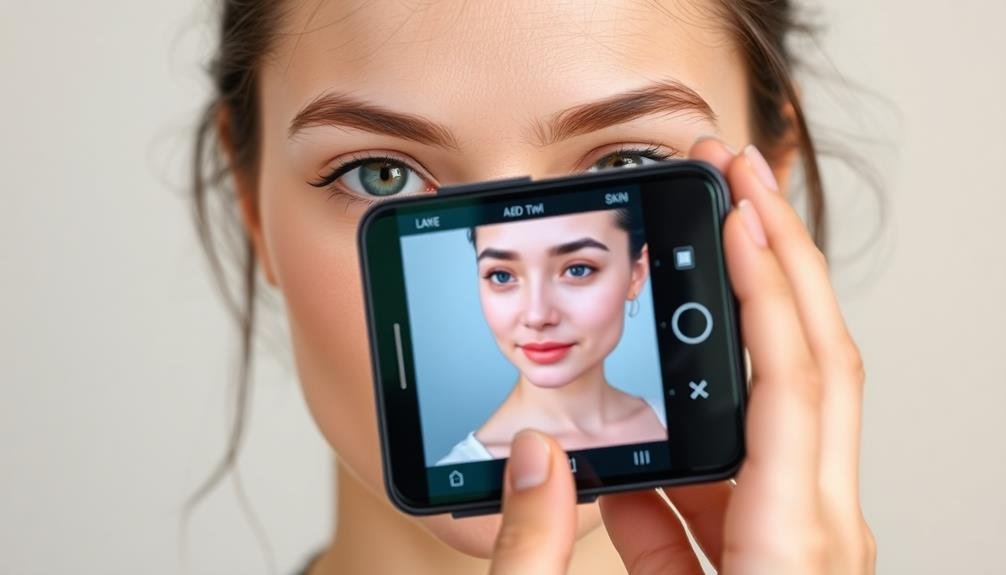
With skin tones playing a crucial role in portrait photography, it's important to fine-tune them carefully. When editing RAW portraits on your mobile device, focus on achieving natural-looking skin tones that complement your subject's complexion.
Start by adjusting the white balance to correct any color casts. Use the temperature and tint sliders to find the right balance between warm and cool tones.
Next, fine-tune the skin's hue and saturation. Reduce overly red or orange tones by slightly decreasing the saturation of those specific color channels. Be cautious not to overdo it, as this can result in an unnatural appearance.
To enhance skin texture, gently increase clarity or structure, but use these adjustments sparingly to avoid emphasizing blemishes or wrinkles.
For a softer look, consider using selective smoothing tools to even out skin texture while preserving essential details. Pay attention to different areas of the face, as skin tones can vary.
Use local adjustment tools to refine specific regions, such as the forehead, cheeks, or under-eye area. Finally, compare your edits to the original image to confirm you've maintained a natural and flattering look for your subject's skin tones.
Frequently Asked Questions
What Equipment Do I Need for Mobile RAW Portrait Editing?
You'll need a smartphone with RAW capture capability and a reliable editing app. Don't forget a tripod for stability, external lighting for better control, and a stylus for precise edits. Consider a color calibration tool too.
How Do I Transfer RAW Files From My Camera to My Smartphone?
You can transfer RAW files from your camera to your smartphone using a card reader, Wi-Fi connection, or USB cable. Many cameras have built-in Wi-Fi or apps that make it easy to send files wirelessly to your phone.
Which Mobile Apps Are Best for Editing RAW Portrait Photos?
You'll find several great apps for editing RAW portraits on mobile. Try Snapseed, Lightroom Mobile, or VSCO. They offer powerful tools for adjusting exposure, color, and detail. Experiment with each to find your preferred workflow.
Can I Achieve Professional-Level Results With Mobile RAW Editing?
You can achieve professional-level results with mobile RAW editing. It's possible if you're skilled and use the right apps. You'll need to master exposure, color grading, and retouching techniques. Practice and patience are key.
How Much Storage Space Do RAW Files Require on My Mobile Device?
You'll need more storage for RAW files than JPEGs. They're typically 3-5 times larger, so a 12MP RAW file might be 20-30MB. Consider using cloud storage or an external drive for backup.
In Summary
You've now got the essential tools to enhance your mobile raw portraits. Remember to start with white balance, then tackle exposure and shadows, and finish by perfecting skin tones. Don't be afraid to experiment with these techniques – practice makes perfect. As you refine your editing skills, you'll discover your unique style and create stunning portraits that capture your subject's essence. Keep shooting, keep editing, and watch your mobile photography flourish.
Leave a Reply