Master your smartphone's flash settings to elevate your party photography game. Diffuse light for softer portraits by using simple DIY tools like tissue paper. Bounce flash off nearby surfaces to create natural-looking illumination. Adjust white balance for accurate color representation in different lighting conditions. Experiment with flash intensity levels to capture the perfect exposure. Use front-facing flash for better selfies, and combine flash with available light for depth. Avoid red-eye by positioning subjects strategically. Edit flash photos post-capture to enhance image quality. These tips will help you capture unforgettable party moments, but there's even more to explore in the world of flash photography.
Master Your Smartphone's Flash Settings
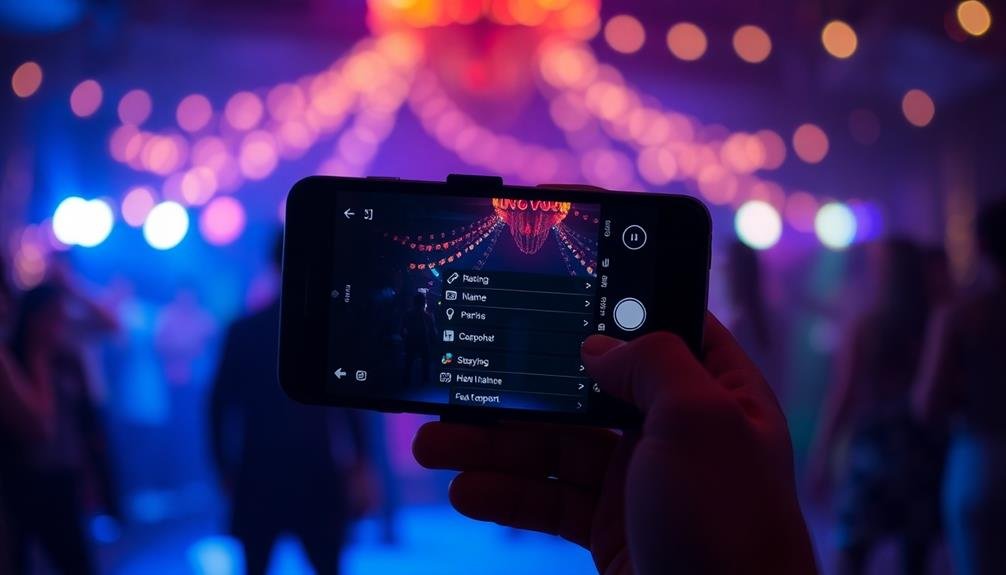
Smartphones have come a long way in their photography capabilities, but mastering your device's flash settings is essential for capturing great party photos.
Start by familiarizing yourself with your phone's camera app. Most modern smartphones offer various flash modes, including auto, on, off, and sometimes a "night mode" or "slow sync" option.
Auto flash can be unreliable in party settings, often washing out subjects or creating harsh shadows. Instead, experiment with manual controls. Try turning the flash off and increasing the ISO or exposure compensation to capture the ambient light.
If you need flash, use it sparingly and adjust its intensity if your phone allows it. For group shots, consider using the rear-facing camera with flash rather than the front-facing one, as it typically produces better results.
When photographing individuals, ask them to step slightly away from walls to avoid harsh shadows. If your phone has a "night mode," use it for low-light scenes without flash.
Diffuse Light for Softer Portraits
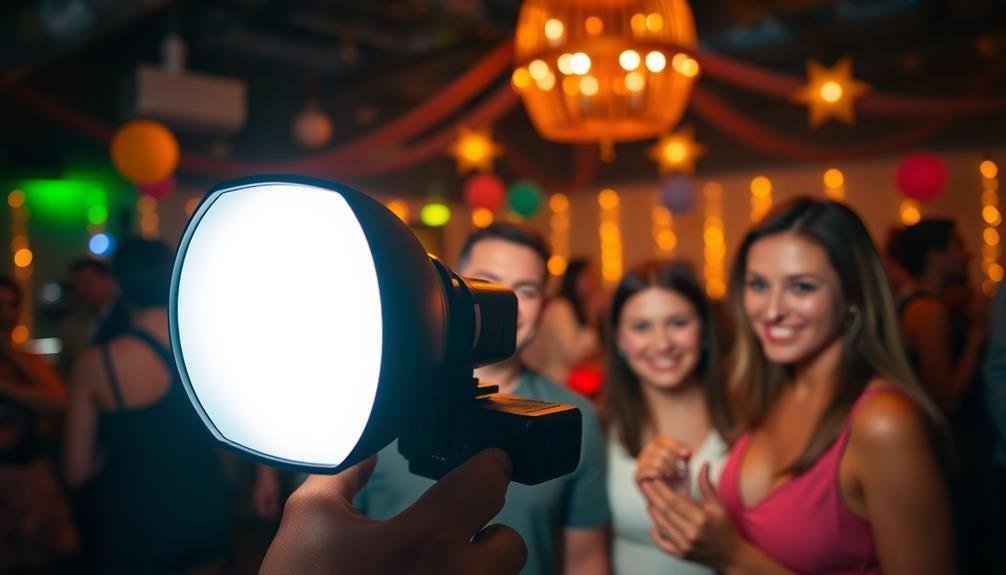
Aiming for flattering portraits at parties, diffusing your flash is a game-changer. Harsh, direct light can create unflattering shadows and make your subjects squint. By softening the light, you'll achieve more natural-looking photos with smoother skin tones and reduced glare.
You don't need expensive equipment to diffuse your flash. For smartphone users, a simple piece of white tissue paper taped over the flash can work wonders. If you're using a dedicated camera flash, consider investing in a small softbox or bounce card. These accessories spread the light, creating a softer, more even illumination.
Another effective technique is bouncing your flash off a nearby wall or ceiling. This indirect lighting approach mimics natural light and reduces harsh shadows. When bouncing, aim your flash at a light-colored surface for best results.
For DIY enthusiasts, create a makeshift diffuser using a white plastic cup or ping pong ball. Simply cut a hole in the bottom of the cup or ball and place it over your flash. This homemade solution can dramatically improve your party portraits, giving them a professional touch without breaking the bank.
Bounce Flash Off Nearby Surfaces
When shooting with flash at parties, you'll often encounter harsh, unflattering light.
To soften this effect, try bouncing your flash off nearby surfaces like walls or ceilings.
This technique not only creates more natural-looking illumination but also helps prevent the dreaded red-eye effect in your subjects' photos.
Soften Harsh Light
At parties, direct flash can create unflattering shadows and harsh lighting on your subjects. To soften this harsh light, you'll need to diffuse it. One simple method is to use a small piece of white tissue paper or a handkerchief over your flash. This acts as a makeshift diffuser, spreading the light more evenly across your subject.
Another option is to use a commercial diffuser designed for your specific camera or flash unit. These attachments come in various sizes and shapes, offering more control over light diffusion.
For a DIY approach, try using a white plastic cup or a ping-pong ball cut in half and placed over your flash.
If you're using an external flash, consider pointing it upwards and slightly behind you. This technique, known as bounce flash, reflects light off the ceiling, creating a softer, more natural look.
In rooms with colored walls or ceilings, be mindful of potential color casts in your photos. To counteract this, use a white card or small reflector to bounce the light back onto your subject, maintaining accurate skin tones and colors in your party shots.
Avoid Red-Eye Effect
While softening harsh light is important, you'll also want to tackle another common party photography issue: red-eye. This occurs when your flash reflects off the blood vessels in your subject's retina, creating an eerie red glow in their eyes. To avoid this, try bouncing your flash off nearby surfaces instead of firing it directly at your subjects.
Look for light-colored walls or ceilings to redirect your flash. Tilt your flash upward or to the side, aiming it at these surfaces. This technique diffuses the light, creating a softer, more flattering effect while reducing the likelihood of red-eye. If you're using an external flash, you can rotate it to find the best angle for bouncing.
In situations where bouncing isn't possible, increase the distance between your flash and the camera lens. Use a bracket to move your flash farther from the lens axis. Alternatively, activate your camera's red-eye reduction mode, which fires a pre-flash to constrict your subjects' pupils before the main flash.
Adjust White Balance for Accuracy
To guarantee your party photos look their best, adjusting the white balance is essential. Different lighting conditions can cast color tints on your images, making them appear too warm (orange) or too cool (blue). Your camera's auto white balance setting may struggle in mixed lighting situations common at parties.
Start by selecting the appropriate white balance preset for your environment. If you're indoors with incandescent bulbs, choose the "tungsten" setting. For fluorescent lighting, use the "fluorescent" preset. When shooting outdoors at night with flash, the "flash" setting often works well.
For more precise control, use a custom white balance. Take a photo of a white or gray card under the same lighting conditions as your subjects. Then, set this image as your reference point in your camera's custom white balance menu.
If you're shooting in RAW format, you'll have more flexibility to adjust white balance during post-processing. However, getting it right in-camera will save you time and guarantee more consistent results across your party photos.
Remember to reassess white balance if you move to different areas of the venue with varying lighting conditions.
Experiment With Flash Intensity Levels
Flash intensity can make or break your party photos. You'll want to experiment with different levels to achieve the perfect balance. Start by using your camera's built-in flash at its default setting, then adjust from there. If your photos look washed out, reduce the flash intensity. Conversely, if subjects appear too dark, increase it.
Many cameras offer flash compensation settings, typically ranging from -3 to +3 in 1/3 stop increments. Try different settings to see how they affect your images. Remember, the goal is to illuminate your subjects without overpowering the ambient light.
Here's a quick guide to help you understand flash intensity levels:
| Flash Intensity | Effect | Best for |
|---|---|---|
| Low (-2 to -3) | Subtle fill light | Outdoor twilight shots |
| Medium (-1 to 0) | Balanced illumination | General party scenes |
| High (+1 to +2) | Bright, bold light | Dark indoor settings |
| Very High (+3) | Powerful illumination | Large group shots |
Don't be afraid to mix things up. You might use a lower intensity for intimate conversations and crank it up for dance floor action shots. By mastering flash intensity, you'll capture the energy and atmosphere of any party perfectly.
Capture Candid Moments Discreetly
Capturing candid moments at parties requires a different approach than adjusting flash intensity. To discreetly photograph genuine interactions, you'll need to blend in and anticipate key moments.
Start by setting your camera to silent mode and turning off the autofocus assist beam. This minimizes distractions and helps you remain unnoticed.
Position yourself strategically in areas where people naturally gather, like near the buffet or dance floor. Use a zoom lens to capture shots from a distance without intruding on conversations.
Pay attention to body language and facial expressions, ready to snap when emotions peak.
Consider using a small, unobtrusive camera or even your smartphone to appear less conspicuous. If you're using flash, opt for an off-camera setup to avoid startling your subjects. Bouncing the flash off walls or ceilings can create softer, more natural-looking light.
Timing is essential for candid shots. Watch for moments of laughter, animated gestures, or heartfelt embraces.
Don't be afraid to take multiple shots in quick succession to capture the perfect expression. Remember, the goal is to document genuine moments that reveal the true spirit of the party.
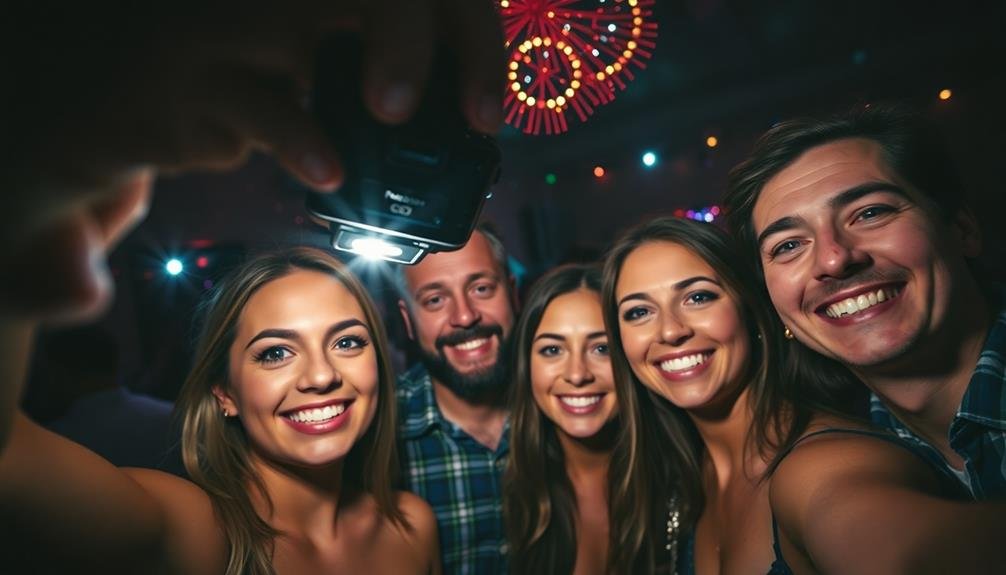
Use Front-Facing Flash for Selfies
When taking selfies at parties, you'll want to use your camera's front-facing flash to avoid harsh shadows.
Position the flash directly in front of your face for the most flattering light placement. This technique will help illuminate your features evenly, resulting in a more appealing self-portrait.
Avoid Harsh Shadows
Harsh shadows can ruin an otherwise perfect party photo, especially when taking selfies. To avoid this common issue, you'll need to soften your flash and consider your positioning. One effective technique is to bounce the flash off a nearby surface, like a white wall or ceiling. This diffuses the light, creating a more natural and flattering effect.
If you're using a smartphone, try these tips to minimize harsh shadows:
- Use the front-facing flash for selfies, as it's typically softer than the rear flash
- Hold your phone slightly above eye level to reduce under-eye shadows
- Experiment with third-party camera apps that offer more control over flash intensity
For DSLR users, invest in a flash diffuser or softbox attachment. These accessories spread the light more evenly, reducing stark contrasts between light and dark areas in your photos.
You can also try adjusting your flash power settings to find the right balance for your environment.
Flattering Light Placement
Proper light placement can make or break your party selfies. When using flash for self-portraits at events, opt for front-facing illumination. This technique guarantees even lighting across your face, minimizing unflattering shadows and highlighting your best features.
To achieve this, use your smartphone's front-facing flash or a clip-on LED light designed for selfies. Position the light source directly in front of you, slightly above eye level. This placement creates a soft, flattering glow that reduces the appearance of blemishes and wrinkles.
If you're using a standalone camera, consider investing in a small, portable flash that can be mounted on the hot shoe. Angle it slightly upward to avoid harsh direct light.
For group selfies, make sure everyone's face is evenly lit by positioning the flash at arm's length, centered between subjects.
Experiment with diffusers or bounce techniques to soften the light further. A small piece of white tissue paper over the flash can work wonders. Alternatively, try bouncing the flash off a nearby white wall or ceiling for a more natural look.
Combine Flash With Available Light
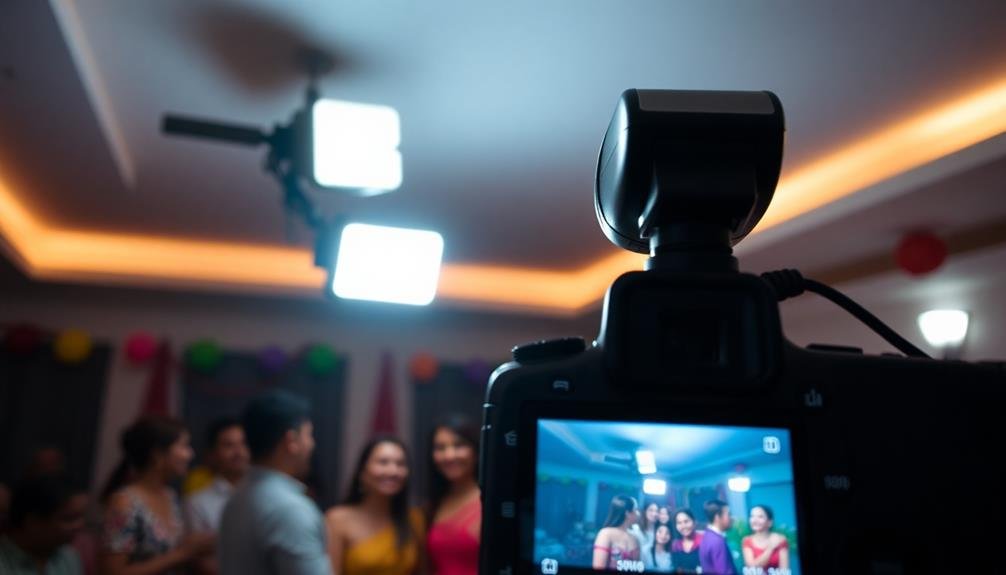
Blending flash with available light is a powerful technique to elevate your party photos. By combining these light sources, you'll create images with depth, atmosphere, and natural-looking illumination.
Start by setting your camera to manual mode and adjusting the exposure for the ambient light. Then, add your flash to fill in shadows and highlight your subjects.
To effectively combine flash with available light:
- Use a slow shutter speed to capture the background ambiance while allowing your flash to freeze the action.
- Experiment with flash intensity, dialing it down to avoid overpowering the scene.
- Position your flash off-camera for more creative and flattering lighting angles.
Don't be afraid to play with different ratios between ambient light and flash. You might find that using your flash at half or quarter power produces the most natural-looking results.
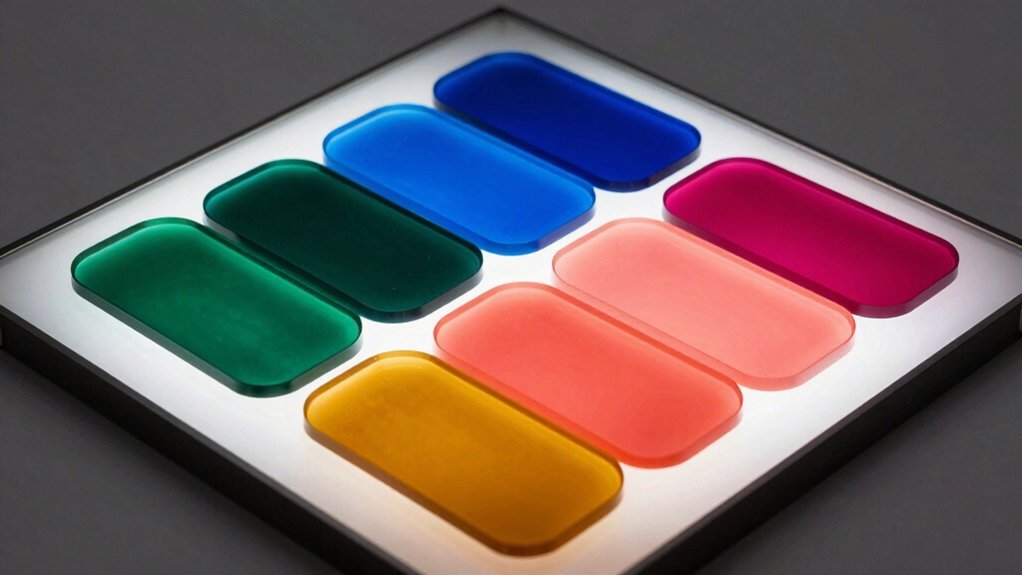
Remember to pay attention to color temperature differences between your flash and the existing light sources. Use gels on your flash to match the ambient light's warmth or coolness, ensuring consistent color throughout your images.
With practice, you'll master the art of balancing flash and available light, producing stunning party photos that capture both the mood and the moment.
Avoid Red-Eye With Positioning
To avoid the dreaded red-eye effect in your party photos, you'll want to master a few key positioning techniques.
Try angling your flash away from your subject's face or use the bounce flash technique by directing the light towards a nearby wall or ceiling.
If these methods aren't feasible, simply increasing the distance between your camera and your subject can greatly reduce the chances of red-eye occurring.
Angle Flash Away
Red-eye in flash photography can ruin otherwise great party shots. To combat this issue, you'll want to angle your flash away from your subjects. This technique involves redirecting the light from your flash to create a more flattering and natural-looking illumination.
Here's how you can effectively angle your flash away:
- Tilt the flash upwards: Point it at a 45-degree angle towards the ceiling to bounce light off it.
- Use a diffuser: Attach a small diffuser to your flash to soften and spread the light.
- Employ a reflector: Hold a white card or small reflector at an angle to redirect the flash.
Use Bounce Flash Technique
The bounce flash technique offers a powerful solution to avoid red-eye and create more natural-looking party photos. Instead of aiming your flash directly at your subjects, you'll point it at a nearby surface, typically the ceiling or a wall. This method diffuses the light, creating a softer, more flattering illumination that reduces harsh shadows and minimizes the risk of red-eye.
To use bounce flash effectively, start by tilting your flash head upward at a 45 to 60-degree angle. If the ceiling is too high or dark, try bouncing off a nearby wall instead. For best results, choose a white or neutral-colored surface to maintain accurate color balance.
You'll need to adjust your camera settings to compensate for the loss of light intensity. Increase your ISO slightly and use a wider aperture to capture enough light.
Remember that bounce flash works best in rooms with light-colored surfaces and standard ceiling heights. In challenging environments, consider using a small bounce card or diffuser attached to your flash to help spread the light.
With practice, you'll master this technique and capture stunning, natural-looking party photos that truly reflect the ambiance of the event.
Increase Camera-Subject Distance
Often overlooked, increasing the distance between your camera and your subjects is a simple yet effective technique for avoiding red-eye in flash photography. When you're too close, the flash light reflects directly off the retina, causing the dreaded red-eye effect. By stepping back, you'll reduce this reflection and capture more natural-looking eyes.
Aim to position yourself at least 6 feet away from your subjects. This distance allows the flash to illuminate the scene without overpowering it. You'll also get a wider field of view, capturing more of the party atmosphere. If you're using a zoom lens, you can still frame your shot tightly while maintaining this distance.
Consider these additional benefits of increasing camera-subject distance:
- Improved depth of field, keeping more people in focus
- More natural-looking lighting, as the flash spreads over a larger area
- Reduced shadows and harsh contrasts on faces
Edit Flash Photos Post-Capture
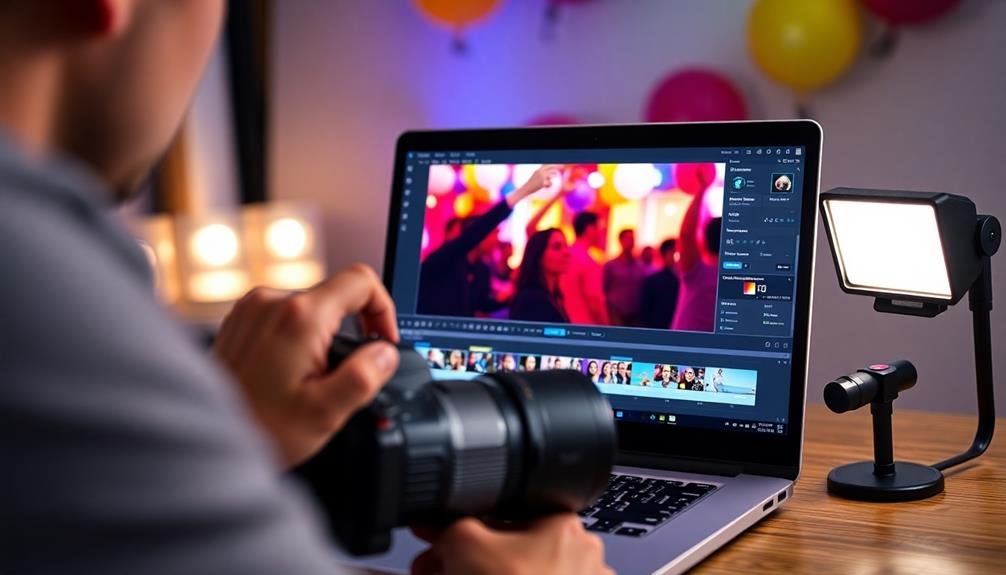
Editing flash photos post-capture can greatly enhance your party snapshots. Start by adjusting the exposure to balance any overexposed areas caused by the flash. Reduce highlights and increase shadows to bring out details in both bright and dark areas of the image.
Next, fine-tune the white balance to correct any color casts introduced by the flash, ensuring skin tones look natural and vibrant. Pay attention to noise reduction, as flash photography can sometimes introduce graininess, especially in low-light conditions.
Use selective editing tools to brighten specific areas of the photo, such as faces or important background elements. Don't forget to adjust contrast and clarity to make your images pop.
Consider using local adjustments to soften harsh shadows created by the flash. You can also experiment with creative effects like vignettes or selective coloring to draw attention to your subjects. If red-eye is present, use your editing software's red-eye removal tool to fix it.
Frequently Asked Questions
How Do I Protect My Camera From Drink Spills at Parties?
To protect your camera from drink spills at parties, you'll want to keep it in a waterproof bag when not in use. Always wear the camera strap and be mindful of your surroundings. Consider using a protective filter on your lens.
What's the Best Flash Technique for Capturing Dance Floor Action?
For capturing dance floor action, you'll want to use rear curtain sync flash. It'll freeze your subjects while creating light trails, adding dynamic movement to your shots. Experiment with slower shutter speeds for more dramatic effects.
Should I Use Flash When Photographing Food at Parties?
You'll want to avoid using flash for food photography at parties. It can create harsh shadows and unappetizing reflections. Instead, try natural light or ambient lighting to capture the food's true colors and textures more accurately.
How Can I Minimize Harsh Shadows When Using Flash Outdoors?
To minimize harsh shadows when using flash outdoors, you'll want to diffuse your light. Use a softbox or bounce the flash off a reflector. You can also try adjusting your flash's power or moving it off-camera for softer illumination.
Are There Any Etiquette Rules for Using Flash at Formal Events?
You'll want to be discreet and respectful when using flash at formal events. Ask permission first, avoid disrupting key moments, and use flash sparingly. Consider using off-camera flash or bouncing it for softer, less intrusive lighting.
In Summary
You've now got the tools to take your party photography to the next level. Don't be afraid to experiment with these flash techniques at your next event. Remember, practice makes perfect, so keep shooting and refining your skills. With these tips in your arsenal, you'll capture vibrant, memorable shots that truly reflect the energy of the moment. So grab your camera, head out to that party, and start creating unforgettable images!
Leave a Reply