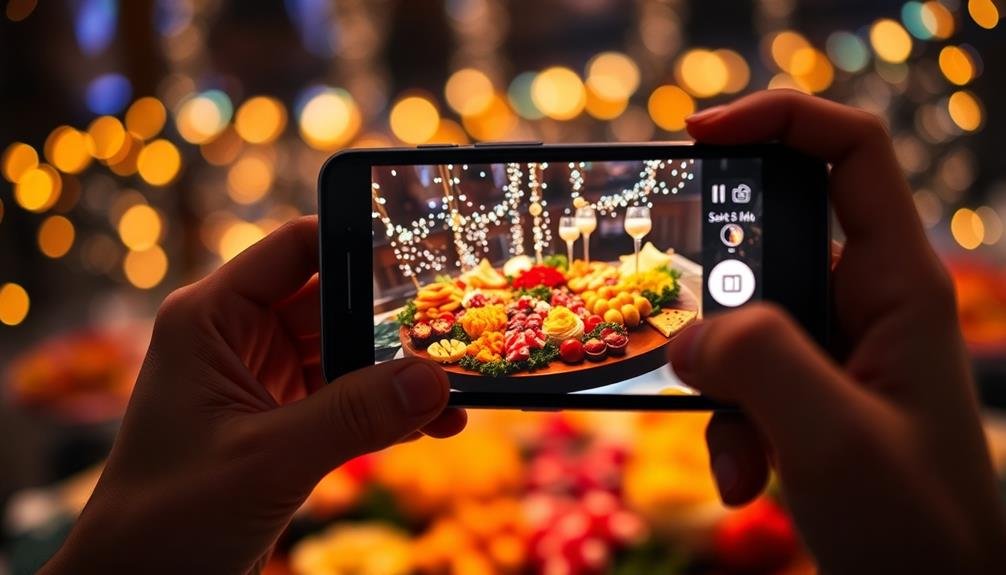
Great phone food photos at parties combine smart lighting, thoughtful composition, and creative techniques. You'll want to use natural light when possible, or diffused artificial light to enhance colors and textures. Frame your shots using the rule of thirds and fill the frame with food to highlight details. Capture the party atmosphere by including people and decorations in some shots. Choose angles that best showcase each dish, and focus on colorful plates for visual appeal. Don't forget to use your phone's features like portrait mode or HDR. With a few simple editing tweaks, you can transform your party food pics from ordinary to mouthwatering. There's more to explore in the world of phone food photography at events.
Lighting: Natural vs. Artificial

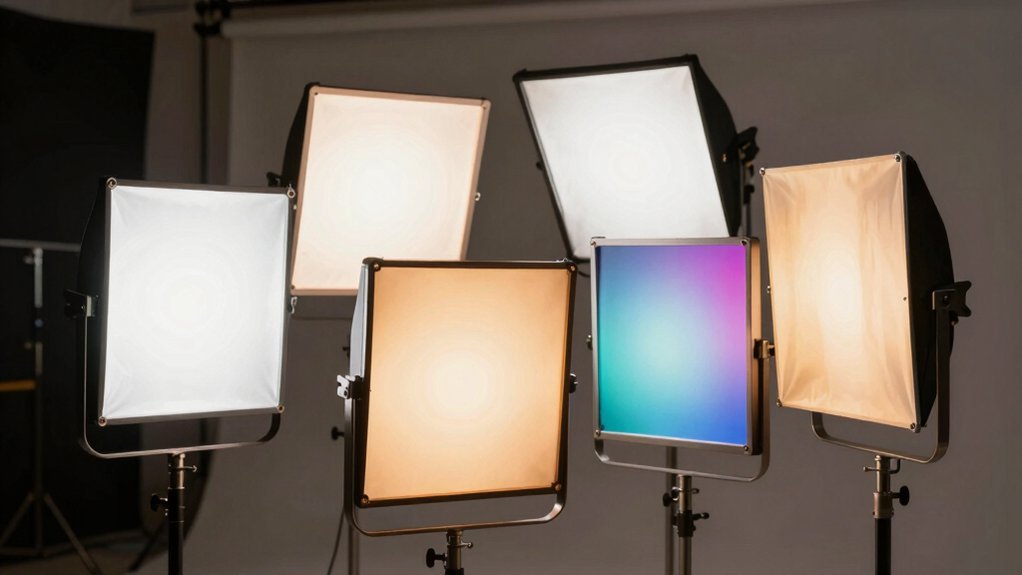
When it comes to lighting for party food photos, natural light reigns supreme. If you're lucky enough to have a daytime event or access to large windows, position your food near these light sources. Natural light brings out the true colors and textures of dishes, creating appetizing and vibrant images.
However, parties often happen in the evening or in dimly lit spaces. In these cases, you'll need to work with artificial lighting. Avoid using your phone's built-in flash, as it can create harsh shadows and unnatural-looking highlights. Instead, try these alternatives:
- Use a friend's phone flashlight, diffused with a napkin or tissue paper.
- Position your plate near decorative lighting, like string lights or candles.
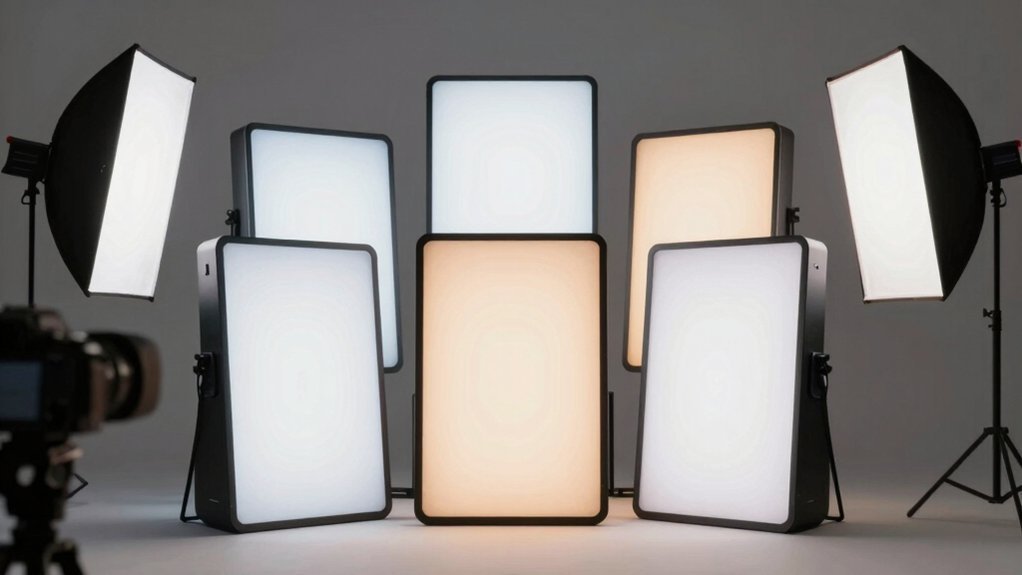
- Invest in a small, portable LED light that clips onto your phone.
When using artificial light, experiment with angles to find the most flattering illumination. Side lighting can create depth and texture, while front lighting minimizes shadows.
Composition and Framing Techniques

Once you've mastered lighting, it's time to focus on composition and framing techniques to elevate your party food photos. The way you arrange elements within the frame can make or break your shot.
Start by considering the rule of thirds: imagine a 3×3 grid over your screen and place key elements along these lines or at their intersections. This creates a more balanced and visually appealing image.
Don't be afraid to get close to your subject. Fill the frame with the food, showcasing its textures and details. Experiment with different angles – try shooting from directly above for flat lays or at eye level for a more intimate perspective.
Include complementary props like utensils or napkins to add context, but don't let them overshadow the main dish.
Here are four essential composition tips to remember:
- Use leading lines to guide the viewer's eye
- Create depth by including foreground, middle ground, and background elements
- Embrace negative space to highlight your subject
- Seek symmetry or intentional asymmetry for visual interest
Capturing the Party Atmosphere

Beyond the food itself, great party photos capture the lively atmosphere and memorable moments. To convey the party's energy, include people in your shots. Capture candid interactions between guests as they enjoy the food and drinks. Focus on genuine smiles, laughter, and animated conversations.
Use wide-angle shots to showcase the entire setting, including decorations, lighting, and the overall ambiance. Don't forget to capture the little details that make the party unique, like personalized place cards or quirky centerpieces.
Experiment with different angles to add depth and interest to your photos. Try shooting from above to capture a bustling buffet table or from a low angle to highlight a beautifully decorated dessert spread.
Pay attention to lighting. Warm, ambient light can create a cozy atmosphere, while colorful party lights can add a festive touch. If it's dark, use your phone's night mode or experiment with flash for dramatic effects.
Lastly, don't be afraid to get creative. Capture action shots of people toasting, dancing, or serving food to add dynamism to your party photo collection.
Choosing the Right Angle

When choosing the right angle for your party food photos, consider the impact of overhead shots versus eye-level perspectives.
You'll find that diagonal compositions can add dynamic interest to your images, drawing the viewer's eye across the frame.
Don't forget to capture the overall table atmosphere, which can provide context and enhance the festive mood of your shots.
Overhead vs. Eye-level
Choosing the right angle can make or break your food photos at parties. When deciding between overhead and eye-level shots, consider the dish's presentation and the story you want to tell.
Overhead shots work well for flat dishes, table spreads, and capturing the overall arrangement. They're perfect for showcasing intricate plating or multiple dishes at once. Eye-level shots, on the other hand, are ideal for tall dishes, layered desserts, or capturing the texture and depth of food.
To master both angles, keep these tips in mind:
- For overhead shots, stand on a chair or use a selfie stick to get directly above the food.
- When shooting at eye-level, crouch down to the table's height for the best perspective.
- Experiment with slight tilts (30-45 degrees) to combine elements of both angles.
- Consider the background and surrounding elements when choosing your angle.
Diagonal Composition Tricks
Diagonal composition tricks can elevate your party food photos from good to great. When you're framing your shot, try positioning the main elements of your dish along imaginary diagonal lines. This creates a sense of movement and dynamism in your image, drawing the viewer's eye across the frame.
Start by placing your focal point, like a beautifully garnished appetizer or a colorful cocktail, off-center. Then, arrange other elements like utensils, garnishes, or background decor along a diagonal line leading to or from your main subject. This technique adds depth and interest to your composition.
You can also use the rule of thirds as a guide, imagining your frame divided into a 3×3 grid. Place key elements along these lines or at their intersections, creating natural diagonals.
Don't forget to experiment with different angles – try shooting from a corner of the table or tilting your phone slightly for added impact.
Capturing Table Atmosphere
To truly capture the table atmosphere at a party, selecting the right angle is essential. You'll want to showcase not just the food, but also the surrounding elements that create the ambiance. Consider the table setting, decorations, and even the guests' hands as they reach for dishes. Experiment with different perspectives to find the most appealing composition.
Try these angles to enhance your party food photos:
- Bird's-eye view: Stand above the table for a thorough shot that captures the entire spread.
- Eye-level: Get down to the table's height for a more intimate perspective that highlights individual dishes.
- 45-degree angle: This versatile option works well for most food items, showing depth and texture.
- Low angle: Shoot upwards to emphasize tall glasses or elaborate centerpieces.
Don't forget to include context clues that convey the party atmosphere. Capture candlelight, colorful napkins, or festive decorations in the background.
If possible, include people's hands or partial figures to add a human element. Remember, the goal is to transport viewers to the party through your photo, so focus on elements that tell the story of the event's ambiance and energy.
Focus on Colorful Dishes

Vibrant hues can transform an ordinary dish into a photogenic masterpiece. When you're at a party, seek out plates with a variety of colors to make your food photos pop.
Look for dishes that combine complementary shades, like a salad with bright green leaves, red tomatoes, and orange carrots. These contrasts will create visually appealing images that stand out on social media.
Don't shy away from bold, statement dishes. A vibrant curry, a colorful sushi platter, or a fruit tart with an array of berries can be eye-catching subjects.
If you're faced with monochromatic foods, try to incorporate colorful garnishes or side dishes in the frame to add visual interest.
Pay attention to the plate or surface the food is served on. White plates can make colors appear more vivid, while darker plates can create a dramatic backdrop for lighter-colored foods.
You can also use colorful napkins or tablecloths to add depth to your composition.
Highlighting Textures and Details

To capture stunning food textures and details at parties, you'll want to utilize your phone's macro mode for crisp closeups.
Experiment with lighting angles to highlight the surfaces and intricate features of dishes.
Don't forget to pay attention to plating and presentation techniques, as these can greatly enhance the visual appeal of your food photos.
Macro Mode for Closeups
Many smartphones now feature a powerful macro mode for capturing stunning closeups of food. This feature allows you to get incredibly close to your subject, revealing intricate textures and details that might otherwise go unnoticed.
When using macro mode at parties, you'll be able to showcase the fine details of dishes, from the crystalline structure of sugar on a dessert to the delicate herbs garnishing a main course.
To make the most of your phone's macro mode for food photography:
- Get close, but not too close: Find the sweet spot where your camera focuses perfectly.
- Use natural light: Position the food near a window or well-lit area for the best results.
- Keep steady: Use both hands or a small tripod to avoid blurry shots.
- Play with angles: Experiment with different perspectives to highlight unique features.
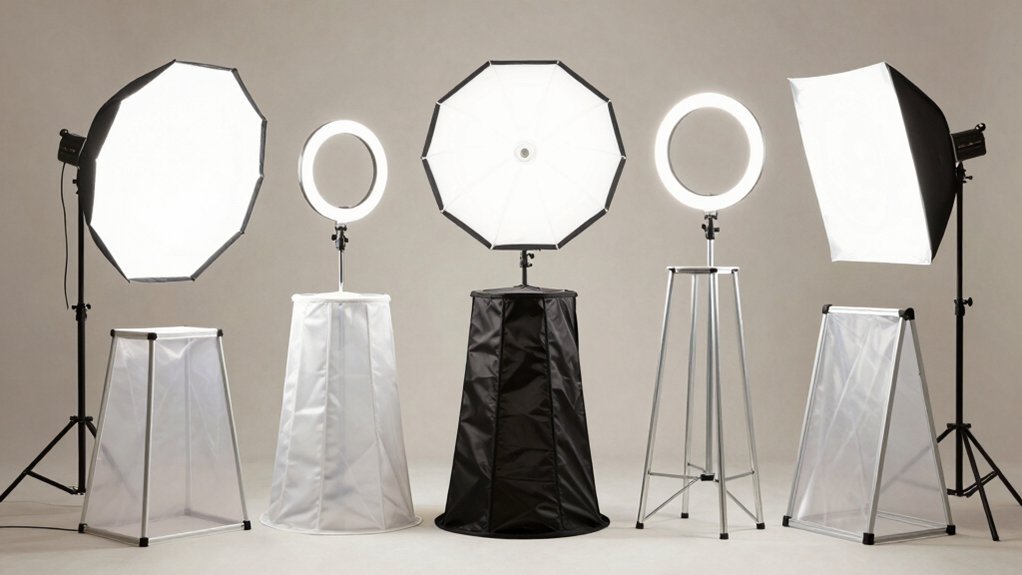
Lighting to Showcase Surfaces
While macro mode captures intricate details, proper lighting is key to showcasing food textures and surfaces effectively. At parties, you'll often encounter less-than-ideal lighting conditions, but don't let that stop you from getting great shots. Use natural light whenever possible, positioning your plate near windows or outdoor areas.
If you're indoors with dim lighting, try using a friend's phone flashlight to create a makeshift studio light.
Experiment with different angles to find the best way to highlight textures. Side lighting can create shadows that emphasize the contours of your dish, while overhead lighting works well for flat foods like pizzas or salads.
For shiny or reflective surfaces, like glazed desserts or sauces, adjust your position to capture appealing highlights without harsh glare.
Don't be afraid to move your plate or rearrange nearby objects to improve the lighting. A white napkin can act as a reflector, bouncing light onto shadowy areas.
If you're dealing with mixed lighting, use your phone's white balance settings to guarantee accurate colors.
Plating and Presentation Techniques
Great plating and presentation can make or break your food photos. When you're at a party, you'll often encounter dishes that are already plated, but there are still ways to enhance their visual appeal. Look for interesting angles and compositions that highlight the food's best features. Pay attention to the colors, textures, and arrangement of the elements on the plate.
If you have the opportunity to plate the food yourself, consider these techniques:
- Use negative space to draw attention to the main dish.
- Create height and dimension by stacking or layering ingredients.
- Incorporate contrasting colors and textures for visual interest.
- Add garnishes strategically to enhance the overall presentation.
Don't be afraid to rearrange items on the plate slightly for a better shot. Focus on showcasing the dish's textures and details by getting close-up shots of interesting elements.
Capture the steam rising from hot dishes or the glistening surface of sauces. Remember, the goal is to make the food look as appetizing as possible, so pay attention to small details that can elevate your photo from ordinary to mouthwatering.
Group Shots of Food Spreads

For impressive party photos, don't forget to capture the entire food spread. These group shots showcase the variety and abundance of the feast, giving viewers a tantalizing overview of the culinary offerings. To nail these shots, find a high vantage point. Step back or climb on a chair to get a bird's-eye view of the table. This angle allows you to fit more dishes into the frame and creates an appealing composition.
Pay attention to the layout of the spread. Arrange dishes in a visually pleasing manner, considering color contrast and varying heights. Use props like flowers, candles, or decorative serving platters to add visual interest.
When shooting, guarantee even lighting across the table to avoid harsh shadows. If possible, use natural light from a nearby window.
For longer tables, try a diagonal composition to create depth and lead the viewer's eye through the image. Don't be afraid to adjust items slightly for a better shot. Remember to focus on the closest dish to keep everything sharp.
Action Shots of Cooking

Sizzling pans and flying spatulas make for dynamic party photos. When you're capturing action shots of cooking at a party, you're not just documenting food preparation; you're telling a story. Focus on the energy and movement in the kitchen. Look for steam rising from pots, hands skillfully chopping ingredients, or the flamboyant flipping of a stir-fry.
To get the best action shots, you'll need to be quick and observant. Use burst mode on your phone to capture rapid sequences. This way, you won't miss that perfect moment when the chef tosses pasta or flambés a dessert.
Pay attention to lighting, as kitchens can be tricky. If possible, position yourself near a window for natural light or use the phone's flash judiciously.
Here's why action shots of cooking are essential for great party food photos:
- They showcase the effort behind the meal
- They capture the excitement and energy of the event
- They add variety to your photo collection
- They often feature people, adding a personal touch
Candid Moments With Food

Capturing genuine interactions between guests and their meals tells a compelling story at any party. Look for those unscripted moments when people are truly enjoying their food. You'll want to catch the first bite reactions, the excitement of discovering a new flavor, or the shared laughter over a messy dish.
To get these shots, you'll need to be quick and discreet. Keep your phone ready but don't be intrusive. Position yourself where you can observe without disrupting the natural flow of the event. Pay attention to facial expressions and body language – they're key to conveying emotion in your photos.
Don't be afraid to experiment with angles. A shot from table level can capture the intimacy of a conversation over appetizers, while an overhead view might showcase the vibrant colors of a buffet spread.
Use natural light when possible, but if it's dim, try using your phone's night mode instead of harsh flash.
Using Smartphone Camera Features

Your smartphone's camera features can elevate your food photography at parties.
Master Portrait Mode to create a professional-looking depth of field, optimize Night Mode for low-light situations, and utilize HDR to capture vibrant colors in high-contrast scenes.
These tools will help you transform ordinary food snapshots into eye-catching, share-worthy images.
Portrait Mode Mastery
Portrait mode is a game-changer for food photography at parties. This feature creates a shallow depth of field, blurring the background while keeping the food in sharp focus. You'll find this option on most modern smartphones, typically in the camera app's mode selector.
When using portrait mode, position your phone closer to the dish to emphasize its details and textures.
To master portrait mode for food photography:
- Choose a clean, uncluttered background to avoid distracting elements.
- Experiment with different angles to find the most flattering perspective.
- Guarantee proper lighting to highlight the food's colors and textures.
- Use the touch-focus feature to fine-tune the focal point.
Remember that portrait mode works best with dishes that have distinct edges and separation from the background.
For flat or low-profile foods, you might need to adjust your angle or switch to standard photo mode. Don't be afraid to take multiple shots and experiment with different compositions.
With practice, you'll develop an eye for when portrait mode will enhance your food photos and when to opt for alternative techniques.
Night Mode Optimization
Many party venues have low lighting conditions, making night mode an essential feature for capturing stunning food photos. To optimize your night mode shots, start by enabling this feature in your camera app.
You'll notice the camera slows down its shutter speed to let in more light, so keep your hands steady or use a small tripod for sharper images.
When framing your shot, look for any available light sources like candles or ambient lighting. Position your food to take advantage of these light sources, creating attractive shadows and highlights.
If possible, avoid using your phone's flash, as it can create harsh, unflattering light.
Experiment with your phone's exposure settings. Many night modes allow you to adjust brightness and contrast. Slightly underexposing the image can often result in a more dramatic, moody shot that captures the ambiance of the party.
Don't forget to focus on the food's most appealing aspects. In low light, your camera might struggle to focus, so tap on the screen to set the focal point manually.
HDR for Vibrant Colors
In addition to night mode, HDR (High Dynamic Range) is a powerful feature for capturing vibrant food photos at parties. This technology combines multiple exposures to create a single image with enhanced color and detail.
When you're faced with challenging lighting conditions, such as dim restaurant interiors or bright outdoor settings, HDR can help balance the highlights and shadows, ensuring your food photos pop with rich, true-to-life colors.
To make the most of HDR for your party food photos:
- Enable HDR mode in your smartphone camera settings
- Keep your phone steady while shooting to avoid blurry images
- Experiment with different angles to find the best light
- Use HDR sparingly for high-contrast scenes, as it may not suit every situation
Remember that HDR works best for static subjects, so it's ideal for plated dishes or buffet spreads.
However, be cautious when photographing moving subjects or people, as HDR can create ghosting effects.
Editing Apps for Food Photos

Editing apps are essential tools for transforming your food photos from mediocre to mouthwatering. With the right app, you'll enhance colors, adjust lighting, and add artistic touches that make your party dishes irresistible. Popular options like VSCO, Snapseed, and Foodie offer user-friendly interfaces and powerful editing features tailored for food photography.
When choosing an editing app, consider these key factors:
| Feature | Beginner-Friendly | Pro-Level |
|---|---|---|
| Filters | Preset options | Custom adjustments |
| Exposure | Auto-fix | Manual controls |
| Color | Basic saturation | Advanced color grading |
Start by adjusting the basics: brightness, contrast, and saturation. Then, experiment with specific food-enhancing features like warmth and sharpness. Don't overdo it; aim for natural-looking results that highlight the dish's best qualities. Many apps also offer food-specific filters that can instantly elevate your images.
Capturing Drinks and Cocktails

From invigorating cocktails to sparkling champagne, drinks are often the life of the party and deserve their moment in the spotlight. When capturing these liquid masterpieces, you'll want to focus on their unique characteristics. Pay attention to the glass shape, garnishes, and any special effects like smoke or bubbles.
Lighting is essential for drink photography. Natural light works wonders, but if you're in a dimly lit bar, use a friend's phone flashlight to create a soft glow. Angle the light from the side or slightly behind the glass to highlight the drink's texture and color.
To make your cocktail photos stand out, try these techniques:
- Capture the pour: Snap a quick burst of photos as the drink is being poured to catch the dynamic action.
- Focus on details: Zoom in on ice cubes, fruit slices, or intricate garnishes for an artistic touch.
- Show condensation: Let the glass sweat a bit before taking the photo to add a revitalizing look.
- Include hands: Frame the shot with someone holding the drink to add a human element and sense of scale.
Remember to steady your hand or use a nearby surface for support to avoid blurry images. With these tips, you'll be capturing Instagram-worthy drink photos in no time.
Telling a Story Through Images

While capturing individual elements like drinks is important, the real magic happens when you weave these snapshots into a compelling narrative. Think about the flow of the party and how you can capture its essence through a series of images. Start with arrival shots, then move on to food preparation, guest interactions, and finally, the main dishes.
Use your phone's burst mode to capture candid moments and create a sense of movement. Don't forget to include details that set the scene, like table decorations or the host's unique touches. Remember, you're not just documenting food; you're telling the story of the entire event.
| Story Element | Photo Ideas |
|---|---|
| Arrival | Guest entries, welcome drinks |
| Preparation | Chefs at work, plating dishes |
| Interaction | Toasts, conversations, laughter |
| Main Event | Centerpiece dishes, group dining |
As you shoot, consider the emotions you want to convey. Is it a cozy dinner party or a lively celebration? Let your images reflect the atmosphere. By creating a visual narrative, you'll transport viewers into the heart of the party, making them feel as if they were there.
Frequently Asked Questions
How Do I Prevent My Phone's Flash From Ruining Food Photos?
To prevent your phone's flash from ruining food photos, you should turn it off and use natural light instead. If that's not possible, try adjusting your phone's exposure settings or using a small external light source for better illumination.
What's the Best Way to Photograph Dark or Monochromatic Dishes?
To photograph dark or monochromatic dishes, you'll want to focus on lighting and contrast. Use natural light when possible, or try angling a lamp. Add colorful garnishes or props to create visual interest. Experiment with different angles and backgrounds.
How Can I Make My Food Photos Stand Out on Social Media?
To make your food photos stand out on social media, you'll want to focus on lighting, composition, and styling. Use natural light, experiment with angles, and add props or garnishes. Don't forget to edit your photos for enhanced colors and contrast.
Should I Use Filters or Keep My Food Photos as Natural as Possible?
You'll find a balance between natural and enhanced works best. Use filters sparingly to highlight colors or textures, but don't overdo it. Keep your food's authentic appearance while adding subtle enhancements that make it pop on social media.
How Do I Photograph Food in Dimly Lit Restaurants Without Disturbing Other Diners?
You can capture food in dim restaurants discreetly by using your phone's night mode, turning off the flash, and holding steady. If possible, move your plate closer to a light source or use a friend's phone light subtly.
In Summary
You've now got the tools to take stunning food photos at parties with your smartphone. Remember, it's all about lighting, composition, and capturing the atmosphere. Don't be afraid to experiment with angles and focus on colorful dishes. Use your phone's features and editing apps to enhance your shots. Whether it's a cocktail or a main course, aim to tell a story through your images. Now go out and snap some mouthwatering memories!
Leave a Reply