
Elevate your smartphone food photography with these pro tricks. Use natural light near windows, avoiding harsh shadows. Apply the rule of thirds for balanced compositions. Experiment with angles to highlight texture and depth. Style plates with minimal, complementary props and garnishes. Understand color theory to make dishes pop. Master focus control for sharp subjects and dreamy backgrounds. Capture steam and movement for dynamic shots. Choose backgrounds that enhance the food's appeal. Edit with restraint using apps like Snapseed or VSCO. Perfect your plating techniques for visually stunning meals. These tips are just the appetizer; a feast of knowledge awaits to transform your food photos.
Natural Lighting Techniques

Nearly every food photographer agrees that natural light is the secret ingredient for stunning smartphone food shots. To harness this power, position your plate near a window, but avoid direct sunlight that can create harsh shadows. Opt for soft, diffused light that brings out the food's natural textures and colors.
If you're dealing with strong sunlight, use a thin white curtain or a sheet of parchment paper to soften the light. This creates a more even, flattering glow across your dish.
For darker environments, try using a white foam board or a light-colored wall to reflect light back onto the food, filling in shadows and enhancing details.
Time of day matters too. Early morning or late afternoon light tends to be warmer and more flattering. If you're shooting during midday, find a spot with consistent shade to avoid overly bright or contrasty images.
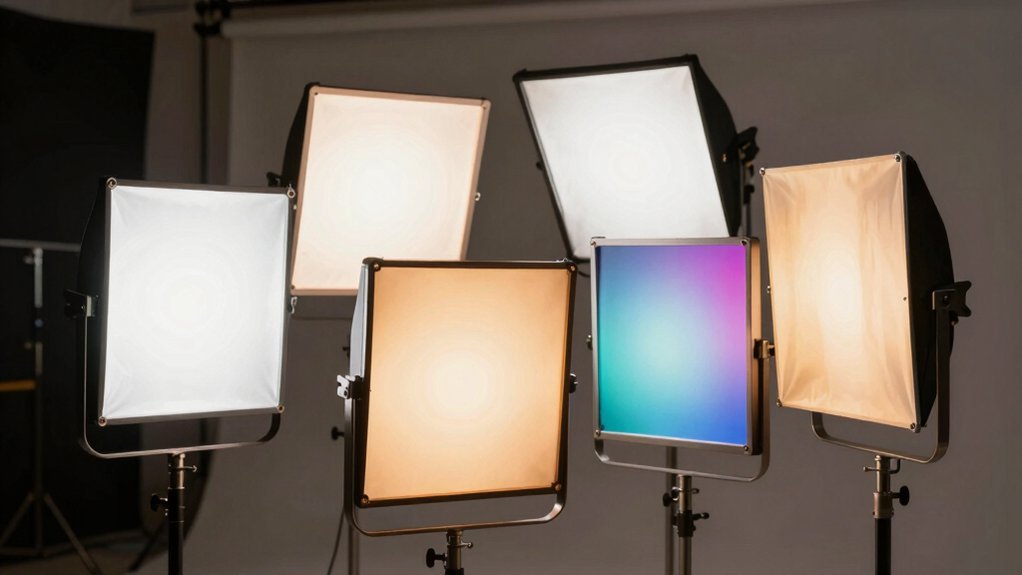
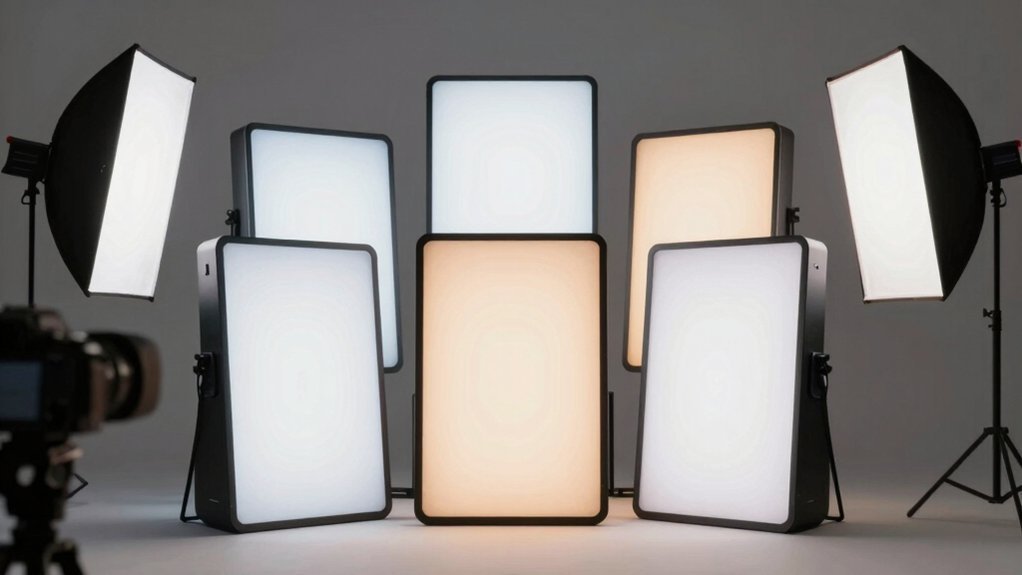
When natural light is scarce, resist the urge to use your phone's flash. Instead, move your setup closer to a light source or consider using a small, portable LED light designed for food photography to mimic natural light's soft, appealing qualities.
Composition and Framing Basics

With your lighting sorted, it's time to focus on how you arrange your food in the frame. Composition is key to creating visually appealing food photos. Start by applying the rule of thirds: imagine your screen divided into a 3×3 grid and place your main subject along these lines or at their intersections. This creates a more balanced and interesting image than centering your subject.
Consider the angles you're shooting from. Overhead shots work well for flat dishes or table spreads, while a 45-degree angle can highlight texture and depth in taller dishes. Don't be afraid to get close; filling the frame with your subject can create a mouth-watering effect.
Pay attention to negative space, which can help draw attention to your main subject. Use props sparingly to add context or tell a story, but make certain they don't overshadow the food.
Experiment with asymmetry and odd numbers of items for a more dynamic composition. Remember to keep your background clean and uncluttered to avoid distracting from the star of the show – the food itself. With practice, you'll develop an eye for what works best for different types of dishes.
Play With Angles

Three key angles can dramatically enhance your food photography: overhead, straight-on, and 45-degree. Each angle offers a unique perspective, highlighting different aspects of your dish.
Overhead shots work well for flat layouts, showcasing the entire plate and its arrangement. Straight-on angles are perfect for capturing layered dishes or tall drinks, emphasizing height and structure. The 45-degree angle, a favorite among food photographers, provides depth and dimension, revealing both the top and side of your subject.
To make the most of these angles:
- Experiment with height: Use props like books or boxes to elevate your phone for better overhead shots.
- Consider the background: Choose complementary surfaces and adjust your angle to include or exclude certain elements.
- Focus on the hero: Identify the star ingredient or feature of your dish and angle your shot to highlight it.
Don't be afraid to move around and try unconventional angles. Sometimes, an unexpected perspective can create a striking image.
Garnish and Prop Styling

Countless food photographers know that garnishing and prop styling can elevate a dish from ordinary to extraordinary. To enhance your food photos, start by carefully selecting props that complement your dish without overshadowing it. Choose plates, utensils, and linens that match the mood and style of your food. Opt for matte surfaces to reduce glare and reflections in your images.
When it comes to garnishing, less is often more. Add fresh herbs, a sprinkle of spices, or a drizzle of sauce to bring life and color to your dish. Be strategic with your placement, using the rule of thirds to guide your composition.
Don't forget to take into account textures – a rough wooden board can contrast beautifully with a smooth, creamy dessert.
Create depth in your photos by layering props. Place a folded napkin or a piece of cutlery in the foreground to add dimension. Use small bowls of ingredients or complementary side dishes to tell a story about the meal.
Remember to keep your props clean and free from fingerprints or smudges. With thoughtful garnishing and prop styling, you'll transform your smartphone food photos into appetizing works of art.
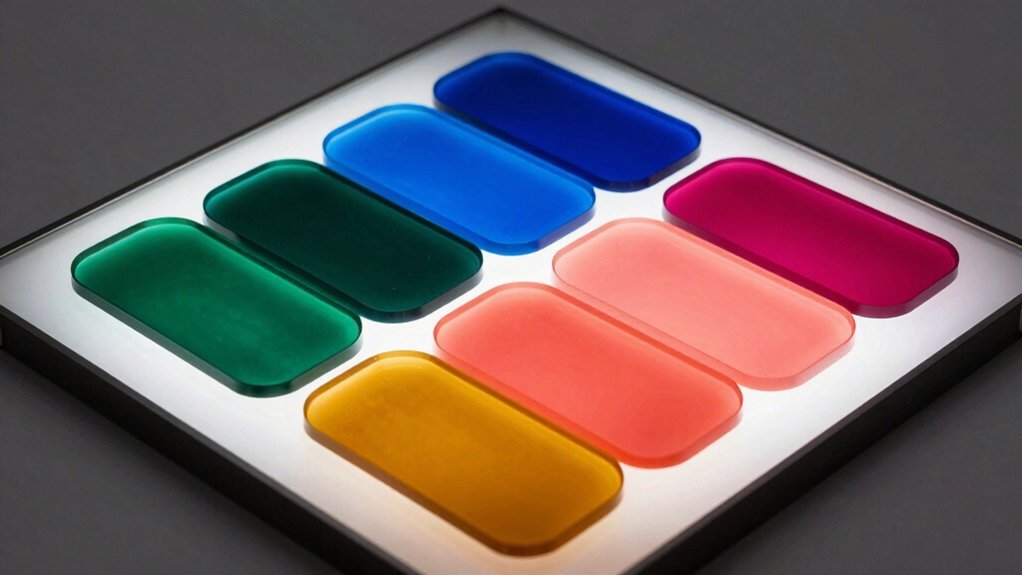
Color Theory for Food

Color theory plays an essential role in food photography, influencing how appetizing your dishes appear. Understanding how colors interact can help you create visually striking and mouth-watering images.
Start by considering complementary colors, which are opposite each other on the color wheel. These pairings create vibrant contrasts that make your food pop. For example, pair orange carrots with a blue plate or green herbs with red tomatoes.
Next, explore analogous colors, which are adjacent on the color wheel. These create harmonious compositions that are pleasing to the eye. Think of a salad with various shades of green or a fruit platter with different hues of red and orange.
To make your food photos even more appealing, consider these color theory tips:
- Use warm colors like red, orange, and yellow to stimulate appetite
- Incorporate cool colors like blue and green for a revitalizing feel
- Balance your composition with neutral tones to avoid overwhelming the viewer
Focus and Depth Control

Master your smartphone's focus and depth controls to elevate your food photography.
Use the tap-to-focus feature to guarantee your dish's key elements are sharp and clear.
Experiment with aperture settings and create a bokeh effect to draw attention to specific areas while beautifully blurring the background.
Tap-To-Focus for Sharpness
The tap-to-focus feature is a game-changer for smartphone food photography. It allows you to precisely control which part of your dish appears sharpest in the image. By simply tapping on your screen, you'll tell your camera where to direct its focus, ensuring that the most important elements of your food are crisp and clear.
To make the most of tap-to-focus:
- Identify the focal point: Decide which part of your dish you want to highlight. This could be the texture of a perfectly seared steak or the glistening surface of a chocolate ganache.
- Tap and hold: Once you've chosen your focal point, tap and hold on that area of the screen. This will lock the focus and exposure, preventing your camera from readjusting as you compose your shot.
- Adjust exposure: After locking focus, you can often slide your finger up or down to fine-tune the exposure, ensuring your image isn't too bright or too dark.
Adjust Aperture Settings
While tap-to-focus helps you highlight specific areas of your dish, adjusting aperture settings takes your food photography to the next level.
On many smartphones, you can control the aperture by using portrait mode or manually adjusting the f-stop in pro mode. A wider aperture (lower f-number) creates a shallow depth of field, blurring the background and emphasizing your main subject. This works great for close-up shots of a single dish or ingredient.
For overhead shots or when capturing multiple dishes, opt for a narrower aperture (higher f-number) to keep more of the scene in focus.
Experiment with different aperture settings to find the sweet spot that best showcases your food. Remember, lighting conditions can affect your aperture choices. In low light, you might need a wider aperture to let in more light, while bright settings allow for narrower apertures.
Don't be afraid to play with bokeh effects, which can add a dreamy, professional look to your food photos.
Create Bokeh Effect
Bokeh, the aesthetic quality of out-of-focus areas in a photograph, can elevate your food shots from amateur to professional. By creating a soft, blurry background, you'll draw attention to your subject and add depth to your images.
While smartphone cameras don't have the same optical capabilities as DSLRs, you can still achieve a beautiful bokeh effect with a few simple tricks.
To create bokeh in your food photos:
- Use portrait mode: Most modern smartphones have a portrait or depth-of-field mode that simulates bokeh. Activate this mode and position your food close to the camera, with some distance between it and the background.
- Maximize distance: Place your subject as far from the background as possible. This separation will help create a more pronounced bokeh effect, even without portrait mode.
- Choose a contrasting background: Select a background with bright spots or patterns. These elements will transform into soft, circular shapes when out of focus, enhancing the bokeh effect.
Remember to experiment with different angles and distances to find the perfect balance between your subject and the blurred background.
With practice, you'll master the art of creating stunning bokeh effects in your smartphone food photography.
Editing Apps and Filters

Three essential editing apps can transform your food photos from amateur to professional-looking: Snapseed, VSCO, and Lightroom Mobile. Each offers unique features to enhance your culinary snapshots.
Snapseed, Google's free editing app, provides powerful tools like selective adjustments and healing brushes. You'll find it easy to boost colors, adjust exposure, and sharpen details.
Its "Curves" tool lets you fine-tune contrast and brightness with precision.
VSCO is known for its film-like filters that add a subtle, artistic touch to your food photos. It's great for achieving a consistent aesthetic across your images.
Use its presets as a starting point, then tweak settings to suit your style.
Lightroom Mobile offers professional-grade editing tools in a user-friendly interface. It excels at color grading, allowing you to create rich, appetizing hues.
The app's selective editing feature lets you enhance specific areas of your photo without affecting others.
When applying filters, remember less is more. Aim for natural-looking results that highlight the food's textures and colors.
Experiment with different apps and techniques to develop your unique editing style.
Capturing Steam and Movement

Beyond editing, capturing the dynamic elements of food can elevate your photography. Steam and movement add life to your images, making them more enticing and realistic. To capture steam, time your shot when the food is piping hot, and use a dark background to make the steam visible.
For movement, try action shots like pouring syrup, sprinkling herbs, or tossing a salad.
Lighting plays an essential role in capturing these dynamic elements. Use natural light whenever possible, positioning your subject near a window. If you're indoors with poor lighting, invest in a small LED light to highlight steam and movement effectively.
To master capturing steam and movement, follow these tips:
- Experiment with burst mode to capture the perfect moment in a series of rapid shots
- Use a faster shutter speed to freeze motion, or a slower one for artistic blur
- Try different angles and heights to find the most appealing perspective for your subject
Background Selection and Textures

When selecting backgrounds for your food photos, consider using complementary color backdrops to make your dishes pop.
You'll want to choose colors that contrast with your food while enhancing its natural hues.
For added visual interest, experiment with textured surfaces like rustic wood, marble, or linen to create depth and dimension in your shots.
Complementary Color Backdrops
Colors can make or break your food photography. When it comes to selecting a backdrop for your culinary masterpiece, complementary colors are your secret weapon. They'll make your dish pop and create a visually striking image that's sure to grab attention.
To choose the perfect complementary color backdrop, consider the dominant hues in your food. Then, select a background color that's opposite on the color wheel. For example, pair red tomatoes with a green backdrop or golden fried chicken with a deep blue surface.
Here are three tips to nail your complementary color game:
- Use a color wheel app to find perfect matches
- Experiment with different shades and tones within the complementary color family
- Consider the mood you want to convey – warm colors energize, cool colors calm
Don't be afraid to get creative with textures, too. A smooth backdrop can make rough foods stand out, while textured surfaces can add interest to softer dishes.
Textured Surface Contrasts
Textures play an essential role in elevating your smartphone food photography. By carefully selecting contrasting surfaces, you'll create depth and visual interest in your images. Consider using rough wooden boards, smooth marble slabs, or textured linens as backgrounds. These elements can complement your food's texture and enhance its appeal.
When choosing a surface, think about the food you're photographing. Rustic, grainy textures work well with hearty dishes like stews or artisanal bread, while sleek, polished surfaces complement delicate desserts or sushi. Don't be afraid to experiment with unconventional textures like burlap, slate, or even weathered metal for unique effects.
Remember to balance the texture of your surface with the food's texture. If your dish has a lot of visual complexity, opt for a simpler background to avoid overwhelming the image. Conversely, a textured surface can add interest to a visually simple dish.
You can also create contrast within the frame by combining different textures. Try placing a smooth plate on a rough wooden table or using textured napkins alongside glossy cutlery. These juxtapositions will add depth and dimension to your food photos, making them more visually engaging and professional-looking.
Plating and Portion Arrangement

The art of plating transforms a simple meal into a visual feast. When it comes to smartphone food photography, how you arrange your portions can make or break your shot. Start by choosing the right plate size—it shouldn't dwarf your food nor make it look cramped. Opt for white or neutral-colored plates to let your dish take center stage.
Consider the rule of thirds when arranging your food. Place the main element slightly off-center for a more dynamic composition. Use negative space to your advantage, allowing the eye to focus on the star of the show. Don't overcrowd the plate; less is often more in food photography.
To elevate your plating game, try these pro tips:
- Create height by stacking elements or using garnishes
- Use odd numbers of items for a more visually appealing arrangement
- Incorporate contrasting colors and textures to add visual interest
Remember to keep your plating clean and precise. Wipe away any smudges or drips that might distract from the main dish.
Experiment with different arrangements and angles to find what works best for each unique dish. With practice, you'll develop an eye for plating that'll make your smartphone food photos truly stand out.
Frequently Asked Questions
How Do I Prevent Glare on Reflective Surfaces Like Plates or Utensils?
To prevent glare on reflective surfaces, you'll want to adjust your lighting angle. Try diffusing light with a white cloth or paper. You can also reposition the plates or utensils, or use matte surfaces instead when possible.
What's the Best Way to Photograph Dark-Colored Foods Like Chocolate or Coffee?
To capture dark foods like chocolate or coffee, you'll want to increase exposure and use side lighting. Try placing your subject near a window and use a white reflector to bounce light. Don't forget to adjust your camera's settings.
How Can I Make Frozen Desserts Look Appetizing Before They Melt?
To make frozen desserts look appetizing, you'll want to work quickly. Use a chilled plate, add colorful toppings, and create texture with drizzles or sprinkles. Capture steam or frost for a just-served look. Don't forget proper lighting!
Are There Any Food-Safe Sprays to Enhance the Appearance of Dishes?
You can use food-safe sprays to enhance dish appearance. Try glycerin mixed with water for a dewy look, or edible food coloring sprays for vibrant hues. There's also olive oil spray to add shine to meats and vegetables.
What's the Ideal Smartphone Camera Resolution for Food Photography?
You'll find that a 12-megapixel camera is ideal for food photography on smartphones. It's enough to capture fine details without overwhelming file sizes. Don't worry if your phone has more or fewer megapixels; technique matters most.
In Summary
You've now got the tools to take your food photography to the next level. Remember, practice makes perfect. Don't be afraid to experiment with different techniques and find your unique style. With these pro tricks up your sleeve, you'll be capturing drool-worthy food photos in no time. So grab your smartphone, plate up something delicious, and start shooting. Your Instagram feed will thank you, and you might just inspire some serious food envy!
Leave a Reply