Capture perfect group photos with these mobile tricks: Use burst mode to catch the best expressions, and find flattering lighting to enhance everyone's features. Arrange people strategically, placing taller individuals in the back and staggering heights for depth. Set a self-timer to include yourself, and utilize a wide-angle lens for larger groups. Experiment with candid shots to capture authentic moments and natural interactions. Don't forget to edit and enhance your photos afterward for that professional touch. With these tips, you'll be well on your way to creating stunning group memories that'll last a lifetime. Discover even more ways to elevate your mobile photography skills.
Use Burst Mode
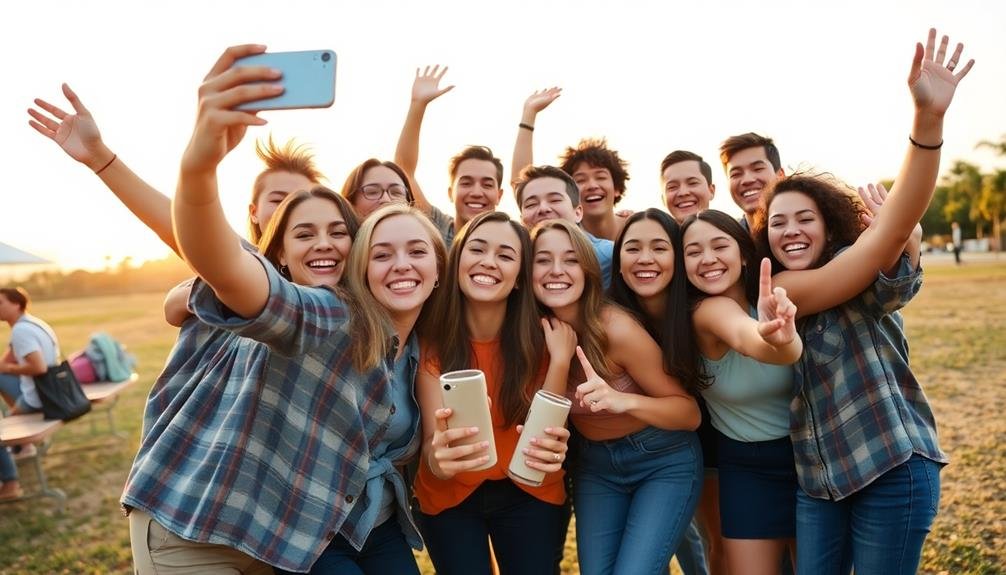
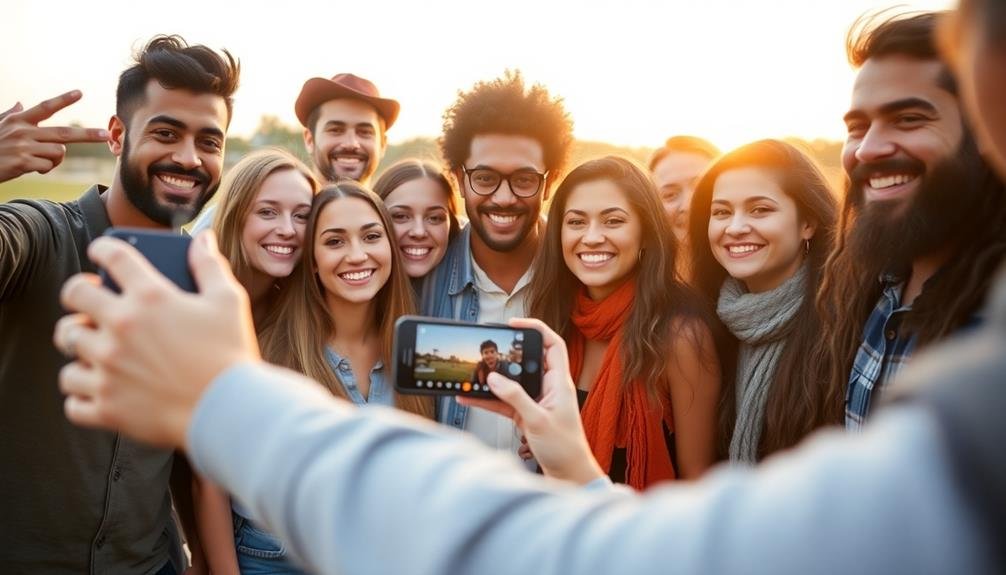
Burst mode is your secret weapon for capturing the perfect group photo. This feature allows you to take multiple shots in rapid succession, increasing your chances of getting that one image where everyone looks their best. To use burst mode, simply hold down the shutter button on your smartphone's camera app. Your device will continue taking photos until you release the button.
When shooting a group, people's expressions can change in an instant. Someone might blink, look away, or make an awkward face. By using burst mode, you'll have a series of images to choose from, making it easier to find one where everyone looks great. After taking the burst, review the photos and select the best one.
Many smartphones now offer advanced burst mode features, such as automatic selection of the best shots or the ability to create composite images from multiple frames. Experiment with these options to further enhance your group photos.
Remember to have enough storage space on your device, as burst mode can quickly fill up your memory. With practice, you'll master this technique and consistently capture stunning group shots.
Find the Right Lighting
While burst mode can help capture the perfect moment, the right lighting is equally important for stunning group photos.
You'll want to find a balance between natural and artificial light sources to guarantee everyone looks their best. Avoid harsh overhead lighting that can create unflattering shadows on faces. Instead, opt for soft, diffused light that evenly illuminates the group.
When shooting outdoors, aim for the "golden hour" just after sunrise or before sunset. This warm, flattering light can make your group photos look magical.
If you're indoors, position your group near windows to take advantage of natural light. For evening shots, use ambient lighting or a portable LED light to brighten faces without causing harsh glare.
Consider these lighting tips for better group photos:
- Use reflectors to bounce light onto shadowy areas
- Avoid backlighting that can silhouette your subjects
- Adjust your camera's white balance to match the lighting conditions
- Experiment with side lighting for a dramatic effect
- Turn off your flash in well-lit areas to prevent washout
Arrange People Strategically
When arranging people for a group photo, you'll want to place the tallest individuals in the back row.
Stagger heights throughout the group to create depth and visual interest.
Make sure to fill the frame effectively, positioning subjects to maximize the use of space without overcrowding.
Tallest in Back Row
A fundamental rule for composing group photos is to position the tallest people in the back row. This arrangement guarantees everyone's face is visible and creates a balanced, aesthetically pleasing image.
When you're organizing your group, start by identifying the tallest individuals and placing them at the center of the back row. Gradually work your way down, positioning shorter people towards the front.
Consider these tips when arranging your group by height:
- Ask taller people to stand with their feet slightly apart to reduce their height
- Place shorter individuals on steps or raised surfaces to even out heights
- Use diagonal lines to create depth and interest in the composition
- Alternate tall and short people in each row for a more dynamic look
- Encourage taller subjects to lean in slightly, creating a more cohesive group
Staggered Heights for Depth
To create depth and visual interest in your group photo, strategically arrange people with staggered heights. Start by placing taller individuals in the back, but don't make a strict height-based line. Instead, mix it up by positioning some shorter people in the back row and a few taller ones in front. This creates a more natural, dynamic look and prevents a rigid, flat appearance.
Use steps, benches, or natural terrain to your advantage. Place some people on higher ground or seated objects, while others stand on lower levels. This variation in height adds dimension to your photo and helps showcase everyone more effectively.
For larger groups, consider creating multiple rows with alternating heights. You can have some people sit cross-legged in the front, others kneeling behind them, and the rest standing in staggered positions.
Don't forget to account for children in your group. Elevate them by having adults hold them or placing them on chairs or platforms. This guarantees they're visible and adds an element of warmth to the photo.
Fill Frame Effectively
Filling the frame effectively goes hand in hand with staggering heights. When arranging people for a group photo, you'll want to maximize the use of space within your camera's frame. This technique not only creates a more visually appealing image but also guarantees everyone is clearly visible.
To fill the frame effectively, consider these strategies:
- Position taller individuals towards the center and back
- Place shorter people in the front or on the sides
- Encourage subjects to stand close together, minimizing gaps
- Use diagonal lines to create depth and interest
- Incorporate props or surroundings to frame the group
By implementing these techniques, you'll create a balanced composition that draws the viewer's eye across the entire image. Don't be afraid to direct your subjects and make adjustments as needed.
Remember, a well-filled frame conveys a sense of unity and connection among the group members.
If you're working with a large group, consider breaking them into smaller clusters or creating multiple rows. This approach allows you to maintain a clear view of each person while still utilizing the entire frame.
Experiment with different arrangements until you find the most visually pleasing and inclusive composition for your group photo.
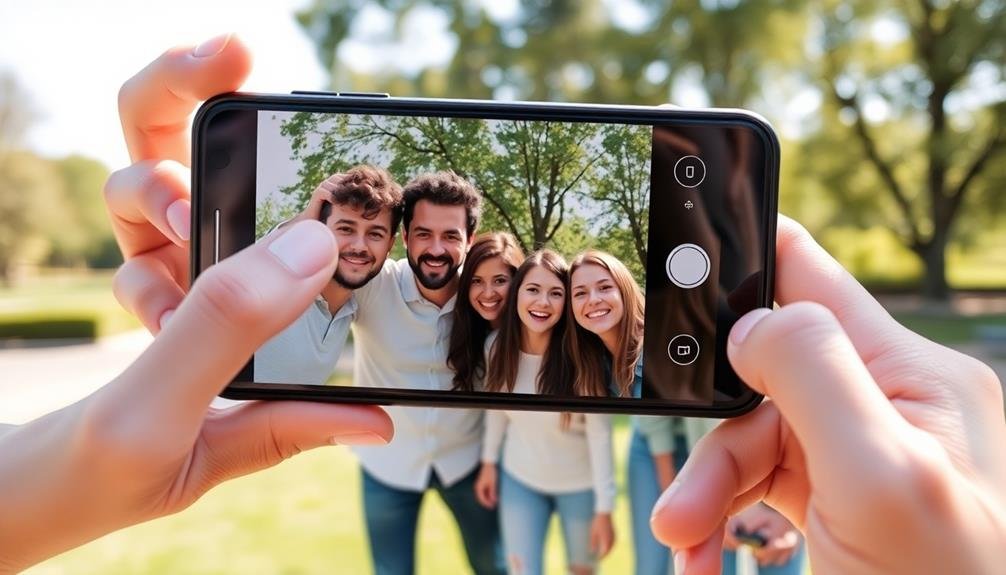
Set a Self-Timer
Setting a self-timer is a game-changer for group photos. It allows you to be part of the picture without relying on someone else to take the shot. Most smartphones have a built-in timer feature in their camera apps. To use it, simply prop your phone on a stable surface or use a tripod, then set the timer for 3, 5, or 10 seconds.
When you're ready, tap the shutter button and quickly join the group. The countdown gives everyone time to get into position and pose naturally. For better results, consider using a longer timer setting to guarantee you're not rushing. Some phones even offer burst mode with the timer, capturing multiple shots in quick succession.
If your phone doesn't have a built-in timer, don't worry. You can download third-party camera apps that offer this feature. Another option is to use your smartwatch or Bluetooth remote to trigger the shutter from a distance.
Remember to frame the shot before setting the timer, guaranteeing everyone fits comfortably in the frame. With practice, you'll master the art of self-timed group photos, creating memorable shots that include the entire group.
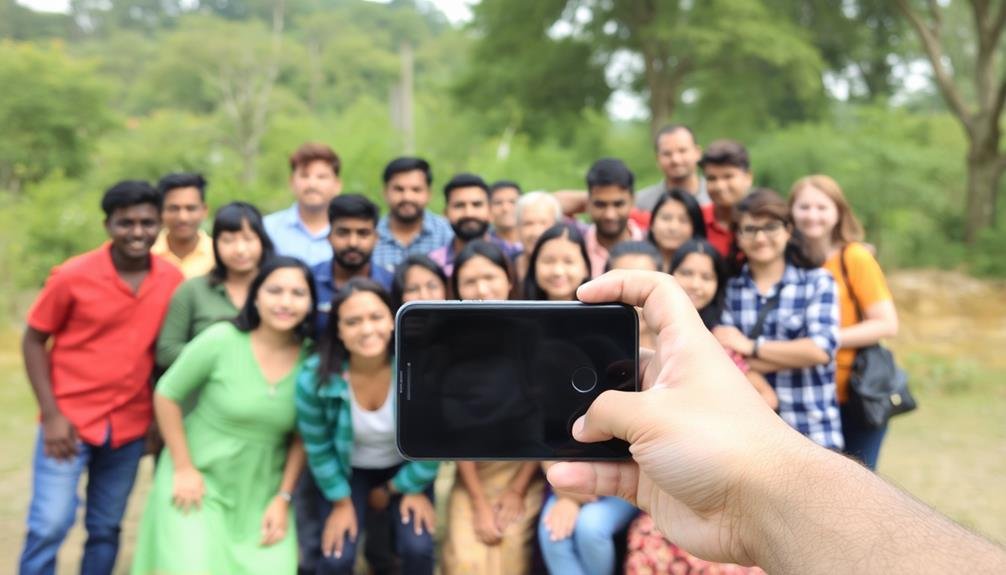
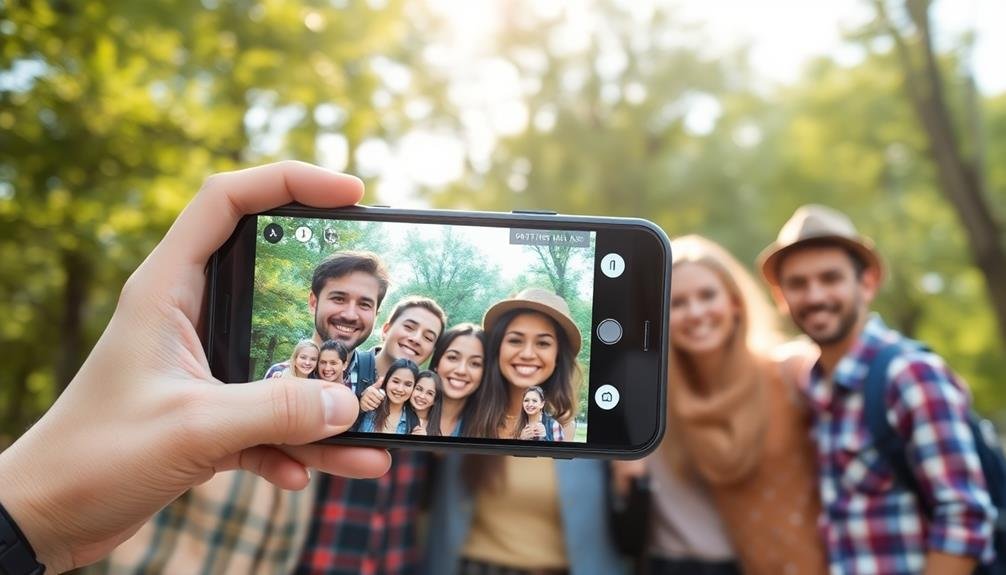
Utilize Wide-Angle Lens
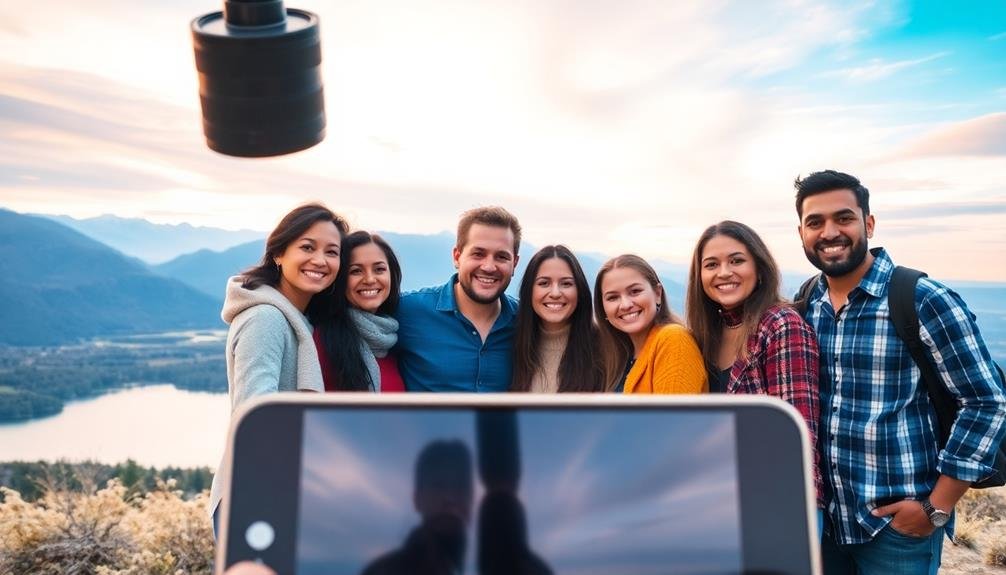
While self-timers are great for including everyone, a wide-angle lens can transform your group photos. Many modern smartphones come equipped with this feature, allowing you to capture more of the scene and fit larger groups into the frame.
To make the most of your wide-angle lens, follow these tips:
- Position your group closer together to avoid distortion at the edges
- Place important subjects near the center of the frame
- Use the extra space to showcase your surroundings
- Experiment with different angles to find the most flattering composition
- Be mindful of lighting, as wide-angle lenses can amplify shadows
When using a wide-angle lens, you'll need to get closer to your subjects than you'd with a standard lens. This proximity helps maintain focus on the group while still capturing the broader scene.
Be aware that objects at the edges of the frame may appear slightly stretched or distorted, so adjust your composition accordingly. Wide-angle lenses are particularly useful for outdoor group shots, allowing you to include scenic backgrounds that add context and depth to your photos.
With practice, you'll master the art of wide-angle group photography, creating memorable images that showcase both your friends and the environment.
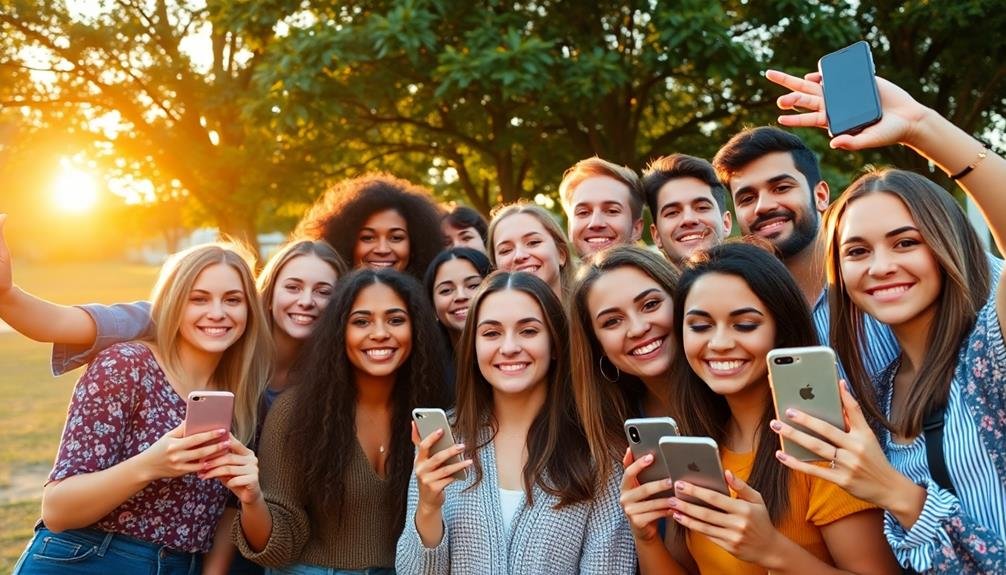
Experiment With Candid Shots
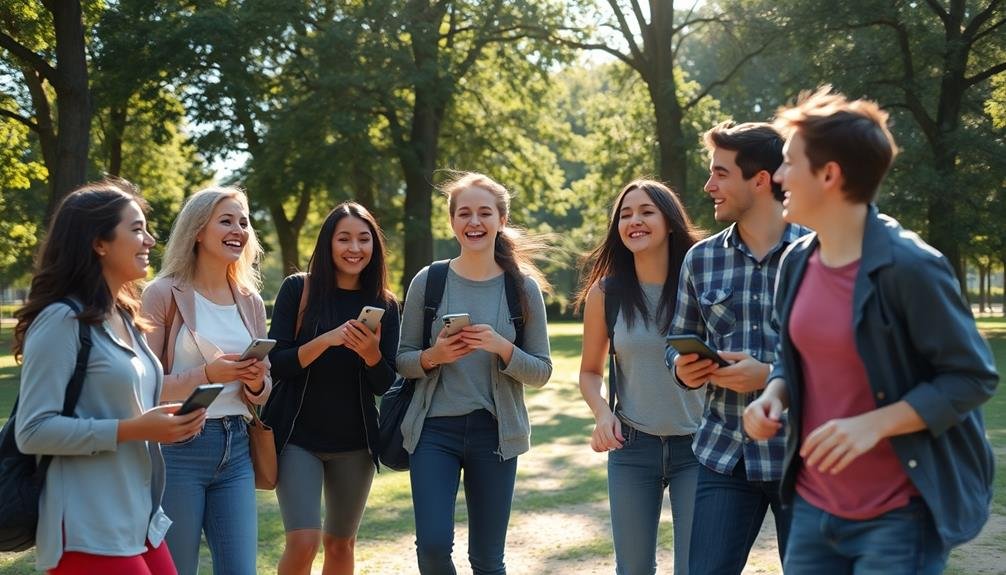
Try capturing candid shots to add a fresh dimension to your group photos.
You'll catch authentic moments by encouraging natural interactions among your subjects.
Let the group mingle and chat while you snap away, preserving genuine smiles and spontaneous laughter.
Capture Authentic Moments
Although posed group photos have their place, capturing authentic moments often yields the most memorable results. To achieve this, you'll need to be ready at all times, keeping your camera app open and accessible. Pay attention to the group dynamics and anticipate moments of laughter, interaction, or shared experiences.
To capture authentic moments effectively:
- Use burst mode to capture a series of quick shots
- Experiment with different angles and perspectives
- Focus on natural expressions and body language
- Look for moments of genuine emotion or connection
- Be patient and wait for the right moment to unfold
Don't be afraid to take multiple shots, as you can always delete the ones that don't work later. Encourage your subjects to engage in activities or conversations that will lead to natural interactions. This could be anything from playing a game to sharing a meal together.
By capturing these genuine moments, you'll create photos that truly reflect the personality and relationships within the group. Remember, the goal is to document real experiences rather than manufacturing perfect poses.
With practice, you'll develop an eye for spotting and capturing those fleeting, authentic moments that make group photos truly special.
Encourage Natural Interactions
Natural interactions are the key to capturing authentic group photos. To encourage these genuine moments, try stepping back and letting your subjects interact without constant direction. Instead of asking everyone to pose and smile, give them a task or topic to discuss. This will create natural movements and expressions that you can capture.
You can also try taking photos while the group is engaged in an activity. Whether it's playing a game, cooking together, or simply having a conversation, these scenarios often lead to candid and memorable shots. Don't be afraid to experiment with different angles and compositions during these moments.
Another effective technique is to use the burst mode on your mobile camera. This allows you to capture a series of quick shots, increasing your chances of getting that perfect, spontaneous moment. Remember to be patient and observant, waiting for those fleeting expressions and interactions that make group photos special.
Lastly, consider using props or incorporating the environment into your shots. This can help create a more relaxed atmosphere and give your subjects something to focus on besides the camera.
Edit and Enhance Group Photos
Once you've captured your group photo, editing and enhancing it can take the image from good to great.
Start by cropping the photo to remove any distracting elements and focus on the group. Adjust the brightness, contrast, and saturation to make the colors pop and guarantee everyone's faces are well-lit.
Don't overdo it, though – you want the photo to look natural, not overly processed.
Consider using filters or presets to give your group photo a cohesive look, but choose ones that complement skin tones and don't distort the image. Touch up any minor imperfections like blemishes or stray hairs, but be careful not to alter anyone's appearance too drastically.
Here are some key editing techniques to enhance your group photos:
- Use the healing tool to remove small distractions
- Apply selective adjustments to brighten faces
- Enhance details to make the image sharper
- Balance colors to create a harmonious look
- Add a vignette to draw attention to the group
Frequently Asked Questions
How Can I Get Everyone to Smile Naturally in Group Photos?
To get natural smiles, tell jokes or funny stories before taking the photo. Encourage people to relax and be themselves. You can also ask them to laugh on cue or think of a happy memory. Candid shots often work best.
What's the Best Way to Handle Height Differences in Group Shots?
To handle height differences in group shots, you'll want to arrange people strategically. Place taller individuals in the back or center, with shorter people in front. You can also use stairs or have some people sit to create balance.
How Do I Prevent Blinking in Group Pictures?
To prevent blinking in group pictures, you'll want to count down before taking the shot. You can also take multiple photos quickly, use burst mode, or ask everyone to close their eyes and open on three.
What Should I Do if Someone Is Always Late for Group Photos?
If someone's always late for group photos, you can try setting an earlier meet time for them, sending reminders, or starting without them. You could also designate a specific time for photos and stick to it.
How Can I Include the Photographer in Group Shots Without a Selfie Stick?
You can use your phone's timer feature to include yourself in group shots. Set the timer, place your phone on a stable surface, and join the group. Alternatively, ask a passerby to take the photo for you.
In Summary
You're now equipped with seven powerful tricks for capturing stunning group photos on your mobile device. From using burst mode to arranging people strategically, these techniques will elevate your photography game. Don't forget to experiment with lighting, self-timers, and wide-angle lenses. Embrace candid shots for natural moments, and polish your images with editing tools. With these tips in your arsenal, you'll create perfect mobile memories that you and your friends will cherish for years to come.


Leave a Reply