To blend and layer photos like a pro on your mobile device, start by choosing powerful editing apps like Snapseed, PicsArt, or Adobe Photoshop Express. Familiarize yourself with layers, opacity adjustments, and blending modes to create stunning compositions. Master techniques like double exposure and precise masking for artistic effects. Experiment with textures, filters, and color grading to enhance your images. When creating composite photos, pay attention to lighting and shadows for seamless integration. Finally, export your masterpieces in high quality, preserving layer information for future edits. With practice, you'll reveal endless creative possibilities in mobile photo editing.
Choosing the Right Editing Apps
When starting on your photo blending and layering journey, selecting the right editing apps is essential. Look for apps that offer robust layering capabilities and a wide range of blending modes. Popular choices include Snapseed, PicsArt, and Adobe Photoshop Express.
Snapseed, a free app by Google, provides powerful tools for basic and advanced editing. It's user-friendly and offers features like double exposure and selective adjustments.
PicsArt is another versatile option, known for its extensive collection of filters, stickers, and blending tools. It's great for creating artistic compositions and photo manipulations.
For more professional results, consider Adobe Photoshop Express. While it has a steeper learning curve, it offers advanced layering options and precise control over your edits.
If you're willing to invest, Affinity Photo is a full-featured alternative to desktop editing software.
When choosing an app, consider your skill level and editing goals. Test out free versions before committing to paid options.
Look for apps with intuitive interfaces, regular updates, and strong user communities for support and inspiration. Remember, the best app is one you'll use consistently to improve your skills.
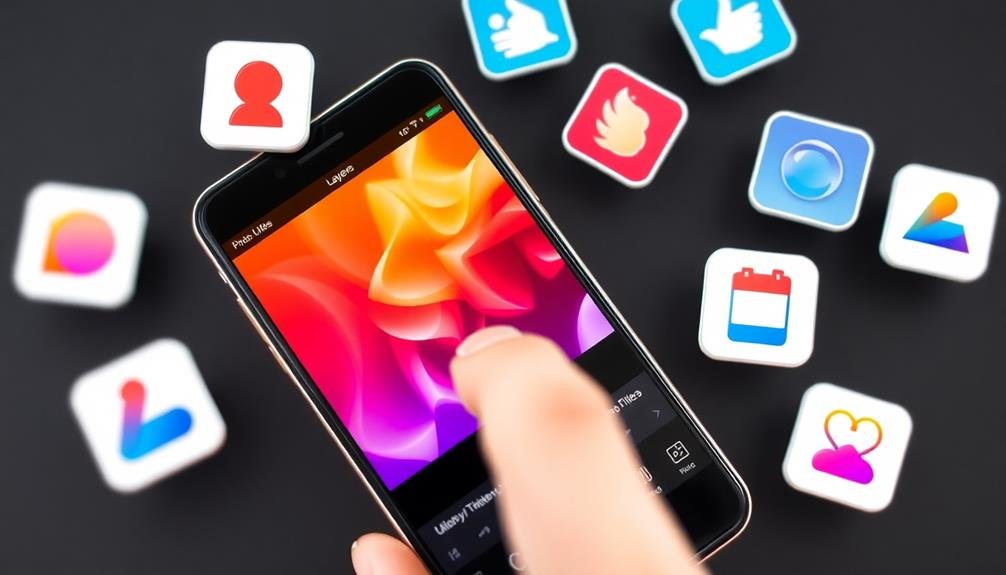
Understanding Layers in Mobile Editing
To start working with layers in mobile photo editing, you'll need to grasp the basic concept of stacking images or effects.
You can adjust each layer's opacity to control its visibility and impact on the final image.
Layer Basics for Beginners
Layers form the foundation of photo editing, acting as transparent sheets stacked on top of your original image. When you're working with layers, you're fundamentally creating multiple versions of your photo that you can manipulate independently. This allows you to make changes without permanently altering the original image.
To get started with layers, familiarize yourself with the layer panel in your mobile editing app. You'll typically find options to add, delete, and reorder layers. The bottom layer is usually your background image, while subsequent layers can contain adjustments, filters, or additional images.
Each layer has its own opacity and blending mode. Opacity controls the layer's transparency, while blending modes determine how the layer interacts with the layers below it. Experiment with these settings to achieve different effects.
As you edit, you can hide or reveal layers, adjust their order, and merge them when needed. Remember to name your layers for easy organization, especially when working on complex projects.
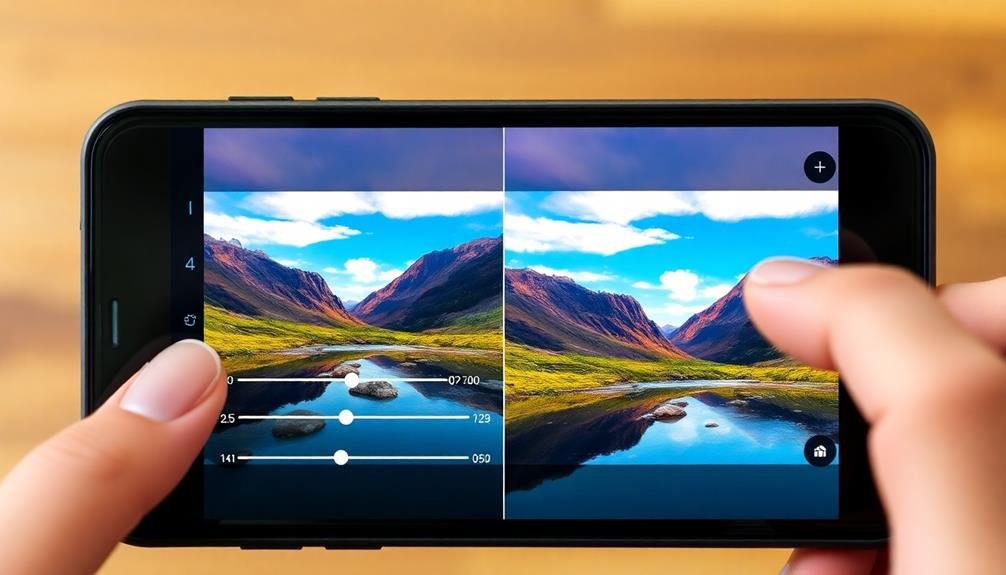
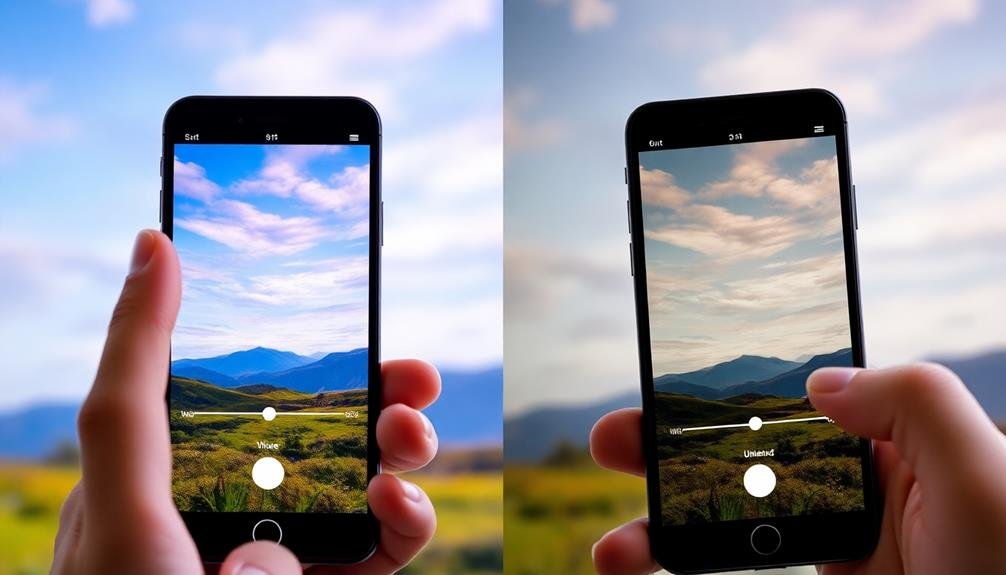
Manipulating Opacity and Blending
Two key aspects of layer manipulation in mobile photo editing are opacity and blending modes. Opacity controls the transparency of a layer, allowing you to adjust how much of the underlying layers show through.
You'll find an opacity slider in most mobile editing apps, typically ranging from 0% (completely transparent) to 100% (fully opaque).
Blending modes determine how a layer interacts with the layers beneath it. Common modes include Normal, Multiply, Screen, and Overlay. Each mode produces a unique effect by applying mathematical calculations to the pixel values of the blended layers.
For instance, Multiply darkens the image, while Screen lightens it.
To use these tools effectively, experiment with different combinations. Start by adjusting the opacity of your top layer to reveal details from lower layers.
Then, cycle through blending modes to see how they affect the overall look. Remember that the order of your layers matters; try rearranging them for varied results.
As you practice, you'll develop an intuition for which opacity levels and blending modes work best for different effects, enhancing your ability to create compelling, layered images on your mobile device.
Mastering Blending Modes
Blending modes often confuse newcomers to photo editing, but they're essential tools for creating stunning composite images. These modes determine how layers interact with each other, allowing you to create unique effects and enhance your photos. Understanding the most common blending modes will greatly improve your editing skills.
Start with the basics: Normal mode simply displays the top layer without any blending. Multiply darkens the image by multiplying pixel values, while Screen lightens by inverting and multiplying. Overlay combines Multiply and Screen, enhancing contrast and color intensity. Experiment with these modes to see how they affect your images.
For more advanced techniques, try:
- Soft Light for subtle contrast and color adjustments
- Color Dodge to brighten and intensify highlights
- Difference to create surreal, inverted color effects
As you practice, you'll develop an intuitive sense of which blending modes work best for different situations.
Don't be afraid to layer multiple blending modes for complex effects. Remember, there's no right or wrong way to use blending modes – it's all about achieving your desired artistic vision.
Adjusting Layer Opacity
With layer opacity, you can fine-tune the intensity of your blending effects. This powerful tool allows you to control how much of a layer is visible, ranging from fully opaque (100%) to completely transparent (0%). To adjust opacity, look for a slider or percentage value in your mobile photo editing app's layer menu.
As you decrease opacity, you'll reveal more of the underlying layers, creating subtle blends and shifts. This technique is particularly useful when you want to soften harsh edges or create a ghostly effect. Experiment with different opacity levels to achieve the perfect balance between layers.
When working with multiple layers, start by adjusting the opacity of the topmost layer and work your way down. This approach helps you visualize how each layer contributes to the overall composition.
Remember that opacity affects the entire layer, including any applied effects or adjustments.
For more precise control, consider using layer masks in conjunction with opacity adjustments. This combination allows you to selectively reveal or hide parts of a layer while maintaining overall opacity control.
Master opacity adjustments to elevate your photo blending skills and create stunning, professional-looking compositions on your mobile device.
Creating Masks for Precise Edits
Layer masks take your photo blending to the next level, offering unparalleled precision in your edits. Unlike adjusting opacity, masks allow you to selectively reveal or hide parts of a layer.
Start by tapping the mask icon in your mobile editing app, then use brush tools to paint where you want the layer visible or hidden. White areas of the mask reveal the layer, while black areas conceal it. Gray tones create partial transparency.
For intricate edits, try these techniques:
- Use a soft-edged brush for seamless shifts between masked and unmasked areas.
- Zoom in and decrease brush size for detailed work around edges and small features.
- Utilize the gradient tool to create smooth fades between layers.
Don't forget to experiment with blending modes while masking. Combine "Screen" mode with a mask to add light selectively, or use "Multiply" to darken specific areas.
Invert your mask to quickly switch between revealing and hiding parts of your layer. With practice, you'll create stunning, professional-looking composites right on your mobile device.
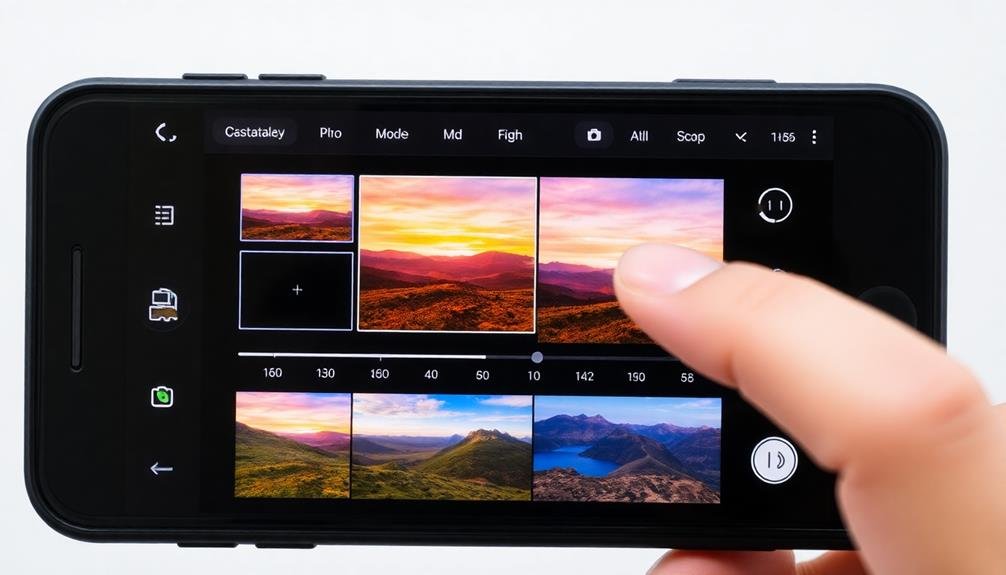
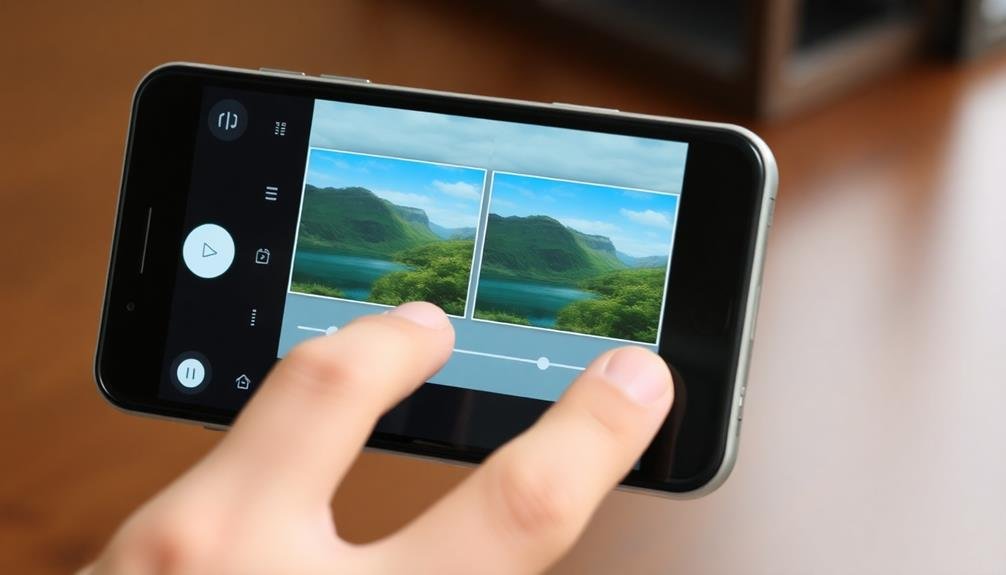
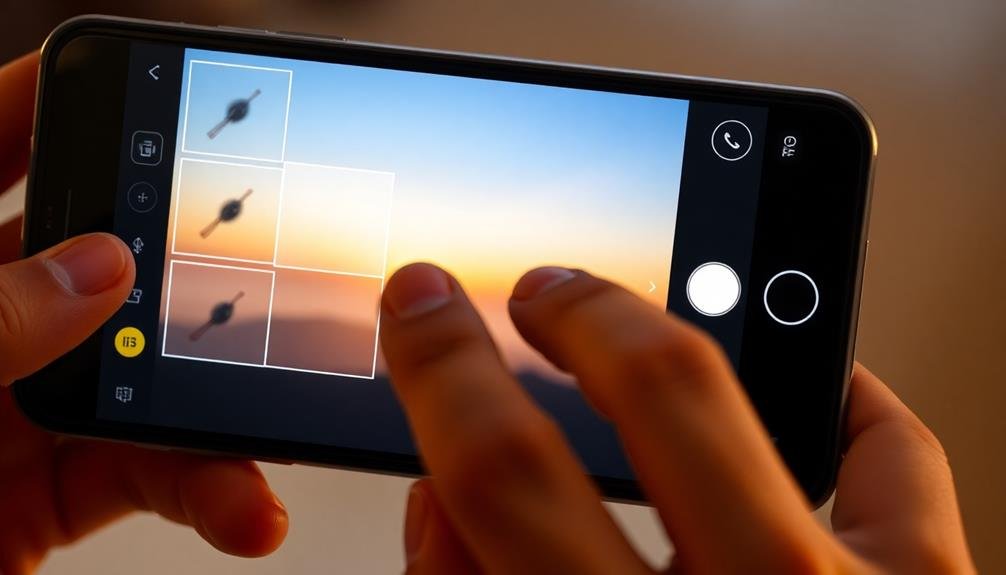
Importing and Arranging Multiple Photos
To kick off your blending project, you'll need to bring multiple images into your mobile editing app. Most apps offer several ways to import photos. You can usually select images from your device's gallery, cloud storage services, or even capture new photos directly within the app.
Look for an "Import" or "+" button to start this process.
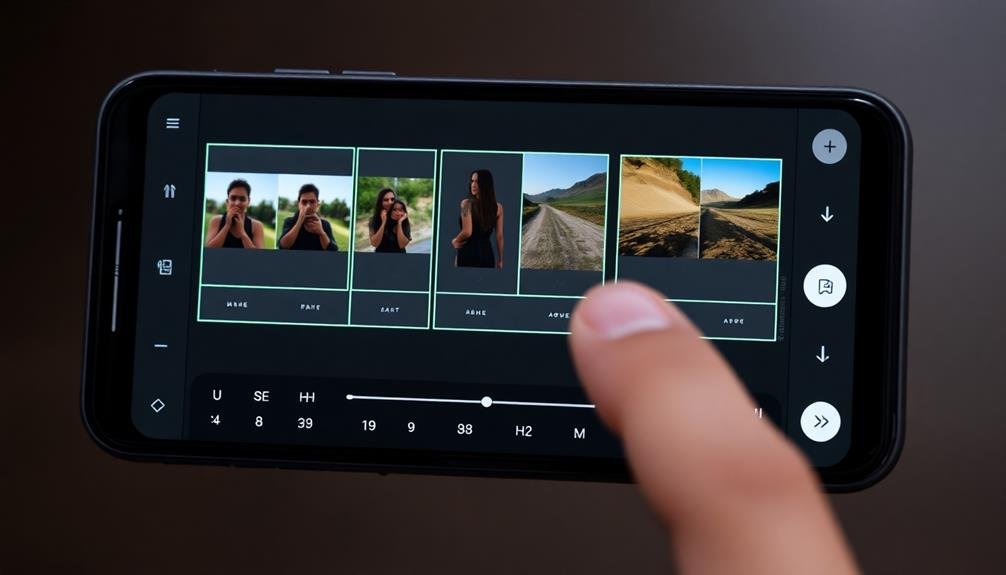
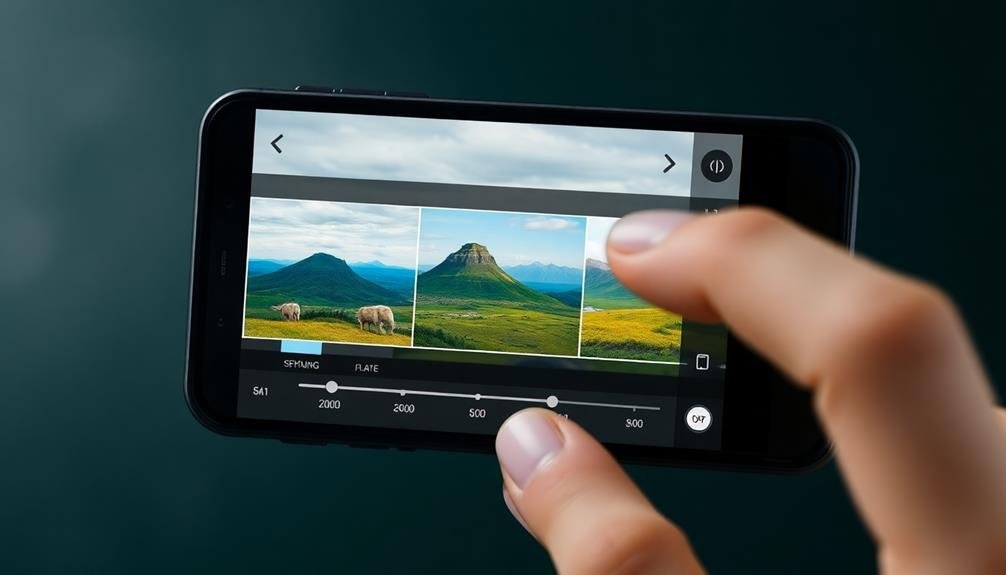
Once you've imported your images, it's time to arrange them. Many apps use a layer system, where each photo occupies its own layer. You'll typically see these layers stacked in a panel or timeline.
To rearrange your photos, simply drag and drop the layers into your desired order. The topmost layer will be visible first, with lower layers showing through transparent areas or when blended.
Pay attention to the size and positioning of each photo. You may need to resize or reposition images to align key elements. Use pinch-to-zoom gestures and dragging motions to adjust each layer.
Some apps offer automatic alignment tools, which can be helpful for precisely matching up similar images. Remember, the way you arrange your photos will greatly impact your final blended result.
Using Textures for Creative Effects
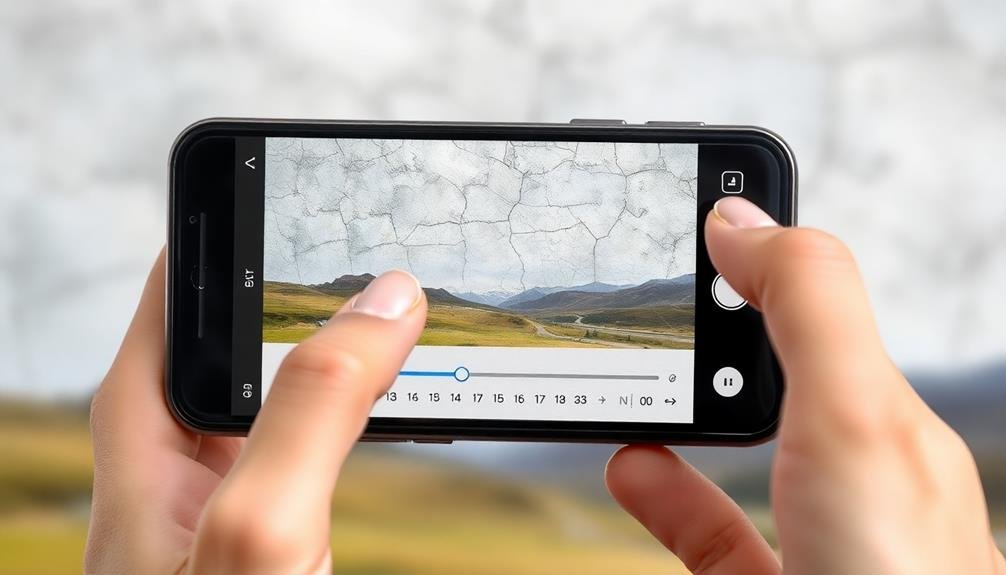
Once you've arranged your photos, adding textures can elevate your blending project to new creative heights. Textures add depth, character, and visual interest to your compositions. You'll find various texture options in most mobile photo editing apps, from subtle grain to dramatic overlays.
Experiment with different textures to see how they interact with your images and enhance the overall mood.
When applying textures, consider the following tips:
- Adjust the opacity to control the texture's intensity
- Use blending modes like Overlay or Soft Light for natural integration
- Mask out areas where you don't want the texture to appear
Don't limit yourself to pre-made textures. You can create your own by photographing interesting surfaces like weathered wood, crumpled paper, or rusty metal.
Import these custom textures into your project and blend them with your main images for truly unique results.
Remember to maintain a balance between the texture and your original photos. The goal is to enhance your composition, not overpower it.
With practice, you'll develop an eye for selecting and applying textures that complement your images and convey the desired atmosphere.
Applying Filters to Individual Layers

After blending your photos and adding textures, you can further enhance your composition by applying filters to individual layers. This technique allows you to create unique effects and fine-tune each element of your image separately. Most mobile editing apps offer a variety of filters that you can use on specific layers.
To apply a filter to an individual layer, first select the layer you want to modify. Then, choose from the available filters in your app's menu. Popular options include color adjustments, vintage effects, and artistic styles. You can adjust the filter's intensity to achieve the desired look.
Don't be afraid to experiment with different combinations. Remember that filters can dramatically alter the appearance of your layers, so use them judiciously. Pay attention to how they interact with other elements in your composition.
You might find that applying a subtle filter to one layer enhances the overall image, while a strong effect on another layer creates an eye-catching focal point. By carefully selecting and adjusting filters for each layer, you'll have greater control over your final image's mood and style.
Color Grading Layered Images
Color grading is a powerful tool for enhancing layered images on mobile devices. It allows you to adjust the overall color balance, contrast, and mood of your composite image. When color grading layered photos, you'll want to focus on creating a cohesive look that ties all the elements together.
Start by selecting a color palette that complements your image's subject and desired atmosphere. Use adjustment layers to modify the hue, saturation, and brightness of individual layers or the entire composition. Pay attention to the shadows, midtones, and highlights, ensuring they work harmoniously across all layers.
Experiment with different color grading techniques to evoke specific emotions:
- Warm, golden tones for a nostalgic or comforting feel
- Cool, blue hues for a calm or mysterious atmosphere
- High-contrast, vibrant colors for an energetic or bold statement
Don't be afraid to push the boundaries and create unique color combinations. However, always maintain a balance between creativity and natural-looking results.
Remember to step back occasionally and assess your work as a whole. Fine-tune your color grading until you achieve the desired impact, ensuring that all layers blend seamlessly into a cohesive final image.
Mastering Double Exposure Techniques
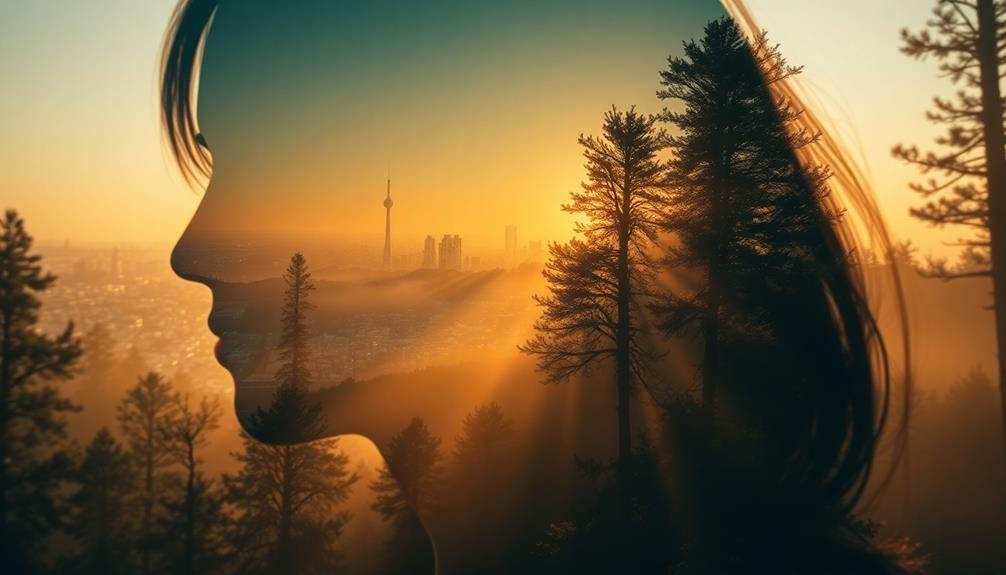
Double exposure techniques open up a world of creative possibilities for mobile photo editing. With these methods, you'll combine two or more images to create a unique, layered effect that tells a visual story. To master double exposure, start by selecting complementary images that'll blend well together.
Here's a quick guide to different double exposure styles:
| Style | Description | Best for | Tips |
|---|---|---|---|
| Silhouette | Use a subject's outline | Portraits | Choose high-contrast base image |
| Textural | Blend textures | Abstract art | Look for interesting patterns |
| Landscape | Combine nature scenes | Surreal effects | Match horizon lines |
| Urban | Mix cityscapes | Modern looks | Play with scale and perspective |
To create a double exposure, you'll need to adjust opacity levels and experiment with blending modes. Start with your base image, then add your second image as a new layer. Reduce the opacity of the top layer and try different blend modes like Screen, Overlay, or Soft Light.
Don't be afraid to use masking tools to reveal specific parts of each image. You can also adjust contrast, brightness, and color balance to enhance the overall effect. With practice, you'll develop your unique style in double exposure photography.
Creating Composite Images on Mobile

Composite images take photo editing to the next level, allowing you to create surreal scenes and impossible realities right on your mobile device.
To start crafting composites, you'll need a powerful editing app like Photoshop Express, Snapseed, or Enlight. These apps offer robust layering and masking tools essential for seamless composites.
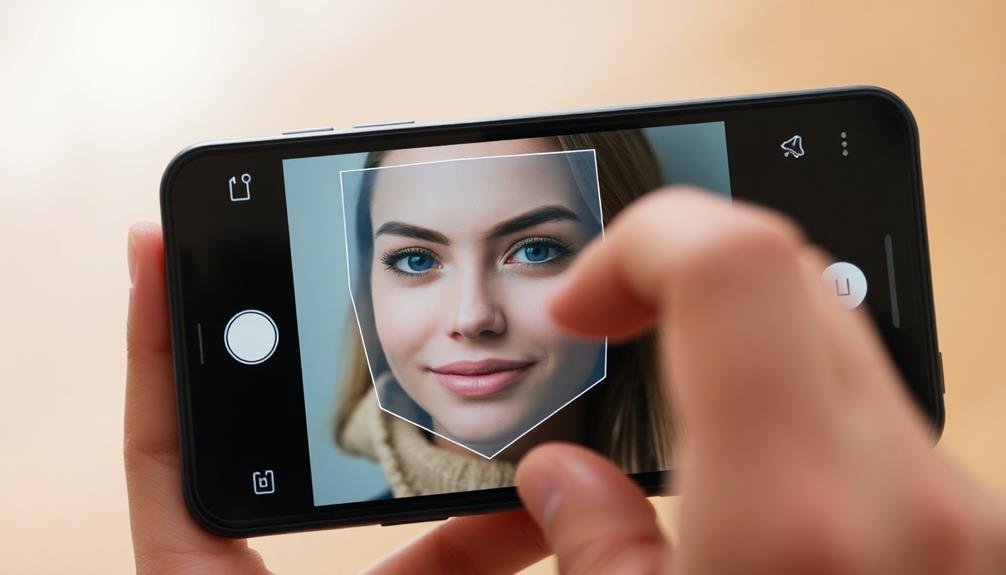
Begin by selecting your base image and additional elements you want to incorporate. Use precise cutting tools to extract subjects from their original backgrounds. Layer these elements onto your base image, adjusting size, position, and perspective to achieve a realistic blend.
Pay close attention to lighting and shadows to maintain consistency across all components.
Fine-tune your composite with these emotion-evoking techniques:
- Blur edges and add grain to create a dreamy, nostalgic atmosphere
- Experiment with color grading to evoke specific moods or times of day
- Incorporate unexpected elements for a touch of whimsy or surprise
Master the art of blending modes to seamlessly merge your layers. Soft Light and Overlay modes can help integrate elements naturally, while Screen and Multiply modes are perfect for adding light or shadow effects.
With practice, you'll create stunning composites that push the boundaries of reality.
Exporting High-Quality Layered Photos
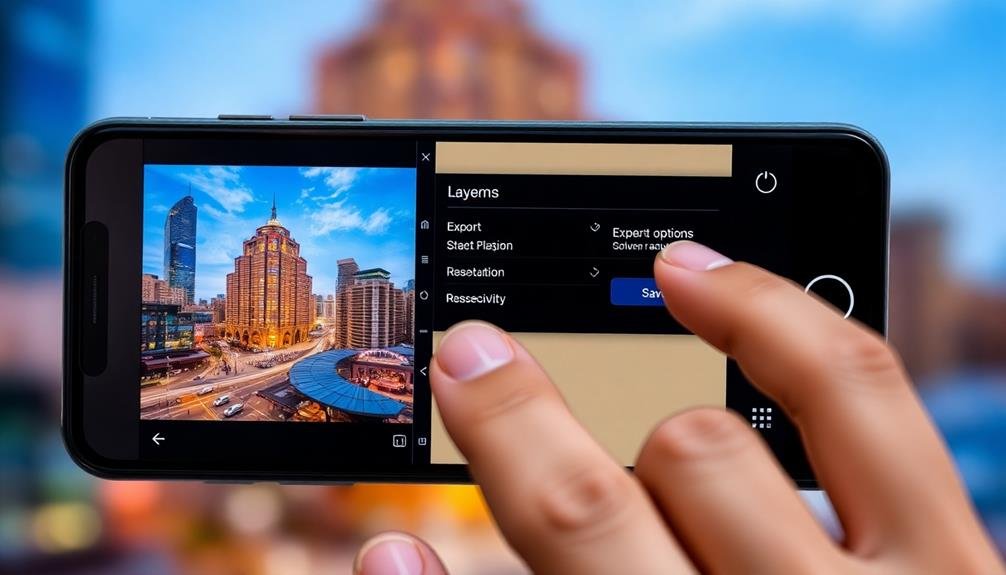
When you're ready to export your layered photo masterpiece, you'll need to make some key decisions.
First, select the ideal file format that balances quality and file size for your intended use.
Then, adjust the resolution settings to guarantee your image retains its clarity and detail.
Choose Optimal File Format
After blending and layering your photos, selecting the right file format for export is essential to preserving the quality and versatility of your creation. The most common formats for mobile photo editing are JPEG, PNG, and TIFF. Each has its strengths and use cases.
JPEG is ideal for sharing on social media or via email due to its small file size and wide compatibility. However, it's a lossy format, meaning some image quality is sacrificed for compression.
PNG is lossless and supports transparency, making it perfect for images with text or graphics. It's larger than JPEG but maintains higher quality.
TIFF is the go-to format for professional printing and archiving, as it preserves the highest quality but results in large file sizes.
Consider these emotional factors when choosing your format:
- Pride: Opt for TIFF to showcase your best work in its highest quality.
- Connection: Use JPEG for quick sharing and reaching a wider audience.
- Versatility: Choose PNG for projects requiring transparency or further editing.
Ultimately, your choice depends on your intended use and storage constraints.
Experiment with different formats to find the best balance between quality and practicality for your specific needs.
Adjust Resolution Settings
Frequently overlooked, adjusting resolution settings is crucial when exporting high-quality layered photos from your mobile device. To guarantee your blended images maintain their clarity and detail, you'll need to pay attention to these settings before finalizing your work.
Start by checking your app's export options. Look for resolution settings, typically measured in pixels per inch (PPI) or dots per inch (DPI). For print-quality results, aim for 300 PPI or higher. If you're sharing online, 72-150 PPI is often sufficient.
Consider the file size implications of higher resolutions. While they preserve more detail, they also increase file size considerably. If storage space is a concern, you might need to strike a balance between quality and file size.
Don't forget to maintain aspect ratio when adjusting resolution. This prevents distortion of your carefully blended images. Some apps offer preset sizes for common uses like social media posts or print formats.
Lastly, preview your export at different resolutions to find the sweet spot between quality and file size. This hands-on approach will help you develop an eye for ideal resolution settings in various scenarios.
Preserve Layer Information
Beyond resolution settings, preserving layer information is key to maintaining the integrity of your blended photos. When exporting your layered masterpiece, choose file formats that support layers, such as PSD or TIFF. These formats retain all the individual elements you've meticulously arranged, allowing for future edits and adjustments.
To guarantee your layers remain intact:
- Select "Save As" or "Export" in your mobile editing app
- Choose PSD or TIFF as your file format
- Enable the "Preserve Layers" option if available
By preserving layer information, you'll maintain flexibility in your workflow and protect the quality of your blended images.
This approach allows you to revisit and fine-tune your work later, without losing any of the intricate details you've created.
Troubleshooting Common Layering Issues
Tackling common layering issues can be frustrating, but with the right approach, you'll overcome them quickly. One frequent problem is unintended transparency. If your layers appear see-through when they shouldn't, check your opacity settings and confirm you haven't accidentally lowered them.
Another issue is misaligned layers. Use your app's grid or guideline features to precisely position elements.
Sometimes, you might notice pixelation or blurriness when resizing layers. To avoid this, always start with high-resolution images and scale down rather than up. If you're experiencing lag or app crashes, try flattening unnecessary layers or working with smaller file sizes.
Edges can be tricky, especially when blending multiple photos. Use the eraser tool with a soft brush to smooth harsh shifts between layers. If you're having trouble selecting specific areas, try adjusting your brush size or using the lasso tool for more precise selections.
Lastly, if your final image looks different across devices, it might be due to color profile inconsistencies. Stick to sRGB color space for better compatibility across platforms and always preview your work on multiple devices before finalizing.
Frequently Asked Questions
How Can I Achieve a Vintage Look When Blending Photos on Mobile?
To achieve a vintage look when blending photos on mobile, you'll want to use filters with warm tones, add grain or noise, and reduce saturation. Don't forget to apply a subtle vignette effect for an authentic retro feel.
Are There Any Copyright Concerns When Using Stock Photos for Layering?
Yes, you should be cautious about copyright when using stock photos. Always check the licensing terms and purchase the appropriate rights. It's best to use royalty-free images or create your own content to avoid legal issues.
Can I Create Animated GIFS Using Layered Photos on Mobile Devices?
Yes, you can create animated GIFs using layered photos on mobile devices. Many apps offer this feature, allowing you to combine multiple images, add changes, and adjust timing. It's a fun way to bring your photos to life.
How Do I Maintain Image Quality When Blending Multiple High-Resolution Photos?
To maintain image quality when blending high-res photos, you'll want to work with uncompressed files, use a high-quality blending mode, and avoid excessive editing. Keep your device's memory in mind and consider using cloud storage.
What Are the Best Practices for Organizing Layers in Complex Mobile Editing Projects?
You'll want to group related layers, use clear naming conventions, and keep your layer hierarchy organized. Don't forget to utilize folders and color-coding. Regularly clean up unused layers to maintain efficiency in your mobile editing projects.
In Summary
You've now got the tools to blend and layer photos like a pro on your mobile device. Don't be afraid to experiment with different apps, blending modes, and masking techniques. Remember, practice makes perfect. As you continue to refine your skills, you'll create stunning composite images and double exposures that'll wow your audience. Keep pushing your creative boundaries, and soon you'll be producing professional-quality layered photos right from your smartphone.


Leave a Reply