To capture stunning close-up product shots with mobile macro lenses, you'll need to master a few key techniques. Start by choosing a lens with the right magnification for your subject, typically between 10x and 100x. Experiment with lighting, using diffused sources to avoid harsh shadows. Compose your shots carefully, applying the rule of thirds and playing with angles. Focus is critical, so use tap-to-focus and manual controls for precision. Post-processing can enhance colors and sharpness. Get creative with water droplets, reflections, or natural elements to add interest. With practice, you'll create professional-looking product images using just your smartphone and a macro lens. The world of mobile macro photography offers endless possibilities for your product shots.
Understanding Mobile Macro Lenses
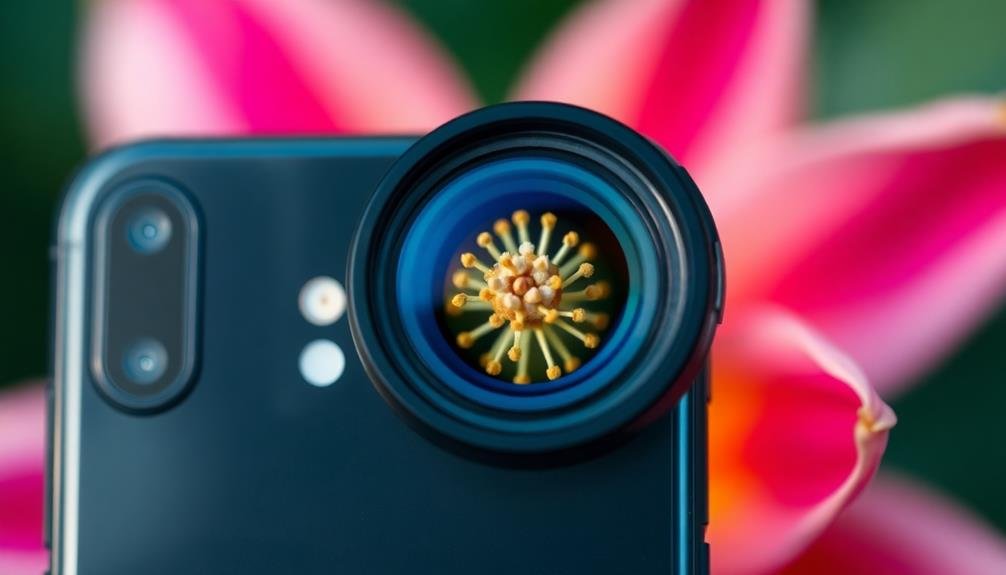
Anyone interested in mobile photography should familiarize themselves with macro lenses. These specialized attachments for your smartphone camera allow you to capture incredibly detailed close-up shots of small subjects. Macro lenses magnify your subject, bringing out intricate textures, patterns, and details that are often invisible to the naked eye.
When choosing a mobile macro lens, you'll encounter different magnification levels, typically ranging from 10x to 100x. Higher magnification lets you get even closer to your subject, but it also reduces the depth of field, making focusing more challenging. Most macro lenses clip onto your phone or attach via a case, ensuring stability during shooting.
It's important to understand that macro photography requires patience and practice. You'll need to get very close to your subject, sometimes just a few centimeters away. Proper lighting is essential, as you're often working in tight spaces where shadows can be an issue.
Many mobile macro lenses come with built-in LEDs to help illuminate your subject. Finally, consider investing in a tripod or stabilizing mount to minimize camera shake and achieve sharper images.
Choosing the Right Macro Lens
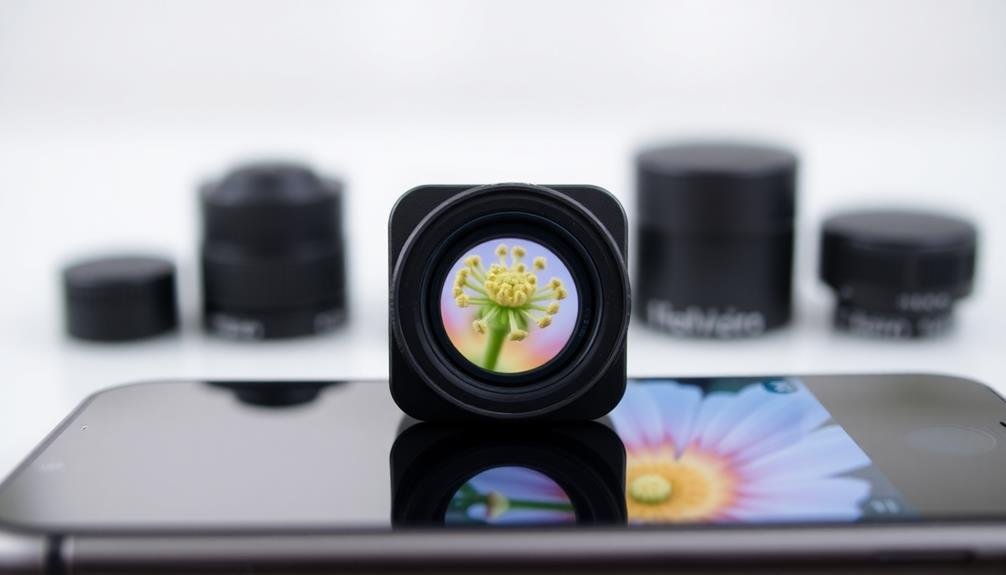
When it comes to choosing the right macro lens for your mobile device, several factors come into play.
First, consider the magnification level you need. Most mobile macro lenses offer 10x to 25x magnification, but some can go up to 100x. Higher magnification allows for more detailed close-ups but may require a steadier hand.
Next, think about the lens's compatibility with your phone. Some lenses are designed for specific models, while others use universal clip-on systems. Confirm the lens you choose fits your device securely.
Material quality is vital. Look for lenses made from high-grade glass rather than plastic for better image clarity and durability. Multi-element lenses often produce sharper images with less distortion.
Consider the working distance, which is the space between the lens and your subject. A longer working distance gives you more flexibility in lighting and composition.
Don't forget about ease of use. Some lenses require you to remove your phone case, while others work with cases on. If you'll be switching lenses frequently, a quick-attach system might be preferable.
Lastly, factor in your budget. While high-end lenses offer superior quality, there are affordable options that can still produce impressive results for casual photographers.
Essential Lighting Techniques
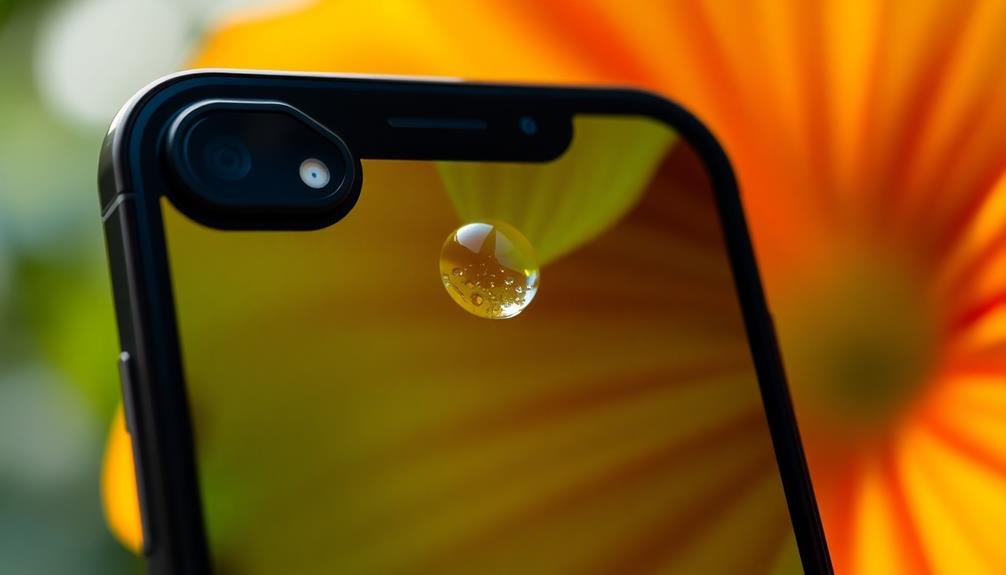
With the right lens in hand, your focus now shifts to illuminating your subject. Proper lighting is essential for capturing stunning close-up product shots with your mobile macro lens. You'll need to take into account three key factors: direction, intensity, and color temperature.
For direction, experiment with front, side, and backlighting to create different moods and highlight specific features. Adjust intensity to avoid overexposure or harsh shadows. Color temperature impacts the overall tone of your image, so choose between warm and cool light sources wisely.
Here's a quick reference guide for essential lighting techniques:
| Technique | Effect | Best For |
|---|---|---|
| Diffused Light | Soft, even illumination | Delicate textures |
| Spot Lighting | Dramatic highlights | Emphasizing details |
| Ring Light | Uniform, shadowless | Reflective surfaces |
Remember to use natural light when possible, as it often provides the most flattering results. If you're shooting indoors, position your subject near a window for soft, diffused light. For more control, invest in portable LED panels or a ring light designed for smartphones. These tools will help you achieve professional-looking results, even in challenging lighting conditions.
Composition for Impactful Close-Ups
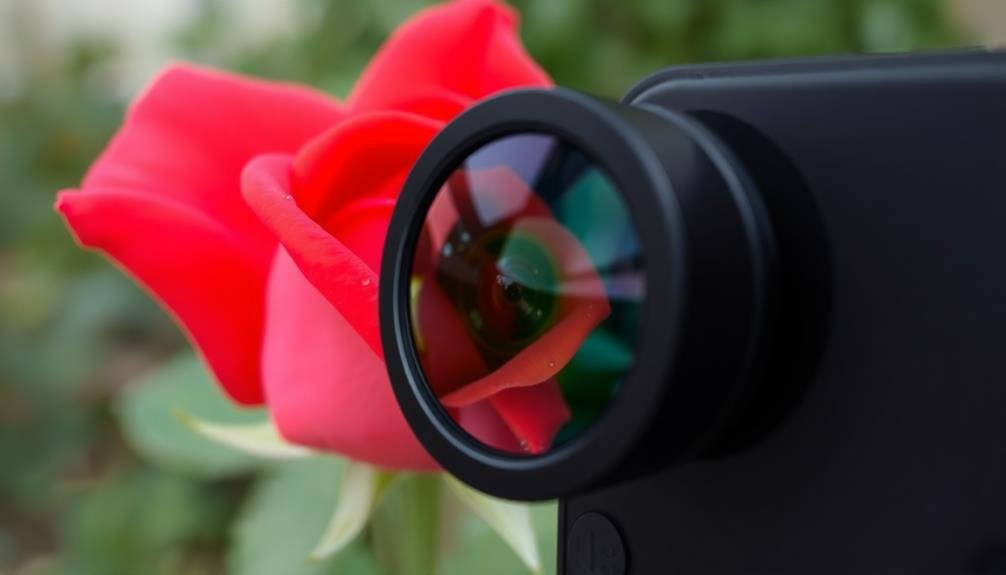
A masterful composition can elevate your macro photography from good to extraordinary. When shooting close-ups with mobile macro lenses, pay attention to the rule of thirds. Divide your frame into a 3×3 grid and place your subject along these lines or at their intersections for a more balanced and visually appealing shot.
Consider the background carefully. A clean, uncluttered backdrop will make your subject pop. You can use a plain sheet of paper or fabric to isolate the subject if the natural background is distracting.
Experiment with different angles to find the most interesting perspective. Sometimes, getting low or shooting from an unexpected angle can create a unique and impactful image.
Use leading lines to guide the viewer's eye through the frame. In macro photography, these can be the edges of a leaf, the curve of a petal, or even tiny textures on your subject.
Don't be afraid to fill the frame with your subject, highlighting intricate details that aren't visible to the naked eye. Finally, play with symmetry or asymmetry to create visual interest and tension in your close-up shots.
Focus and Depth of Field
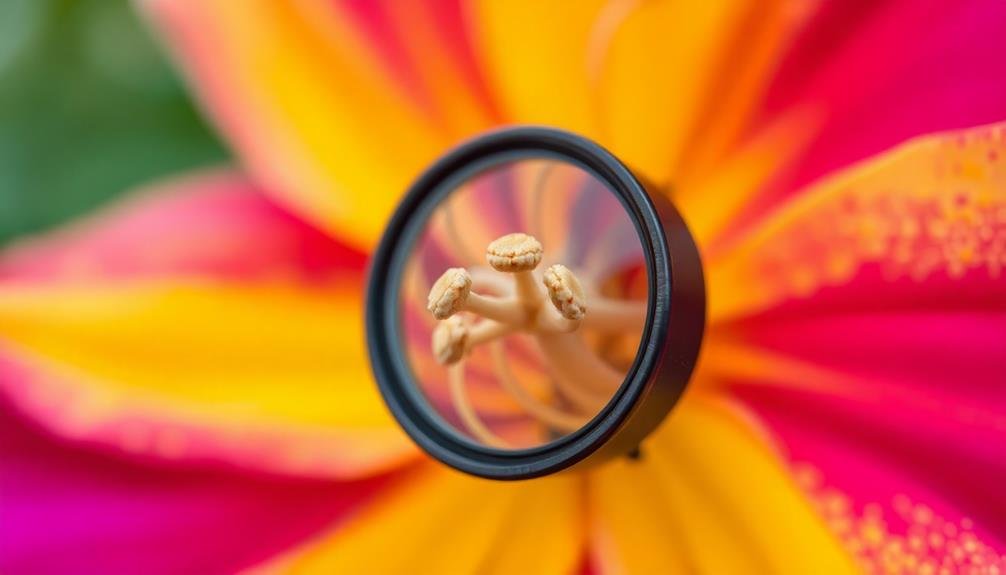
When using mobile macro lenses, you'll need to master focus and depth of field to create stunning close-ups.
You can achieve razor-sharp focus by carefully adjusting your distance from the subject and using your phone's tap-to-focus feature.
Control background blur and maximize subject details by experimenting with different aperture settings on your macro lens attachment or by adjusting the distance between your subject and the background.
Achieving Razor-Sharp Focus
Razor-sharp focus is the holy grail of mobile macro photography. It's vital for capturing stunning close-up product shots that showcase every intricate detail. To achieve this level of precision, you'll need to master a few key techniques and understand your mobile macro lens's capabilities.
First, guarantee your subject is within the lens's focus range. Most mobile macro lenses have a specific minimum focusing distance, typically between 10-25mm. Move your phone closer or farther from the subject until you find the sweet spot where everything snaps into focus.
Here are three essential tips for achieving razor-sharp focus:
- Use manual focus: Many camera apps offer manual focus controls. Use them to fine-tune your focus point precisely.
- Employ focus stacking: Take multiple shots at slightly different focus points and combine them in post-processing for maximum depth of field.
- Utilize a tripod: Even the slightest movement can blur your image. A stable setup is vital for tack-sharp results.
Controlling Background Blur
While razor-sharp focus is key, controlling background blur is equally important in mobile macro photography. To achieve a pleasing bokeh effect, you'll need to understand how to manipulate depth of field. Start by getting close to your subject, as this naturally decreases depth of field. The closer you are, the more blurred your background will become.
Aperture plays a vital role in controlling background blur. If your macro lens or attachment allows for aperture adjustments, opt for wider apertures (lower f-numbers) to create a shallower depth of field. This will help isolate your subject from the background. However, keep in mind that extremely wide apertures may make it challenging to keep your entire subject in focus.
Experiment with the distance between your subject and the background. The further your subject is from the background, the more pronounced the blur will be. You can also try adjusting your camera angle to maximize the separation between subject and background.
Maximizing Subject Details
Capturing intricate details is the hallmark of great macro photography. To maximize subject details when using mobile macro lenses, you'll need to focus on achieving ideal sharpness and depth of field.
Start by ensuring your subject is well-lit, either with natural light or a ring light attachment for your smartphone. This will allow you to use a faster shutter speed, reducing the risk of camera shake and motion blur.
Next, experiment with your phone's focus settings. Many modern smartphones offer manual focus options or focus-peaking features, which can help you pinpoint the exact area you want to highlight.
Remember that macro photography often has a very shallow depth of field, so precise focusing is essential.
To enhance the level of detail in your macro shots:
- Use a tripod or stabilizing surface to eliminate camera shake
- Experiment with focus stacking techniques for increased depth of field
- Clean your subject and lens thoroughly to avoid unwanted dust or debris
Post-Processing Mobile Macro Images
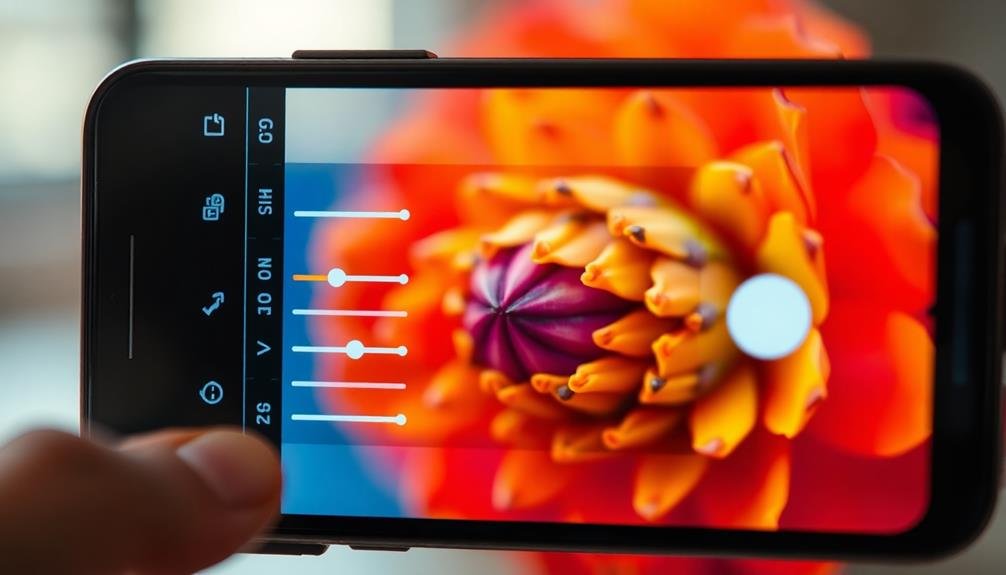
After you've captured your mobile macro images, post-processing can take them to the next level. Start by adjusting the exposure and contrast to enhance the overall look of your shot. Use the highlights and shadows sliders to bring out details in both bright and dark areas.
Don't be afraid to crop your image to improve composition and focus on the most interesting parts of your subject.
Color correction is vital in macro photography. Adjust the white balance to guarantee accurate colors, and use the saturation and vibrancy tools to make colors pop. For product shots, you might want to desaturate the background slightly to make the subject stand out more.
Sharpening is another essential step. Use it sparingly to avoid introducing noise, focusing on enhancing the edges and textures of your subject.
If your image has a shallow depth of field, consider using selective sharpening to maintain a natural look.
Creative Product Shot Ideas
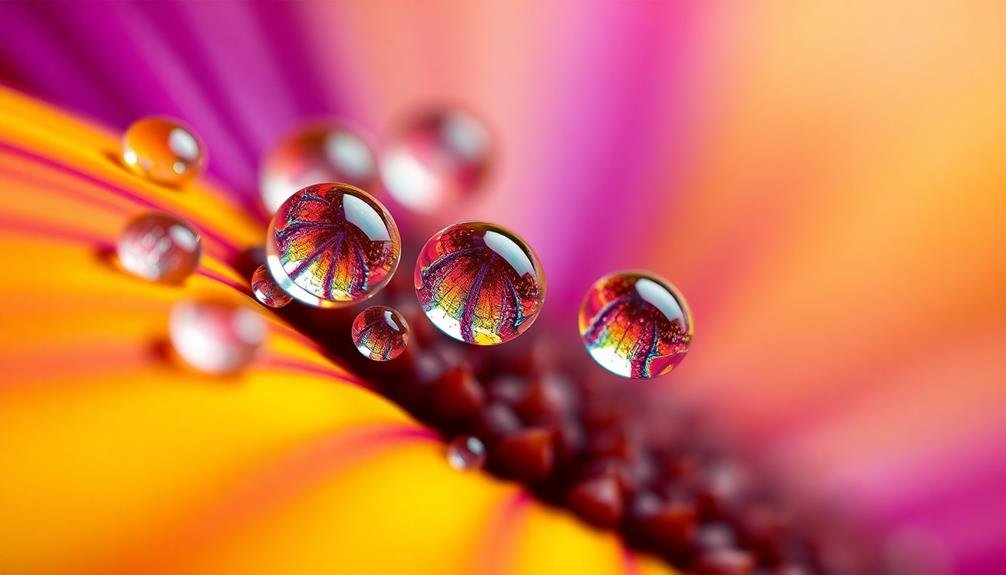
Now that you've mastered the art of capturing and editing mobile macro images, it's time to put your skills to work with some creative product shot ideas. Think outside the box and showcase products in unique ways that highlight their best features.
Focus on textures, patterns, and intricate details that might go unnoticed in standard product photography.
Consider these creative approaches for your next mobile macro product shoot:
- Water droplets: Create a rejuvenating look by spraying water on products like fruits, beverages, or skincare items. Capture the droplets up close to add depth and visual interest.
- Reflections: Use mirrors or reflective surfaces to create intriguing compositions. This works particularly well for jewelry, watches, or metallic objects.
- Natural elements: Incorporate leaves, flowers, or other natural materials to add context and texture to your product shots. This can be especially effective for organic or eco-friendly products.
Don't be afraid to experiment with different angles, lighting techniques, and compositions. Your mobile macro lens allows you to get incredibly close to your subject, so take advantage of this unique perspective to create eye-catching product images that stand out from the crowd.
Frequently Asked Questions
Can I Use Macro Lenses With All Smartphone Models?
You can use macro lenses with most smartphone models, but compatibility varies. Check your phone's camera specifications and lens mount options. Some newer phones have built-in macro capabilities, while others may require specific adapters for external lenses.
How Do I Clean and Maintain My Mobile Macro Lens?
To clean your mobile macro lens, you'll want to use a microfiber cloth and gentle lens cleaning solution. Don't use water or harsh chemicals. Store it in a protective case when not in use to avoid scratches.
Are There Waterproof Macro Lenses for Underwater Product Photography?
Yes, you'll find waterproof macro lenses for underwater product photography. They're designed to withstand water pressure and capture close-up shots beneath the surface. You can attach them to waterproof camera housings or use specialized underwater cameras for best results.
Can I Achieve Bokeh Effects in Macro Product Shots With Smartphones?
You can achieve bokeh effects in macro product shots with smartphones. Use a wide aperture lens attachment, get close to your subject, and create distance between it and the background. Experiment with lighting for enhanced results.
What's the Maximum Magnification Possible With Mobile Macro Lenses?
You'll typically find mobile macro lenses offering magnifications up to 10x-20x. However, some specialized clip-on lenses can reach up to 100x magnification. Remember, higher magnification often means a narrower field of view and less light.
In Summary
You've now got the tools to transform your smartphone into a powerful macro photography studio. Remember, practice makes perfect. Don't be afraid to experiment with different lenses, lighting setups, and compositions. As you refine your skills, you'll capture stunning close-ups that rival professional product shots. Keep pushing your creative boundaries, and soon you'll be producing eye-catching images that make your products stand out in a crowded market. Happy shooting!



Leave a Reply