To capture mesmerizing night shots with your phone, start by understanding your device's low-light capabilities. Use both hands or a tripod for stability, and avoid flash to preserve natural lighting. Experiment with manual settings like ISO and shutter speed to control exposure. For urban scenes, try capturing light trails with longer exposures. Frame your shots using the rule of thirds and incorporate leading lines. After shooting, enhance your photos with smartphone editing tools to adjust exposure, colors, and reduce noise. With practice and the right techniques, you'll be amazed at the stunning night photography you can achieve with just your phone.
Understanding Low-Light Phone Photography
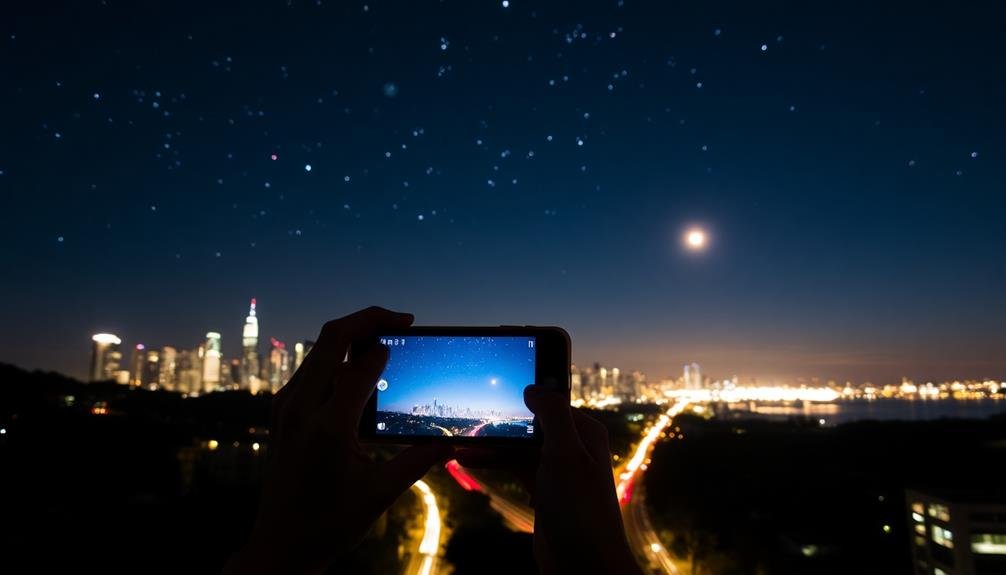
In recent years, smartphone cameras have made significant strides in low-light performance. You'll find that many modern phones now boast advanced features like larger sensors, wider apertures, and specialized night modes. These improvements allow you to capture stunning nighttime images that were once only possible with professional cameras.
To master low-light phone photography, you'll need to understand how your device handles challenging lighting conditions. Most phones automatically adjust settings like ISO, shutter speed, and exposure compensation in low light. However, you can often manually control these settings through your camera app's pro or manual mode.
When shooting at night, it's essential to keep your phone steady. Even slight movements can result in blurry images. Use both hands to hold your device, or better yet, invest in a small tripod for stability.
You'll also want to avoid using your flash, as it can create harsh shadows and unnatural-looking scenes. Instead, look for existing light sources like street lamps or neon signs to add interest to your compositions. Experiment with different angles and perspectives to create unique and engaging night shots.
Essential Night Photography Gear
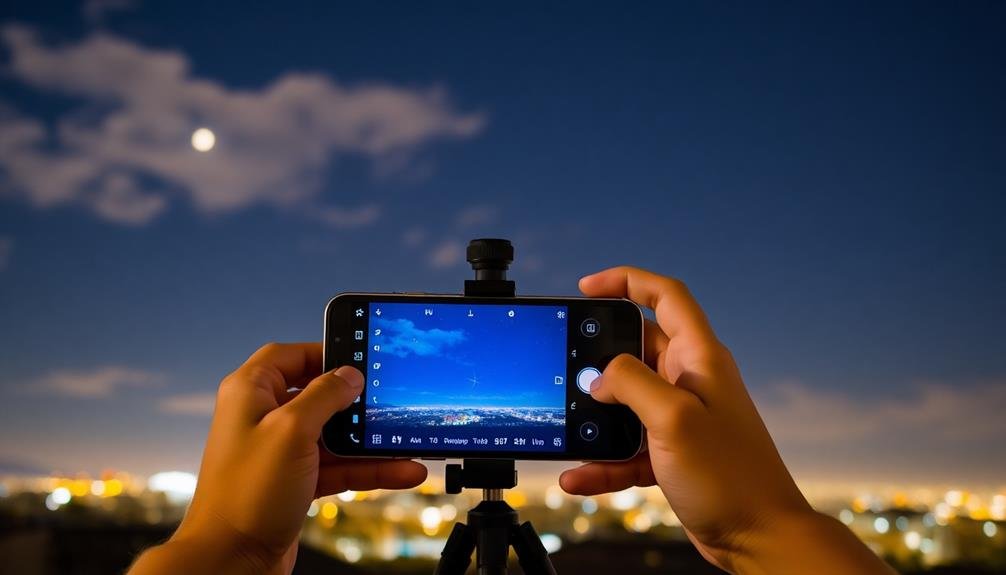
Night owls enthusiastic to capture stunning low-light shots with their phones will benefit from a few essential gear items. A sturdy tripod is vital for keeping your phone steady during long exposures, eliminating camera shake and ensuring sharp images.
Look for a compact, lightweight tripod with adjustable legs and a smartphone mount for versatility.
A remote shutter release or Bluetooth controller allows you to trigger your camera without touching it, further reducing vibrations. Many phones now support voice commands or timer functions, which can serve as alternatives.
Consider investing in clip-on lenses to expand your creative options. Wide-angle lenses are great for capturing expansive night scenes, while macro lenses can reveal intricate details in low light.
A portable power bank is necessary for extended shooting sessions, as night photography can quickly drain your phone's battery. Choose a high-capacity model with fast-charging capabilities.
Lastly, don't overlook the importance of proper clothing. Dress warmly and comfortably, as you may spend considerable time outdoors.
Fingerless gloves are particularly useful, allowing you to operate your phone's touchscreen while keeping your hands warm in chilly night air.
Mastering Manual Camera Settings
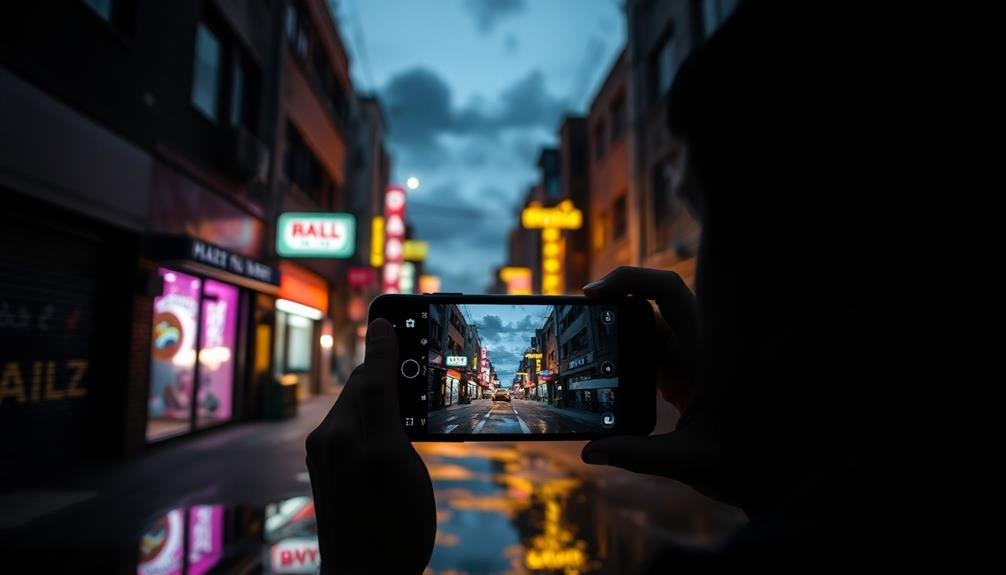
To master manual camera settings for night photography on your phone, you'll need to focus on two key elements: ISO sensitivity and shutter speed.
You can increase your ISO to capture more light in dark conditions, but be cautious of introducing noise to your images.
Experiment with longer shutter speeds to allow more light into the sensor, but remember to stabilize your phone to avoid blurry shots.
Adjusting ISO Sensitivity
Three key settings control your phone camera's exposure: aperture, shutter speed, and ISO sensitivity. ISO determines your camera sensor's light sensitivity, with higher values amplifying the light captured. For night photography, you'll often need to increase your ISO to brighten dark scenes.
When adjusting ISO sensitivity for night shots, consider these factors:
- Higher ISO values can introduce digital noise, reducing image quality.
- Lower ISO values produce cleaner images but require longer exposure times.
- Your phone's maximum ISO capability varies by model.
Start with the lowest ISO that allows for a properly exposed image. If your shot is too dark, gradually increase the ISO. Most phones perform well up to ISO 800, but newer models can handle higher values with less noise.
Be aware that extremely high ISO settings can result in grainy, less detailed images. To counteract this, use a tripod or stable surface to allow for longer exposure times at lower ISO values.
You can also experiment with your phone's night mode or HDR features, which often combine multiple exposures to reduce noise while maintaining detail in low-light situations.
Shutter Speed Techniques
Mastering shutter speed is essential for capturing stunning night shots with your phone. Most modern smartphones offer manual camera controls, allowing you to adjust shutter speed for various effects. For night photography, you'll often want to use slower shutter speeds to let in more light.
Start by experimenting with shutter speeds between 1/15 and 1 second. These slower speeds can capture more detail in low-light situations but may result in motion blur if you're not steady. To counteract this, use a tripod or prop your phone against a stable surface.
For creative effects, try even longer exposures. Set your shutter speed to several seconds to capture light trails from moving cars or star trails in the night sky. Remember, the longer the exposure, the more vital stability becomes.
If you're shooting handheld, you'll need faster shutter speeds to avoid blur. In this case, compensate by increasing ISO or using your phone's night mode, which typically combines multiple exposures.
Don't forget to balance shutter speed with other settings like aperture and ISO for the best results. Practice and experimentation are key to mastering shutter speed techniques for impressive night photography.
Capturing Light Trails and Motion
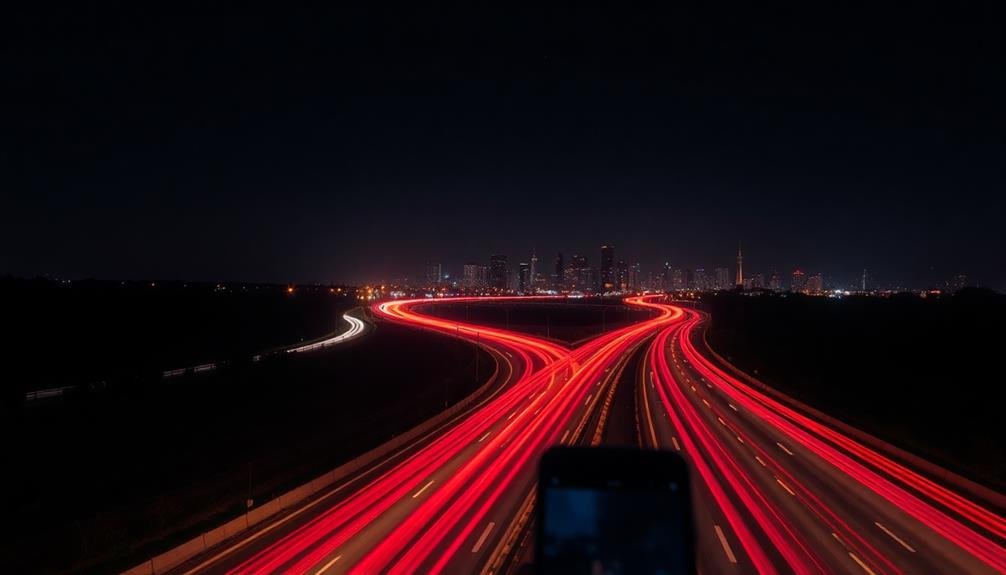
Light trails and motion blur can transform ordinary night scenes into dynamic, eye-catching compositions. To capture these effects with your phone, you'll need to experiment with longer exposure times and steady positioning. Most modern smartphones offer a "night mode" or "pro mode" that allows manual control over shutter speed and ISO settings.
When shooting light trails, look for busy streets, highways, or areas with moving traffic. Position your phone on a stable surface or use a tripod to prevent camera shake. Set your shutter speed between 1 and 30 seconds, depending on the speed of the moving lights and the effect you're after.
For capturing motion blur in your night shots:
- Focus on subjects with predictable movement, like a Ferris wheel or carousel
- Experiment with panning techniques to blur the background while keeping your subject sharp
- Try zooming during a long exposure for a unique "zoom burst" effect
Remember to keep your ISO low to minimize noise and maintain image quality.
With practice, you'll be able to create stunning night photographs that showcase the energy and movement of urban landscapes or capture the mesmerizing patterns of celestial objects in the night sky.
Framing Urban Nightscapes
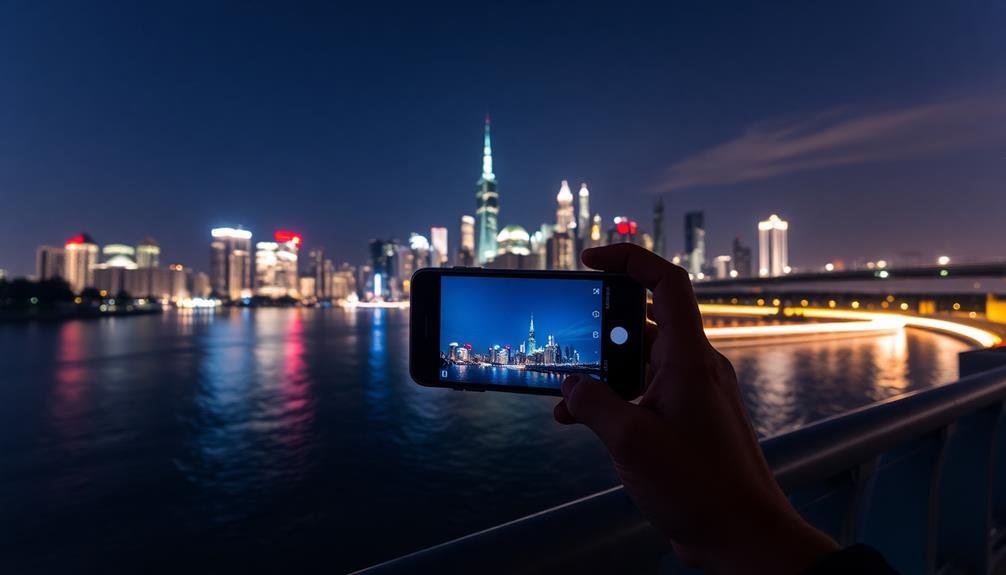
Urban nightscapes offer a wealth of photographic opportunities, from glittering skylines to neon-lit streets. When framing these scenes with your phone, consider the rule of thirds to create balanced compositions. Place key elements like prominent buildings or street lamps at the intersections of imaginary grid lines.
Look for leading lines that can guide the viewer's eye through the image. City streets, bridges, or rows of lights can serve this purpose effectively. Incorporate reflections in water bodies or glass surfaces to add depth and intrigue to your shots.
Don't shy away from negative space; a dark sky can provide contrast and drama to illuminated structures. Experiment with different angles and perspectives – try shooting from ground level or find an elevated vantage point for a unique view of the cityscape.
Pay attention to the interplay of light and shadow, using areas of darkness to frame brighter elements. Include foreground elements like silhouettes of people or objects to add scale and context to your urban night shots.
Post-Processing Night Photos on Smartphones
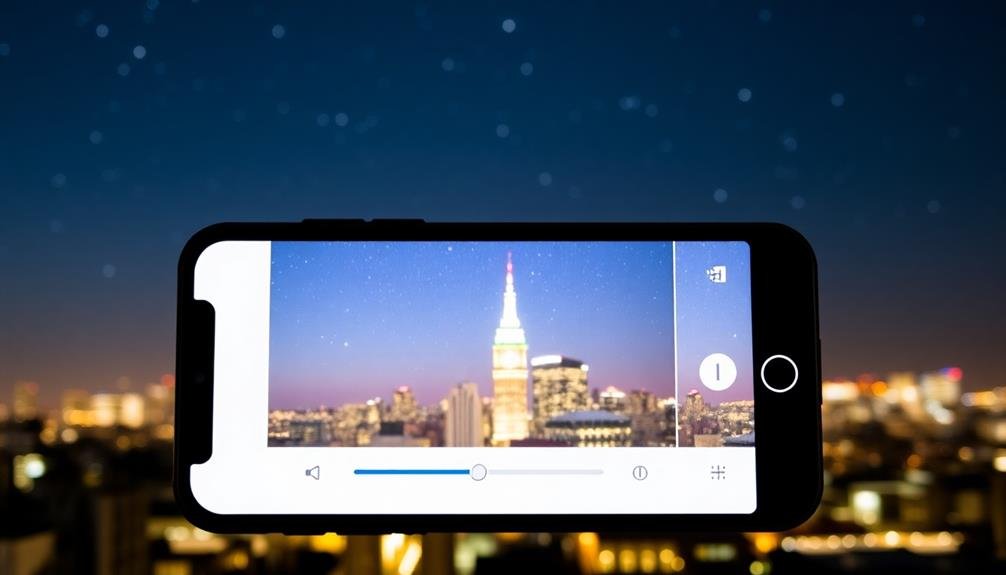
After capturing your night shots, you'll want to fine-tune them using your smartphone's editing tools.
Start by adjusting the exposure and contrast to bring out the details in both shadows and highlights.
Next, enhance the colors and clarity to make your image pop, and don't forget to reduce noise effectively for a cleaner, more professional-looking result.
Adjusting Exposure and Contrast
Once you've captured your night shots, how can you enhance them further? Adjusting exposure and contrast is key to bringing out the best in your nighttime images.
Start by fine-tuning the overall brightness of your photo. If it's too dark, gradually increase the exposure until details emerge without overexposing highlights. For overly bright images, reduce exposure to maintain the night's atmosphere.
Next, focus on contrast to add depth and drama. Boost the contrast to make bright areas pop and dark areas richer, but be careful not to crush the shadows or blow out highlights. Many smartphone editing apps offer precise control over highlights, shadows, blacks, and whites, allowing you to balance these elements effectively.
Consider these additional tips for adjusting exposure and contrast:
- Use the histogram to verify you're not clipping highlights or shadows
- Experiment with local adjustments to enhance specific areas of the image
- Apply subtle clarity or structure adjustments to enhance textures in night scenes
Enhancing Colors and Clarity
With exposure and contrast fine-tuned, it's time to focus on enhancing colors and clarity in your night photos. Start by adjusting the white balance to accurately represent the scene's colors. Most smartphone editing apps offer presets like "tungsten" or "fluorescent" for different lighting conditions. Fine-tune the temperature and tint sliders to achieve a natural look.
Boost saturation slightly to make colors pop, but be careful not to overdo it. Increase vibrancy to enhance muted tones without affecting skin tones. Use the HSL (Hue, Saturation, Luminance) tool to target specific colors, allowing you to emphasize certain elements in your night shot.
To improve clarity, adjust the sharpness and texture sliders. Apply sharpening conservatively to avoid introducing noise. The clarity tool can enhance mid-tone contrast, adding depth to your image. For a softer look, experiment with negative clarity values.
Reduce noise selectively using your app's noise reduction feature. Focus on smoothing out dark areas while preserving detail in brighter regions.
Reducing Noise Effectively
Noise, the digital equivalent of film grain, can be a persistent challenge in night photography. When shooting in low light conditions, your phone's camera often compensates by increasing ISO sensitivity, which can result in grainy or speckled images.
To combat this issue, you'll need to employ effective noise reduction techniques during post-processing.
Start by using your phone's built-in noise reduction feature, if available. Many camera apps offer this option, allowing you to reduce noise while preserving image details. If your default camera app doesn't have this feature, consider downloading a third-party app specifically designed for noise reduction.
For more advanced noise reduction, try these techniques:
- Use selective noise reduction to target specific areas of your image
- Apply noise reduction in layers, gradually building up the effect
- Experiment with different noise reduction algorithms to find the best balance
Remember that over-aggressive noise reduction can lead to a loss of detail and a softening of your image. Aim for a balance between noise reduction and maintaining sharpness.
It's often better to have a slightly noisy image than one that looks overly processed or artificial.
Frequently Asked Questions
How Do I Protect My Phone From Condensation During Night Photography?
To protect your phone from condensation during night photography, you'll want to keep it warm and dry. Use silica gel packets, place your phone in a ziplock bag, or use a weatherproof case. Avoid sudden temperature changes whenever possible.
Can I Use External Lenses With My Smartphone for Night Shots?
Yes, you can use external lenses with your smartphone for night shots. They'll enhance your phone's capabilities, allowing for wider angles, more zoom, or macro effects. Just verify they're compatible with your specific phone model before purchasing.
What's the Best Way to Steady My Phone Without a Tripod?
You can steady your phone without a tripod by using everyday objects. Lean it against a wall, rest it on a table, or prop it up with books. You'll also find makeshift supports like water bottles or car dashboards helpful.
How Can I Capture Star Trails Using Only My Smartphone?
To capture star trails with your smartphone, use a long exposure app. Set your phone on a steady surface, aim at the night sky, and start a multi-hour exposure. You'll see stars streaking across the image.
Are There Specific Apps for Creating Time-Lapse Night Videos on Phones?
Yes, there are several apps for creating time-lapse night videos on your phone. You'll find options like Lapse It, Hyperlapse, and NightCap Camera. These apps offer features specifically designed for low-light conditions and long-exposure shots, enhancing your night photography capabilities.
In Summary
You've now got the tools to create stunning night shots with just your phone. Don't be afraid to experiment with manual settings, long exposures, and creative framing. Remember to keep your device steady and play with available light sources. With practice, you'll capture mesmerizing urban landscapes and light trails. Finally, enhance your photos with mobile editing apps to bring out the best in your nighttime masterpieces. Get out there and start shooting!


Leave a Reply