Master night photography on your smartphone with these seven pro tricks. Use manual settings to control ISO, shutter speed, and focus. Stabilize your device with a tripod for crisp long exposures. Compose shots using the rule of thirds and leading lines for visual impact. Embrace high ISO capabilities, balancing light sensitivity and noise. Leverage your phone's night mode features for enhanced low-light performance. Apply strategic post-processing edits to fine-tune exposure, contrast, and color. Finally, experiment with light painting to add creative flair to your nighttime scenes. These techniques will elevate your mobile night photography to new heights.
Use Manual Camera Settings
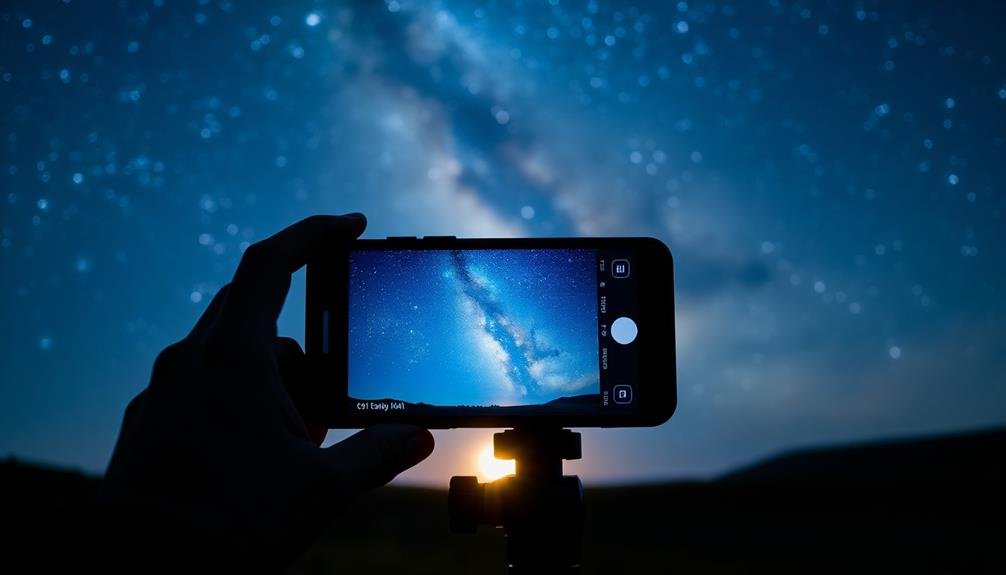
To capture stunning night photos on your mobile device, you'll need to take control of your camera settings. Most modern smartphones offer manual or pro modes that allow you to adjust key parameters.
Start by setting your ISO to a low value, around 100-400, to minimize noise. Then, slow down your shutter speed to let in more light, typically between 1-30 seconds depending on the scene's brightness.
Adjust your focus manually, as autofocus often struggles in low light. Set your white balance to match the ambient lighting, usually choosing "tungsten" for city scenes or "daylight" for starry skies. If available, use RAW format for greater editing flexibility later.
Experiment with different aperture settings if your phone allows it. A wider aperture (lower f-number) lets in more light but may reduce depth of field. For night sky shots, try using your phone's night mode or astrophotography setting if available. These modes often combine multiple exposures for better results.
Remember to stabilize your phone using a tripod or steady surface to avoid camera shake during long exposures. With practice, you'll find the perfect balance of settings for your night photography.
Master Long Exposure Techniques
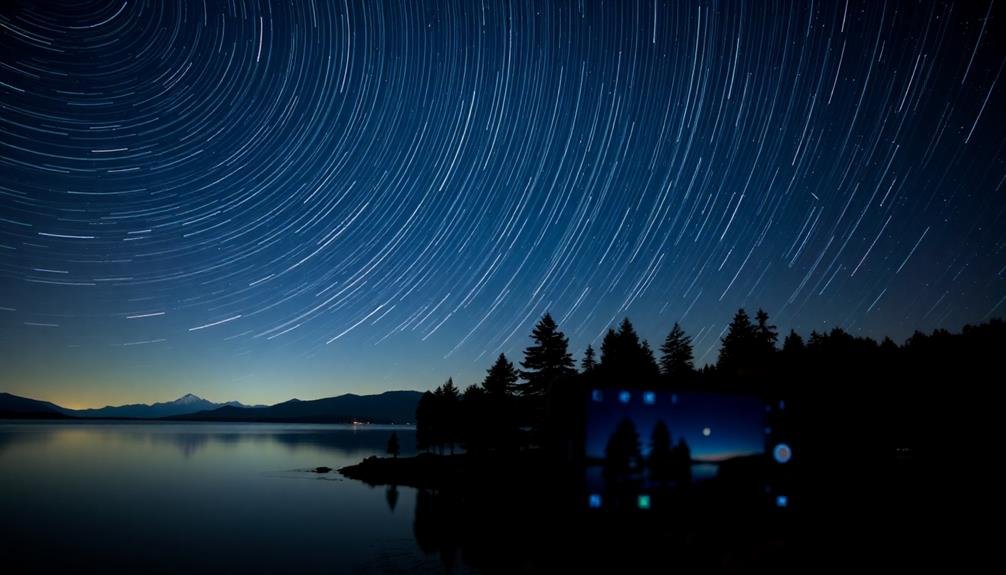
To capture stunning long exposure night shots on your smartphone, you'll need to master a few key techniques.
Start by stabilizing your device using a tripod or sturdy surface, then adjust your ISO settings to balance light sensitivity and noise reduction.
Stabilize Your Smartphone
Keeping your smartphone steady is essential for capturing stunning night sky photos. Even the slightest movement can blur your long-exposure shots, ruining your hard work. To combat this, invest in a sturdy tripod designed for smartphones. Look for models with flexible legs that can adapt to uneven terrain and secure your device firmly in place.
If you don't have a tripod, improvise with your surroundings. Rest your phone against a rock, tree, or any stable surface. Use a small beanbag or rolled-up jacket to prop it up at the right angle. Remember to disable your phone's auto-rotation feature to maintain your desired composition.
To further reduce vibrations, use your phone's timer or a Bluetooth remote shutter. This prevents the slight shake caused by tapping the screen to take a photo. If your phone has a voice command feature for photos, utilize it to keep your hands off the device entirely.
Lastly, enable your phone's night mode or pro mode if available. These settings often include image stabilization features that can help compensate for minor movements, ensuring sharper results in low-light conditions.
Adjust ISO Settings
Once you've stabilized your smartphone, mastering ISO settings and long exposure techniques becomes essential for capturing stellar night photos. ISO controls your camera's sensitivity to light, while long exposure allows more light to reach the sensor over time. Start with a low ISO (around 100-400) to minimize noise and gradually increase it if needed. For long exposures, use your phone's manual mode or a specialized app to set shutter speeds from 1 to 30 seconds.
Experiment with different combinations of ISO and exposure times to achieve the desired effect. Here's a quick reference guide:
| Scene Type | ISO Range | Exposure Time | Expected Result |
|---|---|---|---|
| City Lights | 100-400 | 2-5 seconds | Sharp, vibrant lights |
| Starry Sky | 800-1600 | 15-30 seconds | Visible stars, some trails |
| Light Trails | 100-200 | 10-20 seconds | Smooth light streaks |
| Moon | 100-400 | 1-3 seconds | Detailed lunar surface |
Use Manual Focus
Manual focus is your secret weapon for mastering long exposure night photography on your smartphone. When shooting in low light, your camera's autofocus might struggle to find a focal point, resulting in blurry images. By switching to manual focus, you'll have complete control over what's sharp in your frame.
To use manual focus effectively, follow these steps:
- Tap the manual focus icon in your camera app
- Slide the focus bar to adjust sharpness
- Use focus peaking or zoom to fine-tune
Remember, for night sky photography, you'll want to focus on infinity. This guarantees that distant stars and celestial objects appear crisp and clear. If you're including foreground elements, try focusing about a third of the way into the scene to maximize overall sharpness.
Practice is key when using manual focus. Experiment with different focal points to see how they affect your composition. You'll soon develop an intuition for where to focus in various night photography scenarios.
Don't be afraid to take multiple shots with slight focus adjustments – you can always choose the sharpest one later.
Find the Perfect Composition
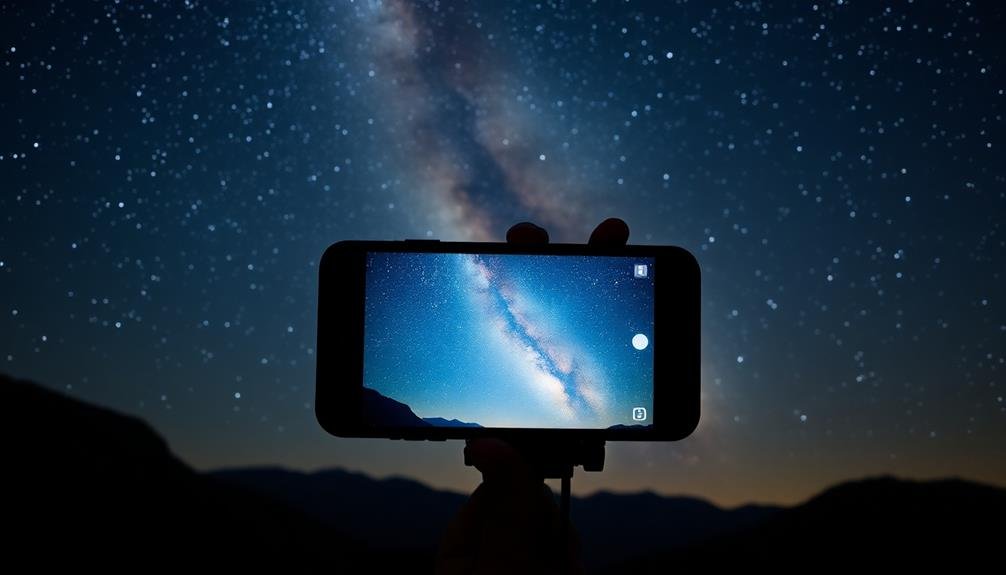
To create enchanting night photos, you'll need to master composition techniques.
Frame your shots with interesting foreground elements like trees or buildings to add depth and context.
Use leading lines to guide the viewer's eye through the image, and apply the rule of thirds to position key elements for a balanced and visually appealing composition.
Frame With Foreground Elements
Frequently, the most enchanting night sky photos incorporate interesting foreground elements to enhance the composition. By including terrestrial objects in the foreground, you'll create depth and context, making your night sky images more intriguing and memorable. Look for elements that complement the celestial scene and add visual interest to your frame.
When scouting for foreground elements, consider these options:
- Silhouettes: Trees, mountains, or architectural structures can create striking dark shapes against the starry backdrop.
- Reflective surfaces: Lakes, ponds, or even puddles can mirror the night sky, doubling the visual impact.
- Light sources: Campfires, tents, or distant city lights can add a warm glow and human element to your composition.
To effectively frame with foreground elements, experiment with different angles and perspectives. Get low to the ground to emphasize foreground details, or find elevated positions to capture expansive landscapes.
Use your phone's wide-angle lens if available to include more of the scene. Remember to focus on the foreground element first, then adjust your exposure for the night sky. This technique will guarantee both elements are sharp and well-exposed in your final image.
Use Leading Lines
Leading lines are a powerful compositional tool that can dramatically enhance your night sky photography. These lines guide the viewer's eye through the image, creating depth and drawing attention to your main subject—the starry sky.
To effectively use leading lines in your night shots, look for natural or man-made elements that form paths or directional cues. Roads, fences, or even tree lines can serve as excellent leading lines. Position yourself so these elements lead from the foreground into the distance, ideally pointing towards a significant celestial feature like the Milky Way or a prominent constellation.
You'll want to experiment with different angles to find the most compelling composition. Don't forget about vertical lines, too. Tall structures like lighthouses or rock formations can create striking vertical leading lines that draw the eye upward into the night sky.
When using your smartphone, try using the grid feature in your camera app to align these lines with the rule of thirds for added impact.
Rule of Thirds
When it comes to composing stellar night photos on your mobile device, the rule of thirds is a game-changer. This simple yet effective technique divides your frame into a 3×3 grid, creating nine equal sections. By placing key elements along these lines or at their intersections, you'll create more balanced and visually appealing images.
To apply the rule of thirds in your night photography:
- Position the horizon on either the upper or lower horizontal line, not in the center.
- Place main subjects, like a lone tree or lighthouse, at the intersection points of the grid lines.
- Align vertical elements, such as buildings or light trails, with the vertical grid lines.
Most smartphones have a built-in grid overlay feature you can enable in your camera settings. Use this tool to guide your composition until it becomes second nature.
Remember, the rule of thirds isn't a strict law but a guideline. Feel free to break it when your artistic vision calls for it. Experiment with different compositions to find what works best for your night scenes.
Embrace High ISO Capabilities
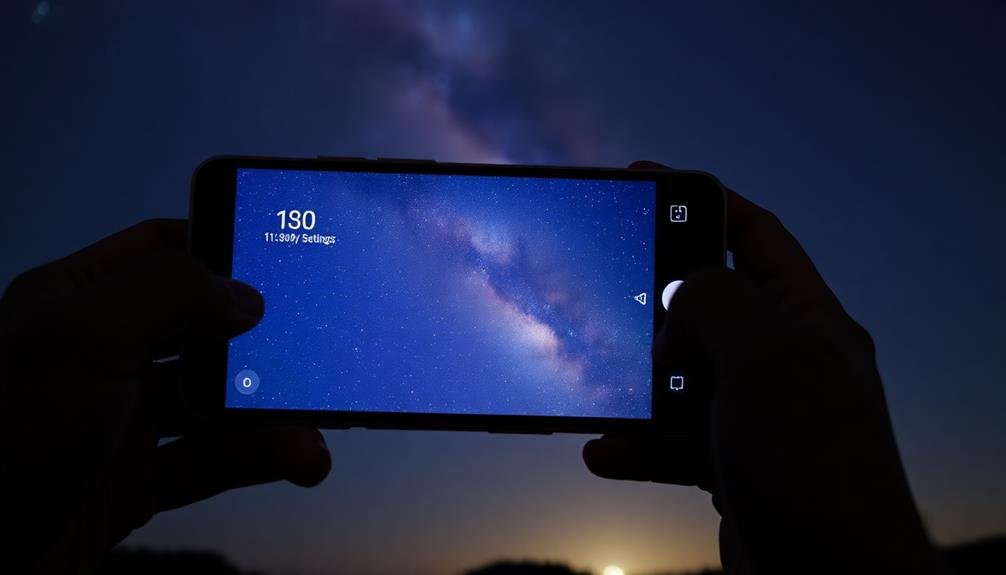
Modern smartphones boast impressive high ISO capabilities that you shouldn't shy away from when capturing night sky photos.
While higher ISO settings can introduce noise, they're essential for gathering enough light in low-light conditions. Start by experimenting with ISO settings between 1600 and 3200, gradually increasing if needed.
To minimize noise, use your phone's night mode or long exposure settings if available. These features often combine multiple shots, reducing graininess while maintaining detail.
When shooting stars or the Milky Way, you'll likely need to push your ISO even higher, possibly to 6400 or beyond.
Don't worry if the image looks noisy on your phone screen; you can often clean it up in post-processing.
Leverage Night Mode Features
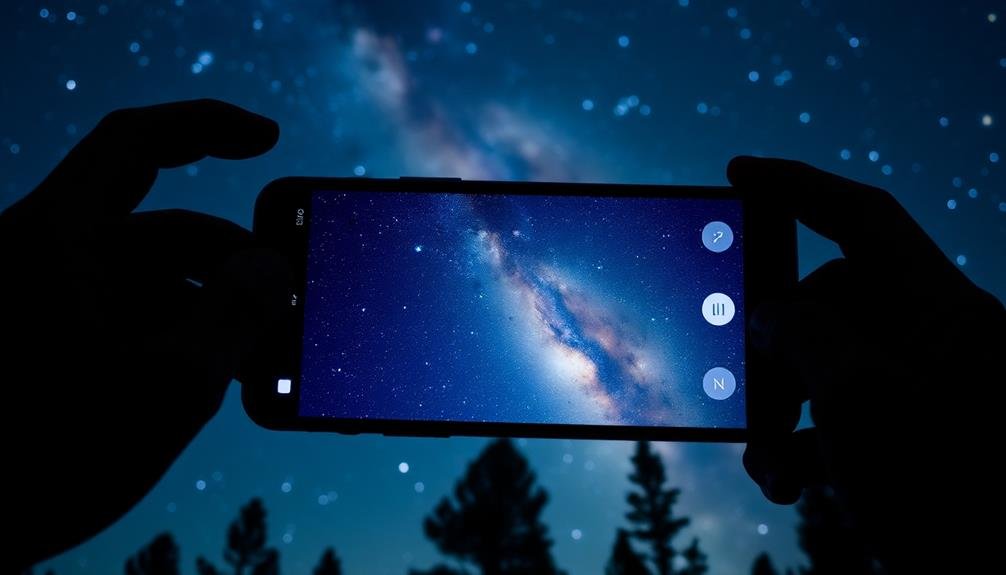
In light of recent advancements, many smartphones now come equipped with dedicated night mode features. These intelligent modes combine multiple exposures and use advanced algorithms to produce brighter, clearer night shots. To make the most of your phone's night mode, activate it when shooting in low-light conditions. You'll notice it automatically adjusts settings like shutter speed and ISO to capture more light.
When using night mode, keep your phone as steady as possible. Many night modes work best with a 2-3 second exposure, so even slight movements can blur your image. Consider using a tripod or propping your phone against a stable surface for the sharpest results.
Remember that night mode isn't just for pitch-black scenes; it can enhance twilight shots and cityscapes too.
To create enchanting night photos, try these techniques:
- Frame silhouettes against a starry sky
- Capture light trails from passing cars
- Photograph reflections in still water at night
Experiment with your phone's night mode in various low-light situations. You'll soon discover its capabilities and limitations, allowing you to push your mobile night photography to new heights.
Apply Strategic Post-Processing Edits
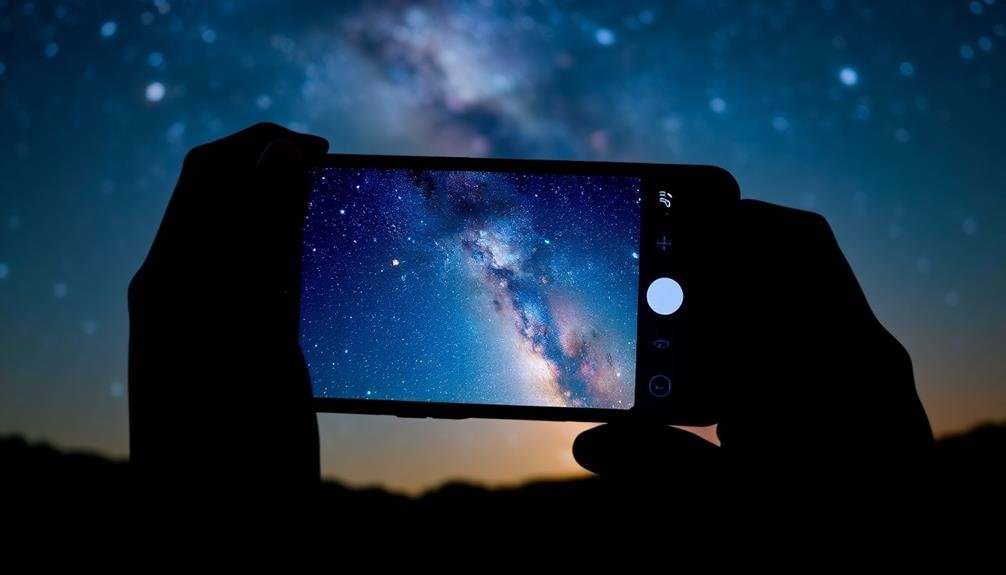
After capturing your night shots, strategic post-processing can elevate your images from good to spectacular.
Start by adjusting the exposure, increasing it slightly to brighten dark areas without overexposing highlights. Next, fine-tune the contrast to make stars and city lights pop against the night sky.
Reduce noise by using your app's noise reduction feature, but be careful not to overdo it as this can soften details. Sharpen the image slightly to enhance crisp edges and star definition.
Adjust the white balance to correct any color casts, aiming for a natural night-time look.
Play with the highlights and shadows sliders to bring out details in both bright and dark areas. Consider using selective editing tools to enhance specific parts of your image, like brightening the Milky Way or darkening foreground elements.
Experiment with color saturation and vibrance to make the night sky's hues more vivid, but keep it realistic.
Finally, apply a subtle vignette to draw attention to the center of your composition.
Experiment With Light Painting
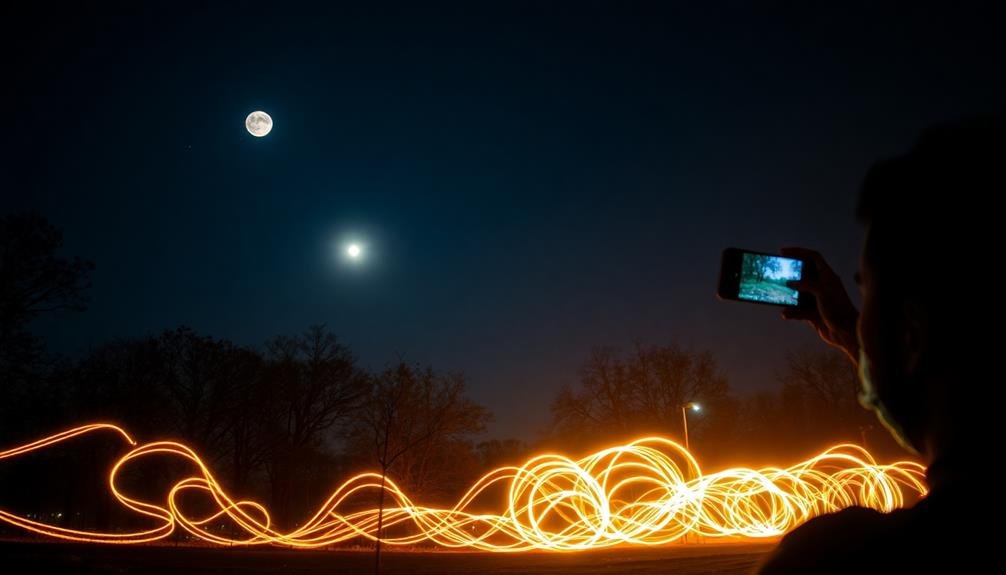
Light painting opens up a world of creative possibilities for your nighttime mobile photography. This technique involves using moving light sources to "paint" within your frame during a long exposure.
To get started, you'll need your smartphone, a tripod, and a light source like a flashlight or LED wand. Set your phone's camera to manual mode or use a long-exposure app. Place your device on the tripod and frame your shot. Choose a dark location to maximize the effect of your light painting. Set your exposure time between 10-30 seconds, depending on your desired result.
Now, let your creativity shine:
- Create geometric shapes by moving your light source in precise patterns
- Spell out words or draw recognizable objects for a playful touch
- Illuminate specific parts of your scene to add depth and drama
As you experiment, you'll discover endless possibilities. Try different colored lights, varying speeds of movement, and multiple light sources.
Frequently Asked Questions
How Can I Reduce Camera Shake Without a Tripod?
You can reduce camera shake without a tripod by bracing your arms against your body, using a stable surface, holding your breath while shooting, increasing shutter speed, or employing burst mode to capture multiple shots.
What's the Best Way to Focus in Extremely Low Light Conditions?
In extremely low light, you'll want to use manual focus. Switch to manual mode, and focus on a bright object or use your phone's flashlight to illuminate a subject. Then, lock the focus before shooting.
How Do I Capture Star Trails on a Smartphone?
To capture star trails on your smartphone, you'll need a long exposure app. Set your phone on a tripod, use a remote shutter, and expose for 30 minutes or more. Experiment with different settings for the best results.
Can I Photograph the Aurora Borealis With My Mobile Phone?
Yes, you can photograph the aurora borealis with your mobile phone. You'll need a dark location, a tripod, and a camera app with manual controls. Set a long exposure time, high ISO, and wide aperture for best results.
What Accessories Are Essential for Night Photography With a Smartphone?
You'll need a sturdy tripod to keep your phone steady during long exposures. A remote shutter or Bluetooth trigger helps reduce camera shake. Consider a clip-on lens for wider angles and a portable power bank for extended shoots.
In Summary
You've now got the tools to capture stunning night photos with your mobile device. Remember, practice makes perfect. Don't be afraid to experiment with different settings and techniques. As you apply these pro tricks, you'll see your nighttime photography skills improve dramatically. Keep pushing your creative boundaries, and soon you'll be producing breathtaking nocturnal images that rival those shot on professional cameras. The night is yours to capture!



Leave a Reply