Exposure compensation is a powerful tool for improving your low-light phone photos. It allows you to manually adjust the brightness of your images, overriding your camera's automatic settings. By increasing the exposure compensation, you can brighten dark scenes and reveal hidden details. However, be careful not to overexpose, as this can lead to blown-out highlights. Most smartphone camera apps offer this feature, typically represented by a "+/-" icon. You'll need to experiment with different levels, usually measured in stops, to find the right balance for your specific low-light situation. Mastering this technique can greatly enhance your nighttime photography skills.
Understanding Exposure Compensation
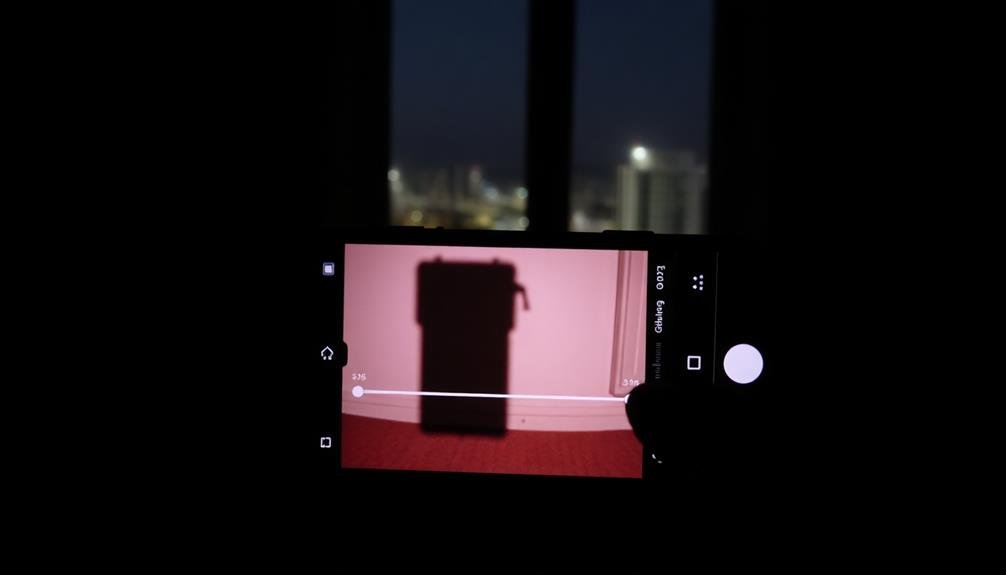
In the domain of smartphone photography, exposure compensation is a powerful tool that can dramatically improve your low-light shots. It allows you to manually adjust the brightness of your images before taking them, overriding your phone's automatic exposure settings.
Exposure compensation works by adjusting the amount of light that reaches your phone's image sensor. When you increase exposure compensation, you're telling your camera to let in more light, resulting in a brighter image. Conversely, decreasing it reduces the amount of light, creating a darker photo.
You'll typically find exposure compensation controls in your phone's camera app, often represented by a "+/-" icon. It's usually measured in stops, with each stop representing a doubling or halving of light. For example, +1 stop doubles the light, while -1 stop halves it.
In low-light situations, you'll often want to increase exposure compensation to brighten your image. However, be cautious not to overexpose, as this can lead to blown-out highlights and loss of detail.
Experiment with different settings to find the right balance for your specific scene and lighting conditions.
Low-Light Photography Challenges
Low-light photography presents several unique challenges for smartphone users. You'll often encounter issues like noise, blur, and loss of detail when shooting in dim conditions. Your phone's camera struggles to gather enough light, resulting in underexposed images or overly grainy photos when the ISO is increased.
Color accuracy can also suffer in low light, with images appearing washed out or exhibiting strange color casts. Autofocus may become sluggish or inaccurate, making it difficult to capture sharp images. Additionally, you'll face an increased risk of camera shake due to slower shutter speeds.
To help you understand these challenges better, here's a table summarizing common low-light issues and their effects:
| Challenge | Effect | Potential Solution |
|---|---|---|
| Noise | Grainy, speckled images | Use noise reduction |
| Blur | Soft, unfocused photos | Stabilize camera, use tripod |
| Loss of detail | Lack of sharpness, texture | Increase exposure carefully |
| Color inaccuracy | Washed out or odd colors | Adjust white balance |
| Slow autofocus | Missed focus, soft images | Use manual focus or AE/AF lock |
Understanding these challenges will help you better utilize exposure compensation and other techniques to improve your low-light smartphone photography.
Smartphone Camera Limitations
Smartphone cameras have come a long way, but they still face inherent limitations when it comes to low-light photography. The small sensor size in most smartphones restricts their ability to capture sufficient light in dim conditions. This limitation often results in grainy or noisy images, as the camera struggles to gather enough information.
Another constraint is the fixed aperture of smartphone lenses. Unlike DSLR cameras, you can't manually adjust the aperture to let in more light. This means you're relying solely on shutter speed and ISO to compensate for low-light situations, which can lead to motion blur or increased noise.
Smartphone cameras also tend to have less advanced image processing capabilities compared to dedicated cameras. This can affect how well they handle high-contrast scenes or complex lighting situations.
Additionally, the built-in flash on most smartphones is often harsh and unflattering, creating unnatural-looking photos in low light.
Lastly, the lack of manual controls on many smartphone camera apps limits your ability to fine-tune settings for peak low-light performance. While some advanced apps offer more control, they can't fully overcome the hardware limitations of smartphone cameras.
Manual Controls on Smartphones
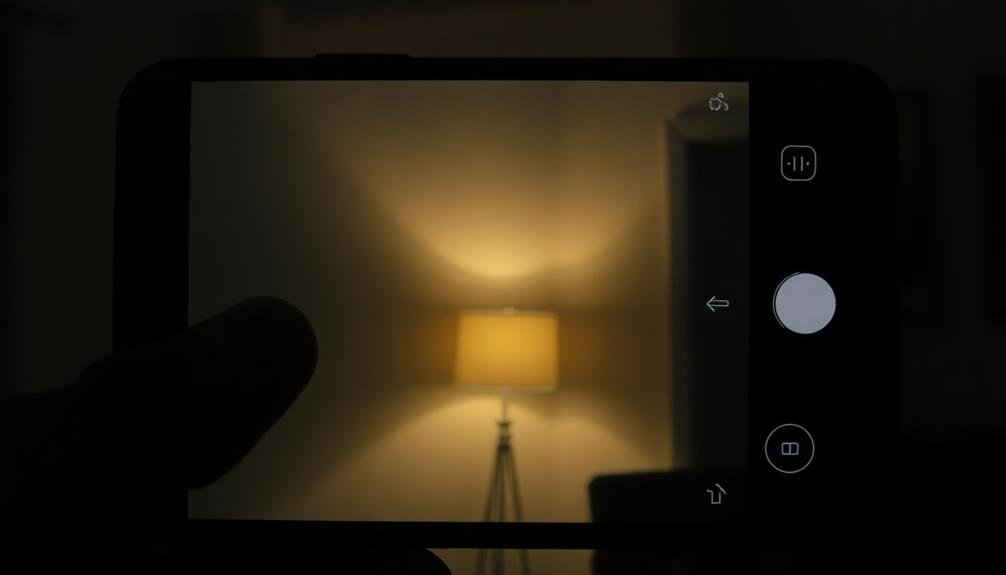
You'll find that many modern smartphones offer manual controls for their cameras, giving you more power over your low-light shots.
These controls typically include adjusting ISO sensitivity, which affects the camera's light sensitivity, and shutter speed control to determine exposure time.
Some advanced phone cameras even provide aperture settings options, allowing you to adjust the amount of light entering the lens and control depth of field.
Adjusting ISO Sensitivity
Three key manual controls on modern smartphones allow you to adjust the ISO sensitivity. These controls typically include a slider or numerical input, preset ISO options, and an auto ISO setting. By manipulating these controls, you can fine-tune your phone's light sensitivity to match the lighting conditions.
Increasing the ISO sensitivity makes your camera sensor more responsive to light, which is particularly useful in low-light situations. However, higher ISO values can introduce digital noise, resulting in grainy or speckled images. To balance this, you'll need to find the sweet spot between adequate exposure and acceptable image quality.
When adjusting ISO, start with the lowest setting that provides a proper exposure. If your image is still too dark, gradually increase the ISO until you achieve the desired brightness.
Remember that modern smartphones often have impressive high ISO performance, so don't be afraid to push the limits in challenging lighting conditions.
Some advanced camera apps offer noise reduction features to mitigate the effects of high ISO settings. Experiment with these options to find the best balance between sensitivity and image clarity for your specific phone model and shooting conditions.
Shutter Speed Control
While ISO adjustment helps with light sensitivity, shutter speed control is another powerful tool for low-light photography on smartphones. Shutter speed determines how long your camera's sensor is exposed to light. In low-light conditions, you'll want to use slower shutter speeds to allow more light into the sensor.
Many modern smartphones offer manual controls for shutter speed. You can typically find this setting in your camera app's "Pro" or "Manual" mode. To use it effectively, start by setting your shutter speed to 1/30 or 1/15 of a second. This slower speed will let in more light, but it may also introduce motion blur if you're not steady.
To combat blur, use a tripod or prop your phone against a stable surface. If you're shooting moving subjects, you'll need to find a balance between light intake and freezing motion. Experiment with different speeds to achieve your desired effect.
Aperture Settings Options
Aperture, the third pillar of exposure control, plays an essential role in low-light photography on smartphones. While traditional cameras offer a wide range of aperture settings, most smartphones have fixed apertures. However, some advanced models now feature variable aperture options, giving you more control over your low-light shots.
If you're using a phone with a fixed aperture, you'll typically find it in the f/1.8 to f/2.4 range. These wider apertures allow more light to reach the sensor, which is vital for low-light photography. For phones with variable apertures, you might've options like f/1.5 and f/2.4. In low-light situations, you'll want to use the wider f/1.5 setting to maximize light intake.
Some high-end smartphones offer software-simulated aperture control, allowing you to adjust the depth of field after taking the photo. While this doesn't affect actual light gathering, it can help you achieve a desired aesthetic effect.
Remember that a wider aperture (lower f-number) results in a shallower depth of field, which can be particularly useful for isolating subjects in low-light conditions. By understanding and utilizing your phone's aperture capabilities, you can greatly improve your low-light photography results.
Adjusting Exposure in Phone Apps
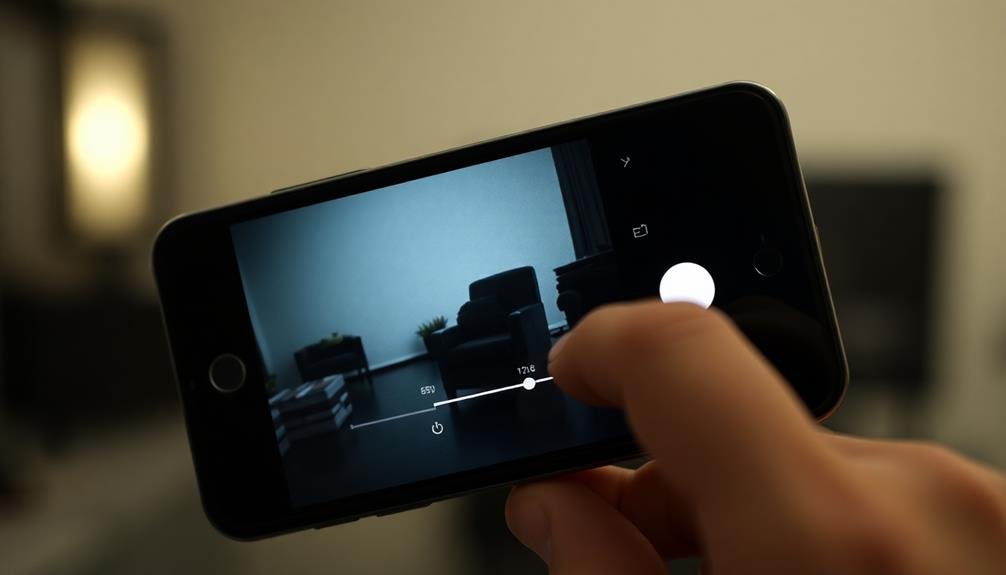
When adjusting exposure in phone camera apps, you'll often find manual exposure controls that let you fine-tune your shot's brightness.
These controls typically include sliders or buttons for adjusting ISO, shutter speed, and sometimes aperture (on dual-aperture phones).
Many apps also offer auto-exposure compensation features, allowing you to quickly brighten or darken the image with a simple tap or swipe.
Manual Exposure Controls
Many smartphone camera apps now offer manual exposure controls, giving you greater power over your low-light photos. These controls allow you to adjust key settings like ISO, shutter speed, and aperture, which directly impact how much light enters your camera sensor.
To make the most of manual exposure controls in low-light situations:
- Increase ISO: This boosts your camera's sensitivity to light, but be cautious as higher ISO can introduce noise.
- Slow down shutter speed: This allows more light to hit the sensor, but may result in motion blur if not stabilized.
- Widen aperture: If your phone supports it, a wider aperture lets in more light.
When using manual controls, you'll need to balance these settings to achieve the desired exposure. Start by setting your ISO to a moderate level, then adjust shutter speed to fine-tune the exposure.
If your phone allows aperture control, use the widest setting possible for low-light scenes. Remember, it's often better to slightly underexpose and brighten in post-processing than to overexpose and lose detail.
With practice, you'll develop an intuition for balancing these settings to capture stunning low-light images.
Auto-Exposure Compensation Features
For those who prefer a simpler approach to low-light photography, most smartphone cameras offer auto-exposure compensation features.
These built-in tools allow you to quickly adjust your camera's exposure without diving into manual settings.
You'll typically find exposure compensation controls in your phone's native camera app. Look for a slider or +/- icon on the screen. Sliding towards the + side increases exposure, brightening your image, while the – side decreases exposure, darkening it.
This feature is particularly useful in tricky lighting situations, such as backlit scenes or dimly lit environments.
Many apps also offer automatic HDR (High Dynamic Range) modes, which can help balance exposure in high-contrast scenes. When enabled, your phone takes multiple shots at different exposures and combines them into a single, well-balanced image.
Some advanced camera apps provide additional auto-exposure tools like spot metering or touch-to-expose features.
These allow you to tap on specific areas of the frame to set the exposure based on that point, giving you more control over your final image without the complexity of full manual settings.
Optimal Settings for Night Shots
Night photography presents unique challenges, but you can capture stunning low-light images with your phone by fine-tuning a few key settings.
First, enable your phone's night mode or low-light feature if available. This automatically adjusts various parameters to enhance image quality in dark conditions.
Next, focus on exposure compensation. In low-light scenarios, you'll often need to increase exposure to brighten the image. Start with +1 or +2 and adjust as needed.
For best results, consider these additional settings:
- Lower your ISO: While higher ISO can brighten images, it also introduces noise. Aim for the lowest ISO possible while maintaining adequate exposure.
- Slow down shutter speed: A longer exposure allows more light to reach the sensor. Use a tripod or stable surface to avoid camera shake.
- Adjust white balance: Night scenes often have mixed lighting sources. Experiment with different white balance presets or use manual kelvin settings to achieve accurate colors.
Remember to experiment with these settings and find the right balance for your specific scene.
With practice, you'll develop an intuition for ideal night shot settings on your phone.
Balancing ISO and Shutter Speed
While mastering individual settings is important, the real art of low-light photography lies in balancing ISO and shutter speed. These two settings work together to determine your phone's light sensitivity and exposure time, ultimately affecting image quality and brightness.
When you increase ISO, you're boosting your camera's light sensitivity, allowing for brighter images in low-light conditions. However, higher ISO values can introduce digital noise, reducing image quality.
On the other hand, slower shutter speeds let more light hit the sensor, brightening your image but potentially causing motion blur.
To find the right balance, start with a moderate ISO (e.g., 400-800) and adjust your shutter speed accordingly. If your image is too dark, try increasing ISO slightly before slowing down the shutter speed further.
This approach helps maintain image quality while reducing the risk of blur.
Avoiding Overexposure in Night Scenes
Capturing night scenes with a phone camera can be tricky, as bright light sources often lead to overexposure. To avoid this, you'll need to use exposure compensation effectively.
Start by identifying the brightest areas in your frame, such as street lamps or neon signs. These elements can easily fool your camera's auto-exposure system, causing the rest of the image to appear too dark.
To combat overexposure in night scenes, try these techniques:
- Use negative exposure compensation: Adjust your camera's settings to underexpose the image slightly. This helps preserve details in bright areas while maintaining a balanced overall exposure.
- Focus on shadows: Tap on darker areas of the scene to set exposure, then fine-tune with the exposure slider to bring out details in both highlights and shadows.
- Enable HDR mode: High Dynamic Range (HDR) can help capture a wider range of tones, reducing the likelihood of overexposed highlights.
Capturing Details in Dark Areas
After mastering overexposure control, you'll need to tackle the challenge of capturing details in dark areas. Dark areas in low-light photos often lack definition, resulting in a loss of important visual information. To address this, you can use exposure compensation to brighten these areas selectively.
Start by identifying the darkest parts of your scene. These might include shadows, dimly lit objects, or areas far from light sources. Increase your exposure compensation slightly, typically by +0.3 to +1.0 EV, depending on the darkness level. This adjustment will allow more light to reach your phone's sensor, revealing hidden details.
Be cautious not to overcompensate, as this can lead to noise in your image. Instead, make incremental adjustments and review your results. You can also use your phone's HDR mode in conjunction with exposure compensation to balance bright and dark areas more effectively.
For extremely dark scenes, consider using your phone's night mode if available. This feature combines multiple exposures to capture more detail in low light.
Remember to keep your phone steady or use a tripod for the best results when shooting in these challenging conditions.
Bracketing Techniques for Smartphones
To further enhance your low-light photography skills, it's essential to explore bracketing techniques for smartphones.
Bracketing involves taking multiple shots of the same scene at different exposure levels, allowing you to capture a wider range of tones and details. Most modern smartphones offer built-in HDR (High Dynamic Range) modes that automatically bracket and merge exposures, but you can also manually bracket for more control.
To manually bracket on your smartphone, follow these steps:
- Set your camera app to manual or pro mode
- Take a photo at the recommended exposure, then adjust the exposure compensation up and down by 1-2 stops
- Shoot multiple images at these different exposures
Post-Processing Low-Light Phone Photos
After capturing your low-light phone photos, you'll need to enhance them through post-processing.
Start by adjusting brightness and contrast to bring out details, then apply noise reduction techniques to smooth out graininess.
Adjusting Brightness and Contrast
Once you've captured your low-light photos, adjusting brightness and contrast during post-processing can considerably enhance their quality.
These two elements work together to improve the overall exposure and visual impact of your images. Brightness controls the overall lightness or darkness, while contrast affects the difference between the lightest and darkest areas.
To effectively adjust brightness and contrast in your low-light phone photos:
1. Start with brightness: Increase it gradually to reveal hidden details in shadows without overexposing highlights.
Be careful not to push it too far, as this can introduce noise or wash out the image.
2. Fine-tune contrast: Add contrast to make your image pop and create depth.
This can help separate subjects from the background and add dimensionality to flat-looking photos.
3. Use selective adjustments: Apply brightness and contrast changes to specific areas of your photo using masking or brush tools.
This allows you to enhance certain elements without affecting the entire image.
Noise Reduction Techniques
While adjusting brightness and contrast can greatly improve your low-light photos, you'll often encounter another common issue: digital noise. This grainy appearance can detract from your image's quality, but there are several techniques you can use to reduce it.
First, try using your phone's built-in noise reduction feature, if available. Many modern smartphones offer this option in their native camera apps. If not, consider downloading a third-party app specifically designed for noise reduction.
Another effective method is to apply a slight blur to your image. This can help smooth out noise without markedly impacting overall sharpness. Be careful not to overdo it, as excessive blurring can make your photo look unnatural.
For more precise control, use selective noise reduction. This technique allows you to target specific areas of your image, preserving details in important regions while reducing noise in less critical parts.
Lastly, consider using AI-powered noise reduction tools. These advanced algorithms can intelligently analyze your image and apply noise reduction more effectively than traditional methods, often producing superior results with minimal loss of detail.
Color Balance Correction
Correcting color balance is a crucial step in post-processing low-light phone photos. Low-light conditions often introduce unwanted color casts, making your images appear unnatural or unappealing.
By adjusting the color balance, you'll restore the true colors of the scene and create a more visually pleasing result.
To correct color balance in your low-light phone photos, you'll need to use a photo editing app or software. Start by identifying the dominant color cast in your image. It's usually a cool blue or warm orange tint.
Then, adjust the color temperature and tint sliders to neutralize the cast and achieve a more natural look.
Here are three key tips for effective color balance correction:
- Use a neutral reference point in the image, such as a white or gray object, to guide your adjustments.
- Pay attention to skin tones, as they're particularly sensitive to color shifts.
- Make subtle adjustments and compare your edits to the original photo frequently.
Common Exposure Compensation Mistakes
Mastering exposure compensation can be tricky, and even experienced photographers make mistakes. One common error is overcompensating, resulting in overly bright images that lose detail in highlights. You might be tempted to crank up the exposure in very dark scenes, but this can lead to noisy, grainy photos.
Conversely, undercompensating can leave your images too dark, obscuring important details in shadows. It's essential to find the right balance.
Another mistake is forgetting to reset your exposure compensation after shooting in challenging lighting conditions. This can lead to incorrectly exposed photos in subsequent shots.
Many photographers also fail to take into account the entire scene when adjusting exposure. They focus on a single element, like a face, while neglecting the overall composition. This can result in blown-out backgrounds or underexposed foregrounds.
Additionally, some users rely too heavily on exposure compensation instead of addressing the root cause of poor lighting. Think about using external light sources or adjusting your position before resorting to exposure compensation.
Lastly, neglecting to check your histogram can lead to improperly exposed images. Always review your shots and make adjustments as needed to achieve the best results.
Frequently Asked Questions
Can Exposure Compensation Affect Battery Life on Smartphones?
Yes, exposure compensation can affect your smartphone's battery life. When you increase exposure, your camera uses more processing power and keeps the sensor active longer, which can drain your battery faster during photo sessions.
How Does Exposure Compensation Interact With HDR Mode?
When you use exposure compensation with HDR mode, you're adjusting the overall brightness before HDR processing. This can impact the final image's dynamic range, potentially enhancing or reducing HDR's effect on highlights and shadows.
Are There Third-Party Apps That Offer Better Exposure Compensation Controls?
You'll find several third-party camera apps with advanced exposure compensation controls. Try ProCam, Camera+, or Manual for iOS, and Camera FV-5 or Open Camera for Android. They offer more precise adjustments than your phone's default app.
Does Using Exposure Compensation Impact the File Size of Photos?
Using exposure compensation typically won't impact your photo's file size. It adjusts the brightness before capture, not during processing. However, if you're shooting in RAW format, the file size remains constant regardless of exposure settings.
Can Exposure Compensation Help With Motion Blur in Low-Light Situations?
Exposure compensation can't directly reduce motion blur in low-light situations. However, it may allow you to use a faster shutter speed by increasing ISO, which could help minimize motion blur in your photos.
In Summary
You've now learned how exposure compensation can improve your low-light phone photos. Remember, it's all about balancing light and dark areas to capture more detail. Don't be afraid to experiment with your phone's manual controls or third-party apps. Practice adjusting exposure in various scenarios, and you'll soon master this technique. Keep in mind that post-processing can further enhance your low-light shots. With these skills, you'll be taking stunning nighttime photos in no time.



Leave a Reply