To capture crisp night shots on your mobile, start by stabilizing your phone using both hands or a tripod. Switch to manual focus mode for precise control in low light. Adjust your ISO and shutter speed settings to balance light capture and minimize noise. Utilize available light sources creatively, such as streetlights or neon signs, to add atmosphere. Experiment with long exposure apps to create stunning light trails. Don't forget to clean your camera lens for maximum clarity. Finally, enhance sharpness through post-processing techniques. These pro tips will elevate your nighttime photography game, but there's even more to explore in the world of mobile night shooting.
Stabilize Your Smartphone
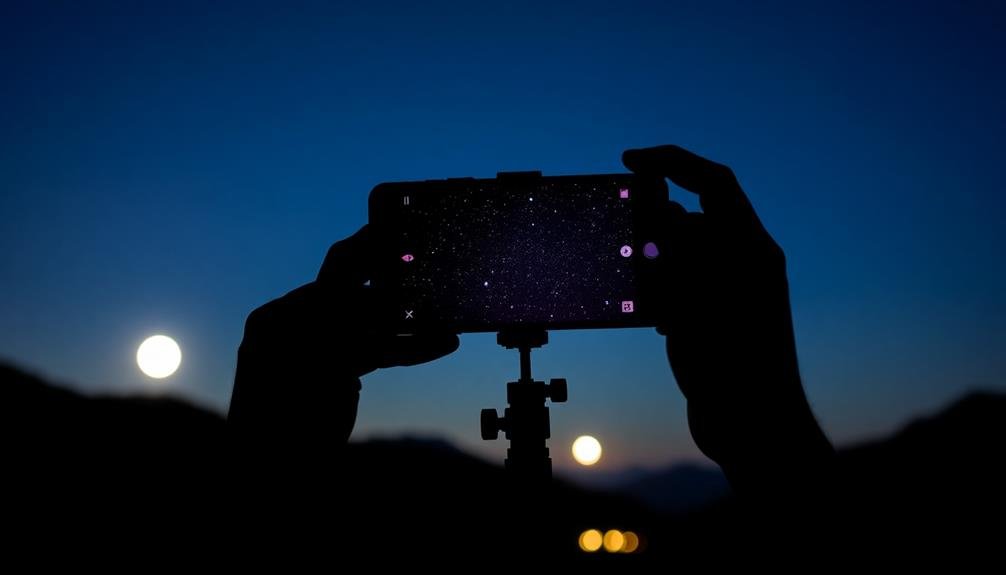
Steady hands are essential for capturing crisp night shots on your smartphone. Even the slightest movement can result in blurry images, especially in low-light conditions. To combat this, you'll need to stabilize your device effectively.
First, try using both hands to hold your phone, keeping your elbows close to your body for added support. If possible, lean against a wall or sturdy object to minimize body movement.
For even better stability, invest in a small tripod designed for smartphones. These are portable and can be set up quickly, allowing you to capture sharp images without worrying about hand shake.
If you don't have a tripod, look for flat surfaces to rest your phone on, such as a table, ledge, or even the ground. Many phones have self-timer options, which you can use to avoid touching the device when taking the shot.
Additionally, consider using voice commands or your phone's volume buttons to trigger the shutter, reducing the risk of camera shake from tapping the screen.
Use Manual Focus Mode
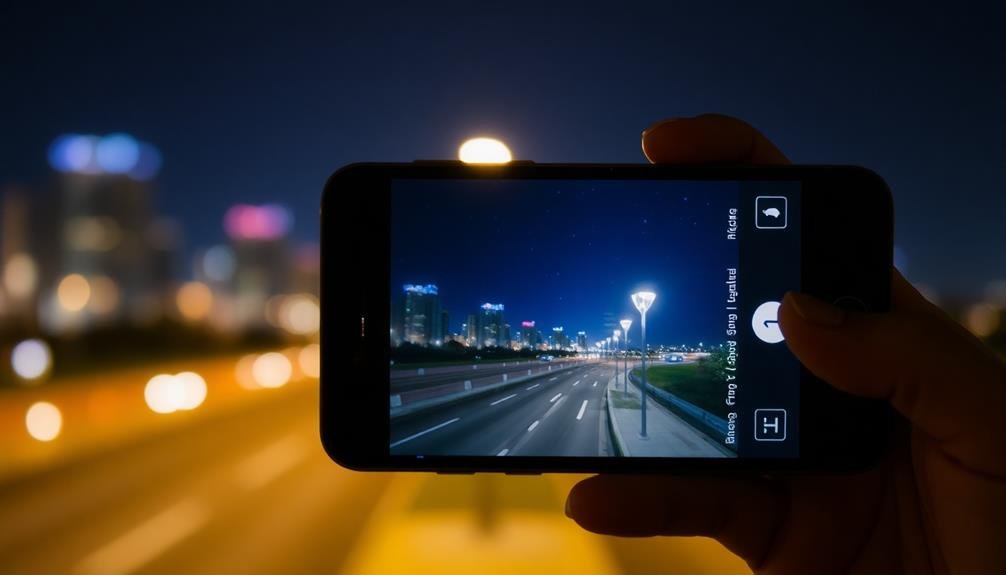
When shooting at night, your phone's autofocus may struggle.
Switch to manual focus mode and tap on your subject to focus. You can fine-tune the focus by adjusting the focus ring, ensuring your subject remains sharp.
Once you've achieved the desired focus, lock your focus settings to prevent accidental changes during shooting.
Tap to Focus
Photographers know that precise focus is essential for stunning night shots. While manual focus offers great control, your phone's tap-to-focus feature can be equally effective and more user-friendly.
To use this feature, simply tap on the area of your screen where you want the camera to focus. This action tells your phone's camera which part of the image should be sharpest.
When shooting at night, you'll often want to focus on a well-lit area or a point of contrast. Look for street lights, illuminated signs, or the edge of a building against the sky.
Once you've tapped to focus, you may see a square or circle appear on your screen, indicating the focus point. Many phones also allow you to adjust exposure by sliding your finger up or down after tapping.
Adjust Focus Ring
For those seeking even greater control over their night shots, manual focus mode offers unparalleled precision.
To access this feature, switch your camera app to Pro or Manual mode. You'll find a focus ring or slider that allows you to adjust focus manually.
When shooting at night, start by setting your focus to infinity. This is often marked by a mountain icon or the ∞ symbol. From there, slowly adjust the focus ring until your subject appears sharp.
Use your phone's zoom feature to magnify the image and guarantee precise focus.
For subjects at varying distances, try focus stacking. Take multiple shots at different focus points and combine them later in post-processing. This technique guarantees sharpness throughout the frame.
Lock Focus Settings
Once you've achieved the perfect focus for your night shot, it's vital to secure it in place. Most smartphone cameras offer a manual focus mode that allows you to maintain your chosen focus point. To activate this, look for a lock icon or "AF Lock" option in your camera app. Tap it to prevent the camera from automatically refocusing as you compose your shot.
Securing your focus is fundamental for night photography, as it prevents the camera from hunting for focus in low-light conditions. This guarantees your subject remains sharp, even if you slightly move the phone. Remember, even small movements can cause blur in low-light situations.
Here's a quick guide to focus locking on popular smartphone brands:
| Brand | Steps to Lock Focus | Release Method | Additional Tips |
|---|---|---|---|
| iPhone | Tap and hold on focus point | Tap screen | Use AE/AF Lock |
| Samsung | Tap "Pro" mode, adjust focus | Reset in menu | Enable focus peaking |
| Tap focus point, slide to lock | Tap to release | Use Night Sight mode | |
| Huawei | Use Pro mode, adjust manually | Reset in menu | Try AI-assisted focusing |
Adjust ISO and Shutter Speed
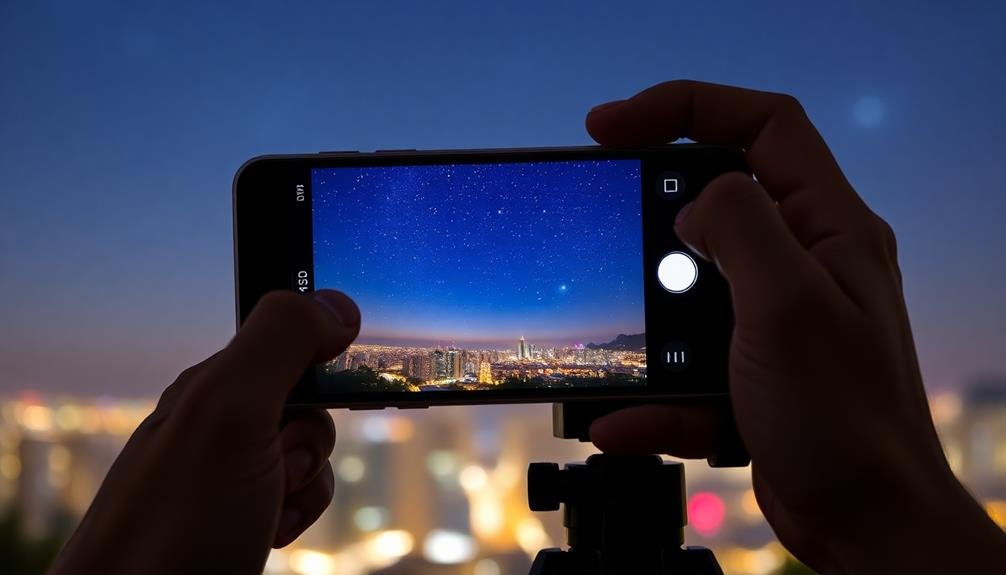
When adjusting camera settings for crisp night shots on mobile, ISO and shutter speed are essential elements to master. ISO controls your camera's sensitivity to light, while shutter speed determines how long the sensor is exposed to light. For night photography, you'll need to balance these settings carefully.
Start with a lower ISO, around 100-400, to minimize noise in your images. As you increase ISO, you'll capture more light, but you'll also introduce more graininess. Experiment with gradually higher ISO settings until you find the sweet spot for your scene.
For shutter speed, use longer exposures to allow more light into the sensor. Begin with 1/15 of a second and adjust as needed. Slower shutter speeds can capture more detail in low light but may result in motion blur. To combat this, use a tripod or steady surface to keep your phone still.
Many mobile cameras now offer manual controls or "Pro" modes. Use these features to fine-tune your ISO and shutter speed combinations.
Embrace Available Light Sources
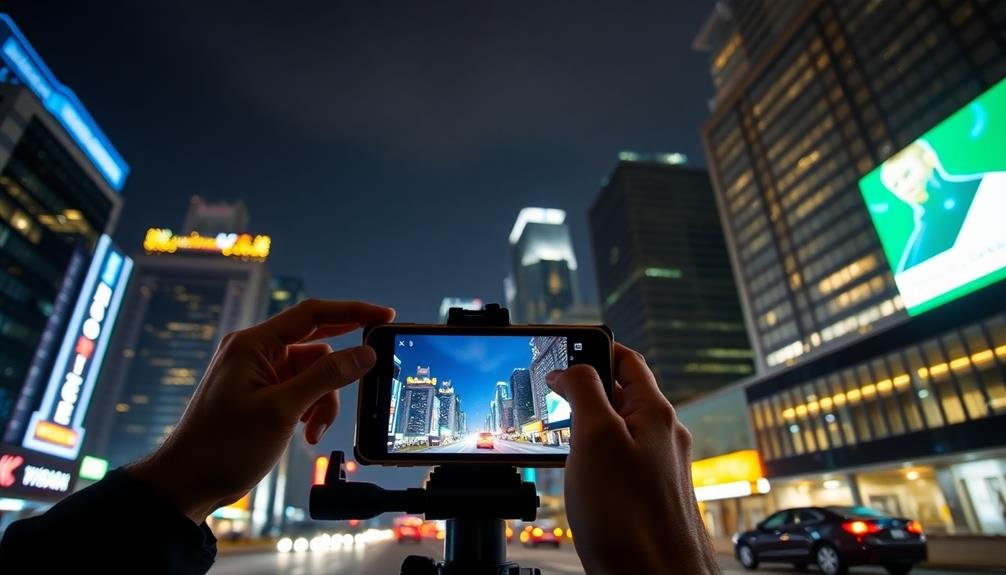
Don't overlook the creative potential of existing light sources when shooting at night with your mobile device.
You can use streetlights to cast interesting shadows or create dramatic silhouettes in your compositions.
Neon signs offer vibrant colors and a unique atmosphere, perfect for capturing the essence of urban nightlife in your photos.
Streetlights as Creative Elements
Streetlights can be your secret weapon for creating stunning night shots on your mobile device. These ubiquitous light sources offer unique opportunities to add depth, atmosphere, and visual interest to your nighttime photography.
Use streetlights to create dramatic silhouettes by positioning your subject between the light and your camera. Experiment with lens flares by partially obscuring the light source with objects in the foreground.
Try capturing the warm glow of streetlights reflecting off wet surfaces for a moody, cinematic effect. You can also use streetlights to create leading lines, guiding the viewer's eye through your composition.
Don't be afraid to play with white balance settings to emphasize the different color temperatures of various light sources. For a creative twist, try using streetlights as a makeshift spotlight. Position your subject near a streetlight and adjust your exposure to create a natural vignette effect.
You can also experiment with long exposures to capture light trails from passing cars, using streetlights as anchor points in your composition. Remember to stabilize your phone using a tripod or steady surface for the best results when shooting longer exposures.
Neon Signs for Atmosphere
Neon signs' vibrant glow can transform your night shots into enchanting works of art. They offer a unique color palette and create an atmospheric backdrop that's perfect for urban night photography.
To capture neon signs effectively, you'll need to adjust your camera settings carefully. Start by setting your ISO between 400 and 800 to balance light sensitivity with noise reduction. Use a wider aperture (f/1.8 to f/2.8) to let in more light and create a shallow depth of field. This will help isolate the neon sign from its surroundings. Set your shutter speed to 1/30 or slower, depending on how steady you can hold your phone.
For composition, try framing the neon sign as your main subject or use it to add color to your background. Experiment with different angles to capture reflections in puddles or windows. Don't be afraid to get close to the sign to highlight its details and textures.
When editing, adjust the contrast and saturation to make the neon colors pop without looking unnatural. Use the shadows slider to bring out details in darker areas of your image, creating a balanced exposure that showcases the neon sign's allure.
Experiment With Long Exposure Apps
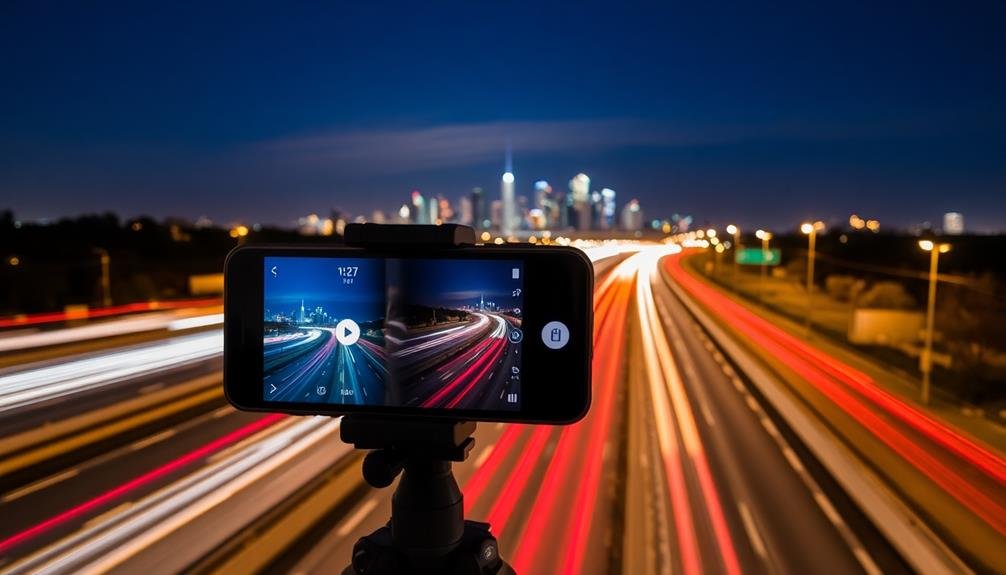
Long exposure photography opens up a world of creative possibilities for mobile night shots. With specialized apps, you can capture stunning light trails, smooth water effects, and create a sense of motion in your images.
These apps allow you to simulate the long exposure technique traditionally achieved with DSLR cameras, right on your smartphone.
To get started, download a reputable long exposure app like Slow Shutter Cam or ProCam. These apps offer various modes tailored for different night photography scenarios.
You'll want to experiment with:
- Light Trail mode for capturing car headlights or cityscapes
- Motion Blur mode for creating dreamy water effects
- Low Light mode for reducing noise in dimly lit scenes
Once you've chosen your app, find a stable surface or use a tripod to keep your phone steady during the extended exposure time.
Adjust the shutter speed and ISO settings within the app to achieve your desired effect. Don't be afraid to play with different exposure times, from a few seconds to several minutes.
Clean Your Camera Lens
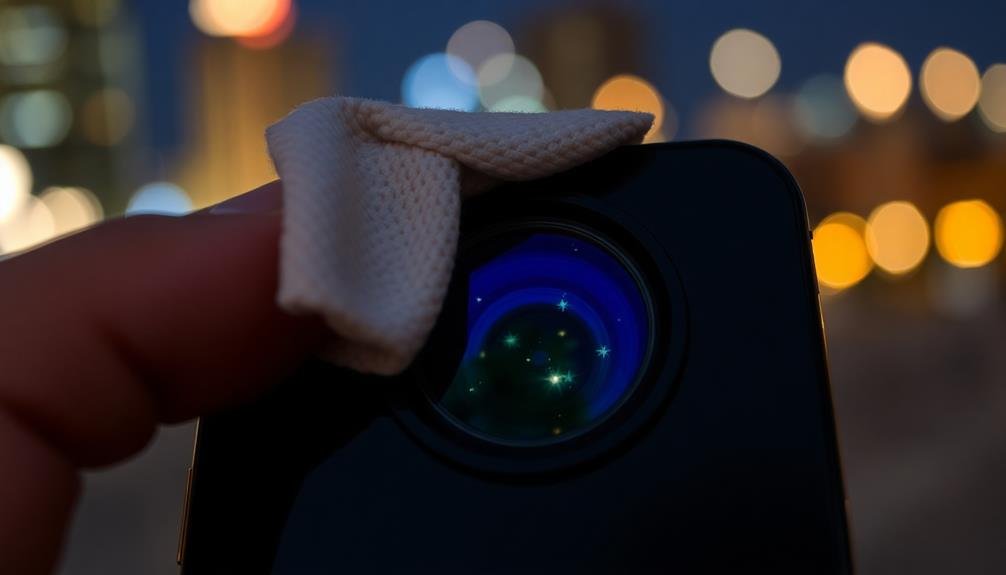
While experimenting with long exposure apps can yield impressive results, even the best techniques won't compensate for a dirty lens. Before you start shooting, always take a moment to clean your camera lens thoroughly.
Use a microfiber cloth or a lens cleaning wipe to gently remove any smudges, fingerprints, or dust particles. These seemingly minor imperfections can considerably impact your night shots, causing unwanted blurriness or light scattering.
Pay special attention to the edges of the lens, where dirt often accumulates. If you're in a pinch without proper cleaning tools, your shirt or a soft tissue can work, but be careful not to scratch the lens. For stubborn smears, lightly breathe on the lens to create a small amount of moisture before wiping.
Remember to clean both the main camera lens and any additional lenses your phone may have, such as wide-angle or telephoto. If you're using any clip-on lenses or filters, make sure these are clean as well.
Post-Processing for Sharpness Enhancement
Mastery of post-processing techniques can elevate your night shots from good to great. When it comes to enhancing sharpness, there are several tools at your disposal.
Start by adjusting the contrast and clarity sliders in your editing app. This can help bring out details and create a crisper overall image. Next, use the sharpening tool judiciously. Be careful not to overdo it, as excessive sharpening can introduce unwanted noise and artifacts.
For more advanced editing, consider using selective sharpening. This technique allows you to sharpen specific areas of the image while leaving others untouched. It's particularly useful for night shots where you want to emphasize certain elements without affecting the overall mood.
Here are some additional tips for post-processing night shots:
- Use noise reduction to minimize graininess in dark areas
- Adjust highlights and shadows to bring out hidden details
- Experiment with local adjustments to enhance specific parts of the image
Frequently Asked Questions
How Do I Prevent Lens Flare in Night Photography?
To prevent lens flare in night photography, you'll want to use a lens hood or your hand to block stray light. Avoid shooting directly at light sources, and try adjusting your angle or repositioning yourself for better results.
What's the Best Focal Length for Night Shots on a Smartphone?
You'll find that a wider focal length, around 24-28mm equivalent, works best for night shots on your smartphone. It'll let you capture more of the scene and gather more light, resulting in clearer, brighter images.
Can I Use External Lenses for Better Night Photography Results?
Yes, you can use external lenses for improved night photography. They'll enhance your smartphone's capabilities, allowing for wider angles or more zoom. However, verify they're compatible with your device and don't block the camera's night mode features.
How Do I Capture Star Trails With My Smartphone Camera?
To capture star trails, you'll need a long exposure app. Set your phone on a tripod, aim at the sky, and use the app to take multiple exposures over time. Then, stack and blend the images digitally.
Is RAW Format Necessary for High-Quality Night Shots on Mobile?
While RAW isn't absolutely necessary, it's highly recommended for high-quality night shots on mobile. You'll have more control over editing, better detail retention, and improved noise reduction. However, you can still achieve good results with JPEG in some cases.
In Summary
You've now got the tools to capture stunning night shots with your smartphone. Remember to stabilize, focus manually, and adjust your settings for the best results. Don't forget to use available light creatively and try long exposure apps for unique effects. Keep your lens clean and touch up your photos afterward. With practice, you'll be taking crisp, professional-looking night photos that'll impress your friends and followers. So get out there and start shooting!



Leave a Reply