To capture stunning HDR night photos with your smartphone, start by stabilizing your device using solid surfaces or proper handheld techniques. Master your camera's HDR mode settings, adjusting exposure compensation and ISO for peak results. Experiment with long exposures to capture light trails and silky water effects, using a tripod for stability. Try capturing multiple exposures at different brightness levels to enhance dynamic range. Finally, edit your images to fine-tune exposure, contrast, and color balance for maximum impact. By mastering these five tricks, you'll elevate your mobile night photography skills and create breathtaking images that wow viewers. Dive deeper to reveal the full potential of your smartphone's camera in low-light conditions.
Stabilize Your Smartphone
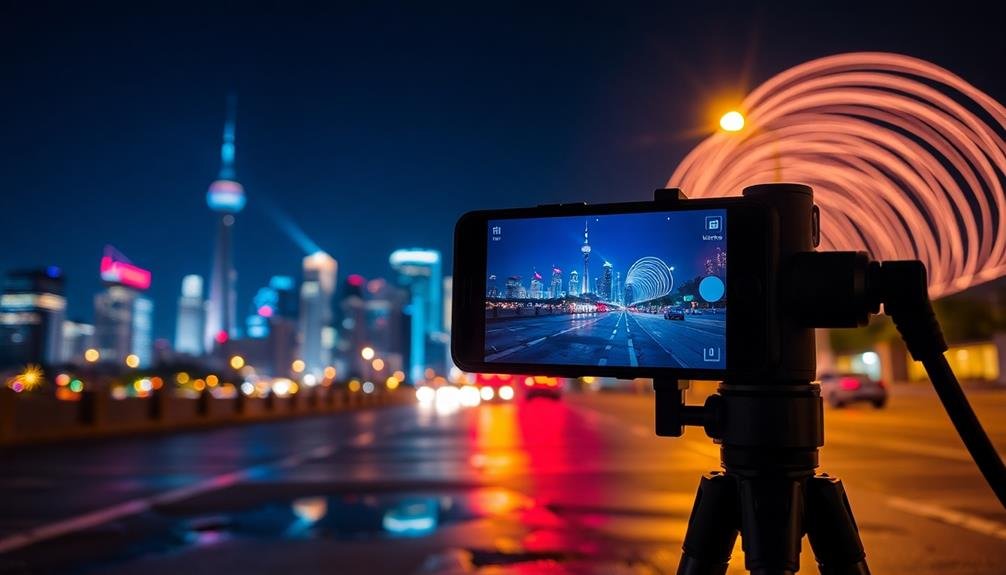
When it comes to HDR night photography, stability is essential. Even the slightest movement can blur your images, ruining the details you're trying to capture.
To stabilize your smartphone, start by finding a solid surface to rest it on. This could be a table, a wall, or even a nearby rock. If you're in an area without convenient surfaces, invest in a pocket-sized tripod designed for smartphones.
For handheld shots, adopt proper posture. Keep your elbows close to your body and hold your breath while taking the photo. Use your phone's built-in timer or a remote shutter release to avoid the shake caused by tapping the screen.
Many smartphones now offer optical image stabilization (OIS) or electronic image stabilization (EIS). Enable these features in your camera settings for added stability.
If your phone doesn't have these options, look for third-party camera apps that offer stabilization features.
Lastly, consider using a gimbal for more dynamic night shots. These handheld devices use motors to keep your phone steady, allowing for smooth panning and tracking shots even in low light conditions.
Master HDR Mode Settings
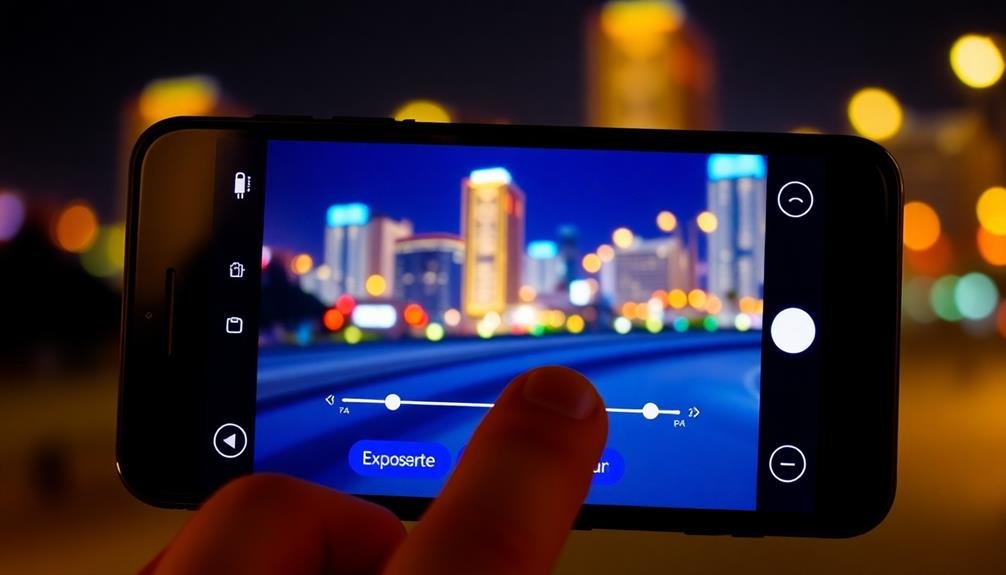
The heart of HDR night photography lies in mastering your phone's HDR mode settings. You'll need to understand how your device combines multiple exposures to create a single, well-balanced image.
Start by familiarizing yourself with your phone's HDR options, which may include auto, on, or off settings. Experiment with these to see which works best for different night scenes.
When shooting in HDR mode, keep these key points in mind:
- Exposure compensation: Adjust this to fine-tune the overall brightness of your HDR image.
- ISO settings: Lower ISO values reduce noise but require longer exposures, while higher ISOs allow for faster shutter speeds but introduce more grain.
- Shutter speed: Longer exposures capture more light but may result in motion blur, so find the right balance for your scene.
Don't be afraid to manually override your camera's auto settings. Many phones allow you to adjust individual parameters in HDR mode.
Play with these controls to achieve the perfect balance of shadow detail and highlight preservation.
Experiment With Long Exposure
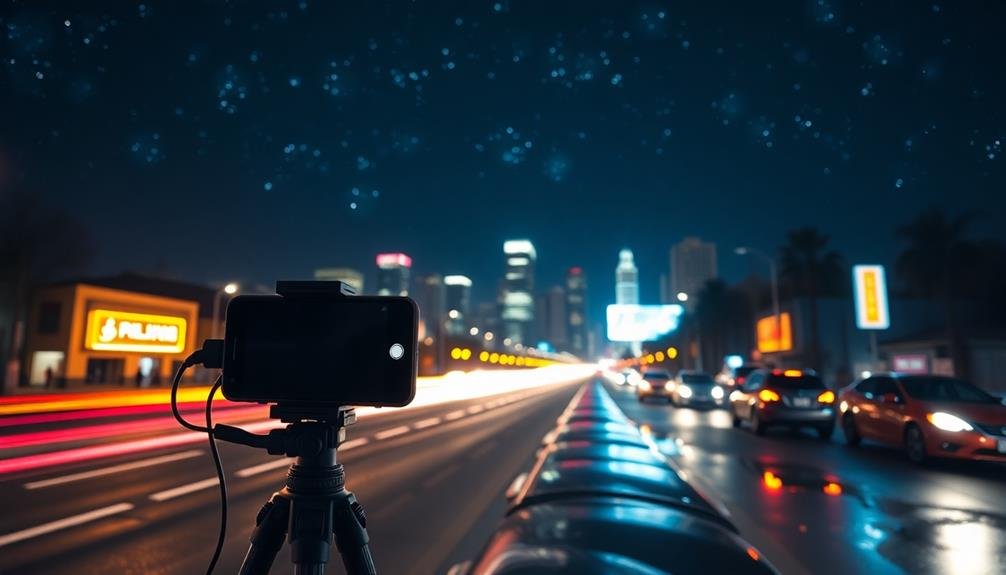
Building on your HDR skills, it's time to explore another powerful technique for night photography: long exposure. This method allows you to capture stunning light trails, silky-smooth water, and star trails in the night sky.
To start, you'll need a stable surface or tripod for your smartphone to prevent camera shake during extended exposures. Most modern smartphones offer a "Night" or "Pro" mode that allows manual control over shutter speed. Set your shutter speed to several seconds or even minutes, depending on your subject. For light trails from moving cars, try 10-30 seconds. For star trails, experiment with exposures lasting several minutes.
Use your phone's self-timer or a remote shutter release to avoid camera shake when starting the exposure. Adjust your ISO and aperture settings to compensate for the longer exposure time. Lower ISO values will reduce noise, while a wider aperture (smaller f-number) lets in more light.
Experiment with different compositions and lighting conditions. Cityscapes, flowing water, and starry skies are excellent subjects for long exposure night photography.
Don't be afraid to try multiple shots with varying settings to achieve your desired effect.
Capture Multiple Exposures
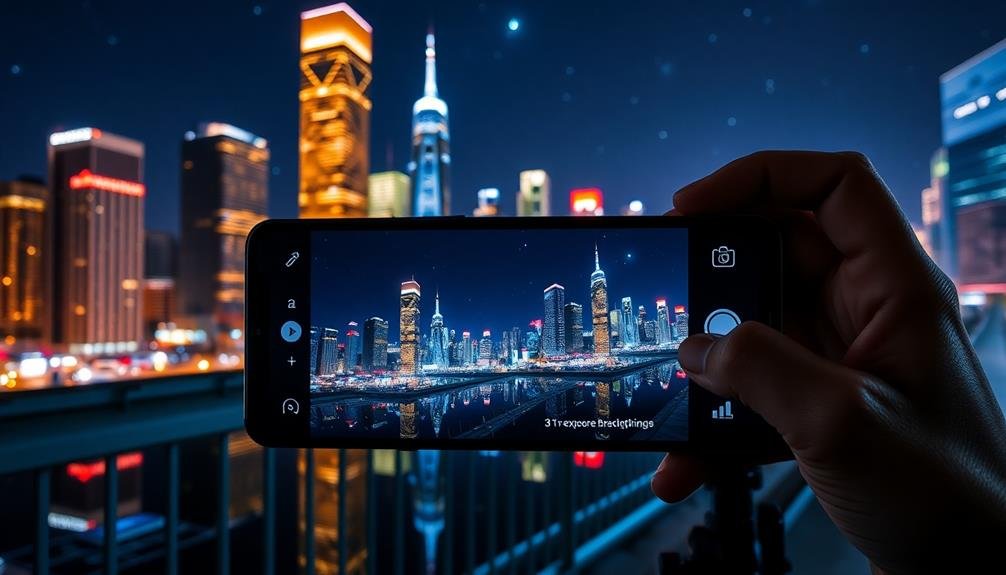
Mastery of multiple exposures can elevate your night photography to new heights. By capturing several images at different exposure levels, you'll gather more light information and create stunning HDR night shots.
Most modern smartphones offer a built-in HDR mode, but you can also take manual control for better results.
To capture multiple exposures effectively, start by setting your phone on a stable surface or using a tripod. This guarantees your images align perfectly when combined.
Next, take at least three photos of the same scene: one underexposed, one properly exposed, and one overexposed. Adjust your camera's exposure compensation or shutter speed to achieve these variations.
Once you've captured your exposures, use HDR merging software or apps to combine them into a single, dynamic image. This process brings out details in both the shadows and highlights, creating a balanced and visually striking night photograph.
Here's a quick guide to multiple exposure HDR:
- Set up your phone on a stable surface
- Capture at least three exposures (under, proper, over)
- Merge exposures using HDR software or apps
Edit for Maximum Impact
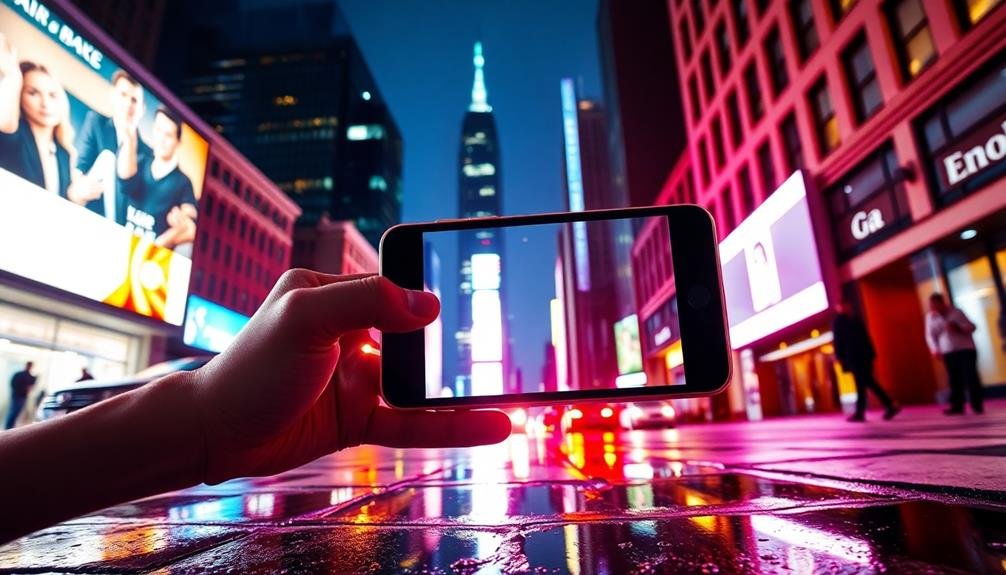
Once you've captured your HDR night shots, editing becomes essential for maximizing their impact. Start by adjusting the exposure and contrast to bring out the details in both highlights and shadows. Don't be afraid to push the boundaries, but maintain a natural look. Use the clarity and texture sliders to enhance the overall sharpness and depth of your image.
Next, focus on color correction. Night scenes often have mixed lighting sources, so adjust the white balance to create a cohesive atmosphere. Experiment with color grading to add mood and drama to your shots. Consider using split-toning techniques to introduce complementary colors in the shadows and highlights.
Lastly, fine-tune your image with selective adjustments. Use masks or brushes to target specific areas that need enhancement or correction. Pay attention to noise reduction, especially in darker areas of the image.
| Editing Step | Purpose | Tips |
|---|---|---|
| Exposure & Contrast | Balance light | Use histogram as guide |
| Color Correction | Create atmosphere | Experiment with presets |
| Selective Adjustments | Refine details | Use local adjustments |
Frequently Asked Questions
How Do I Remove Unwanted Light Streaks in My Night HDR Photos?
To remove unwanted light streaks in your night HDR photos, you'll want to use a tripod or stabilize your phone. Adjust your exposure settings, try a slower shutter speed, and use editing apps to clean up any remaining streaks post-capture.
Can I Use HDR Night Photography Techniques for Astrophotography on My Smartphone?
You can use HDR night photography techniques for smartphone astrophotography. They'll help capture more detail in the night sky. Use a tripod, long exposure settings, and manual focus. Experiment with stacking multiple exposures for better results.
What's the Best Way to Handle Moving Subjects in HDR Night Scenes?
To handle moving subjects in HDR night scenes, you'll want to use a faster shutter speed. This'll freeze motion but may require higher ISO. Alternatively, you can embrace motion blur for creative effects in your nighttime shots.
Are There Specific Apps Recommended for Advanced HDR Night Photography on Mobile?
You'll find several great apps for advanced HDR night photography on mobile. Try Adobe Lightroom Mobile, ProCam, or NightCap Camera. They offer manual controls, RAW shooting, and advanced HDR features to elevate your nighttime shots.
How Can I Reduce Noise in HDR Night Photos Without Losing Detail?
To reduce noise in HDR night photos without losing detail, you'll want to use a tripod, lower your ISO, increase exposure time, and utilize noise reduction software. Don't forget to shoot in RAW for more post-processing flexibility.
In Summary
You've now got the tools to take stunning HDR night photos with your smartphone. Remember to keep your device steady, fine-tune HDR settings, and play with long exposures. Don't forget to capture multiple shots and enhance them in post-processing. With practice, you'll master these techniques and create breathtaking nighttime images that rival those taken with professional cameras. So grab your phone, head out after dark, and start capturing the magic of the night!



Leave a Reply