To banish noise from your nighttime mobile photos, start by stabilizing your phone using a tripod or steady grip technique. Optimize your camera settings by lowering ISO and adjusting shutter speed for longer exposures. Leverage your phone's night mode features, which combine multiple shots for cleaner images. Use external light sources strategically to illuminate your subject. Post-processing can help reduce remaining noise and enhance details. Choose locations with some ambient light to minimize initial noise. Consider using specialized low-light photography apps for more control. By mastering these techniques, you'll capture crisp, noise-free nighttime images that truly shine.
Understanding Smartphone Camera Noise
At night, smartphone cameras often struggle to capture clear images. This is due to camera noise, which appears as grainy or speckled artifacts in your photos. To combat this issue, it's essential to understand why it occurs.
Camera noise results from your phone's image sensor trying to capture light in dark conditions. As you increase the ISO (light sensitivity) to brighten the image, you also amplify the electrical signals within the sensor, leading to visible noise. Additionally, longer exposure times can introduce motion blur, further degrading image quality.
There are two main types of noise you'll encounter: luminance noise, which affects brightness and appears as grainy texture, and chrominance noise, which introduces colored speckles. Both can greatly impact the overall quality of your nighttime shots.
Modern smartphones employ various noise reduction techniques, but these can sometimes result in loss of detail or unnatural smoothing. Understanding the balance between noise reduction and detail preservation is key to improving your low-light photography skills.
Stabilizing Your Phone for Clarity
To reduce noise in your nighttime mobile photos, stabilizing your phone is essential.
You'll want to master steady grip techniques, invest in a reliable tripod or mount, and utilize your camera's timed shutter release feature.
These methods will help minimize camera shake, resulting in clearer, sharper images even in low-light conditions.
Steady Grip Techniques
Keeping your phone steady is essential for capturing clear nighttime photos. To achieve this, start by gripping your phone firmly with both hands. Place your thumbs on either side of the screen and wrap your fingers around the back of the device. This two-handed technique provides a stable base and minimizes camera shake.
Next, tuck your elbows close to your body to create a natural tripod effect. This stance reduces arm movement and increases stability. When taking the shot, gently press the shutter button or use the volume keys instead of tapping the screen to avoid unnecessary movement.
For extra stability, try leaning against a solid surface like a wall or tree. If you're sitting, rest your elbows on a table or your knees. In situations where you can't find support, adopt a wide stance with your feet shoulder-width apart to improve balance.
Remember to breathe steadily and take the photo as you exhale. This technique helps reduce body movement that can cause blur.
With practice, these steady grip techniques will become second nature, resulting in sharper nighttime photos.
Tripods and Mounts
While steady grip techniques can greatly improve your nighttime mobile photography, tripods and mounts take stability to the next level. These accessories eliminate hand-shake entirely, allowing for longer exposures and clearer images in low-light conditions.
When choosing a tripod or mount for your smartphone, consider these options:
| Type | Pros | Cons |
|---|---|---|
| Mini Tripod | Portable, lightweight | Limited height |
| Full-size Tripod | Versatile, stable | Bulky, less portable |
| Flexible Tripod | Adaptable to surfaces | Less stable than rigid options |
Invest in a quality smartphone mount that securely holds your device. Look for models with adjustable grips to accommodate different phone sizes and cases. Some mounts even offer remote shutter control, further reducing camera shake.
For added versatility, consider a selfie stick with built-in tripod legs. These hybrid tools offer both handheld and stationary shooting options, making them ideal for travel photography.
When using a tripod, enable your phone's timer or use a remote shutter to avoid touching the device during exposure. This minimizes vibrations and guarantees the sharpest possible images. With your phone securely mounted, you'll be able to capture stunning, noise-free nighttime photos that rival those taken with dedicated cameras.
Timed Shutter Release
Once you've stabilized your phone on a tripod or mount, timed shutter release becomes your secret weapon for crystal-clear nighttime photos. This feature allows you to set a delay between pressing the shutter button and the actual capture of the image, eliminating any vibrations caused by touching your device.
Most smartphones offer built-in timer options, typically ranging from 3 to 10 seconds. To use this feature, open your camera app and look for the timer icon, usually represented by a clock face. Select your desired delay time, then tap the shutter button. You'll have a few seconds to step back and let your phone settle before it takes the shot.
For even more control, consider using a Bluetooth remote shutter or your smartwatch to trigger the camera. These tools allow you to capture images without physically touching your phone, further reducing the risk of camera shake.
When shooting in low light, experiment with longer exposure times. Many phones now offer manual controls or "night mode" settings that keep the shutter open for several seconds, capturing more light and detail.
Combine these longer exposures with your timed shutter release for stunning nighttime shots.
Optimizing Camera Settings at Night
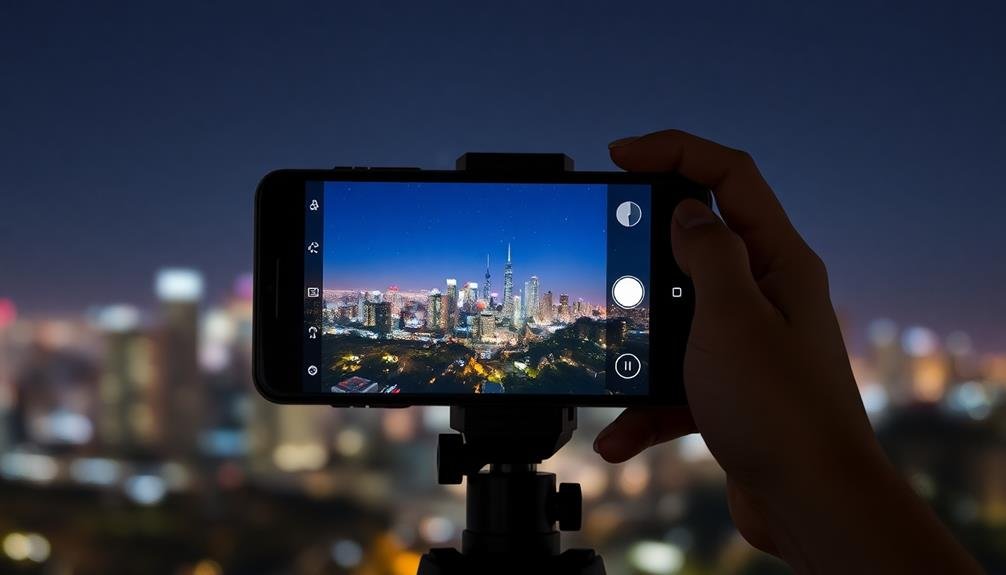
Mastering your camera settings is essential for capturing crisp, noise-free photos at night. Your smartphone's camera app likely offers manual controls that can greatly improve your low-light shots.
Start by adjusting your ISO, which controls the camera's sensitivity to light. Lower ISO values produce less noise but require longer exposure times. Experiment with different ISO settings to find the sweet spot for your scene.
Next, focus on exposure time. Longer exposures allow more light to reach the sensor, but can lead to motion blur. To combat this, use a stable surface or tripod.
Adjust your white balance to match the ambient lighting, ensuring accurate colors in your nighttime shots.
Here are five key settings to optimize for nighttime mobile photography:
- ISO: Keep it as low as possible without underexposing
- Shutter speed: Experiment with longer exposures
- Aperture: Use the widest available (lowest f-number)
- White balance: Adjust for artificial lighting
- Focus: Switch to manual for precise control
Don't forget to shoot in RAW format if your phone supports it. This preserves more data, giving you greater flexibility when editing your nighttime masterpieces later.
Leveraging Night Mode Features
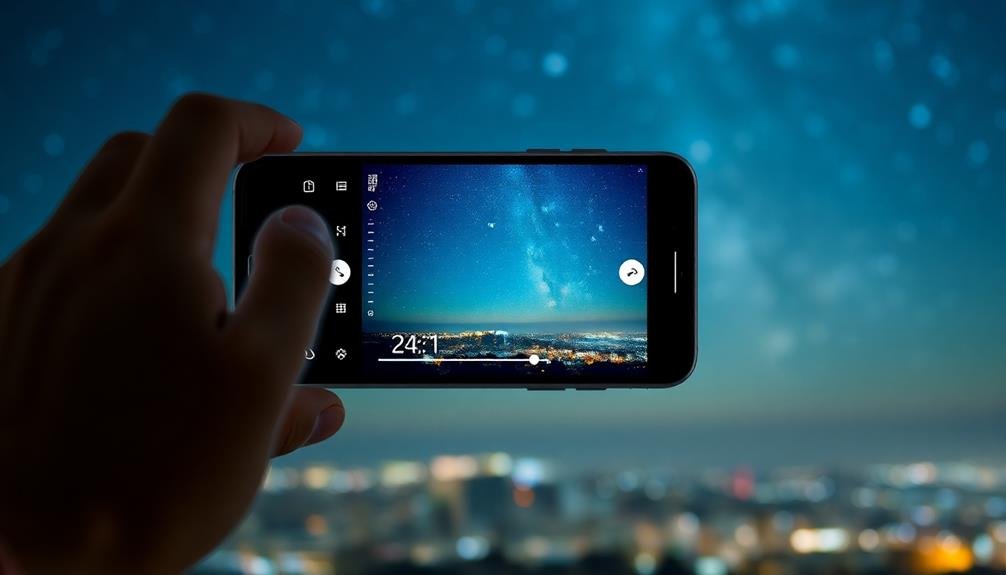
To capture clearer nighttime photos, you'll want to activate your smartphone's Night Mode feature.
Once enabled, adjust the exposure compensation to fine-tune the brightness and detail in your shots.
Many modern smartphones also offer AI-enhanced capabilities that can further reduce noise and improve low-light image quality.
Activating Night Mode Settings
Many modern smartphones come equipped with a dedicated Night mode feature, designed to enhance low-light photography. To activate this mode, you'll typically find it in your camera app's settings or as a specific shooting mode. Once enabled, Night mode automatically adjusts various camera parameters to capture clearer, brighter images in low-light conditions.
When using Night mode, keep these tips in mind:
- Hold your phone steady for several seconds while the camera captures multiple exposures
- Avoid shooting moving subjects, as this can result in blurry images
- Frame your shot carefully, as Night mode often crops the image slightly
- Use a tripod or rest your phone on a stable surface for the best results
- Experiment with different compositions to find the most flattering light sources
Night mode works by combining multiple exposures and applying advanced noise reduction algorithms. This process helps to reduce graininess and improve overall image quality.
While it's not a perfect solution for every low-light scenario, it can greatly enhance your nighttime photography. Remember that each smartphone manufacturer implements Night mode differently, so familiarize yourself with your device's specific features and limitations to make the most of this powerful tool.
Adjusting Exposure Compensation
While Night mode offers significant improvements for low-light photography, you can further enhance your results by adjusting exposure compensation. This feature allows you to fine-tune the brightness of your image before capturing it. In low-light situations, you'll often want to increase the exposure to bring out more details in the shadows.
To adjust exposure compensation, look for a slider or +/- icon in your camera app. Slide it to the right or tap the + icon to increase exposure, making the image brighter. Be cautious not to overexpose, as this can lead to blown-out highlights and increased noise. Start with small adjustments, such as +0.3 or +0.7, and review the results.
If your scene has bright light sources, like street lamps or neon signs, you might need to decrease exposure slightly to prevent them from becoming overexposed. In these cases, try a -0.3 or -0.7 adjustment.
Utilizing Ai-Enhanced Capabilities
Artificial intelligence has revolutionized mobile photography, especially in low-light conditions. Modern smartphones now come equipped with AI-enhanced night mode features that can greatly improve your low-light shots. These intelligent algorithms analyze the scene, adjust camera settings, and combine multiple exposures to produce cleaner, brighter images with reduced noise.
To make the most of your phone's AI-enhanced capabilities:
- Enable night mode or a similar feature in your camera app
- Keep your device steady for several seconds during capture
- Experiment with different compositions to find what works best
- Use a tripod or stable surface for even sharper results
- Try manual mode alongside AI features for comparison
AI-powered night modes often outperform traditional long exposures by intelligently balancing light and dark areas. They can bring out details in shadows while preserving highlights, resulting in more balanced and natural-looking photos.
As you become familiar with your device's AI capabilities, you'll find yourself capturing impressive nighttime scenes that were once impossible with mobile cameras. Remember, while AI can greatly enhance your photos, it's still important to apply good composition and lighting techniques for the best results.
Using External Light Sources Effectively
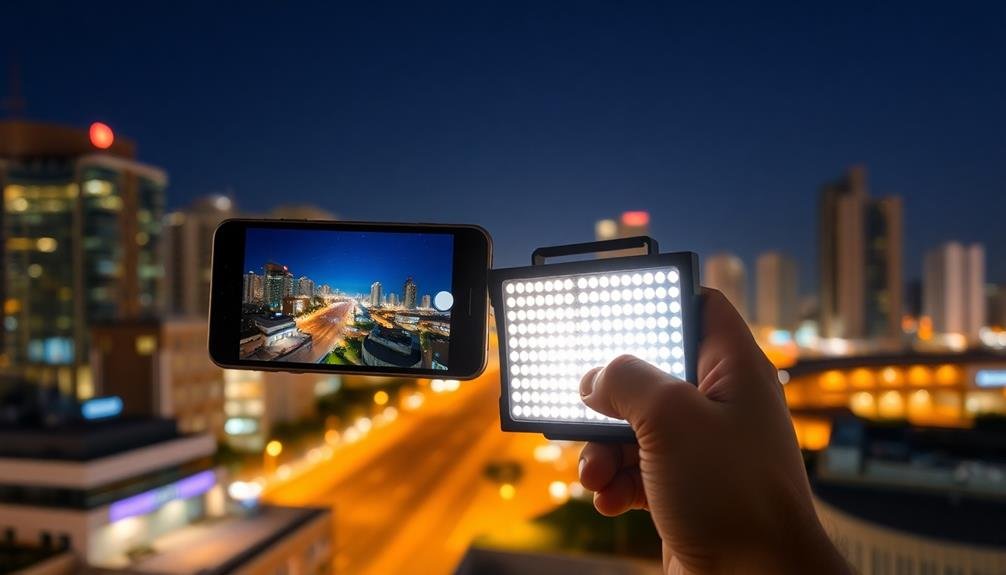
External light sources can be game-changers for your nighttime mobile photography. They provide additional illumination, helping you capture clearer, less noisy images in low-light conditions.
Consider investing in a small, portable LED light panel that you can easily attach to your smartphone or hold separately. These panels often offer adjustable brightness and color temperature, allowing you to fine-tune the lighting for your scene.
When using external lights, position them strategically to create depth and dimension in your photos. Experiment with side lighting to highlight textures or backlight your subject for a dramatic silhouette effect.
For portraits, a soft, diffused light source placed slightly above and to the side of your subject can produce flattering results.
Don't overlook everyday light sources around you. Streetlights, neon signs, or even car headlights can be creatively incorporated into your nighttime shots.
Use these existing light sources to add interest and atmosphere to your compositions. Remember to adjust your camera settings accordingly when introducing additional light, as you may need to lower your ISO or increase your shutter speed to avoid overexposure.
Post-Processing Techniques for Noise Reduction
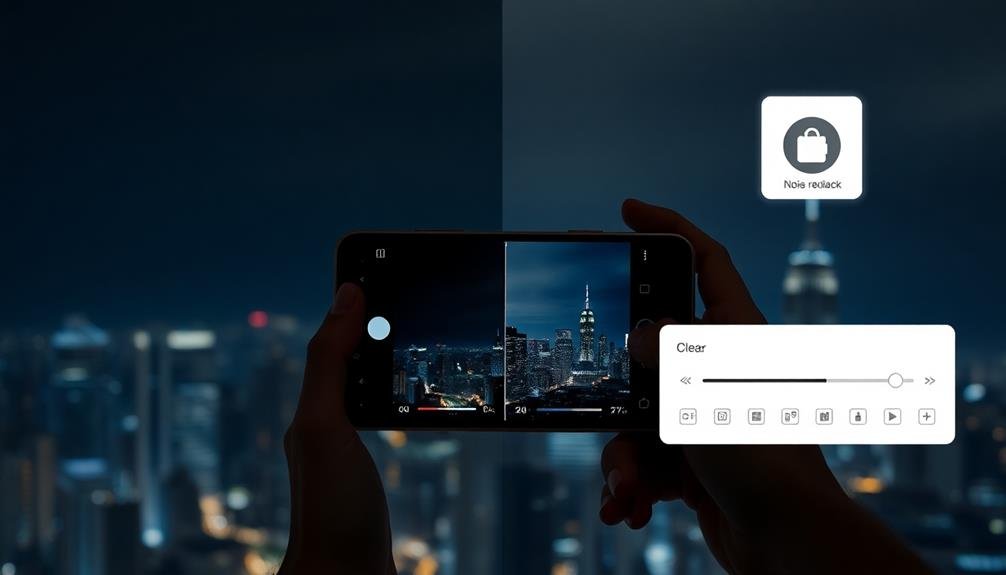
Tackle noise in your nighttime mobile photos with powerful post-processing techniques. Even after optimizing your camera settings and using external light sources, you'll often find some residual noise in your low-light images. That's where post-processing comes in handy.
Start by using your phone's built-in editing tools or download a dedicated noise reduction app. These apps often employ AI-powered algorithms to intelligently reduce noise while preserving detail. When applying noise reduction, be careful not to overdo it, as excessive smoothing can result in a loss of sharpness and texture.
Here are some key post-processing techniques to try:
- Adjust exposure and contrast to bring out details
- Use selective noise reduction on specific areas
- Apply sharpening to counteract softness from noise reduction
- Experiment with black and white conversion to mask noise
- Blend multiple exposures for cleaner results
Don't forget to save your edited image as a new file, preserving the original.
With practice, you'll develop a keen eye for balancing noise reduction and detail retention, resulting in cleaner, more professional-looking nighttime mobile photos.
Choosing the Right Shooting Locations
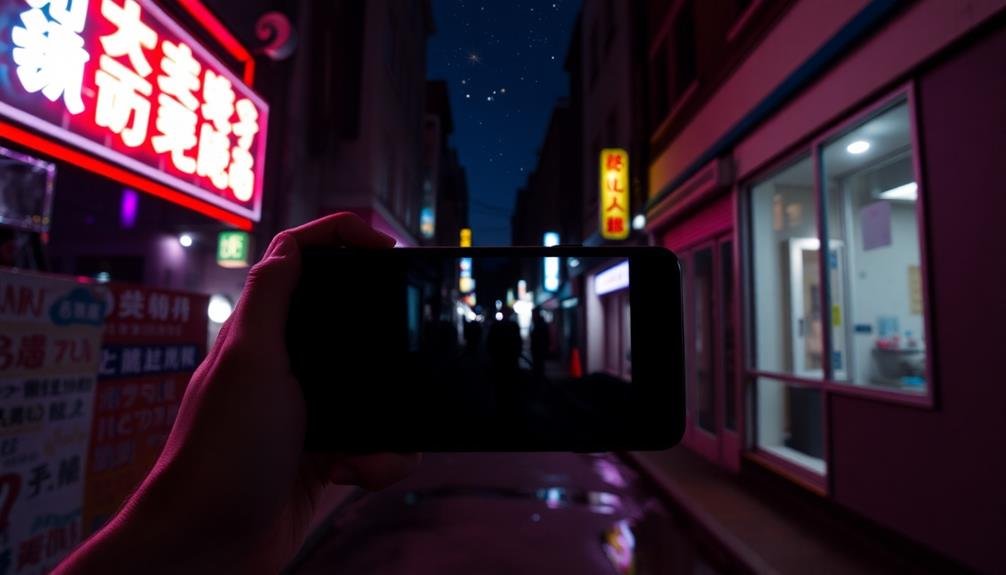
Location selection plays an essential role in capturing stunning nighttime mobile photos. When choosing your shooting spot, look for areas with some ambient light sources. Street lamps, neon signs, or illuminated buildings can provide much-needed light to reduce noise in your images.
Avoid completely dark locations, as they'll force your phone's camera to push its ISO limits, resulting in grainy photos.
Consider spots with interesting light patterns or reflections. Water bodies, wet streets, or glass structures can create enthralling scenes while providing additional light. Urban environments often offer a mix of light sources and subjects, making them ideal for nighttime mobile photography.
Don't overlook stability when selecting your location. Find places where you can rest your phone on a stable surface or use a small tripod. This stability allows for longer exposures without introducing motion blur, which can help combat noise.
Lastly, scout locations during daylight hours to identify potential hazards and plan your compositions. This preparation guarantees you'll spend less time fumbling in the dark and more time capturing great shots when night falls.
Alternative Apps for Low-Light Photography
While your phone's built-in camera app can handle most low-light situations, specialized apps can take your nighttime photography to the next level. These apps offer advanced features and algorithms specifically designed for low-light conditions, helping you capture clearer, less noisy images after dark.
Consider exploring these alternatives to enhance your nighttime mobile photography:
- ProCam: Offers manual controls and a dedicated low-light mode
- NightCap Camera: Specializes in long exposure and astrophotography
- Cortex Camera: Uses image stacking to reduce noise in low-light shots
- Camera+ 2: Provides RAW capture and AI-powered scene recognition
- Halide: Features manual controls and a unique focus peaking tool
These apps often allow you to adjust ISO, shutter speed, and exposure compensation, giving you more control over your nighttime shots.
They may also incorporate noise reduction algorithms and HDR processing to improve image quality in challenging lighting conditions.
Don't be afraid to experiment with different apps to find the one that best suits your needs and shooting style.
Frequently Asked Questions
Can Smartphone Camera Noise Be Completely Eliminated in Low-Light Conditions?
You can't completely eliminate smartphone camera noise in low-light conditions, but you can reduce it considerably. Use night mode, steady your hand, adjust ISO settings, and try third-party apps for better results. Post-processing can also help.
How Does Sensor Size Affect Nighttime Photo Quality on Smartphones?
You'll find larger sensors capture more light, reducing noise in your nighttime shots. They'll give you cleaner, sharper images with better color and detail. Bigger sensors also improve low-light performance, enhancing your smartphone's nighttime photo quality considerably.
Are Tripods Necessary for All Types of Nighttime Smartphone Photography?
Tripods aren't essential for all nighttime smartphone photography. You'll benefit from them for long exposures or astrophotography, but handheld shots can work well for city scenes or subjects with available light. It depends on your specific needs.
Do Protective Phone Cases Impact the Quality of Low-Light Photos?
You'll find that most phone cases don't greatly impact low-light photo quality. However, bulky or poorly designed cases might interfere with your camera lens or flash. It's best to use a slim, clear case for ideal results.
How Often Should Smartphone Camera Lenses Be Cleaned for Optimal Night Shots?
You should clean your smartphone's camera lens regularly, at least once a week. If you're taking frequent night shots, wipe it gently before each session. Use a microfiber cloth to avoid scratches and remove fingerprints or smudges.
In Summary
You've now got the tools to conquer nighttime mobile photography. Remember, it's all about stability, ideal settings, and using available light wisely. Don't forget to experiment with night mode and post-processing techniques. With practice, you'll master the art of capturing clear, noise-free photos in low light. So go ahead, embrace the night, and let your creativity shine. Your smartphone's capable of more than you think – it's time to prove it!


Leave a Reply