Post-processing is essential for low-light phone photos due to the inherent limitations of smartphone camera sensors. Small sensors struggle to capture enough light, resulting in noisy, grainy images with poor dynamic range. Through post-processing, you can effectively reduce noise, enhance details, and expand the tonal range. Techniques like adjusting exposure, shadows, and highlights reveal hidden elements and balance the overall image. Color correction addresses unnatural tints, while sharpening and detail recovery tools compensate for the lack of crispness. By applying these methods, you'll transform dull, low-quality shots into vibrant, professional-looking photographs. Mastering these techniques will elevate your night photography game to new heights.
Limitations of Smartphone Camera Sensors
While smartphone cameras have come a long way, they're still constrained by physical limitations. The small size of phone camera sensors is the primary culprit. These tiny sensors can't capture as much light as larger DSLR or mirrorless camera sensors, resulting in noisier images, especially in low-light conditions.
Smartphone cameras also have fixed apertures, limiting their ability to let in more light when needed. This means they rely heavily on increasing ISO sensitivity or longer exposure times in dark environments, both of which can introduce more noise or motion blur.
The compact lenses in phones further contribute to image quality issues, as they're more prone to distortion and chromatic aberration than their larger counterparts.
Moreover, smartphone cameras often lack advanced features like optical image stabilization, which helps reduce blur in low-light shots. They also have limited dynamic range, making it challenging to capture details in both highlights and shadows simultaneously.
These inherent limitations mean that post-processing becomes vital for enhancing low-light phone photos, allowing you to minimize noise, adjust exposure, and recover lost details that the camera couldn't capture effectively on its own.
Noise Reduction Techniques
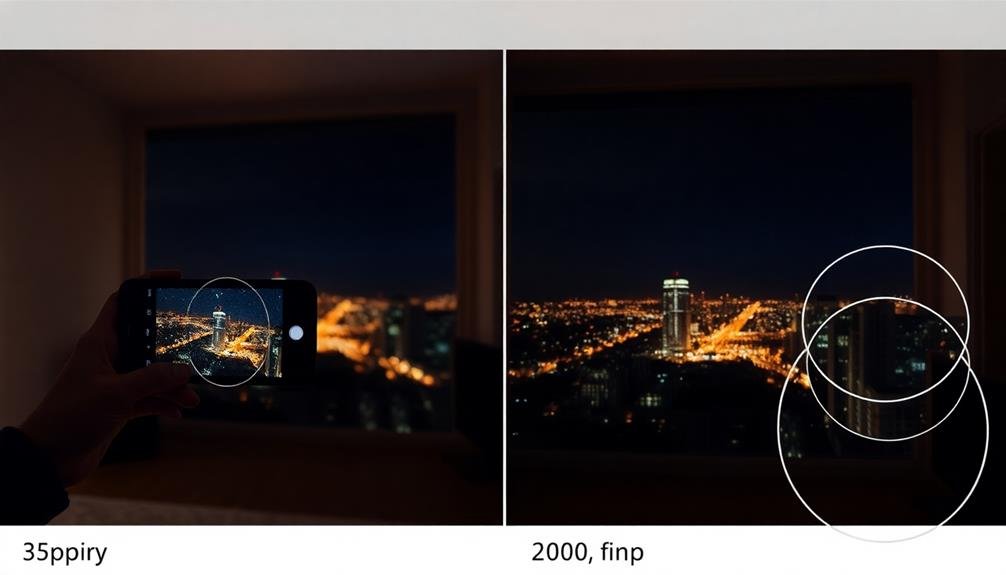
In light of the limitations of smartphone sensors, noise reduction becomes a critical step in post-processing low-light photos.
When you're dealing with high ISO images, you'll notice grainy textures and color artifacts that detract from the overall quality. Noise reduction algorithms help smooth out these imperfections, restoring clarity to your nighttime shots.
There are several noise reduction techniques you can apply to your low-light phone photos:
- Spatial noise reduction: This method analyzes neighboring pixels to identify and reduce random variations in color and brightness.
- Temporal noise reduction: If you've taken multiple shots of the same scene, this technique compares frames to distinguish between noise and actual image details.
- AI-powered noise reduction: Machine learning algorithms can intelligently identify and remove noise patterns while preserving important image features.
- Frequency domain noise reduction: This advanced method separates image data into different frequency bands, allowing for more precise noise targeting.
Enhancing Dynamic Range
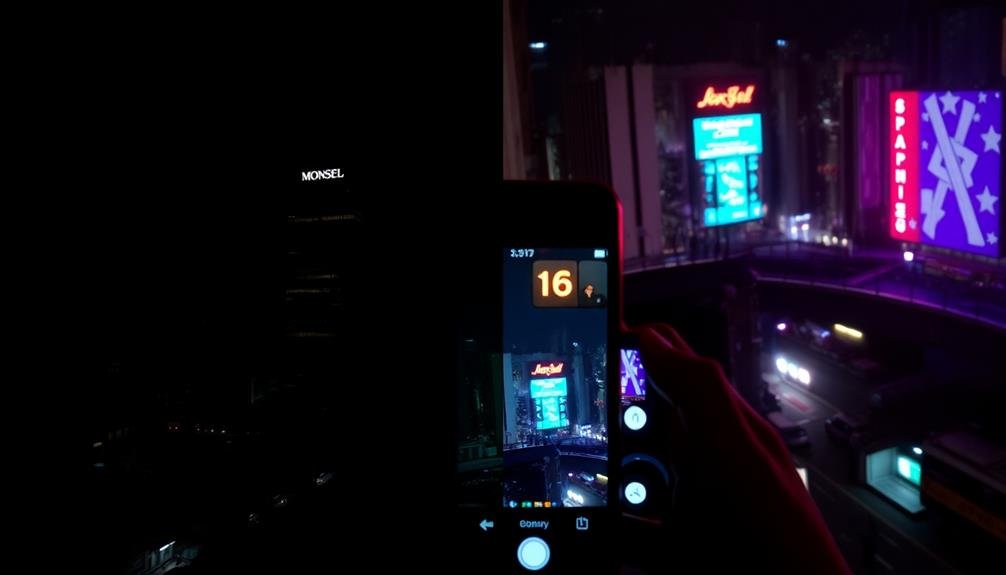
When enhancing dynamic range in low-light phone photos, you'll want to focus on recovering shadow details, balancing highlights and darks, and expanding the tonal range.
Start by carefully adjusting the shadows slider to reveal hidden details in the darker areas of your image.
Next, fine-tune the highlights to prevent overexposure while maintaining a natural balance with the newly revealed shadows.
Then use the contrast and clarity tools to expand the overall tonal range for a more vibrant and balanced final result.
Recovering Shadow Details
A crucial aspect of post-processing low-light phone photos is recovering shadow details to enhance the image's dynamic range. When you're dealing with low-light situations, your phone's camera often struggles to capture details in darker areas.
Post-processing allows you to bring out these hidden details, creating a more balanced and visually appealing image.
To recover shadow details effectively, you'll need to adjust various settings in your editing software. Start by increasing the exposure slightly, then focus on the shadows slider. Gradually lift the shadows until you see details emerging in the darker areas.
Be careful not to overdo it, as this can lead to a flat, unnatural look. Fine-tune the contrast and blacks to maintain depth in your image.
Here are some key benefits of recovering shadow details:
- Reveals hidden elements in the photo
- Improves overall image clarity
- Balances the exposure across the entire frame
- Creates a more professional-looking result
Balancing Highlights and Darks
While recovering shadow details is essential, balancing highlights and darks is equally important for enhancing your low-light phone photos' dynamic range. This process involves carefully adjusting the exposure and contrast to create a more balanced image with visible details in both bright and dark areas.
Start by reducing the intensity of highlights that may appear blown out. You'll want to bring down overexposed areas without losing their definition. Next, boost the shadows slightly to reveal more details in darker regions. Be cautious not to overdo this step, as it can lead to a flat, unnatural look.
Use the histogram as a guide to guarantee you're not clipping highlights or crushing shadows. Aim for a balanced distribution of tones across the graph. Experiment with the curves tool to fine-tune contrast and create a more pleasing tonal range.
Consider using graduated filters or local adjustments to target specific areas of your image. This technique allows you to selectively brighten or darken portions of the photo, helping you achieve a more balanced overall exposure while maintaining a natural look.
Expanding Tonal Range
Expanding your photo's tonal range is an essential step in enhancing its dynamic range and overall visual impact. When you capture low-light images on your phone, they often lack contrast and appear flat. By stretching the tonal range, you'll bring out details in both the shadows and highlights, creating a more balanced and visually appealing image.
Start by adjusting the exposure to reveal hidden details in the darker areas. Then, fine-tune the highlights to prevent overexposure. Use the contrast slider to increase the difference between light and dark areas, but be careful not to crush the blacks or blow out the highlights. Experiment with the shadows and highlights sliders to recover lost details in these areas.
To further expand the tonal range:
- Apply local adjustments to specific areas of the image
- Use gradient filters to balance the exposure across the frame
- Experiment with HDR techniques to blend multiple exposures
- Utilize curves adjustments for precise control over tones
Color Correction in Low Light

Correcting color in low-light photos can transform dull, murky images into vibrant masterpieces. When you're shooting in dim conditions, your phone's camera often struggles to capture accurate colors, resulting in a blue or orange cast across the image. This color shift occurs because the camera's white balance system is challenged by the lack of light.
To address this issue, you'll need to adjust the white balance in post-processing. Start by identifying the dominant color cast in your image. If it's too cool, increase the warmth; if it's too warm, add some coolness.
Don't stop at overall adjustments, though. Fine-tune individual color channels to bring out the true hues of specific elements in your photo.
Pay special attention to skin tones, as they're particularly susceptible to color shifts in low light. Use selective adjustments to correct any unnatural tints while maintaining the overall mood of the scene.
Sharpening and Detail Recovery
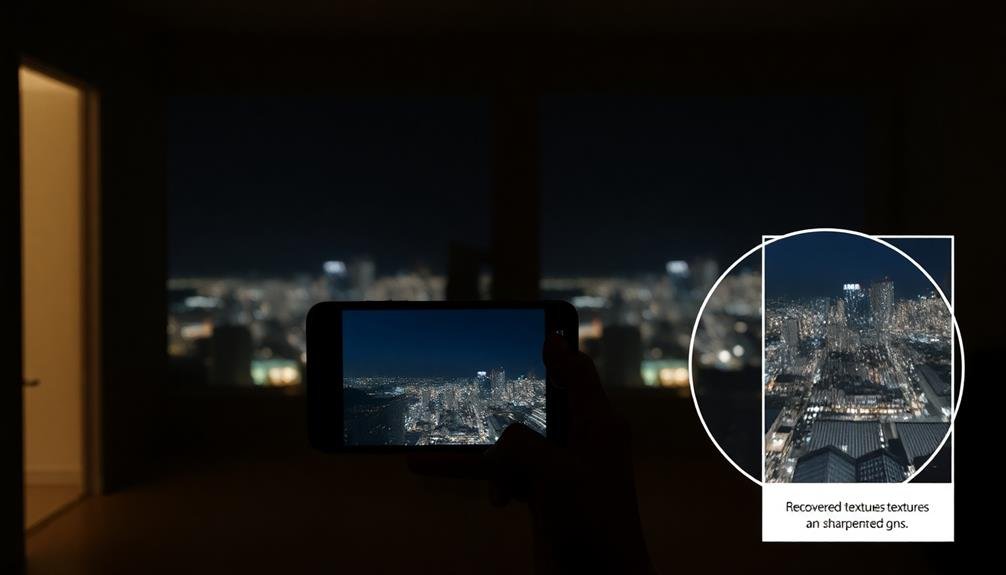
Sharpening and detail recovery are essential steps in enhancing low-light phone photos. When you're working with images taken in low-light conditions, you'll often find that they lack crispness and fine details. This is where post-processing techniques come in handy to bring your photos back to life.
Start by applying a careful sharpening technique to your image. You'll want to focus on enhancing edges and textures without introducing unwanted noise. Next, use detail recovery tools to bring out the finer elements that may have been lost in the shadows. These tools work by analyzing the image data and intelligently enhancing areas with potential for more detail.
Here's why sharpening and detail recovery are vital:
- They compensate for the limitations of phone camera sensors in low light
- They help restore the natural look of textures and patterns
- They can make your subject stand out more clearly from the background
- They improve the overall perceived quality of your image
Balancing Exposure Across the Image
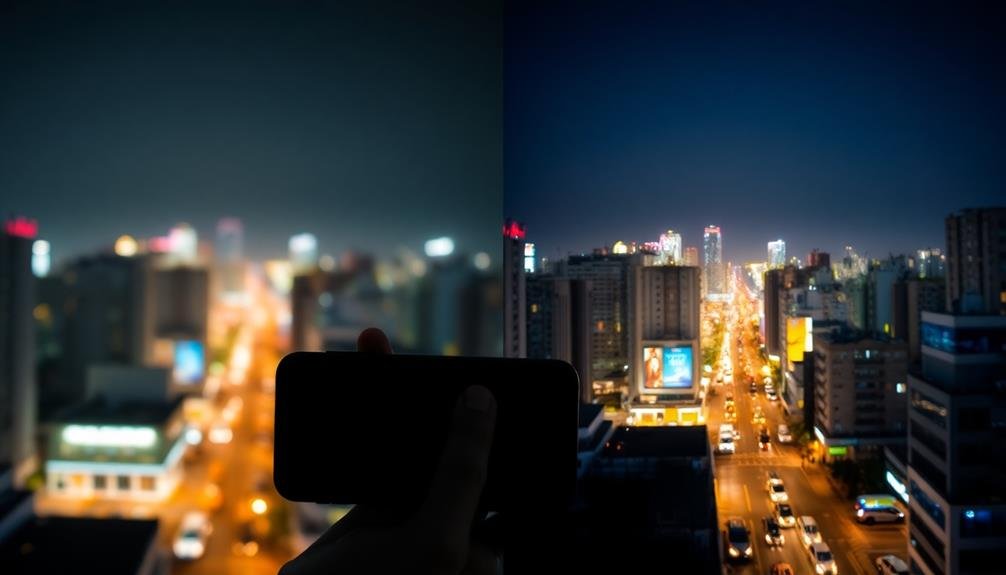
When balancing exposure across your low-light phone photos, you'll need to address three key areas.
Start by brightening dark areas to reveal hidden details.
Then, carefully tame overexposed highlights to prevent loss of information.
Brightening Dark Areas
One of the most common issues with low-light photos is uneven exposure, where some areas are too dark while others are properly lit. To address this, you'll need to brighten the darker areas without overexposing the rest of the image. This process, known as shadow recovery, can greatly improve the overall quality of your low-light photos.
When brightening dark areas, you'll want to:
- Adjust the shadows slider in your editing app
- Use local adjustments to target specific areas
- Apply noise reduction to minimize graininess
- Carefully balance contrast to maintain depth
Start by gradually increasing the shadows slider until details in dark areas become visible. Be careful not to push it too far, as this can lead to an unnatural look.
If you need more precise control, use brushes or gradient tools to apply local adjustments. These allow you to target specific areas without affecting the entire image.
As you brighten shadows, you may notice increased noise. Apply noise reduction selectively to combat this issue.
Taming Overexposed Highlights
In contrast to brightening dark areas, taming overexposed highlights is equally essential for achieving balanced low-light photos. When you're shooting in low-light conditions, your phone's camera often overcompensates by increasing exposure, resulting in blown-out highlights. These bright spots can detract from the overall image quality and lose important details.
To address this issue, you'll need to carefully adjust the highlights in post-processing. Start by reducing the overall exposure of your image slightly, then use the highlights slider to bring down the brightest areas. This will help recover lost details and create a more natural-looking scene.
You can also use the whites slider to fine-tune the brightest parts of the image without affecting mid-tones. If certain areas are still too bright, consider using selective adjustments or masking tools to target specific regions. Gradient filters can be particularly useful for balancing exposure between the sky and foreground in landscape shots.
Remember to maintain a balance between highlight recovery and overall image brightness. Your goal is to create a photo with well-defined highlights that complement the darker areas, resulting in a more visually appealing and realistic representation of the low-light scene.
Adjusting Mid-Tone Contrast
After addressing the shadows and highlights, the mid-tones often need attention to achieve a well-balanced low-light photo. Mid-tones represent the areas of your image that fall between the darkest shadows and brightest highlights.
Adjusting mid-tone contrast can dramatically improve the overall look of your low-light phone photos. To enhance mid-tone contrast, you'll typically use tools like curves, levels, or dedicated mid-tone sliders in your editing software.
These adjustments allow you to fine-tune the brightness and contrast of the middle range of tones without affecting the extremes. By carefully manipulating these settings, you can:
- Bring out subtle details that might be lost in flat lighting
- Enhance the perceived sharpness of your image
- Create depth and dimension in your photo
- Separate subjects from their backgrounds more effectively
When adjusting mid-tone contrast, it's essential to maintain a natural look. Avoid pushing the adjustments too far, as this can lead to an artificial appearance.
Instead, aim for subtle enhancements that complement the existing light and shadow play in your image. Remember, the goal is to improve the photo while preserving its authentic low-light atmosphere.
Removing Lens Flare and Artifacts
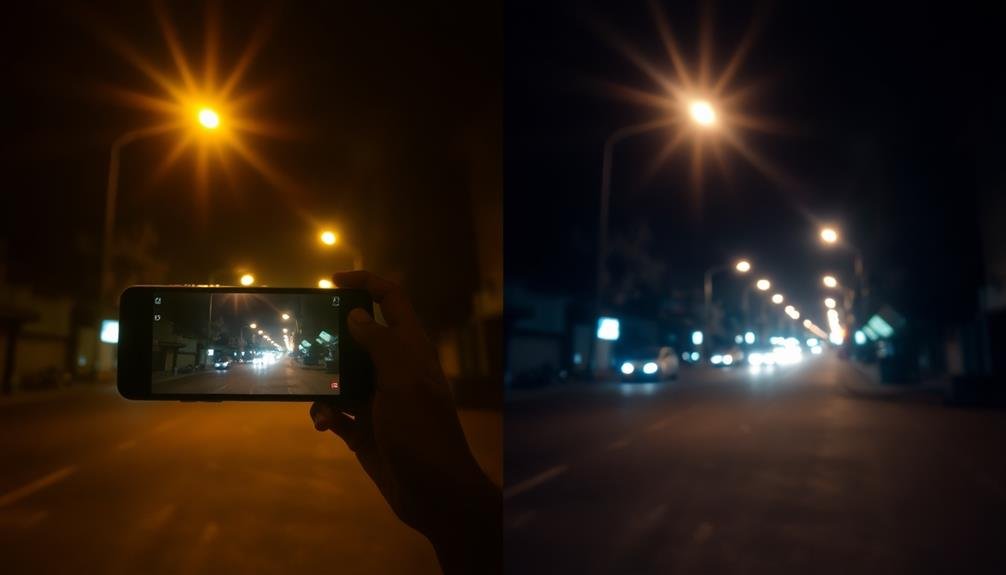
Once you've addressed color and exposure issues, it's time to tackle lens flare and artifacts in your low-light phone photos. These unwanted elements can greatly detract from your image quality, especially in challenging lighting conditions.
Lens flare appears as bright spots or streaks caused by light scattering within the lens. To remove it, use the clone stamp or healing brush tool in your editing software. Carefully sample nearby areas to replace the flare with clean image data. For larger flares, you might need to reconstruct parts of the image using multiple samples.
Artifacts, such as digital noise or compression issues, require a different approach. Start by applying noise reduction, but be cautious not to overdo it and lose detail. Use a selective sharpening tool to restore edge definition in key areas.
For compression artifacts, try using a deblocking filter or manually smoothing affected areas.
Don't forget to address chromatic aberration, which often appears as colored fringes around high-contrast edges. Most editing software offers automatic correction tools, but you may need to fine-tune the results manually for best results.
Adjusting White Balance for Ambiance
With lens flare and artifacts addressed, your attention should now turn to white balance adjustment. This vital step can dramatically alter the mood and ambiance of your low-light photos. White balance corrects color casts caused by different light sources, ensuring your images appear natural and true to life.
In low-light situations, you'll often encounter mixed lighting conditions that can throw off your phone's auto white balance. By manually adjusting white balance, you can:
- Enhance the warmth or coolness of the scene
- Accurately represent the color temperature of the light source
- Create a specific mood or atmosphere
- Correct unnatural color tints from artificial lighting
Start by identifying the dominant light source in your image. If it's tungsten or incandescent lighting, you'll need to cool down the image. For fluorescent lights, you might need to remove a green cast. Moonlight or street lamps may require a blue-toned adjustment.
Don't be afraid to experiment with different white balance settings to achieve the desired ambiance. Remember, the goal is to create a balanced, natural-looking image that captures the essence of the scene as you experienced it.
Cropping for Stronger Composition
While white balance sets the tone, cropping can make or break your low-light photo's composition. When you're dealing with low-light images, you'll often find distracting elements or excess dark areas that detract from your main subject. Cropping allows you to remove these distractions and focus the viewer's attention on the most important parts of your image.
Start by identifying the key elements in your photo. Then, use the rule of thirds to guide your cropping decisions. Imagine dividing your image into a 3×3 grid:
| Left | Center | Right |
|---|---|---|
| Top | Top | Top |
| Mid | Mid | Mid |
| Bot | Bot | Bot |
Place your main subject at one of the intersection points or along these lines for a more dynamic composition. Don't be afraid to crop tightly – in low-light situations, this can help eliminate noise or blur in the darker areas of your image.
Blending Multiple Exposures
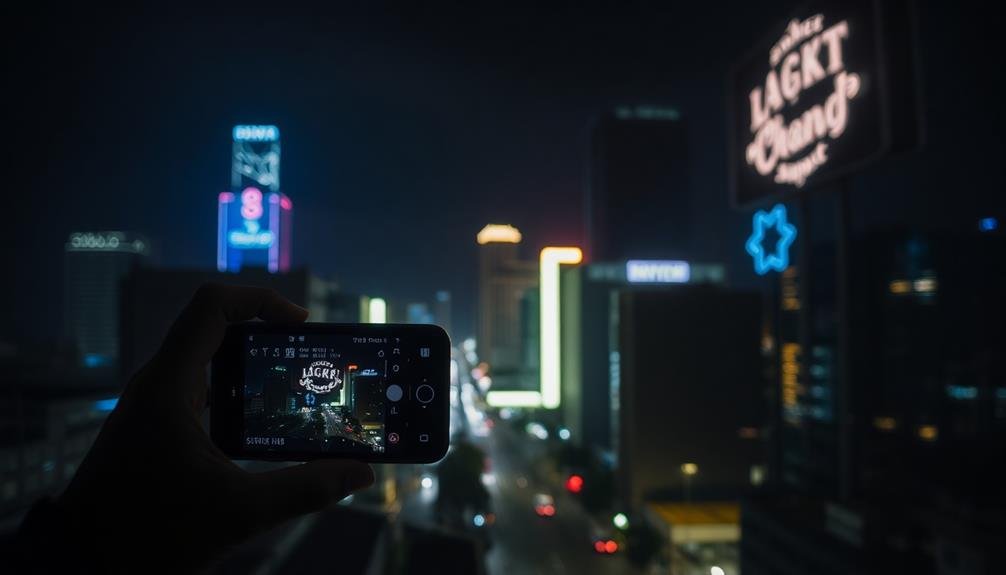
When editing low-light phone photos, blending multiple exposures can greatly improve your final image.
You'll effectively reduce noise by combining the cleanest parts of each exposure, resulting in a smoother overall appearance.
Additionally, you'll enhance the dynamic range of your photo, preserving both shadow details and highlight information for a more balanced and impactful result.
Reducing Noise Effectively
One of the most effective techniques for reducing noise in low-light phone photos is blending multiple exposures. This method involves capturing several images of the same scene and combining them to create a single, cleaner image. By averaging out the random noise patterns across multiple shots, you'll substantially reduce the overall noise in your final photo.
To effectively blend multiple exposures, you'll need to:
- Use a tripod or stabilize your phone to guarantee consistent framing
- Capture at least 3-5 images of the same scene
- Set your camera app to burst mode or use a specialized low-light app
- Align and stack the images using post-processing software
When blending exposures, you're not just reducing noise; you're also improving dynamic range and color accuracy. This technique works particularly well for static scenes, such as landscapes or architectural shots.
However, it's less suitable for moving subjects or quickly changing lighting conditions. You'll need to experiment with different numbers of exposures and blending methods to find the best balance between noise reduction and image sharpness.
Enhancing Dynamic Range
Building on the concept of blending multiple exposures, enhancing dynamic range takes this technique a step further. You'll combine several images taken at different exposure levels to capture a wider range of light and dark details. This process helps you overcome your phone camera's limited dynamic range, especially in challenging low-light situations.
To enhance dynamic range, you'll typically take at least three photos: underexposed, properly exposed, and overexposed. Then, you'll merge these images using specialized software or apps. The result is a final photo with more balanced lighting, revealing details in both shadows and highlights that would be lost in a single exposure.
Here's a quick guide to enhancing dynamic range:
| Step | Action | Purpose | Benefit | Tip |
|---|---|---|---|---|
| 1 | Capture multiple exposures | Gather varied light data | Increased detail | Use a tripod |
| 2 | Align images | Eliminate ghosting | Sharper results | Use auto-align features |
| 3 | Merge exposures | Combine light information | Balanced exposure | Adjust opacity as needed |
| 4 | Fine-tune | Refine contrast and color | Polished look | Use local adjustments |
| 5 | Save in high bit-depth | Preserve image quality | Better editing flexibility | Choose 16-bit TIFF or PSD |
Frequently Asked Questions
Can Post-Processing Replace the Need for a Good Camera Sensor?
No, post-processing can't fully replace a good camera sensor. While it can enhance images, you'll still need quality hardware to capture detailed, low-noise photos. A good sensor provides the foundation for better post-processing results.
How Long Does It Typically Take to Post-Process a Low-Light Photo?
You'll typically spend 5-15 minutes post-processing a low-light photo. It depends on your skill level and the software you're using. With practice, you'll become faster and more efficient at enhancing these challenging images.
Are There Automated Post-Processing Tools Specifically Designed for Low-Light Smartphone Photos?
Yes, there are automated tools for low-light smartphone photos. You'll find apps like Lightroom Mobile, Snapseed, and Night Cam that offer one-tap enhancements. They'll adjust exposure, reduce noise, and improve clarity automatically for you.
What Software Is Recommended for Post-Processing Low-Light Smartphone Photos?
You'll find several great options for post-processing low-light smartphone photos. Try Adobe Lightroom Mobile, Snapseed, or VSCO. These apps offer powerful tools to adjust exposure, reduce noise, and enhance details in your dimly lit shots.
Can Excessive Post-Processing Make Low-Light Photos Look Unnatural or Artificial?
Yes, you can overdo post-processing on low-light photos. If you're not careful, you'll end up with images that look fake or overly edited. It's best to aim for subtle enhancements that maintain a natural appearance.
In Summary
You've seen how post-processing can transform your low-light phone photos. It's not just about fixing flaws; it's about releasing your creative vision. With these techniques, you'll overcome your phone's limitations and produce stunning images in challenging conditions. Don't be afraid to experiment and push boundaries. Remember, great photography doesn't end when you press the shutter. It's in the edit where your photos truly come to life. So go ahead, immerse yourself, and make your night shots shine!

Leave a Reply