To master white balance in night phone photography, start by understanding preset options like Auto, Tungsten, and Fluorescent. Experiment with manual adjustments using the Kelvin scale for precise control. Shoot in RAW format to allow extensive post-processing flexibility. Play with color temperature sliders to fine-tune warmth or coolness. Utilize your phone's white balance lock feature for consistent lighting across shots. Embrace artificial light sources like neon signs and streetlights for unique effects. Finally, hone your post-processing skills to perfect white balance in editing apps. These tips will elevate your night photography game, but there's always more to explore in the world of low-light captures.
Understand White Balance Presets
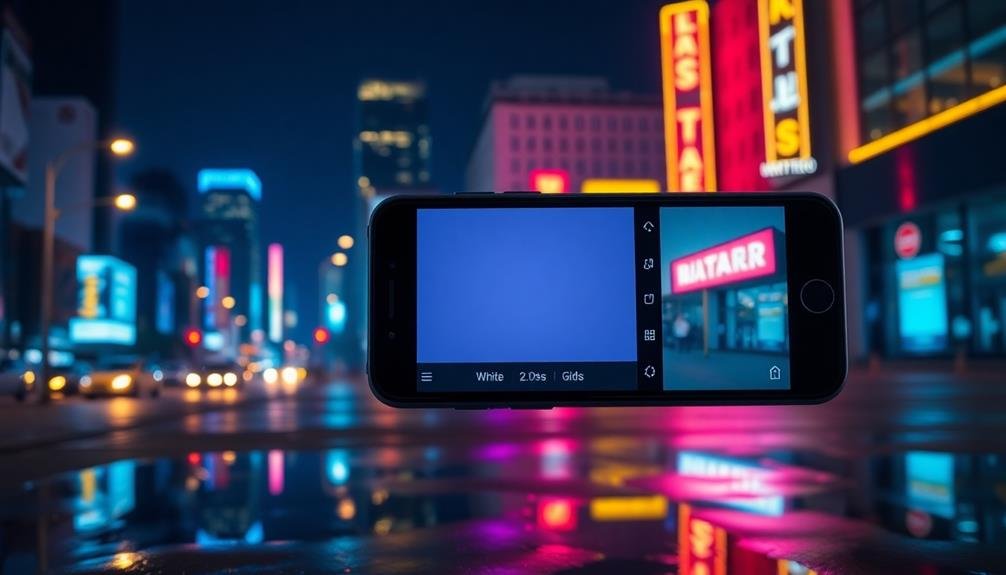
Night photography presets on your phone can make or break your shots. Understanding these presets is vital for capturing stunning images after dark. Most smartphones offer several white balance options, including Auto, Daylight, Cloudy, Tungsten, and Fluorescent.
Auto white balance is the default and works well in many situations, but it can struggle in mixed lighting conditions common at night. The Daylight preset assumes natural sunlight and is best avoided for night shots unless you're capturing sunset or twilight scenes.
Cloudy adds warmth to your images and can be useful for creating a cozy atmosphere in night street photography. Tungsten is ideal for indoor shots with artificial lighting, as it counteracts the warm orange glow of traditional bulbs. Fluorescent helps neutralize the greenish tint often found in office or retail environments.
When shooting at night, experiment with these presets to find the most accurate or aesthetically pleasing color temperature. Don't be afraid to switch between presets as you move between different lighting environments.
Use Manual White Balance Adjustment
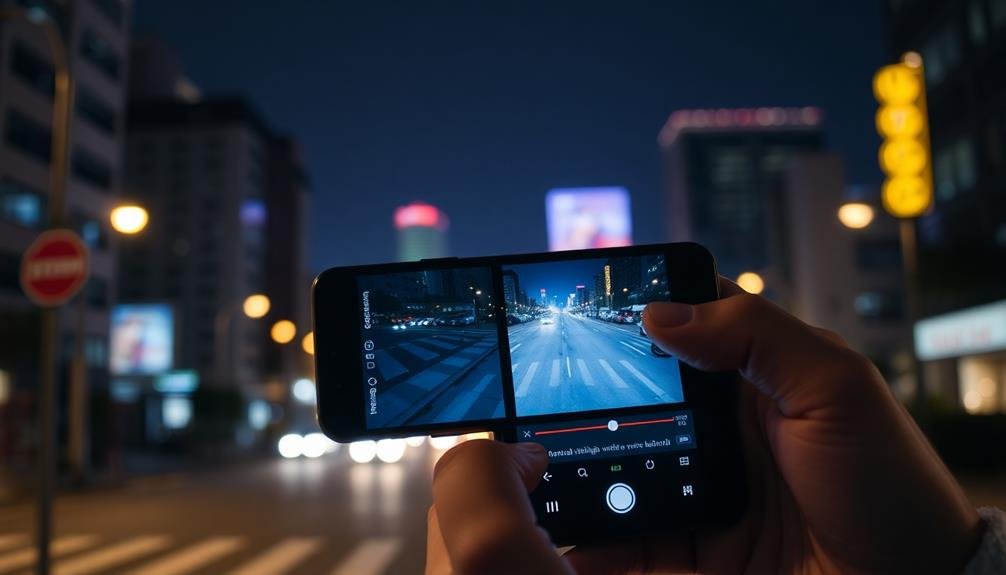
While presets are helpful, mastering manual white balance adjustment gives you ultimate control over your night photos. Most modern smartphones offer this feature, allowing you to fine-tune color temperature and tint.
To start, look for a Kelvin (K) scale in your camera app's settings. This scale typically ranges from 2000K to 10000K.
For night photography, you'll often want to set a cooler temperature (higher K value) to counteract the warm glow of artificial lighting. Start around 4000K-5000K and adjust as needed. If your scene has a mix of light sources, experiment with different values to find the best balance.
Don't forget about tint adjustment. This feature helps correct color casts, particularly useful for scenes with fluorescent or LED lighting. Shift towards magenta to counteract green tints, or towards green for magenta casts.
As you adjust, pay close attention to neutral elements in your frame, like white or gray objects. These should appear colorless when your white balance is set correctly.
Leverage RAW Format Shooting
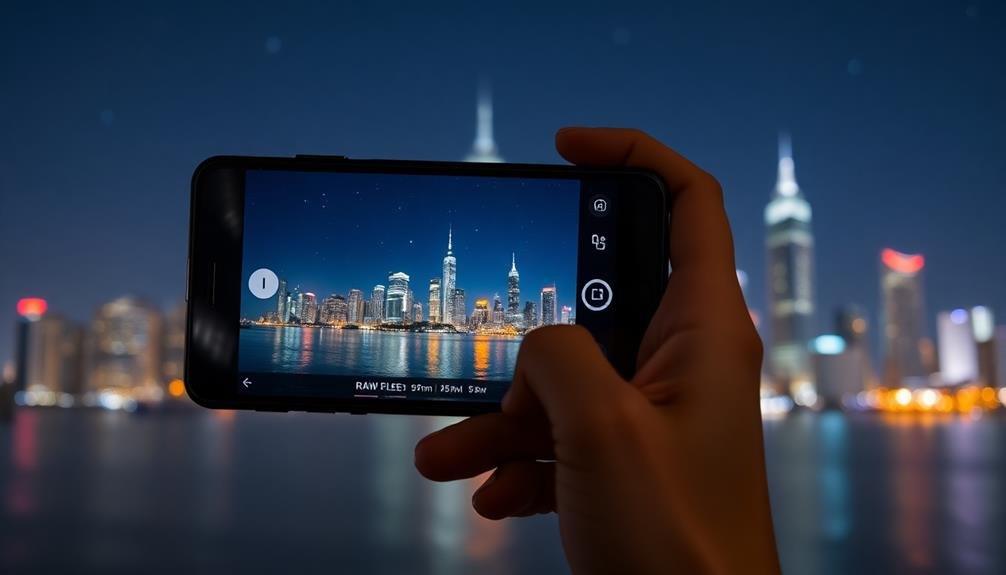
To take your night phone photography to the next level, consider shooting in RAW format. This uncompressed file type captures all the data from your phone's image sensor, giving you greater flexibility when adjusting white balance in post-processing.
Unlike JPEG files, which lock in white balance settings at the time of capture, RAW files allow you to change the white balance without degrading image quality.
When you shoot in RAW, you'll have access to a wider range of color temperature and tint adjustments. This is particularly useful for night photography, where mixed lighting sources can create complex white balance situations.
You can fine-tune the warmth or coolness of your images with precision, bringing out the true colors of the scene as you remember them.
To enable RAW shooting on your phone, check your camera app settings or download a third-party app that supports RAW capture.
Keep in mind that RAW files are larger than JPEGs and require post-processing, but the improved white balance control and overall image quality are worth the extra effort for serious night photographers.
Experiment With Color Temperature Sliders
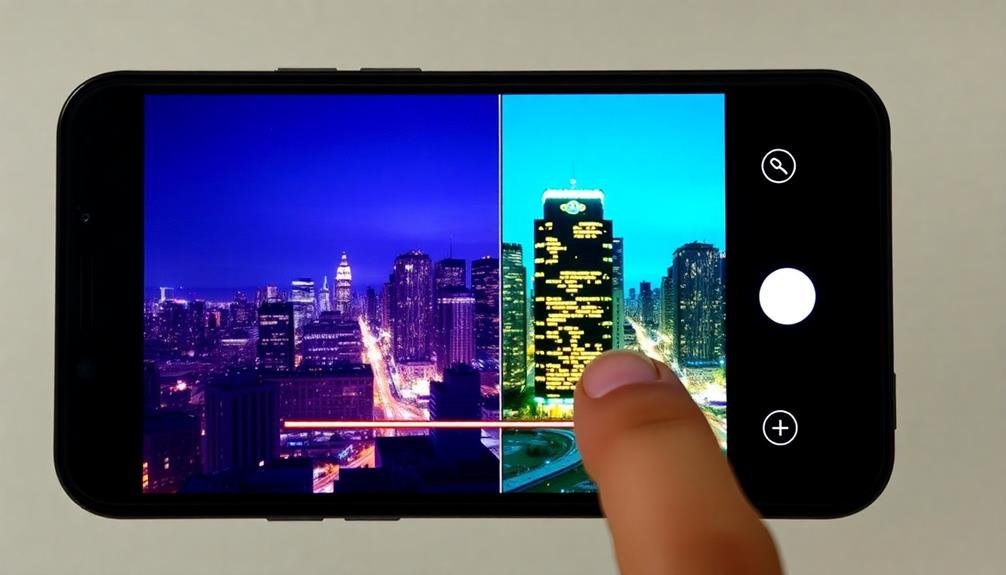
Whether you're shooting in RAW or JPEG, mastering your phone's color temperature sliders can greatly improve your night photography. These sliders allow you to fine-tune the warmth or coolness of your images, compensating for artificial lighting or enhancing the mood of your shots.
Start by familiarizing yourself with your phone's camera app. Look for settings like "white balance" or "color temperature." Most apps offer presets like tungsten, fluorescent, or daylight, but the real power lies in manual adjustment. Experiment with the sliders to see how they affect your image in real-time.
For night scenes, you'll often encounter a mix of light sources. Streetlights may cast an orange glow, while neon signs add pops of color. Try adjusting the temperature slider towards the cooler end to counteract the warm cast of artificial lights. This can help restore natural skin tones and bring out the richness of nighttime colors.
Don't be afraid to push the boundaries. Sometimes, a slightly warmer tone can create a cozy, inviting atmosphere in urban nightscapes. Conversely, a cooler tone might enhance the mysterious ambiance of a moonlit landscape. Trust your eye and adjust until the scene looks natural or achieves your desired effect.
Utilize White Balance Lock Feature
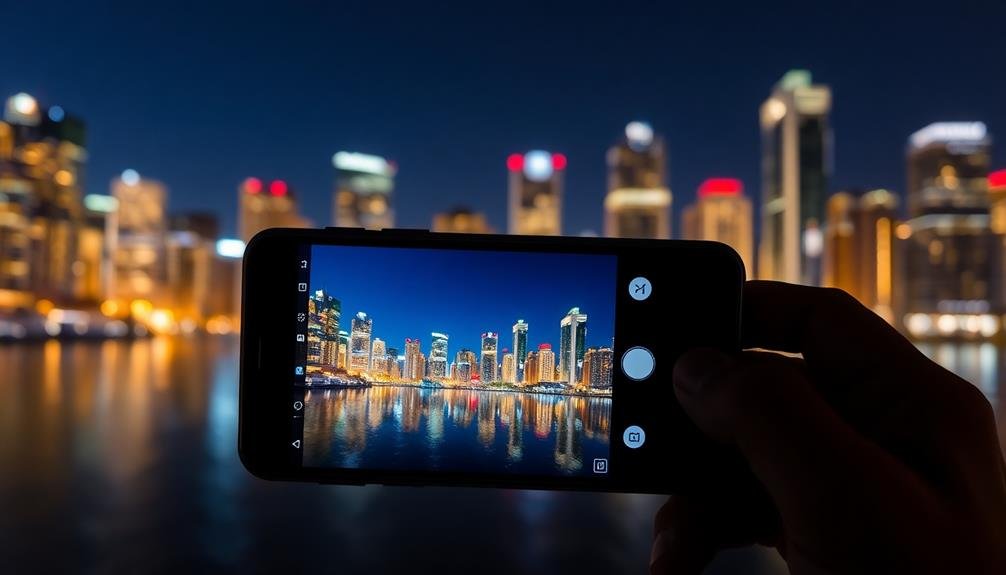
When shooting night scenes, you'll want to prevent unwanted color shifts in your photos.
By using your phone's white balance lock feature, you can maintain consistent lighting tones throughout your shot or series of shots.
This feature guarantees that once you've set the ideal white balance, it won't automatically change as you move your camera, helping you capture the scene's true colors and mood.
Prevent Color Shifting
Although city lights can create stunning nighttime scenes, they often cause unwanted color shifts in your photos. To prevent this, you'll need to be proactive in managing your phone's white balance settings. Start by identifying the dominant light source in your scene, whether it's streetlights, neon signs, or moonlight. Once you've determined this, adjust your white balance accordingly.
If you're shooting in an area with mixed lighting, consider using a neutral gray card or a white piece of paper to set a custom white balance. This will help your phone's camera accurately interpret the colors in the scene.
When shooting long exposures, be aware that color shifts can occur over time as different light sources flicker or change intensity. To combat this, try taking multiple shorter exposures and blending them in post-processing.
Another effective technique is to use your phone's HDR mode, which can help balance out extreme color variations. If your phone has a pro or manual mode, experiment with different Kelvin temperature settings to fine-tune your white balance.
Maintain Consistent Lighting Tones
In spite of your best efforts to prevent color shifting, maintaining consistent lighting tones throughout a night photography session can be challenging.
Fortunately, most modern smartphones offer a white balance lock feature that can help you achieve consistent results.
To use this feature, find a neutral reference point in your scene, such as a white or gray surface. Frame your shot to include this reference, then tap and hold on that area to lock the white balance. Once locked, your phone will maintain the same white balance settings for subsequent shots, ensuring consistent lighting tones across multiple images.
Remember that different light sources can affect your photos' overall look. If you're shooting in an area with mixed lighting, such as streetlights and neon signs, choose the dominant light source as your reference point. This approach will help you maintain a cohesive look throughout your night photography session.
If you're moving between markedly different lighting environments, don't forget to reset your white balance lock. This will allow you to adapt to new lighting conditions while still maintaining consistency within each location or scene you capture.
Embrace Artificial Light Sources
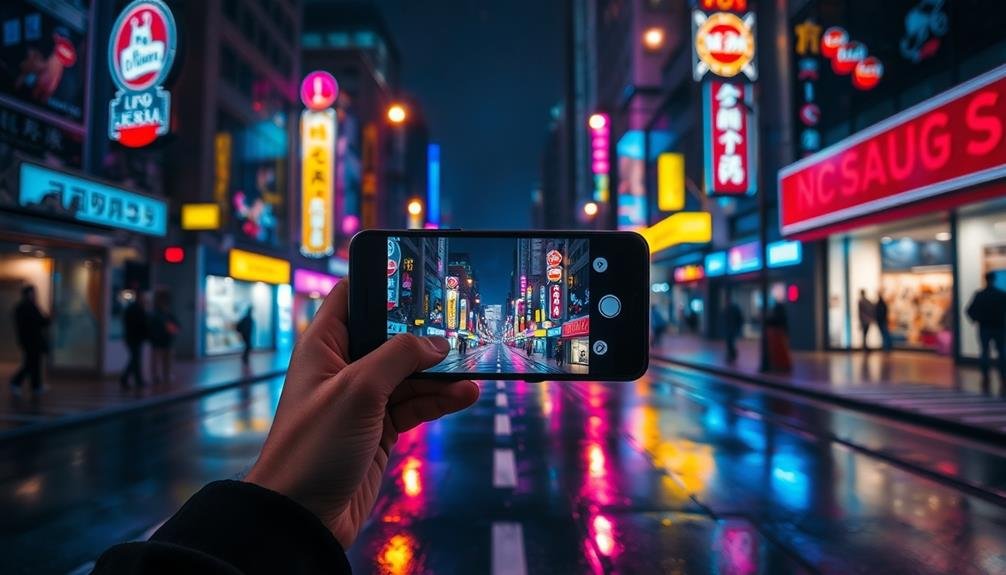
After mastering the basics, it's time to embrace artificial light sources in your night phone photography. Artificial lights can add unique color casts and atmospheres to your images, creating striking visual effects.
Don't shy away from neon signs, streetlights, or illuminated storefronts; instead, use them to your advantage. Experiment with different white balance settings to capture the true essence of these light sources. For warm, orange streetlights, try using the tungsten or incandescent preset. If you're shooting under cool, blue-tinted LED lights, the fluorescent setting might yield better results.
Remember, you can always fine-tune the white balance later in post-processing. Consider mixing different light sources for creative effects. Combine the warm glow of a street lamp with the cool tones of moonlight for a dynamic contrast. Use colored lights to add drama and mood to your shots.
Position your subject near reflective surfaces like puddles or windows to maximize the impact of artificial lighting. When working with multiple light sources, prioritize the dominant one for your white balance setting. This will help maintain a cohesive look while still allowing other colors to add depth and interest to your nighttime photographs.
Master Post-Processing White Balance Techniques
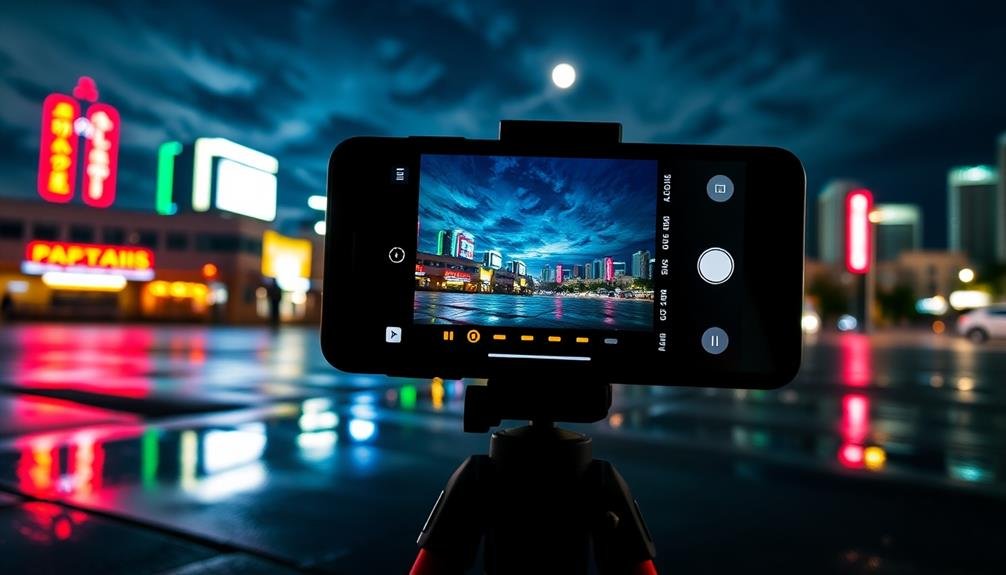
While capturing the perfect white balance in-camera is ideal, mastering post-processing techniques can greatly enhance your night phone photography.
Most editing apps offer white balance adjustment tools, allowing you to fine-tune your images after the fact. You'll typically find sliders for temperature and tint, which let you warm up or cool down your photos and adjust green or magenta tones.
When editing, start by selecting a neutral reference point in your image. This could be a white or gray area that should appear colorless. Use this as a guide to adjust your white balance sliders until the overall color looks natural.
Don't be afraid to experiment with different settings to achieve your desired mood or atmosphere.
For more advanced editing, consider these techniques:
- Use selective adjustments to correct specific areas
- Apply gradient filters for scenes with mixed lighting
- Utilize color calibration tools for precise adjustments
- Create and save custom white balance presets
Frequently Asked Questions
How Does White Balance Affect the Mood of Night Photos?
White balance greatly impacts your night photos' mood. You'll notice warmer tones create a cozy, inviting atmosphere, while cooler tones can make scenes feel eerie or mysterious. It's a powerful tool for conveying the emotional tone you're aiming for.
Can I Use White Balance Creatively for Artistic Night Shots?
You can absolutely use white balance creatively for artistic night shots. By adjusting it, you'll create unique moods and atmospheres. Try cooler tones for a mysterious vibe or warmer tones for a cozy feel. Don't be afraid to experiment!
What's the Best White Balance Setting for Capturing City Lights?
For capturing city lights, you'll want to use the tungsten or incandescent white balance setting. It'll cool down warm streetlights, giving your shots a more natural look. Don't forget to experiment with other settings for creative effects!
How Do Different Phone Camera Brands Handle White Balance Differently?
You'll find that different phone brands handle white balance uniquely. Apple tends to favor warmer tones, while Samsung often leans cooler. Google's Pixel phones aim for neutral colors. It's best to experiment with your specific device for ideal results.
Is There a Way to Preview White Balance Effects Before Shooting?
You'll find most modern phones offer a live preview of white balance effects. Simply open your camera app, tap the white balance icon, and swipe through different presets. You'll see real-time changes on your screen before capturing.
In Summary
You've now got the tools to master white balance in your night phone photography. Don't be afraid to experiment with different settings and techniques. Remember, there's no one-size-fits-all solution. Trust your eye and adjust as needed. With practice, you'll develop an instinct for achieving the perfect white balance in any lighting situation. Keep shooting, keep learning, and watch your nighttime photos transform into stunning, professional-looking images you'll be proud to share.



Leave a Reply