To capture stunning panoramas, start by mastering your camera's panorama mode basics. Choose scenes with interesting foreground and background elements, and shoot during golden hours for dramatic lighting. Keep your camera steady using a tripod or stabilizer, and maintain a consistent panning speed. Secure your exposure settings and focus on key elements to guarantee sharpness. Avoid common distortions by using longer focal lengths and minimizing parallax error. For smartphone users, explore your device's built-in panorama settings and post-processing options. By applying these pro tips, you'll elevate your panoramic photography skills and create breathtaking wide-angle shots. Dive deeper to reveal even more secrets of panoramic mastery.
Understanding Panorama Mode Basics
In light of the growing popularity of panoramic photography, understanding panorama mode basics is crucial for capturing stunning wide-angle shots.
Panorama mode allows you to create expansive images by stitching together multiple photos taken in sequence. To begin, enable panorama mode on your camera or smartphone. Hold your device steady and level, then slowly pan from left to right (or vice versa) while capturing the scene.
Maintain a consistent speed and distance from the subject to guarantee smooth stitching. Pay attention to your camera's on-screen guides, which help you keep the device level and aligned.
When composing your shot, consider the entire scene you want to capture and plan your movements accordingly. Be mindful of moving objects, as they can create distortions or ghosting effects in the final image.
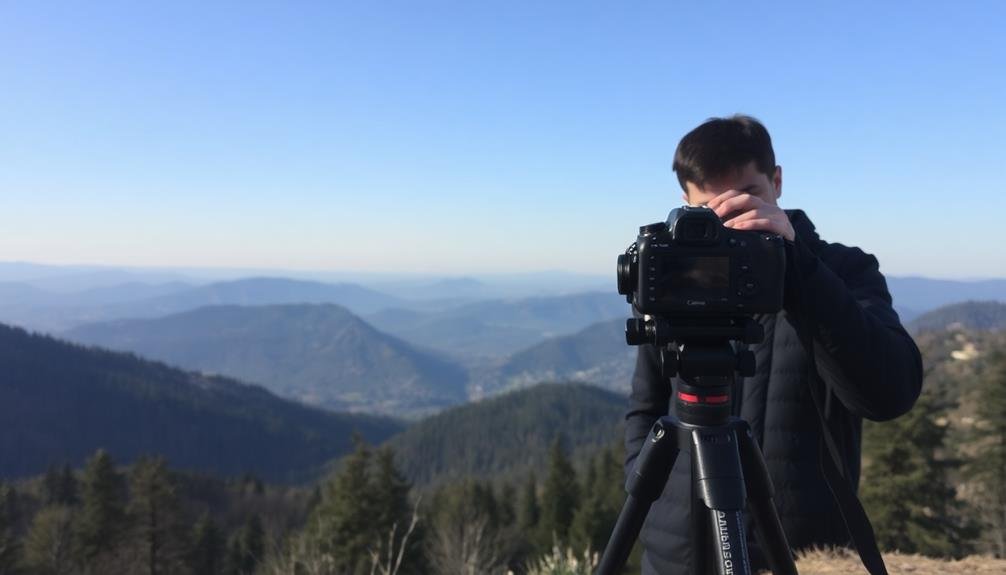
For best results, use a tripod or stabilizer to minimize camera shake. Choose a focal point and maintain consistent exposure throughout the panorama.
Avoid using a wide-angle lens, as it can create distortion at the edges. Instead, opt for a standard or telephoto lens for more natural-looking results.
Practice these basics to improve your panoramic photography skills and create breathtaking wide-angle images.
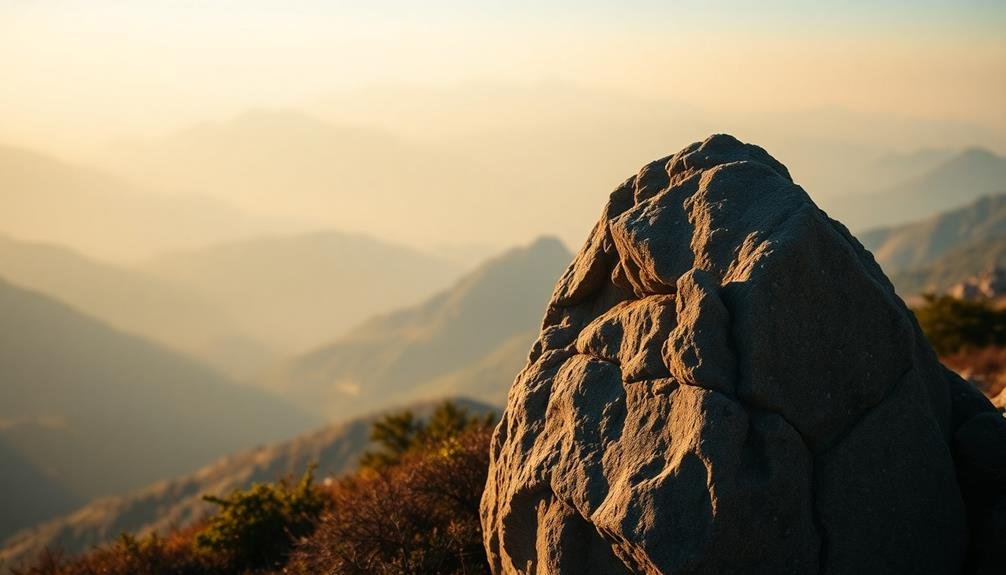
Choosing the Right Scene
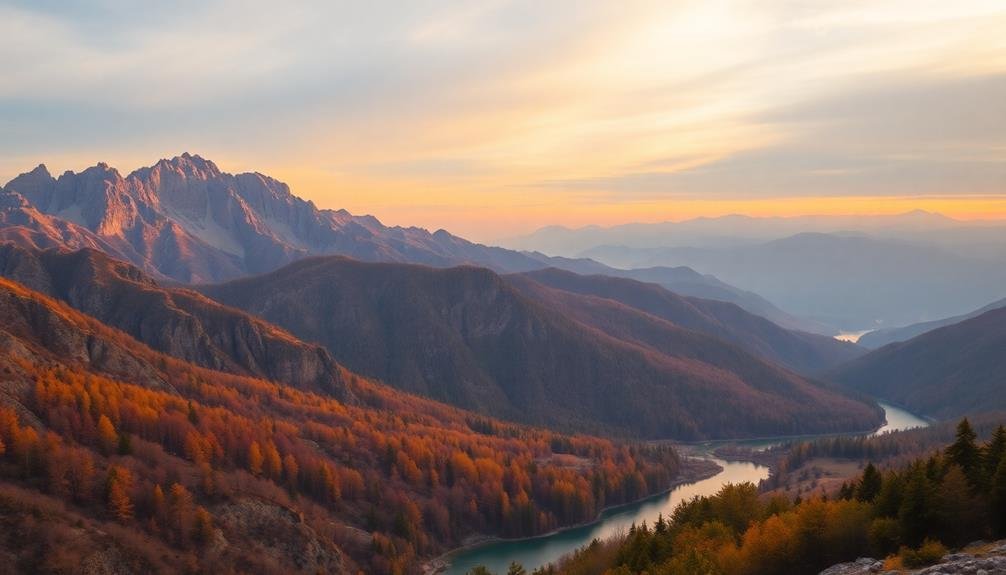
Selecting the perfect scene for panoramic photography can make or break your shot. When choosing a location, look for expansive views with interesting elements that span a wide area. Landscapes with distinct foreground, middle ground, and background features often work well.
Consider scenes with natural lines or patterns that can guide the viewer's eye across the image. Don't limit yourself to just horizontal panoramas; vertical shots can be equally impressive, especially for tall structures or natural formations.
Remember that lighting plays a vital role in panoramic photography. Early morning or late afternoon light can add depth and drama to your images.
Here are some ideal scenes for panoramic shots:
- Cityscapes with recognizable skylines
- Vast natural landscapes like mountains, deserts, or coastlines
- Architectural interiors with intricate details
- Star trails or night sky scenes
- Sports stadiums or large event venues
When scouting locations, consider potential obstacles that might disrupt your panorama, such as moving objects or changing light conditions.
It's also important to think about how the final composition will look when stitched together. Choose scenes with elements that will create a cohesive and visually appealing panoramic image.
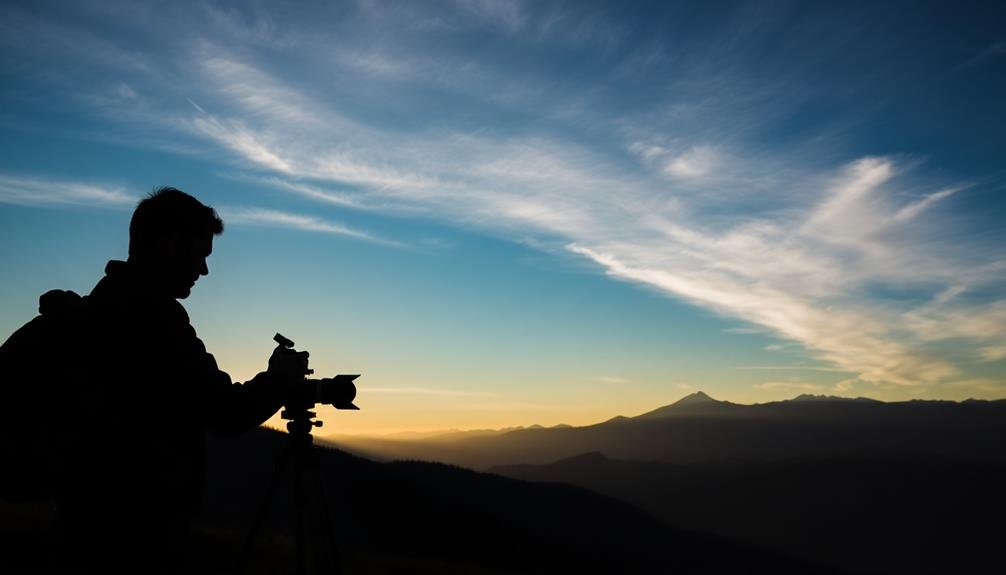
Maintaining Steady Camera Movement
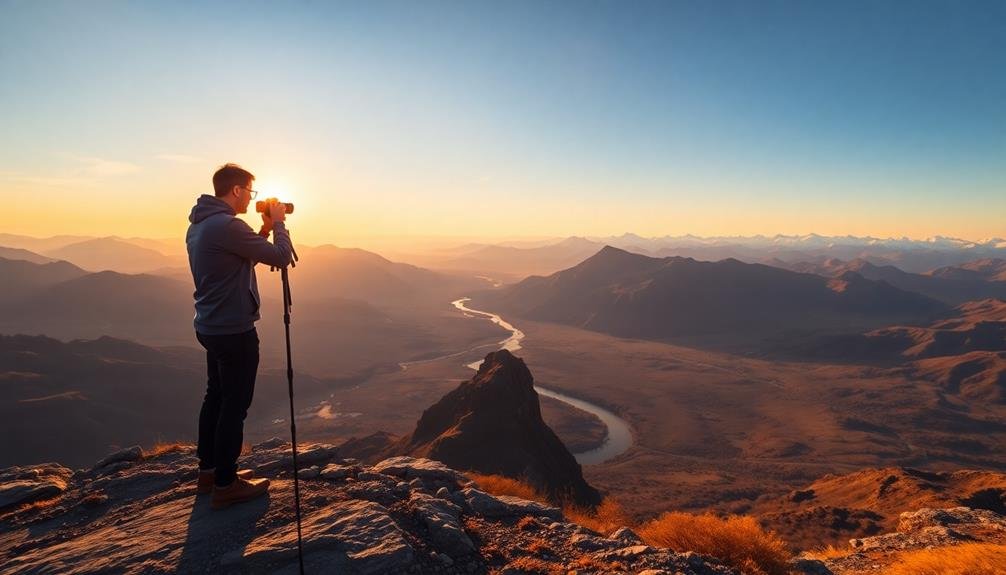
Once you've chosen the perfect scene, keeping your camera steady during the panoramic shot is key to achieving sharp, seamless results. To maintain stability, use a tripod whenever possible. If you don't have one, try improvising with a stable surface or adopt a firm stance with your feet shoulder-width apart.
When panning, rotate your body smoothly from the hips, keeping your arms close to your torso. This technique minimizes camera shake and guarantees a more consistent motion. Use your camera's built-in level or grid lines to maintain a straight horizon throughout the pan.
If you're shooting handheld, enable your camera's image stabilization feature. For even smoother results, consider using a gimbal or a specialized panoramic head. These tools help eliminate vertical movement and maintain a consistent pivot point.
Practice your panning technique before taking the final shot. Start with slow, deliberate movements and gradually increase your speed as you become more comfortable.
Remember to overlap each frame by about 30% to give your stitching software enough information to create a seamless panorama. By focusing on steady camera movement, you'll considerably improve the quality of your panoramic images.
Proper Exposure Techniques
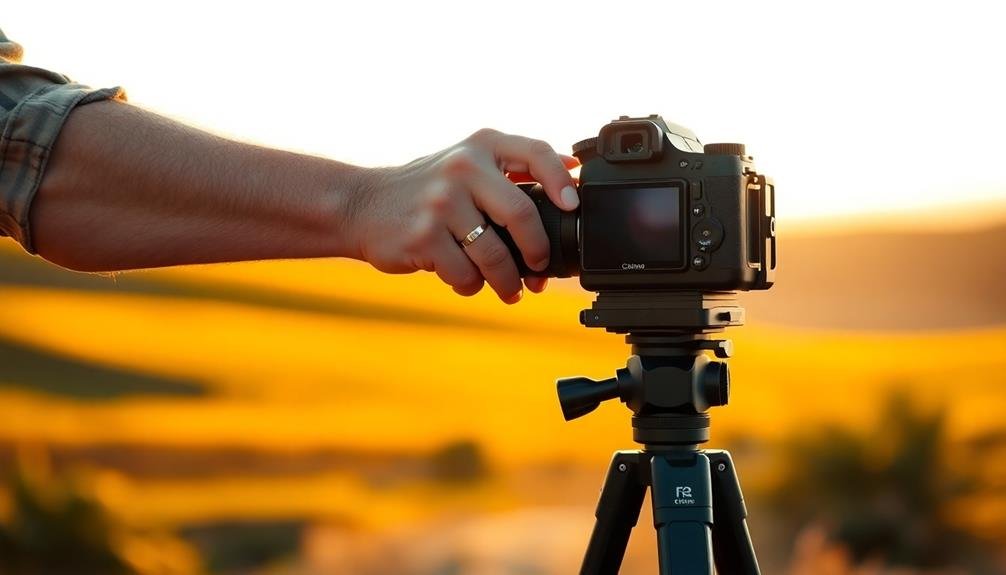
Mastery of exposure is crucial for capturing stunning panoramic images. When shooting panoramas, you'll need to maintain consistent exposure across all frames to guarantee seamless stitching later.
Start by setting your camera to manual mode, allowing you full control over aperture, shutter speed, and ISO. Choose an aperture that provides sufficient depth of field, typically between f/8 and f/11. Set your shutter speed to freeze any movement in the scene, and adjust your ISO to achieve proper exposure.
Use the spot metering mode to measure the light in different parts of your panorama. Find an average exposure that works for the entire scene, even if some areas appear slightly under or overexposed. Remember to lock your exposure settings once you've determined the ideal values.
Here are some additional tips for proper exposure in panoramic photography:
- Use graduated neutral density filters for scenes with bright skies
- Bracket your exposures for challenging lighting conditions
- Avoid using polarizing filters, as they can cause uneven sky coloration
- Shoot in RAW format for greater flexibility in post-processing
- Consider using HDR techniques for high-contrast scenes
Focusing on Key Elements
In panoramic photography, focusing on key elements is essential for creating impactful images. You'll want to identify the most important subjects in your scene and guarantee they're sharp and well-defined. Start by surveying the entire landscape and determining which features will anchor your composition.
Once you've identified your key elements, use single-point autofocus or manual focus to achieve precision. If your camera has a live view feature, zoom in digitally to fine-tune your focus. For scenes with multiple important elements at varying distances, consider focus stacking techniques to maintain sharpness throughout.
Remember that panoramas often involve wide-angle lenses, which have a greater depth of field. This can work to your advantage, allowing you to keep more of the scene in focus. However, don't rely solely on this; still prioritize your focal points.
When shooting cityscapes or architectural panoramas, focus on prominent buildings or structures. For natural landscapes, concentrate on distinctive landforms, trees, or water features.
Avoiding Common Distortion Errors
Several common distortion errors can plague panoramic photography, but you can avoid them with careful technique and awareness.
Parallax error, one of the most frequent issues, occurs when your camera rotates around its lens rather than the nodal point. To prevent this, use a panoramic head on your tripod and align it correctly.
Lens distortion, especially with wide-angle lenses, can cause curved horizons or bent vertical lines. Combat this by using a longer focal length or correcting it in post-processing software.
Watch out for exposure variations between shots, which can create visible seams in your final image. Use manual settings and avoid auto white balance to maintain consistency.
Ghosting, caused by moving objects, can be minimized by shooting quickly or removing the problematic elements in editing.
Here are five key tips to remember:
- Use a sturdy tripod and panoramic head
- Overlap your shots by 30-50%
- Keep your camera level throughout the sequence
- Avoid polarizing filters, which can cause uneven skies
- Lock your focus and exposure settings
Mastering Smartphone Panorama Settings
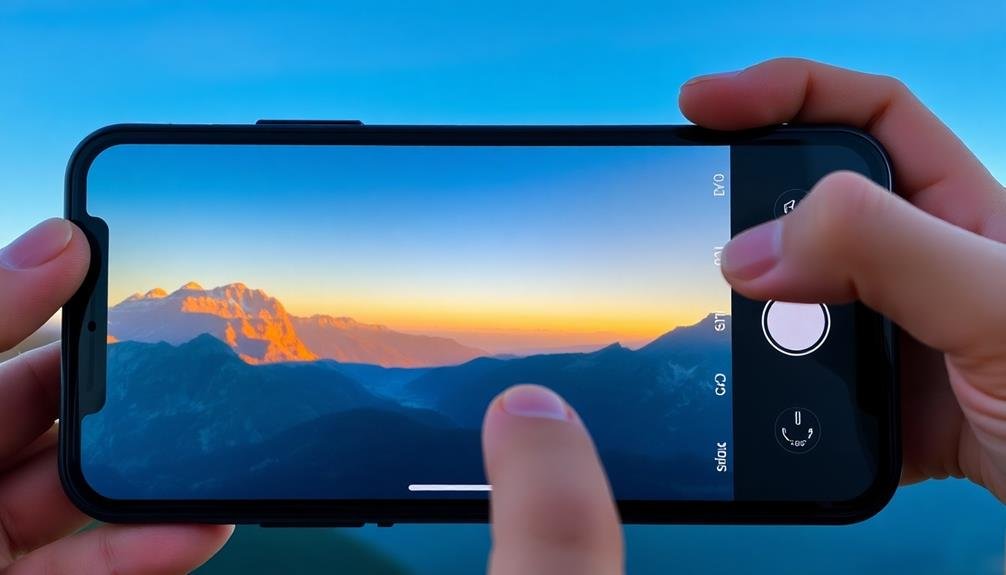
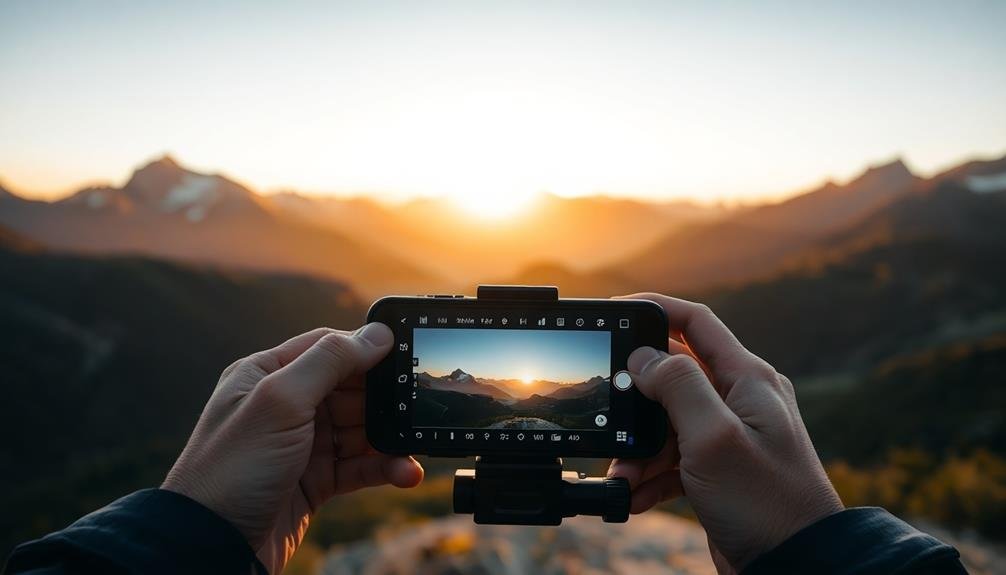
Smartphones have come a long way regarding panorama capabilities, putting powerful tools right into your pocket. To master these settings, you'll need to understand your device's specific options and how to leverage them for stunning results.
Start by exploring your camera app's panorama mode. You'll typically find settings for exposure, white balance, and focus. Experiment with these to achieve the desired look:
| Setting | Purpose | Tips |
|---|---|---|
| Exposure | Controls overall brightness | Lock for consistent light |
| White Balance | Adjusts color temperature | Match to dominant light source |
| Focus | Determines sharpness | Set to infinity for landscapes |
Next, consider the panorama direction. Most phones allow both horizontal and vertical panning. Choose based on your scene's composition. For best results, keep your phone level and move smoothly. Many devices offer on-screen guides to help maintain alignment.
Don't overlook advanced features like HDR panoramas or night mode panoramas if your phone supports them. These can greatly enhance dynamic range and low-light performance, respectively. Finally, practice with different scenes to understand how your phone handles various lighting conditions and subject matter.
Post-Processing Panoramic Images
Frequently, capturing the perfect panorama is just the first step in creating a stunning final image.
Post-processing panoramic images can elevate your shots from good to extraordinary. Start by importing your panorama into your preferred editing software. Adjust the exposure and contrast to guarantee a balanced look across the entire image. Pay special attention to the horizon line, straightening it if necessary for a more professional appearance.
Color correction is essential in panoramas, as lighting conditions may have changed during the capture process. Use selective adjustments to harmonize colors and tones throughout the image.
Don't shy away from cropping; sometimes, trimming the edges can improve composition dramatically. Finally, consider applying subtle sharpening to enhance details without introducing artifacts.
Here are some key post-processing techniques for panoramic images:
- Stitching optimization to eliminate visible seams
- Perspective correction to reduce distortion
- Graduated filters to balance sky and foreground exposure
- Local adjustments to enhance specific areas
- Noise reduction for a cleaner overall image
Frequently Asked Questions
How Do I Stitch Multiple Panoramic Shots Together for a 360-Degree View?
To stitch multiple panoramic shots for a 360-degree view, you'll need specialized software. Import your images, align them carefully, blend the overlapping areas, and adjust color and exposure. Finally, export your completed panorama in your desired format.
Can I Create Vertical Panoramas, and What Are Their Unique Challenges?
Yes, you can create vertical panoramas. They're challenging due to perspective distortion and alignment issues. You'll need to tilt your camera carefully, maintain consistent exposure, and use specialized software for stitching. Practice and patience are key.
What's the Best Way to Capture Moving Subjects in Panoramic Shots?
To capture moving subjects in panoramas, you'll want to shoot quickly. Use a fast shutter speed, pan smoothly, and try to keep the subject in the same relative position as you move. Alternatively, embrace motion blur for artistic effect.
How Do I Handle Extreme Lighting Variations Across a Wide Panoramic Scene?
You'll want to use bracketing and HDR techniques. Shoot multiple exposures for different parts of the scene, then blend them in post-processing. Use graduated ND filters to balance exposure in-camera. Don't forget to adjust white balance consistently.
Are There Any Special Considerations for Underwater Panoramic Photography?
For underwater panoramas, you'll need to use a waterproof camera and housing. You should adjust white balance, shoot in RAW, and use a wide-angle lens. Be mindful of water movement and maintain consistent depth while shooting.
In Summary
You've now got the tools to capture stunning panoramic shots. Remember to practice these techniques regularly to hone your skills. Don't be afraid to experiment with different scenes and camera settings. With time, you'll develop an eye for perfect panorama opportunities. Keep exploring new locations and pushing your creative boundaries. Soon, you'll be creating breathtaking wide-angle images that transport viewers right into the scene. Happy shooting!


Leave a Reply