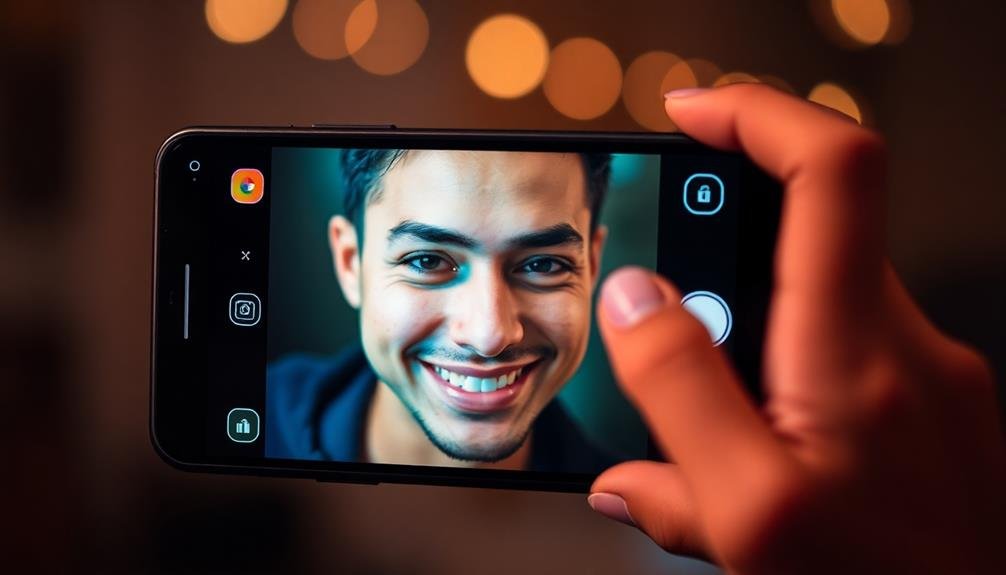
Transform your phone portraits with these five color grading tricks. Start by mastering white balance adjustments to guarantee accurate color representation. Next, enhance skin tones for a natural, healthy glow. Use color curves to create mood and depth in your images. Apply selective color adjustments to target specific hues for emphasis or muting. Finally, craft custom presets to streamline your editing process and maintain consistency across your photos. These techniques will elevate your portraits from ordinary to extraordinary, giving them a professional look. Dive deeper into each trick to reveal the full potential of your phone photography skills.
Mastering White Balance Adjustments

When it comes to color grading phone portraits, mastering white balance adjustments is essential. Your phone's camera doesn't always capture colors accurately, especially under varying light conditions. By tweaking the white balance, you'll guarantee skin tones look natural and the overall image appears true to life.
Start by identifying the primary light source in your portrait. Is it daylight, artificial indoor lighting, or a mix? This knowledge will guide your adjustments. Most editing apps offer presets like "daylight" or "tungsten," which can serve as a starting point. However, don't rely solely on these – fine-tune manually for the best results.
Pay close attention to skin tones as you adjust. They should look healthy and natural, not too orange or blue. Use the temperature slider to warm up or cool down the image, and the tint slider to correct any green or magenta casts. Remember, small adjustments can make a big difference.
If your portrait has mixed lighting, consider using selective adjustments. Apply different white balance settings to specific areas of the image for a more balanced result. This technique can dramatically improve complex lighting situations and elevate your portraits.
Enhancing Skin Tones

After perfecting your white balance, it's time to focus on enhancing skin tones in your phone portraits. Achieving natural-looking skin is vital for creating stunning images. Start by adjusting the overall exposure and contrast to guarantee a balanced foundation.
Next, fine-tune the warmth and tint of the skin. Slightly increase warmth for a healthy glow, but be careful not to overdo it. Use the HSL (Hue, Saturation, Luminance) sliders in your editing app to target specific color ranges within the skin tones.
Here's a quick guide to enhancing different skin tones:
| Skin Tone | Hue Adjustment | Saturation | Luminance |
|---|---|---|---|
| Fair | +2 to +5 Red | -5 to -10 | +5 to +10 |
| Medium | +3 to +7 Orange | -3 to -8 | +3 to +8 |
| Olive | +4 to +8 Yellow | -2 to -6 | +2 to +7 |
| Dark | +5 to +10 Red | -1 to -5 | +1 to +5 |
| Deep | +6 to +12 Red | 0 to -3 | 0 to +3 |
Remember to maintain natural texture by avoiding over-smoothing. Instead, use selective adjustments to even out skin tone while preserving details. Finally, add a subtle vignette to draw attention to your subject's face and create a polished look.
Creating Mood With Color Curves

Color curves can transform your phone portraits by setting the mood and atmosphere of your images. They're a powerful tool that allows you to adjust the brightness, contrast, and color balance of specific tonal ranges.
To create a moody portrait, start by lowering the shadows and midtones in the RGB curve, creating a matte effect. Then, boost the highlights slightly to add depth.
For a warm, nostalgic feel, adjust the red channel by lifting the shadows and midtones while slightly lowering the highlights. This adds a subtle orange tint to your image.
Conversely, for a cool, cinematic look, raise the shadows in the blue channel and lower the midtones in the red channel.
To achieve a vintage film look, flatten the RGB curve slightly and raise the red channel in the shadows and midtones. Then, lower the blue channel in the highlights.
Experiment with the green channel to fine-tune skin tones.
Selective Color Adjustments

Precision is key when it comes to selective color adjustments in phone portraits. This technique allows you to target specific colors within your image, enhancing or muting them to achieve your desired look. Start by identifying the key colors in your portrait that you want to emphasize or tone down.
Most editing apps offer selective color tools, allowing you to adjust hue, saturation, and luminance for individual color ranges. For skin tones, you might want to slightly warm up the oranges and reds, while reducing their saturation for a natural look.
To make eyes pop, boost the saturation of blues or greens, depending on the subject's eye color.
Don't overlook the background colors. You can create contrast by adjusting complementary colors differently. For example, if your subject wears blue, you might enhance the warmth of the background to create visual interest.
Crafting Custom Presets

While selective color adjustments offer fine-tuned control, they can be time-consuming for multiple photos. That's where crafting custom presets comes in handy. By creating your own presets, you'll streamline your editing process and maintain a consistent look across your portraits.
To craft custom presets, start by editing a single photo to perfection. Adjust exposure, contrast, highlights, shadows, and color balance until you're satisfied. Then, save these settings as a custom preset. You can create multiple presets for different lighting conditions or styles.
When applying your custom presets, remember that they're starting points. You may need to make minor adjustments to suit each individual photo. Experiment with different preset combinations to discover unique looks that complement your portrait style.
Custom presets offer several benefits:
- Time-saving: Apply your signature look with one click
- Consistency: Maintain a cohesive aesthetic across your portfolio
- Creativity: Develop and refine your personal style
As you grow as a photographer, continue to evolve your presets. Regularly update them to reflect your improving skills and changing preferences.
With practice, you'll develop a collection of go-to presets that elevate your phone portraits to new heights.
Frequently Asked Questions
How Do I Color Grade Portraits for Different Social Media Platforms?
You'll want to adjust your color grading based on each platform's aesthetic. For Instagram, try warm tones and high contrast. On LinkedIn, opt for natural, professional looks. TikTok favors vibrant, eye-catching colors. Always consider your audience's preferences.
Can Color Grading Fix Poor Lighting in Phone Portraits?
While color grading can enhance your poorly lit phone portraits, it's not a magic fix. You'll get better results by improving your lighting first. Still, you can use grading to adjust exposure, contrast, and color balance.
What's the Best Color Grading App for Beginners?
For beginners, you'll find Snapseed to be an excellent color grading app. It's user-friendly, offers powerful tools, and it's free. You can easily adjust hues, saturation, and contrast to enhance your portraits with professional-looking results.
How Do I Maintain Consistency in Color Grading Across Multiple Portraits?
To maintain consistency in color grading across multiple portraits, you'll want to create and save custom presets. Apply these to your photos, fine-tune as needed, and use the same editing tools consistently. This guarantees a cohesive look throughout your collection.
Should I Color Grade Differently for Indoor vs. Outdoor Phone Portraits?
Yes, you should color grade differently for indoor and outdoor portraits. Indoor shots often need warmer tones and contrast adjustments, while outdoor photos may require balancing highlights and shadows. Adapt your grading to each environment's unique lighting conditions.
In Summary
You've now got the tools to transform your phone portraits into stunning works of art. By mastering white balance, enhancing skin tones, playing with color curves, making selective adjustments, and creating custom presets, you'll elevate your images to a whole new level. Remember, practice makes perfect. Don't be afraid to experiment and develop your unique style. With these color grading tricks up your sleeve, you'll capture attention-grabbing portraits that truly stand out from the crowd.


Leave a Reply