To capture perfect portrait mode photos, start by choosing a simple, uncluttered background that complements your subject. Find soft, diffused lighting for flattering results, ideally during golden hour. Frame your subject carefully using the rule of thirds and consider leading lines to guide the viewer's eye. Adjust focus and exposure by tapping on the subject's face, and fine-tune the depth effect. Experiment with different angles, like low or bird's-eye views, for unique perspectives. Use props to add interest and context to your portraits. Finally, edit your photos to enhance depth and overall quality. These pro tricks will elevate your portrait game to new heights.
Choose the Right Background
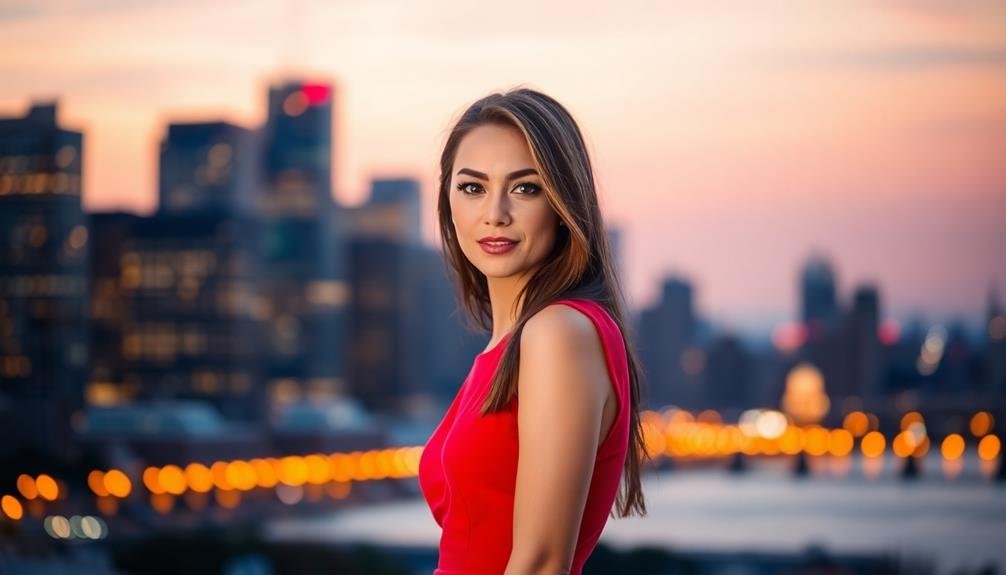
A background can make or break your portrait mode photo. When choosing the right backdrop, opt for simplicity and minimal distractions. Look for clean, uncluttered spaces that won't compete with your subject. Solid-colored walls, natural landscapes, or blurred cityscapes work well.
Consider the color harmony between your subject and the background. Complementary colors can create striking contrasts, while analogous colors offer a more harmonious feel. Pay attention to lighting conditions; soft, diffused light often produces the best results.
Distance matters in portrait mode. Position your subject at least a few feet away from the background to achieve that coveted bokeh effect. This separation helps create depth and focuses attention on your subject.
Texture can add interest to your photos. Brick walls, wooden fences, or foliage can provide subtle complexity without overwhelming the image. However, be cautious with busy patterns or bright colors that might distract from your subject.
Lastly, don't forget to scan the edges of your frame for unwanted elements. Remove or reposition objects that might clutter your composition. A clean, well-chosen background will elevate your portrait mode photos from good to great.
Find Optimal Lighting Conditions
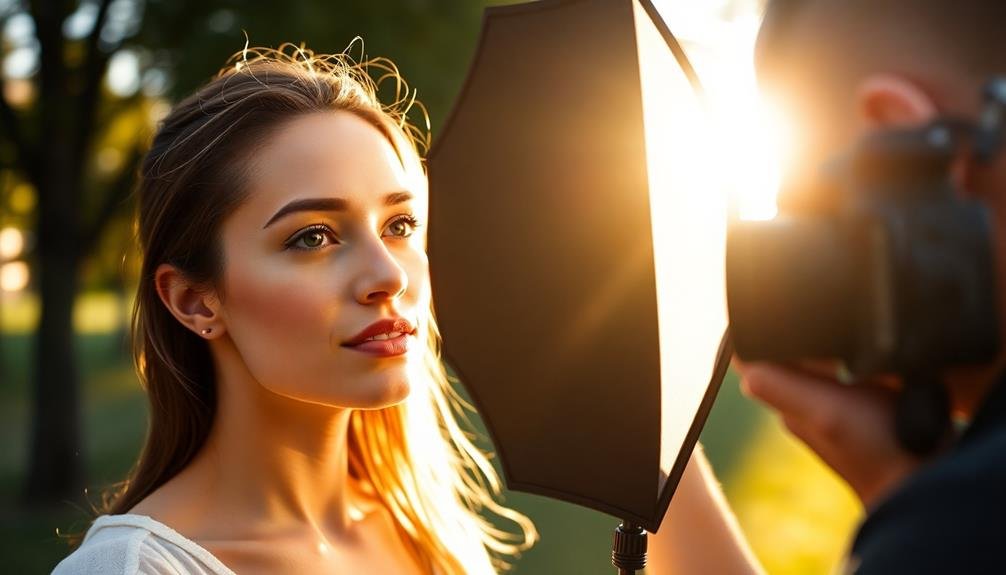
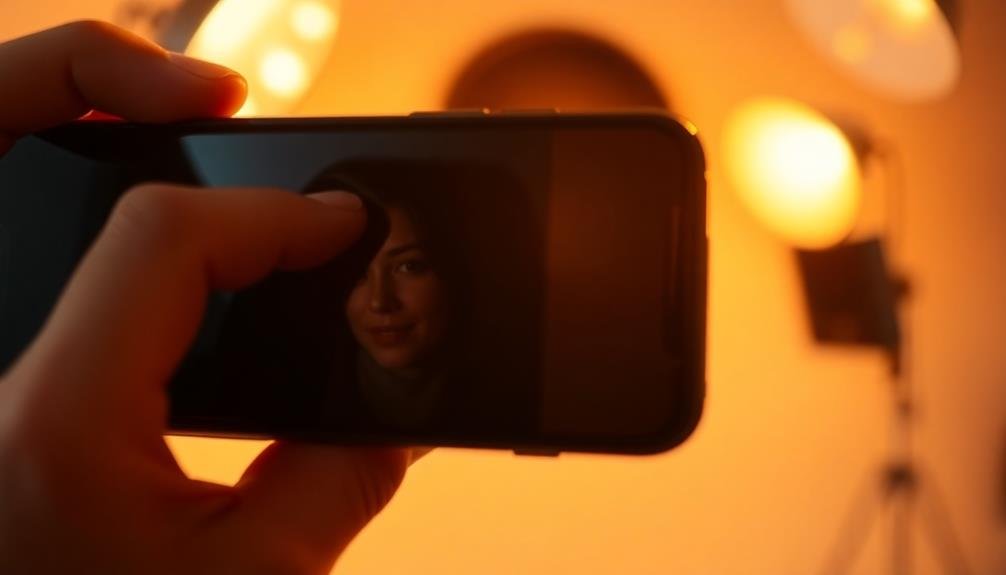
Lighting plays an essential role in capturing stunning portrait mode photos. You'll want to seek out soft, diffused light that flatters your subject's features. Natural light during the "golden hour" just after sunrise or before sunset often provides the most pleasing results. Avoid harsh midday sun, which can create unflattering shadows and cause your subject to squint.
If you're shooting indoors, position your subject near a window for gentle, natural illumination. For outdoor shots, look for shaded areas that offer even lighting across the face. You can also use reflectors to bounce light and fill in shadows, creating a more balanced exposure.
Here's a quick guide to lighting conditions for portrait mode photos:
| Time of Day | Outdoor Location | Indoor Location |
|---|---|---|
| Morning | Open shade | Near window |
| Midday | Covered porch | Diffused skylight |
| Afternoon | Backlit scene | Soft artificial light |
| Golden Hour | Open field | Large window |
| Dusk | City streets | Warm lamp light |
Frame Your Subject Carefully
When framing your subject for portrait mode photos, you'll want to apply the Rule of Thirds for balanced composition.
Make certain you're avoiding cluttered backgrounds that can distract from your main subject.
Look for leading lines in your environment to naturally draw the viewer's eye towards your subject, creating a more dynamic and engaging portrait.
Rule of Thirds
The Rule of Thirds is a fundamental composition technique that can dramatically improve your portrait mode photos. It involves dividing your frame into a 3×3 grid and placing key elements along these lines or at their intersections. This creates a more balanced and visually appealing image than simply centering your subject.
When applying the Rule of Thirds to portrait mode photos, consider these tips:
| Placement | Effect |
|---|---|
| Eyes on top line | Creates visual interest |
| Face off-center | Adds dynamic composition |
| Body on side | Balances negative space |
| Horizon on third | Enhances overall balance |
By placing your subject's eyes along the top horizontal line, you'll draw the viewer's attention to their gaze. Position the face slightly off-center for a more engaging composition. If including more of the body, try aligning it with one of the vertical lines. For environmental portraits, place the horizon on the top or bottom third to create a pleasing balance between sky and ground.
Don't be afraid to break this rule occasionally, but mastering it will give you a solid foundation for creating stunning portrait mode photos.
Avoid Cluttered Backgrounds
A cluttered background can quickly ruin an otherwise perfect portrait mode photo. When you're framing your subject, pay close attention to what's behind them. Look for clean, simple backgrounds that won't distract from your subject. Solid walls, nature scenes, or blurred cityscapes can all work well. If you can't find an ideal background, try adjusting your position or angle to minimize distractions.
To avoid cluttered backgrounds, follow these tips:
- Move your subject away from busy areas
- Use a wider aperture to blur the background
- Position yourself lower or higher to change the background
- Look for natural frames like doorways or arches
Don't be afraid to ask your subject to move or reposition themselves. A few steps to the left or right can make a significant difference in your composition.
If you're shooting outdoors, be mindful of trees or poles that might appear to be growing out of your subject's head. In indoor settings, watch out for busy wallpapers, cluttered shelves, or messy rooms.
Consider Leading Lines
Leading lines are powerful tools in portrait photography, guiding the viewer's eye to your subject. When composing your portrait mode shots, look for natural lines in your environment that can draw attention to your model. These could be pathways, fences, building edges, or even tree branches.
Position your subject at the end of these lines or where they converge. For example, place your model at the end of a long hallway or at the intersection of two walls. You'll create a sense of depth and direct focus to your subject.
Don't limit yourself to straight lines; curved paths or winding roads can add a dynamic element to your composition. Experiment with different angles to find the most effective leading lines.
Sometimes, lowering your camera or shooting from above can reveal unexpected lines.
Adjust Focus and Exposure

How can you guarantee your portrait mode photos truly pop? Mastering focus and exposure is key. Your smartphone's portrait mode offers incredible control, but you need to know how to wield it effectively.
First, tap on your subject's face to set the focus point. This guarantees their features remain sharp while the background blurs beautifully.
Next, adjust the exposure by sliding your finger up or down on the screen. Aim for a balanced look that doesn't wash out skin tones or lose details in shadows.
To take your portrait mode photos to the next level, try these advanced techniques:
- Use the depth control slider to fine-tune background blur
- Experiment with different lighting conditions for varied effects
- Try manual focus for precise control over sharpness
- Employ exposure compensation for tricky lighting situations
Experiment With Different Angles
Don't limit yourself to eye-level shots when taking portrait mode photos.
Try a low angle for dramatic, imposing subjects, or experiment with a bird's-eye view for a unique overhead perspective.
You can also incorporate the Dutch tilt technique, tilting your camera at an angle to create a sense of unease or dynamism in your portraits.
Low-Angle Dramatic Shots
Ever wondered how to add drama and intensity to your portrait photos? Low-angle shots are your secret weapon. By positioning your camera below eye level and angling it upwards, you'll create a powerful, commanding presence for your subject. This technique works wonders for both human and animal portraits, giving them a larger-than-life appearance.
To nail the perfect low-angle dramatic shot:
- Get down low: Crouch, kneel, or even lie on the ground to achieve the desired angle.
- Tilt your camera upwards: Aim at your subject's face, creating a sense of height and power.
- Mind the background: Verify the sky or ceiling doesn't overpower your subject.
- Experiment with focal lengths: Wide-angle lenses can exaggerate features, while telephoto lenses compress the scene.
When shooting, pay attention to your subject's chin and neck area, as low angles can sometimes create unflattering views. Encourage your subject to slightly extend their neck or tilt their head down to maintain a flattering look.
For added drama, try incorporating interesting foreground elements or leading lines that draw the viewer's eye upwards. Remember, low-angle shots aren't just for people – they can make pets, flowers, and even inanimate objects appear more imposing and intriguing.
Bird's-Eye View Perspective
Soaring above your subject and capturing a bird's-eye view can transform your portrait photography. This unique perspective offers a fresh take on portrait mode shots, revealing interesting patterns and compositions that aren't visible from eye level.
To achieve this angle, you'll need to position yourself above your subject, whether by standing on a higher surface or using a step ladder.
When shooting from above, pay attention to how your subject's body is arranged. Encourage them to lie down or sit in a way that creates visually appealing shapes or lines.
Experiment with different poses, such as having your subject curl up in a fetal position or stretch out their arms and legs. You can also incorporate props or textures on the ground to add interest to the composition.
Remember to adjust your camera settings accordingly. A wider aperture can help isolate your subject from the background, while a faster shutter speed will prevent motion blur if you're shooting handheld.
Don't forget to communicate clearly with your subject, as they won't be able to see you easily from this angle.
With practice, you'll master the art of bird's-eye view portraits and add a dynamic element to your photography portfolio.
Dutch Tilt Technique
The Dutch tilt technique shakes up traditional portrait composition by intentionally angling your camera. This unconventional approach creates a sense of unease, drama, or dynamism in your portrait shots. By tilting your camera diagonally, you'll introduce diagonal lines that draw the viewer's eye across the frame in unexpected ways.
To master the Dutch tilt technique, keep these tips in mind:
- Start subtle: Begin with slight tilts of 5-10 degrees to get a feel for the effect.
- Use strong vertical lines: Incorporate architectural elements or natural features to emphasize the tilt.
- Balance the composition: Guarantee your subject remains the focal point despite the angled frame.
- Experiment with different angles: Try both clockwise and counterclockwise tilts to find what works best.
When using the Dutch tilt, consider the mood you want to convey. Dramatic tilts can suggest tension or instability, while gentler angles might add a touch of whimsy.
Pay attention to your subject's pose and expression, as they'll interact with the tilted frame to create a unique visual story.
Don't overuse this technique – save it for moments when you want to make a bold statement or break away from conventional portrait norms.
Use Props for Added Interest

After mastering the basics of portrait mode, it's time to elevate your photos with props. Carefully chosen props can add depth, context, and personality to your portraits. Start by selecting items that complement your subject's interests or the photo's theme.
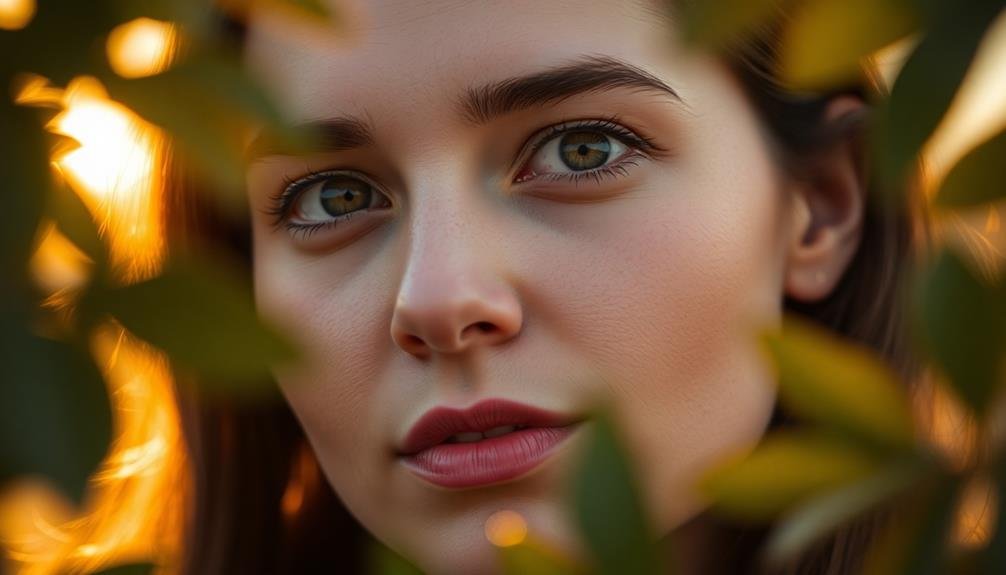
For outdoor shots, consider natural elements like flowers, leaves, or branches. In urban settings, try using architecture, street art, or city props like umbrellas or bicycles.
When using props, make certain they don't overshadow your subject. Position them strategically to frame the person or create leading lines that draw the viewer's eye. Experiment with different angles and distances to find the perfect balance. Props can also serve as foreground elements, adding depth to your composition.
Don't forget about interactive props. Have your subject hold a book, sip from a coffee cup, or play with a pet. These dynamic elements can make your portrait feel more natural and candid.
Edit for Enhanced Depth Effect
Perfection in portrait mode doesn't end with capturing the shot; it extends to post-processing. To enhance the depth effect in your portraits, you'll need to engage in editing.
Start by adjusting the blur intensity to create a more pronounced separation between your subject and the background. Don't overdo it, though; aim for a natural look that doesn't appear artificial.
Next, fine-tune the edge detection around your subject. Most portrait mode apps allow you to refine the area where the blur begins, ensuring hair strands and clothing details aren't mistakenly blurred. Pay close attention to these edges for a polished result.
To further enhance depth, consider these techniques:
- Increase contrast between foreground and background
- Slightly darken the edges of the frame
- Add a subtle vignette effect
- Adjust highlights and shadows separately for subject and background
Frequently Asked Questions
How Do I Enable Portrait Mode on My Specific Smartphone Model?
To enable portrait mode on your specific smartphone, you'll need to open your camera app and look for a "Portrait" or "Depth" option. If you don't see it, check your phone's settings or consult the user manual.
Can Portrait Mode Be Used for Non-Human Subjects Like Pets or Objects?
Yes, you can use portrait mode for pets and objects on many smartphones. It's not limited to human subjects. You'll get that blurred background effect for your furry friends or favorite items too. Give it a try!
What's the Ideal Distance Between the Camera and Subject for Portrait Mode?
You'll want to position yourself about 3-8 feet from your subject for ideal portrait mode results. This range allows the camera to effectively blur the background while keeping your subject sharp and in focus.
Are There Any Third-Party Apps That Enhance Portrait Mode Capabilities?
You'll find several apps that enhance portrait mode. Try Focos, Halide, or Portrait Pro. They offer advanced depth control, lighting adjustments, and editing tools. Experiment with these apps to elevate your portrait photography beyond your phone's native capabilities.
How Can I Fix Common Portrait Mode Errors Like Blurred Edges?
You can fix blurred edges in portrait mode by adjusting the depth effect after taking the photo. Use your phone's built-in editor to refine edges, or try third-party apps for more advanced editing options.
In Summary
You've now got the tools to take your portrait mode photos to the next level. Remember, practice makes perfect. Don't be afraid to experiment with these pro tricks and find your unique style. As you master these techniques, you'll see a dramatic improvement in your portraits. Keep pushing your creative boundaries, and soon you'll be capturing stunning, professional-looking images that'll wow your friends and followers. Happy shooting!


Leave a Reply