Portrait mode can transform your event photography, turning ordinary snapshots into professional-looking masterpieces. To elevate your photos, choose subjects that stand out and convey a story. Frame your shots using the rule of thirds and experiment with angles for maximum impact. Pay attention to lighting, seeking soft, diffused light to enhance the depth effect. Capture candid moments to preserve genuine emotions, and don't forget to edit your photos to refine the blur and adjust exposure. Avoid common mistakes like cluttered backgrounds and inadequate lighting. By mastering these techniques, you'll reveal the full potential of portrait mode and create stunning event memories.
Understanding Portrait Mode
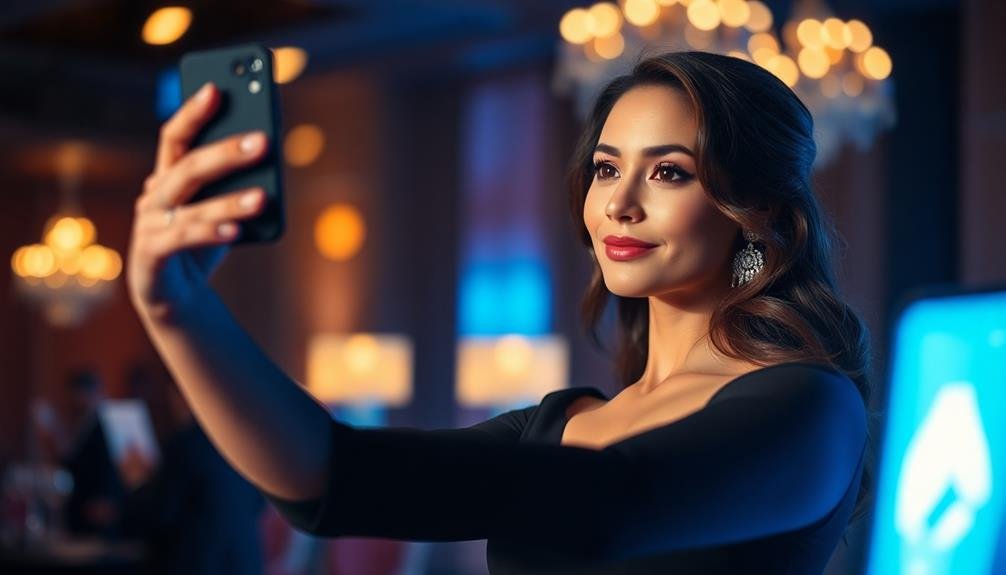
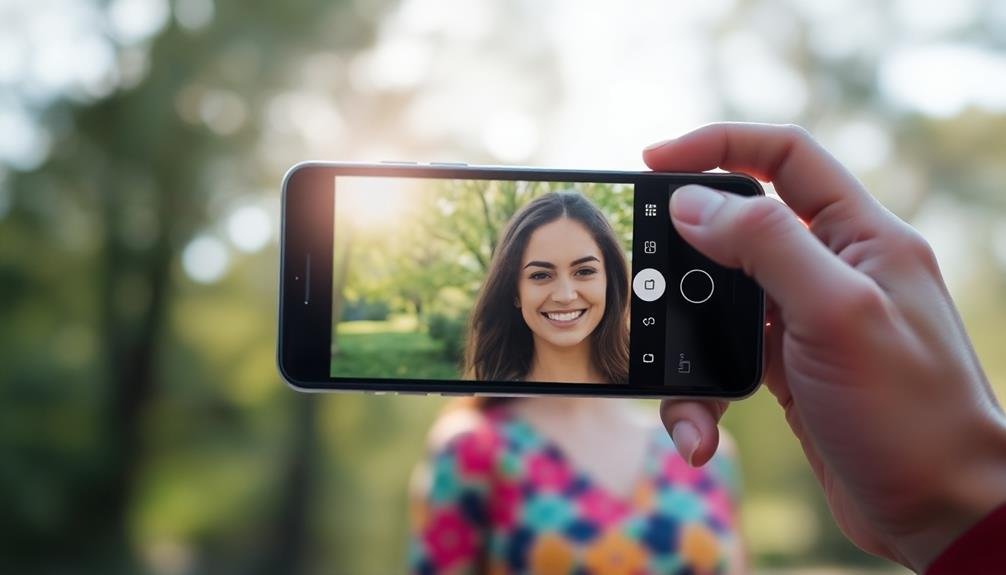
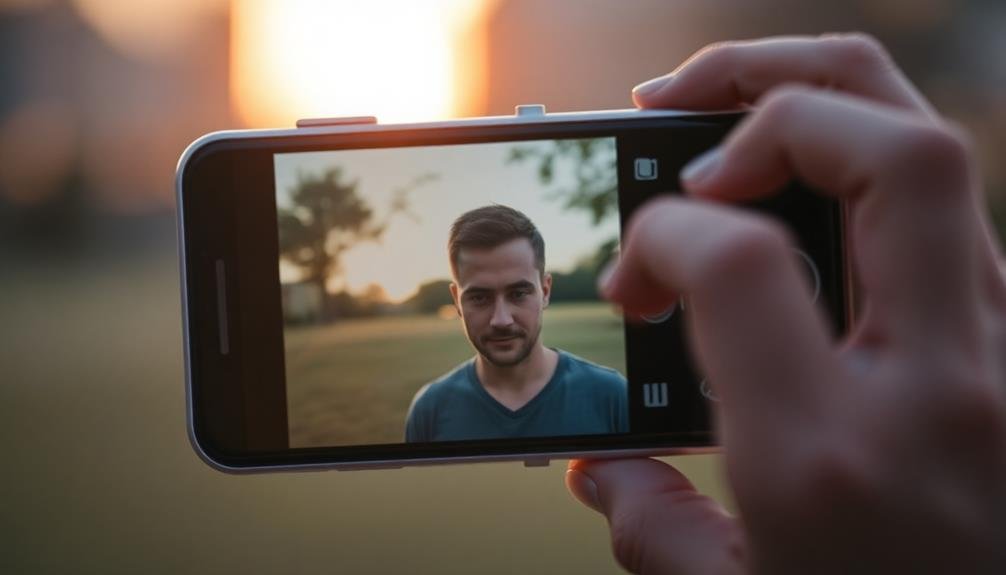
When it comes to capturing stunning event photos, understanding Portrait Mode is essential. This feature, available on many modern smartphones and cameras, creates a shallow depth of field effect, blurring the background while keeping the subject in sharp focus. It's a powerful tool for making your event photos pop and drawing attention to the main subject.
Portrait Mode works by using multiple camera lenses or advanced software algorithms to distinguish between the foreground and background. It then applies a simulated bokeh effect, mimicking the results you'd get from a high-end DSLR camera with a wide aperture lens.
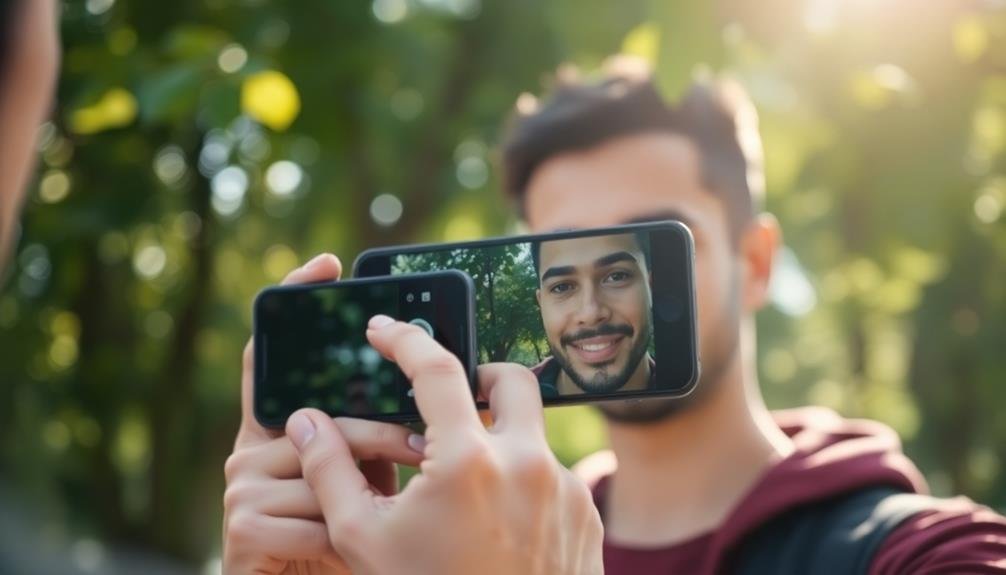
To use Portrait Mode effectively, you'll need to follow a few key principles. First, verify your subject is well-lit and positioned 2-8 feet away from the camera. Keep the background relatively simple and distant from the subject for the best effect.
Remember that Portrait Mode works best for single subjects or small groups, as it may struggle with complex scenes or large crowds.
Experiment with different angles and compositions to find the most flattering results. You can often adjust the blur intensity after taking the photo, allowing for fine-tuning of the final image.
Selecting the Right Subject

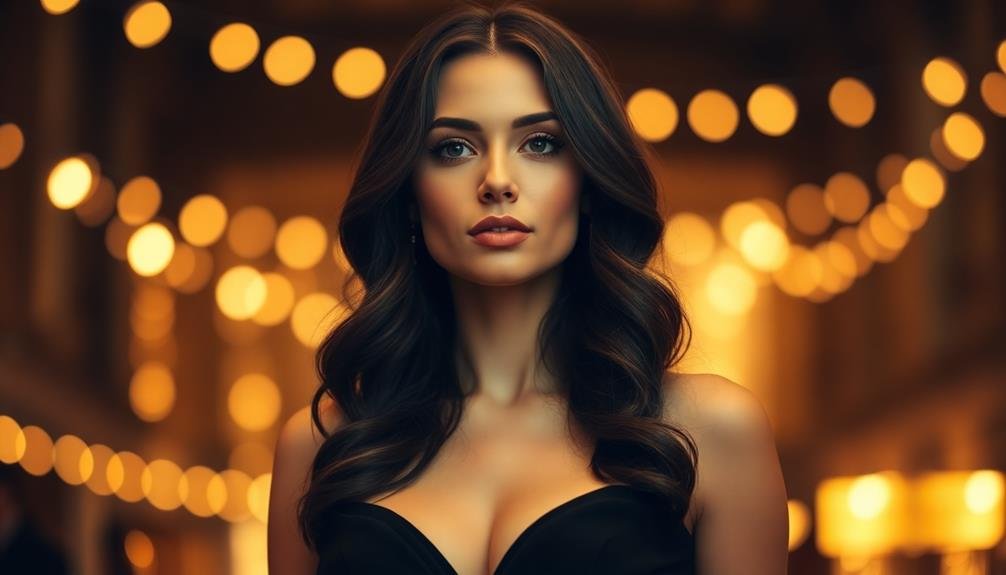
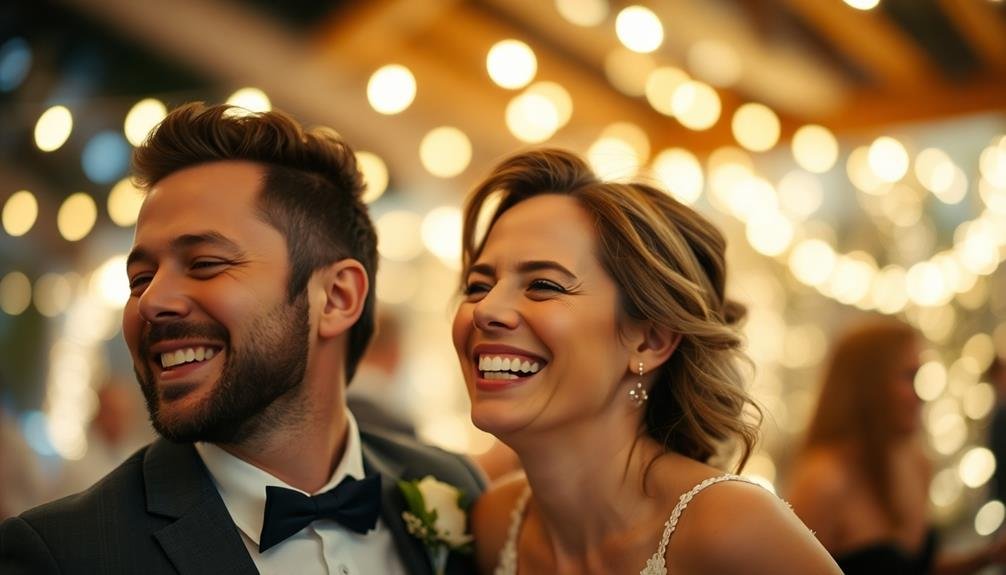
Subject selection is essential for capturing memorable event photos. When using portrait mode, you'll want to choose subjects that stand out and tell a story. Look for people engaged in interesting activities or displaying genuine emotions. Candid shots often yield the most compelling results, so keep an eye out for natural, unposed moments.
Consider the event's context and choose subjects that represent its essence. At a wedding, focus on the bride and groom, but don't forget other key players like parents or the wedding party. For corporate events, capture speakers, presenters, and engaged audience members.
Pay attention to your subject's surroundings. A cluttered background can detract from the main focus, so seek out clean, simple backdrops or use portrait mode to blur distractions.
Lighting is vital, too. Opt for subjects in well-lit areas or near windows for natural illumination.
Don't shy away from unconventional subjects. Sometimes, a detail shot of hands, an elaborate centerpiece, or a candid group interaction can tell a powerful story.
Framing Your Shot
When framing your event photos, you'll want to employ proven composition techniques to create visually appealing images.
Start by applying the Rule of Thirds, which involves dividing your frame into a 3×3 grid and placing key elements along these lines or at their intersections.
You can also use Leading Lines to guide the viewer's eye through the image and incorporate Foreground Interest Elements to add depth and context to your shots.
Rule of Thirds
One of the most powerful tools in your photography arsenal is the rule of thirds. This compositional guideline can dramatically improve your event photos by creating more dynamic and visually appealing images.
To apply this rule, mentally divide your frame into a 3×3 grid and place your main subject along these lines or at their intersections.
When capturing portraits at events, try positioning your subject's eyes along the upper horizontal line. This creates a natural focal point and draws the viewer's attention to the person's face.
For group shots, align people along the vertical lines to create a balanced composition.
Don't be afraid to place your subject off-center. This asymmetry often results in more interesting and engaging photos.
Use the rule of thirds to incorporate negative space, which can add context and atmosphere to your event images.
Leading Lines Technique
Leading lines are a powerful compositional tool that can guide your viewers' eyes through an event photo. They create a sense of depth and direction, drawing attention to your main subject. You'll find leading lines everywhere at events: in architecture, decorations, or even in the arrangement of people.
To use leading lines effectively, identify strong linear elements in your scene. These could be roads, fences, rows of chairs, or even strings of lights. Position yourself so these lines lead toward your main subject. You can use diagonal, curved, or straight lines, each creating a different mood and flow in your image.
Consider these emotional impacts of different types of leading lines:
| Line Type | Mood | Energy | Example |
|---|---|---|---|
| Straight | Formal | Stable | Rows of seats |
| Diagonal | Dynamic | Active | Staircase |
| Curved | Graceful | Flowing | Winding path |
| Converging | Focused | Intense | Hallway with perspective |
Experiment with different angles and perspectives to maximize the impact of leading lines. They'll add depth and interest to your event photos, creating more engaging and visually appealing images for your viewers.
Foreground Interest Elements
Adding foreground interest elements to your event photos can dramatically enhance their visual appeal and depth. These elements create a sense of dimension and draw the viewer's eye into the image. To incorporate foreground interest, look for objects or features that can frame your main subject or add context to the scene.
You might use natural elements like tree branches, flowers, or leaves to create a soft border around your subject. Architectural features such as doorways, windows, or archways can also serve as effective framing devices.
When shooting at events, look for decorative elements like balloons, banners, or table settings that can add interest to the foreground.
Position yourself strategically to include these elements in your composition. You'll often need to crouch down or shoot from a lower angle to capture foreground details effectively.
Experiment with different aperture settings to control the depth of field, allowing you to keep both the foreground and main subject in focus or create a subtle blur effect.
Remember to maintain a balance between foreground elements and your primary subject. The goal is to enhance the overall composition without overpowering the main focus of your event photo.
Lighting Considerations for Portrait Mode
When shooting in portrait mode, you'll need to decide between natural and artificial light sources.
Natural light can provide a soft, flattering effect, but you'll want to avoid harsh midday sun that creates unflattering shadows.
If using artificial light, position your subject to minimize stark shadows and consider using diffusers or reflectors to create a more even illumination.
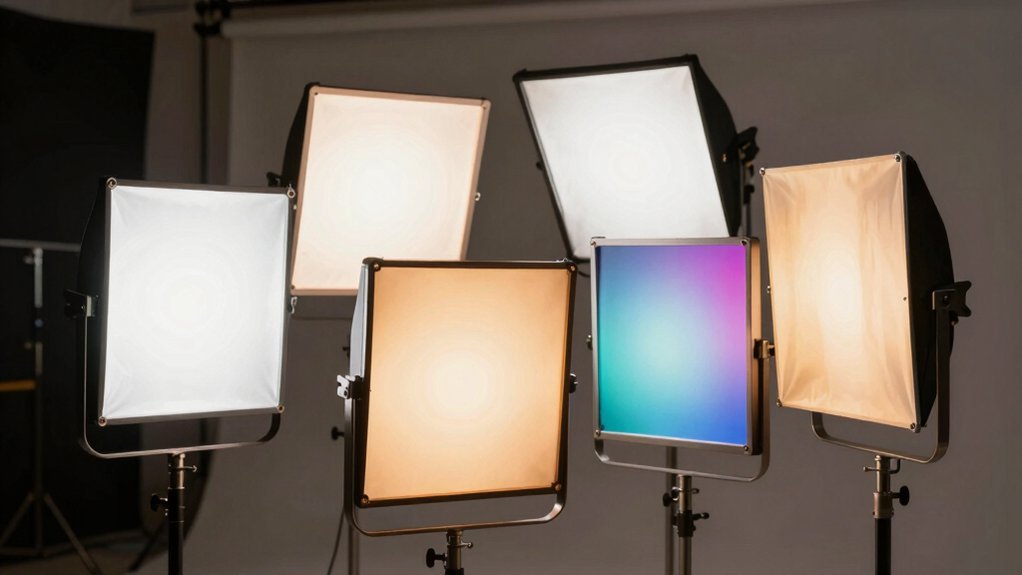
Natural vs. Artificial Light
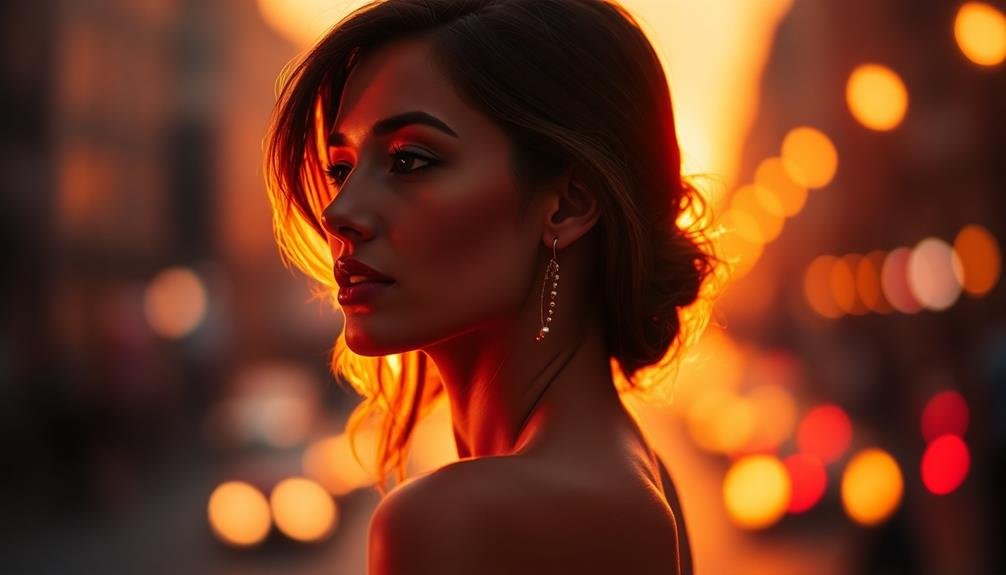
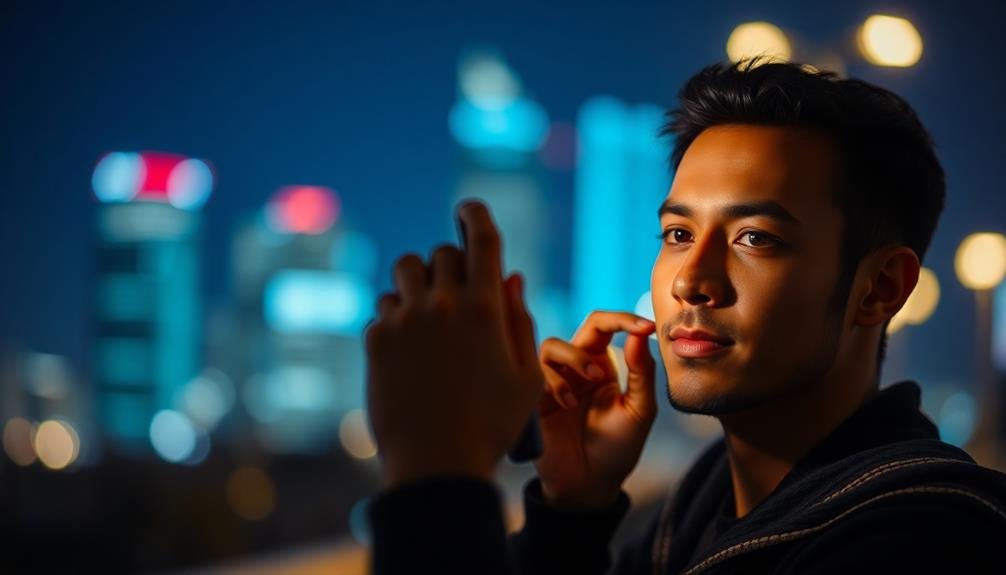
Mastering lighting is essential for capturing stunning portrait mode photos at events. When it comes to lighting, you'll often face a choice between natural and artificial sources. Natural light, such as sunlight or ambient indoor lighting, can create a soft, flattering effect on your subjects. It's especially effective during the golden hour, just after sunrise or before sunset, when the light is warm and diffused.
However, you can't always rely on natural light, especially at indoor events or during nighttime. This is where artificial lighting comes in handy. Use external flashes, LED panels, or even the venue's lighting to your advantage. Artificial light gives you more control over the intensity and direction of illumination, allowing you to create dramatic effects or fill in harsh shadows.
When using portrait mode, consider how different light sources affect the depth effect. Soft, diffused light typically works best for creating a pleasing background blur.
Experiment with both natural and artificial light to find the perfect balance for your event photos. Don't be afraid to mix light sources, using natural light as your main source and artificial light for fill or accent.
Avoiding Harsh Shadows
One of the biggest challenges in portrait mode photography is dealing with harsh shadows. These can create unflattering contrasts and obscure important details in your subject's face. To avoid this issue, you'll need to be strategic about your lighting and positioning.
When shooting outdoors, try to find open shade or wait for overcast conditions. This diffuses the light and minimizes harsh shadows. If you're stuck in direct sunlight, position your subject so the sun is behind them, then use a reflector or flash to fill in the shadows on their face.
Indoors, be mindful of strong light sources like windows. Position your subject at a 45-degree angle to the window for softer, more even lighting. If artificial lighting is necessary, opt for multiple soft light sources rather than a single harsh one.
You can also use portrait mode's depth effect to your advantage. By blurring the background, you can reduce the impact of harsh shadows in the environment, keeping the focus on your well-lit subject.
Remember to adjust the portrait mode settings as needed to fine-tune the effect and achieve the best balance of light and shadow.
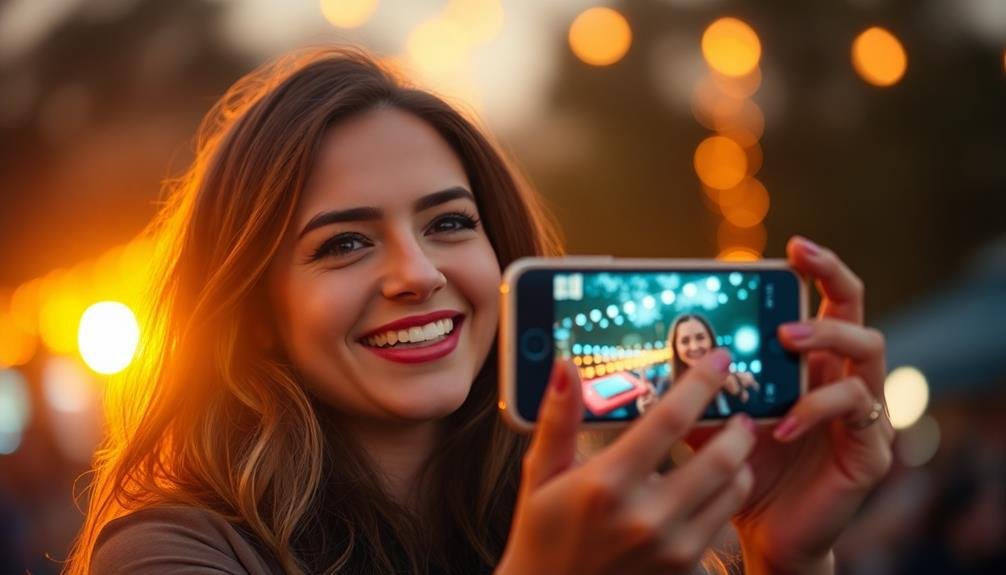
Capturing Candid Moments
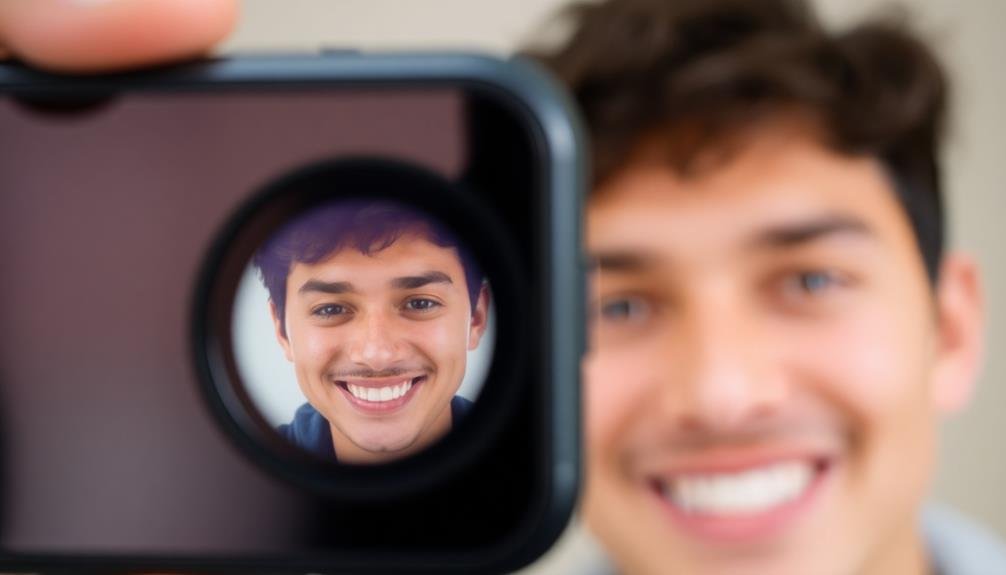
Candid moments are the heartbeat of any event, capturing genuine emotions and interactions that tell a story far better than posed shots. To excel at capturing these fleeting instances, you'll need to blend into the background and anticipate key moments.
Keep your camera ready and your eyes peeled for natural expressions, laughter, and spontaneous interactions.
Use Portrait Mode to your advantage when capturing candids. It'll help you isolate your subjects from busy backgrounds, drawing attention to their emotions and expressions.
Remember to be discreet; people tend to act more naturally when they don't feel observed.
To improve your candid photography skills:
- Familiarize yourself with your camera's settings for quick adjustments
- Use a longer focal length to shoot from a distance without intruding
- Experiment with burst mode to capture a series of expressions
- Look for interesting compositions that frame your subjects naturally
Group Photos in Portrait Mode
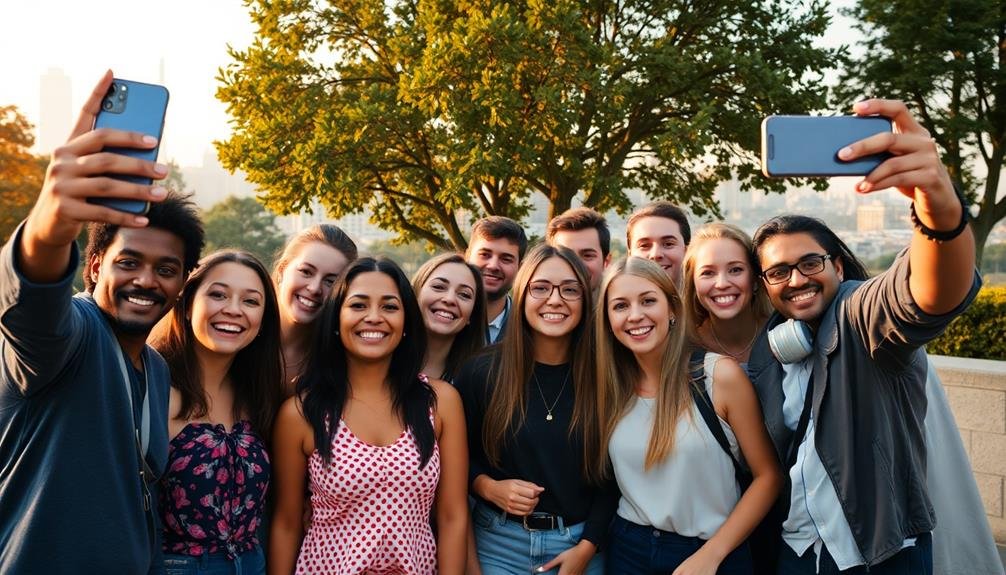
While candid shots capture spontaneous moments, group photos in Portrait Mode offer a polished way to commemorate an event. You'll find that Portrait Mode's depth-of-field effect can elevate your group shots, making them look more professional and visually appealing.
When setting up a group photo, position your subjects close together to guarantee they're all within the Portrait Mode range. Arrange them in a slight arc or zigzag pattern to add depth and interest to the composition. Encourage natural poses and expressions to maintain an authentic feel despite the more formal setup.
For larger groups, you may need to step back and use the wide-angle lens on some smartphones to fit everyone in the frame. In this case, make certain there's enough light, as Portrait Mode works best in well-lit conditions.
If you're dealing with challenging lighting, consider using the flash or finding a spot with more even illumination.
After taking the shot, don't forget to review and adjust the Portrait Mode effect. You can often fine-tune the blur intensity or change the lighting to achieve the perfect look for your group photo.
Enhancing Background Blur
You can take your event photos to the next level by mastering background blur techniques.
Experiment with adjusting the blur intensity to create a more pronounced separation between your subjects and the background.
Try selective focus techniques to draw attention to specific elements in your photos while artfully blurring less important areas.
Adjusting Blur Intensity
Many photographers find that adjusting blur intensity is a powerful tool for enhancing event photos. By fine-tuning the blur, you can create a more dramatic separation between the subject and the background, drawing attention to the main focus of your image.
The ability to control blur intensity gives you creative freedom to achieve the desired aesthetic for each shot.
When adjusting blur intensity, consider the following tips:
- Start with a moderate blur and gradually increase it to find the sweet spot
- Pay attention to how the blur affects different elements in the background
- Experiment with varying levels of blur for different subjects or scenes
- Use blur intensity to complement the mood or theme of the event
Remember that the ideal blur intensity can vary depending on the specific photo and your artistic vision.
You'll want to strike a balance between creating depth and maintaining context. Too much blur might make the background unrecognizable, while too little may not effectively separate the subject from their surroundings.
Practice adjusting blur intensity on different types of event photos to develop your skills.
With time, you'll intuitively know how to enhance your images using this technique, elevating your event photography to new heights.
Selective Focus Techniques
Several selective focus techniques can dramatically enhance background blur in event photography. One effective method is to use a wide aperture, such as f/1.8 or f/2.8, which creates a shallow depth of field. This approach keeps your subject sharp while blurring the background.
You'll want to position your subject farther from the background to increase the blur effect.
Another technique is to zoom in on your subject, which compresses the background and enhances the blur. If you're using a smartphone, you can achieve this by moving closer to your subject and using the telephoto lens if available. For DSLR or mirrorless cameras, opt for a longer focal length lens.
You can also try the "bokeh" technique by including small light sources in the background. These will appear as soft, circular shapes when blurred, adding visual interest to your photos.
Experiment with different angles and compositions to find the most pleasing arrangement of background elements.
Lastly, consider using a "lens blur" or "portrait mode" feature in post-processing software or smartphone apps. These tools allow you to selectively adjust blur intensity and focus areas after the photo is taken, giving you more control over the final image.
Editing Portrait Mode Photos
Portrait mode photos offer a stunning way to capture subjects with a beautifully blurred background, but they often benefit from some post-processing tweaks. To enhance your portrait mode shots, focus on adjusting exposure, contrast, and color balance.
Start by fine-tuning the overall brightness to guarantee your subject stands out without losing detail in highlights or shadows.
Next, refine the depth effect. Most editing apps allow you to adjust the intensity of the background blur. Experiment with this setting to find the perfect balance between subject emphasis and environmental context.
Don't forget to check the edges of your subject for any artifacts or blurring mistakes, which you can often correct with built-in tools.
Consider these additional editing techniques to elevate your portrait mode photos:
- Enhance skin tones using selective color adjustments
- Apply subtle vignetting to draw attention to the subject
- Use selective sharpening to bring out eyes and facial features
- Experiment with black and white conversions for a timeless look
Lastly, don't overdo it. The goal is to enhance the natural beauty of your portrait mode shots while maintaining a realistic appearance.
Save your edits and compare them to the original to verify you've improved the image without compromising its authenticity.
Avoiding Common Mistakes
When capturing event photos, it's easy to fall into common pitfalls that can diminish the quality of your shots. To avoid these mistakes, pay attention to your surroundings and composition. Don't let distracting backgrounds or objects steal focus from your subject. Instead, use portrait mode to blur out unwanted elements and keep the attention on your main subject.
Another common error is poor lighting. Harsh overhead lighting can create unflattering shadows on faces. Seek out soft, natural light or use external lighting to illuminate your subjects evenly. Be mindful of your camera's settings, too. Verify your ISO isn't too high, which can lead to grainy images, and that your shutter speed is fast enough to freeze motion.
Avoid taking all your shots from the same angle or height. Mix it up by crouching down, standing on a chair, or moving around to capture different perspectives.
Combining Portrait Mode With Flash
While portrait mode can beautifully blur backgrounds, it's not always enough in challenging lighting conditions. That's where combining portrait mode with flash comes in handy. This technique allows you to maintain the pleasing background blur while properly illuminating your subject, even in low-light situations.
To successfully merge portrait mode and flash photography, consider these tips:
- Use your camera's built-in flash or an external flash unit for more control
- Experiment with flash intensity to avoid overexposure
- Try bouncing the flash off nearby surfaces for softer, more flattering light
- Position your subject slightly away from walls to minimize harsh shadows
When using this combination, you'll need to be mindful of your camera's limitations. Some smartphones may struggle to maintain portrait mode effects when the flash is activated.
In these cases, you might need to use a third-party app that offers more advanced controls.
Remember to practice this technique before important events. By mastering the art of combining portrait mode with flash, you'll be able to capture stunning, well-lit photos with beautiful background separation in various lighting conditions.
Sharing Your Enhanced Event Photos
Sharing your enhanced event photos is the final step in preserving and showcasing your memorable moments. With your beautifully captured portrait mode images, you'll want to choose the best platforms to display your work.
Social media sites like Instagram and Facebook are excellent for quick sharing with friends and family. Consider creating a dedicated album or story highlight for the event.
For a more professional touch, use photo-sharing sites like Flickr or 500px. These platforms allow you to maintain image quality and reach a broader audience of photography enthusiasts.
If you're looking to print your photos, services like Shutterfly or Mpix offer high-quality options for creating physical albums or wall art.
Don't forget to optimize your images for each platform. Resize and compress photos to guarantee fast loading times without sacrificing quality. Use relevant hashtags and geotags to increase visibility.
Consider watermarking your images if you're concerned about copyright. Finally, always respect the privacy of your subjects and obtain permission before sharing photos of others.
Frequently Asked Questions
Can Portrait Mode Be Used for Non-Human Subjects at Events?
Yes, you can use portrait mode for non-human subjects at events. It's great for highlighting objects, pets, or decorations. You'll create a beautiful bokeh effect, blurring the background and making your subject pop.
How Does Portrait Mode Affect Battery Life on Smartphones?
You'll notice portrait mode uses more battery power than regular photos. It's processing-intensive, activating multiple cameras and applying complex algorithms. If you're using it frequently, you'll likely see faster battery drain on your smartphone.
Are There Privacy Concerns When Using Portrait Mode at Public Events?
You should be aware of potential privacy concerns when using portrait mode at public events. You're capturing detailed images of people, so it's important to respect others' privacy and obtain consent when necessary. Be mindful of your surroundings.
Can Portrait Mode Photos Be Printed Without Losing Quality?
You can print portrait mode photos without losing quality if you use high-resolution settings and a quality printer. Be sure to select the right paper type and size to maintain sharpness and depth in your prints.
Does Portrait Mode Work Equally Well on All Smartphone Models?
You'll find that portrait mode effectiveness varies across smartphone models. While high-end phones generally perform better, mid-range and budget options can still produce good results. It's worth comparing samples from different devices you're considering.
In Summary
You've now got the tools to transform your event photos using portrait mode. Remember to experiment with different subjects, framing, and lighting. Don't be afraid to capture candid moments and edit your shots for that perfect look. Avoid common pitfalls and try combining portrait mode with flash for unique effects. With these skills, you'll elevate your event photography and create stunning images that'll impress your friends and family. Start shooting!
Leave a Reply