
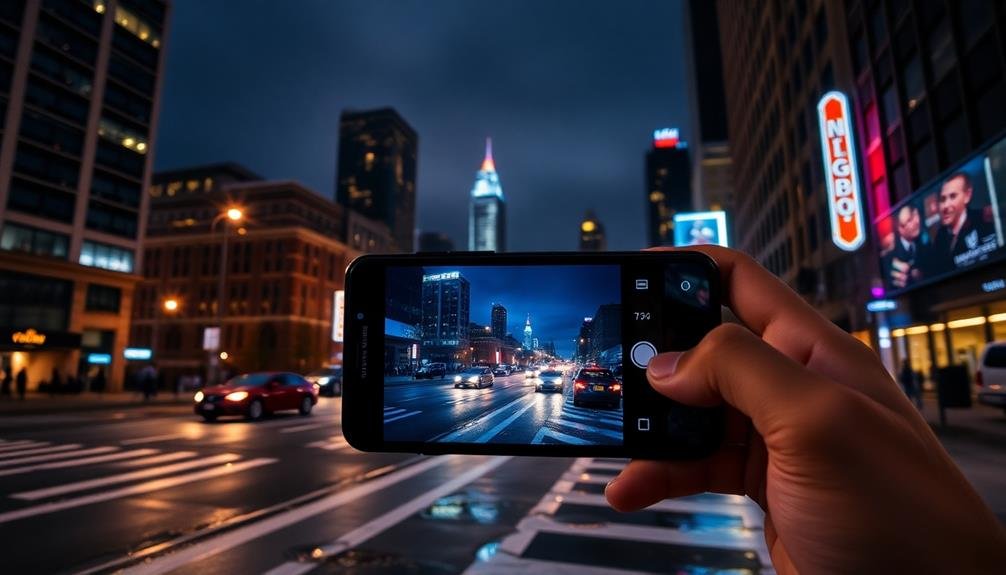
Elevate your smartphone photography with expert techniques that reveal your device's full potential. Start by mastering your camera's capabilities, including manual controls and multiple lenses. Perfect your composition skills using the rule of thirds and creative perspectives. Harness natural light and experiment with different shooting modes for stunning results. Capture motion effectively with burst mode and panning techniques. Don't forget to edit your photos using professional apps for that polished look. From landscapes to portraits, you'll learn to tell compelling visual stories with your smartphone. Dive deeper to transform your mobile photography from amateur to pro-level artistry.
Understanding Your Smartphone Camera
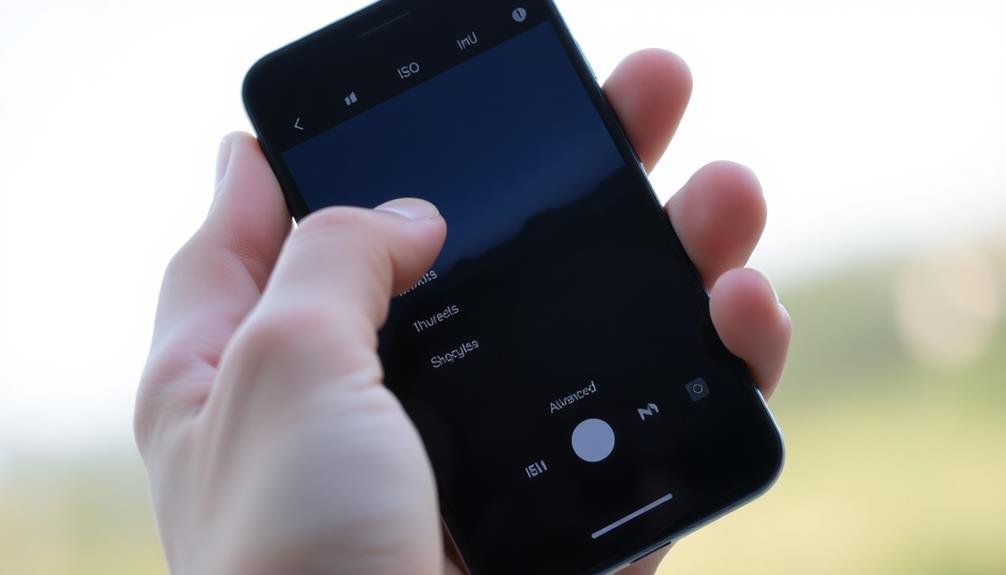
Before diving into advanced techniques, it's crucial to familiarize yourself with your smartphone's camera capabilities. Start by exploring your camera app's interface. You'll find various modes like portrait, night, and panorama. Each serves a specific purpose, so experiment with them to understand their strengths.
Next, learn about your camera's resolution and megapixel count. While higher numbers can mean better quality, they're not everything. Focus on understanding how to use these features effectively.
Pay attention to your phone's multiple lenses if it has them. Wide-angle, telephoto, and macro lenses offer different perspectives. Practice switching between them to see how they affect your shots.
Don't overlook manual controls if your phone offers them. Adjusting ISO, shutter speed, and white balance can considerably improve your photos. Take time to learn what each setting does and how it impacts your images.
Lastly, familiarize yourself with your phone's focus and exposure controls. Tapping the screen to set focus and sliding to adjust exposure can make a world of difference in your photo's quality.
Mastering Composition Techniques
Composition is the foundation of enchanting smartphone photography. To elevate your images, start by applying the rule of thirds. Imagine a 3×3 grid over your frame and place key elements along these lines or at their intersections. This creates balance and visual interest in your shots.
Don't be afraid to experiment with different perspectives. Get low, climb high, or tilt your phone to find unique angles. Leading lines are another powerful tool; use roads, fences, or architectural elements to guide the viewer's eye through your image.
Pay attention to symmetry and patterns in your surroundings. They can create visually striking compositions that captivate your audience.
When photographing people, leave space in the direction they're looking or moving to create a sense of motion and story.
Remember the power of negative space. Sometimes, less is more. A simple, uncluttered background can make your subject stand out dramatically.
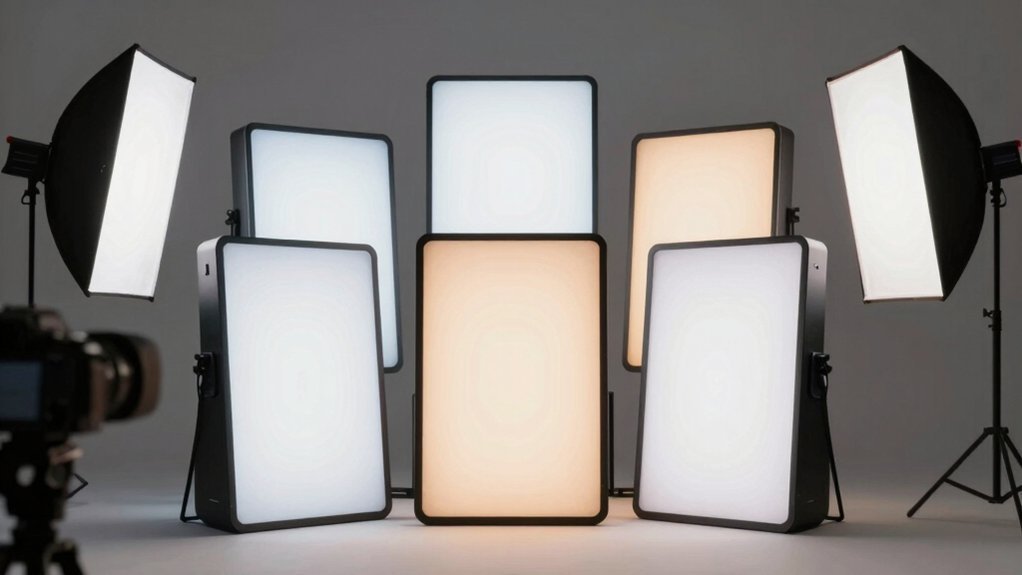
Lighting Secrets for Stunning Shots

In light of its importance, mastering lighting is essential for capturing stunning smartphone photos. You'll want to prioritize natural light whenever possible, as it often produces the most flattering results. Position your subject near windows or in open shade for soft, even illumination.
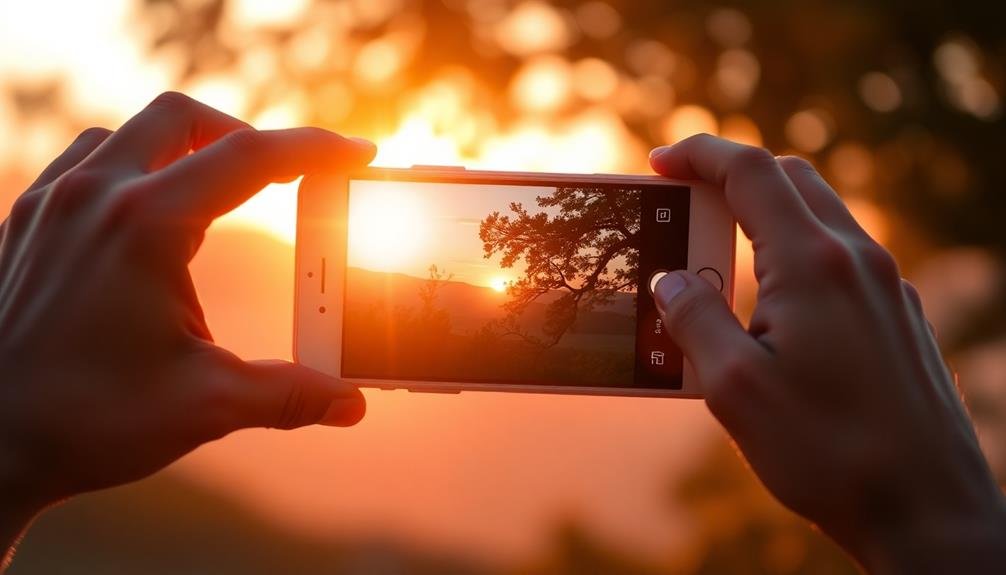
When shooting outdoors, take advantage of the golden hour – the period shortly after sunrise or before sunset – for warm, magical light.
If you're dealing with harsh midday sun, use it to your advantage by creating dramatic shadows or silhouettes. For indoor shots, experiment with different light sources like lamps or candles to add mood and depth.
Don't shy away from backlighting; it can create a beautiful halo effect around your subject.
When natural light isn't enough, learn to use your smartphone's flash effectively. Diffuse it with a piece of tissue paper for softer results. Alternatively, invest in a small portable LED light to enhance your shots.
Remember to adjust your camera's exposure settings to compensate for different lighting conditions. By mastering these lighting techniques, you'll elevate your smartphone photography to new heights, creating images that truly stand out.
Effective Use of Smartphone Modes
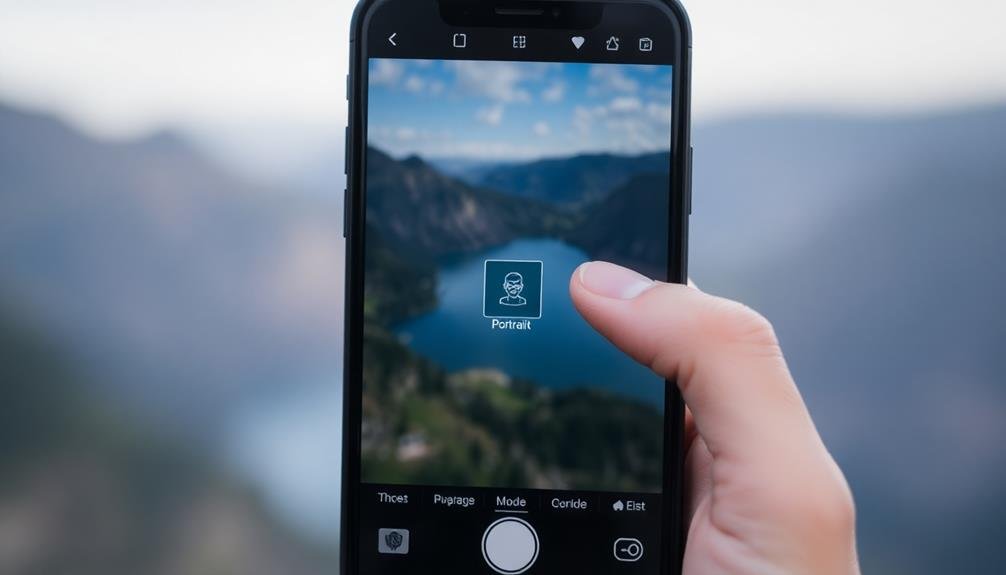
While many smartphone users stick to auto mode, exploring your device's various shooting modes can greatly enhance your photography. Portrait mode, for instance, creates a shallow depth of field, blurring the background to make your subject pop. Night mode excels in low-light situations, capturing more detail and reducing noise.
For action shots, try burst mode, which rapidly captures multiple frames, allowing you to select the best one later. HDR (High Dynamic Range) mode is perfect for high-contrast scenes, balancing bright and dark areas. Don't forget about panorama mode for sweeping landscapes or large group shots.
| Mode | Best For | Key Benefit |
|---|---|---|
| Portrait | Portraits, Close-ups | Blurred background |
| Night | Low-light scenes | Reduced noise, more detail |
| Burst | Action, Sports | Multiple shots to choose from |
Experiment with these modes to discover which works best for different scenarios. Remember, practice makes perfect. The more you use these modes, the better you'll understand their strengths and limitations. Don't be afraid to mix and match modes or combine them with manual settings for truly unique and professional-looking shots.
Capturing Motion With Smartphones
Freezing motion or creating artistic blur can take your smartphone photography to the next level. To capture fast-moving subjects, use your phone's burst mode or sport mode. These features take multiple shots in quick succession, increasing your chances of getting a sharp image. For crisp action shots, make certain there's plenty of light and focus on your subject before they move.
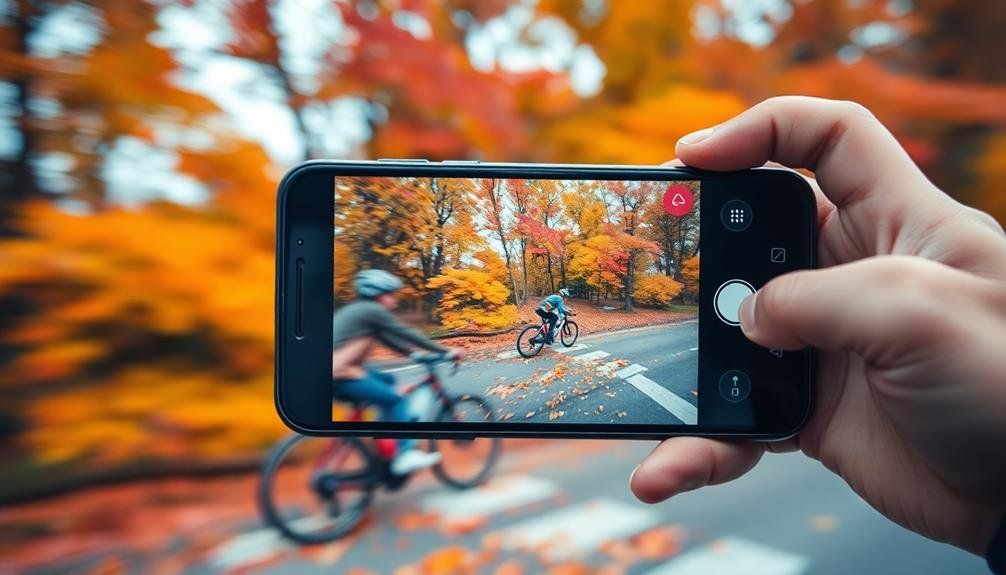
To create intentional motion blur, try panning. Follow your moving subject with your camera as you take the shot, keeping them in focus while blurring the background. This technique works well for subjects like cyclists or runners.
Alternatively, use a slow shutter speed app to capture light trails or flowing water. Steady your phone on a tripod or solid surface for best results.
For a unique effect, experiment with long exposure apps. These allow you to blend multiple exposures, creating ghostly images of moving subjects against a sharp background.
Don't forget to clean your lens and use the volume buttons as a shutter release to minimize camera shake when capturing motion.
Macro Photography on Mobile Devices

Macro photography opens up a whole new world of smartphone imagery. It allows you to capture intricate details of small subjects, revealing textures and patterns often invisible to the naked eye.
To get started, you'll need to understand your phone's capabilities. Many modern smartphones come with dedicated macro lenses or modes, but you can also use add-on lenses for enhanced results.
When shooting macro, stability is essential. Use a tripod or prop your phone against a stable surface to minimize camera shake. Get as close as possible to your subject while maintaining focus. Most phones will indicate when you're too close. Tap the screen to set focus and exposure, then lock these settings to prevent unwanted changes.
Lighting is critical in macro photography. Natural light often works best, but you can also use small LED lights or even your phone's flashlight for creative effects.
Experiment with different angles to find interesting compositions and shadows. Don't forget about the background – a clean, uncluttered backdrop will make your subject stand out.
Editing Apps for Professional Results
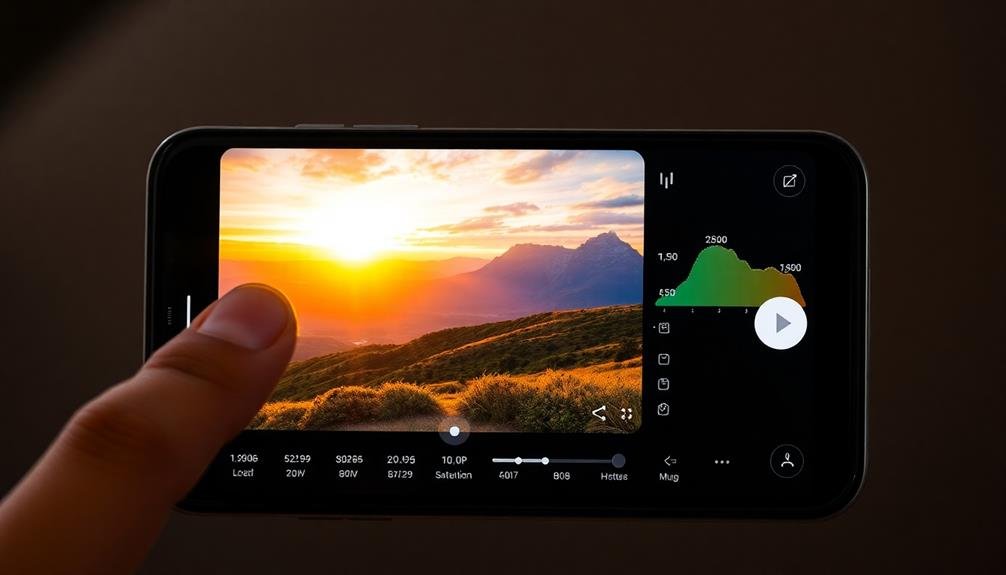
You'll find a wealth of editing apps to enhance your smartphone photos, but choosing the right ones is vital.
We'll explore top-rated options like Snapseed, VSCO, and Lightroom Mobile, which offer professional-grade tools for fine-tuning your images.
These apps provide essential features such as exposure adjustment, color correction, and selective editing, along with advanced techniques like HDR merging and RAW processing that can elevate your mobile photography to new heights.
Top Editing App Recommendations
A photographer's toolbox isn't complete without powerful editing apps to enhance their smartphone shots.
To elevate your mobile photography game, consider these top-rated editing apps:
- Adobe Lightroom Mobile: This versatile app offers professional-grade tools for adjusting exposure, color, and detail. It's perfect for RAW editing and seamless workflow integration.
- Snapseed: Google's free app provides a wide range of advanced editing features, including selective adjustments and healing tools. It's user-friendly and offers precise control over your edits.
- VSCO: Known for its film-inspired filters, VSCO also offers basic editing tools and a vibrant community for inspiration.
- Afterlight: This app combines powerful editing tools with creative overlays, textures, and frames for unique results.
- TouchRetouch: Specializing in object removal, this app is ideal for cleaning up unwanted elements in your photos.
- Enlight: A thorough editing suite that includes artistic tools for creating double exposures and surreal effects.
When choosing an editing app, consider your specific needs and style.
Experiment with different apps to find the ones that best complement your workflow and help you achieve your desired results.
Essential Editing Features Explained
Understanding the essential editing features in smartphone photography apps is essential for achieving professional-looking results. You'll find these core tools in most high-quality editing apps, and mastering them will elevate your images considerably.
Exposure and contrast controls allow you to fine-tune the overall brightness and tonal range of your photo. Adjust highlights and shadows to recover details in bright or dark areas. Color temperature and tint sliders help you correct white balance issues or create specific moods.
Here's a quick guide to essential editing features:
| Feature | Purpose | Tips |
|---|---|---|
| Exposure | Adjust overall brightness | Avoid overexposing highlights |
| Contrast | Enhance tonal range | Use sparingly for natural look |
| Highlights/Shadows | Recover details | Balance carefully for realism |
| White Balance | Correct color cast | Match to lighting conditions |
| Saturation/Vibrance | Enhance color intensity | Don't oversaturate; subtle is better |
Other important tools include sharpening to enhance details, noise reduction for low-light shots, and local adjustments for selective edits. Experiment with these features to develop your unique editing style while maintaining a natural look in your photos.
Advanced Techniques for Pros
To elevate your smartphone photography to a professional level, you'll need to master advanced editing techniques and utilize powerful apps.
Start by exploring apps like Lightroom Mobile, Snapseed, and VSCO. These offer robust tools for fine-tuning exposure, color grading, and adjusting individual color channels.
Learn to use curves and selective adjustments to enhance specific areas of your image without affecting others. Master the art of creating and applying custom presets to maintain a consistent style across your work.
Experiment with advanced features like frequency separation for skin retouching and luminosity masking for precise tonal adjustments.
Don't overlook the power of layering and blending modes. Apps like Photoshop Express and Enlight allow you to combine multiple exposures or add textures to your images.
For landscape photography, try focus stacking to achieve front-to-back sharpness. In portrait work, use apps with AI-powered retouching tools for natural-looking skin smoothing and facial enhancements.
Creative Filters and Effects
Beyond basic editing, creative filters and effects can transform your smartphone photos into unique works of art. Most native camera apps offer a range of built-in filters, but don't limit yourself to these.
Explore third-party apps like VSCO, Snapseed, or Prisma for more advanced options. Experiment with vintage-inspired filters to give your images a nostalgic feel, or try black and white effects for timeless elegance.
Light leak and lens flare overlays can add dreamy atmospheres to your shots. For a more dramatic look, play with high-contrast filters or selective color effects.
Don't forget about textures and grain. Adding subtle film grain can lend authenticity to retro-style photos, while overlaying textures like paper or canvas can create an artistic touch.
Try double exposure effects to blend two images for surreal results.
Perfecting Portrait Photography
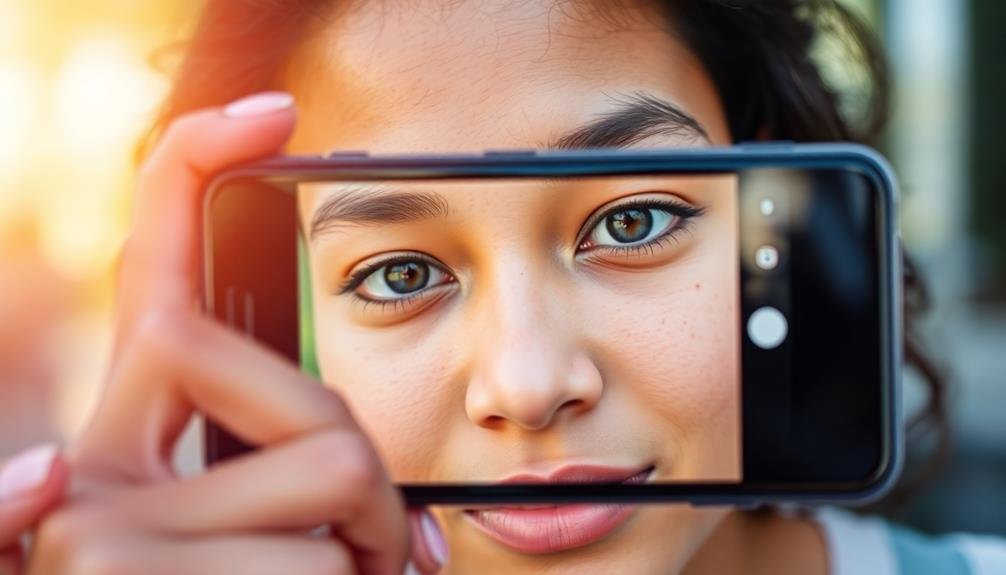
When it comes to portrait photography with your smartphone, mastering three key elements will elevate your shots.
You'll need to understand how to utilize lighting for flattering results, guide your subjects into natural and engaging poses, and employ creative composition techniques to add visual interest.
Lighting for Flattering Portraits
How can you capture stunning portraits with just your smartphone? The key lies in mastering lighting techniques. Natural light is your best friend, so position your subject near a window or in open shade for soft, even illumination. Avoid harsh midday sun, which creates unflattering shadows. Instead, opt for the golden hour just after sunrise or before sunset for warm, flattering tones.
When shooting indoors, face your subject towards the light source to minimize shadows. Use a white reflector or a piece of white cardboard to bounce light back onto the face, filling in any dark areas. For a dramatic effect, try side lighting to create depth and dimension.
Here's a quick guide to different lighting scenarios:
| Lighting Type | Best Time | Effect | Tips |
|---|---|---|---|
| Natural Window | Morning/Afternoon | Soft, even | Subject faces window |
| Golden Hour | Sunrise/Sunset | Warm, glowing | Shoot outdoors |
| Side Lighting | Any time | Dramatic, moody | Use for creative portraits |
| Backlight | Late afternoon | Ethereal, dreamy | Expose for face, not background |
Experiment with these techniques to elevate your smartphone portraits from ordinary to extraordinary. Remember, great lighting can transform even the simplest setting into a professional-looking photoshoot.
Posing Subjects Effectively
Once you've mastered lighting, it's time to focus on posing your subjects effectively. Start by making your subject comfortable. Engage in conversation and give clear, simple instructions. Avoid overly complex poses that might make them feel awkward or stiff.
For a natural look, have your subject slightly angle their body away from the camera. This creates a slimming effect and adds depth to the image. Encourage them to relax their shoulders and keep their chin slightly down to avoid unflattering angles.
Pay attention to hand placement. Hands can look large and distracting if positioned too close to the camera. Instead, have your subject rest their hands on their hips or in their pockets for a relaxed appearance.
For group shots, arrange people at different heights and depths. This creates visual interest and prevents a flat, lined-up look. Encourage interaction between subjects for more dynamic and engaging photos.
Remember to capture a variety of expressions. While smiling portraits are great, candid moments often reveal more personality. Keep shooting and guiding your subject throughout the session to capture their best angles and expressions.
Creative Composition Techniques
Beyond posing, creative composition techniques can elevate your smartphone portraits from good to great. Start by mastering the rule of thirds: imagine your screen divided into a 3×3 grid and place your subject along these lines or at their intersections. This creates a more balanced and visually appealing image.
Experiment with framing your subject using natural elements like doorways, branches, or architectural features. This adds depth and context to your portraits.
Don't be afraid to play with negative space, allowing your subject to occupy only a small portion of the frame for a dramatic effect.
Try unconventional angles to add interest. Shoot from below for a powerful, imposing look, or from above for a more vulnerable, intimate feel. Use leading lines in your environment to draw the viewer's eye towards your subject.
For creative portraits, experiment with reflections in mirrors, puddles, or windows. Double exposures can create surreal, dreamlike images by blending two shots.
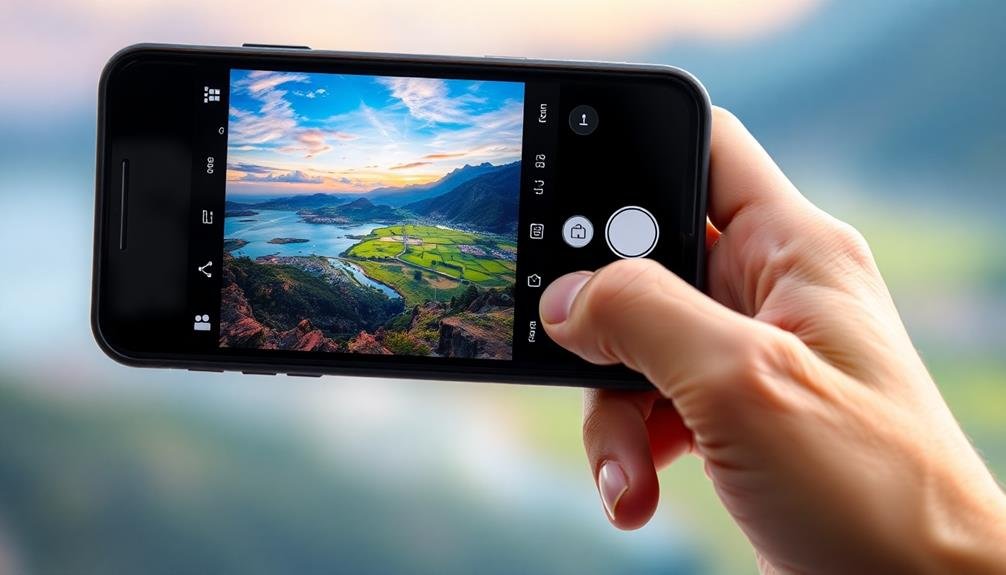
Landscape Photography on Smartphones
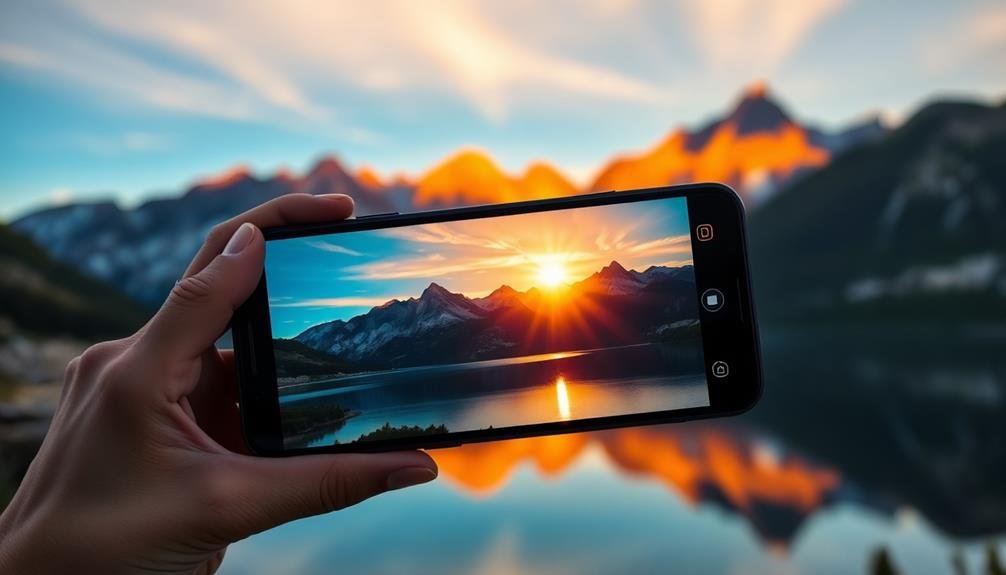
Capturing breathtaking landscapes with your smartphone is easier than ever before. Modern devices boast powerful cameras capable of producing stunning results. To make the most of your smartphone's landscape photography capabilities, focus on proper technique and composition.
Start by finding the right location and timing. Golden hour, just after sunrise or before sunset, offers soft, warm light that enhances landscapes.
Once you've found your spot, use these tips to elevate your shots:
- Enable HDR mode to capture a wider range of tones
- Use the rule of thirds grid for balanced compositions
- Experiment with leading lines to draw the viewer's eye
- Incorporate foreground elements for depth and interest
- Try panorama mode for sweeping vistas
Don't forget to clean your lens before shooting to guarantee crisp, clear images.
If your phone has multiple lenses, try switching between them for different perspectives. Wide-angle lenses are particularly useful for capturing expansive landscapes.
Night and Low-Light Photography Tips
Taking stunning photos in low light or at night can be challenging, but your smartphone is capable of impressive results with the right techniques.
First, stabilize your phone using a tripod or by propping it against a stable surface to reduce camera shake. Enable your phone's night mode or long exposure setting if available. These features allow more light to reach the sensor, resulting in brighter, clearer images.
Experiment with manual controls to adjust ISO and shutter speed. Keep ISO as low as possible to minimize noise, and use longer shutter speeds to capture more light. Focus manually on your subject, as autofocus may struggle in low light.
Avoid using flash, as it can create harsh shadows and unnatural lighting. Instead, seek out available light sources like street lamps or neon signs to add interest to your composition.
For creative effects, try light painting by moving a light source during a long exposure. Clean your lens to prevent unwanted flares and smudges.
Storytelling Through Mobile Photo Series

Your smartphone can be a powerful tool for crafting visual narratives through photo series.
By mastering sequential imagery techniques, you'll capture moments that flow together to tell a compelling story.
Adopt cohesive editing approaches to guarantee your series maintains a consistent look and feel, reinforcing the narrative you're creating.
Developing Visual Narratives
A photographer's ability to tell a story through images elevates their work from simple snapshots to compelling visual narratives. When developing visual narratives with your smartphone, focus on creating a cohesive series of images that work together to convey a message or emotion.
Start by identifying your story's main theme and plan out key shots that'll help you tell it effectively.
To create a strong visual narrative:
- Establish a clear beginning, middle, and end
- Use consistent editing techniques across your series
- Vary your shot types (wide, medium, close-up) for visual interest
- Incorporate visual motifs or recurring elements
- Pay attention to the order and flow of your images
As you shoot, look for opportunities to capture moments that reveal character, setting, or plot progression.
Don't be afraid to experiment with different angles or perspectives to add depth to your narrative. Remember, each image should contribute to the overall story, so be selective in your final choices.
Sequential Imagery Techniques
Sequential imagery techniques allow you to craft compelling visual stories using your smartphone. By capturing a series of related images, you'll create a narrative that engages viewers and conveys a more complete message. Start by planning your story's arc, identifying key moments or elements you want to highlight.
When shooting your series, maintain visual consistency by using similar framing, lighting, and editing styles across all images. This cohesion will help tie your narrative together. Experiment with different perspectives and compositions to add variety and interest to your sequence.
Consider these sequential imagery techniques:
| Technique | Description | Example Use |
|---|---|---|
| Time-lapse | Capture changes over time | Show a flower blooming |
| Before/After | Contrast two states | Highlight a room makeover |
| Step-by-step | Document a process | Illustrate a recipe |
To present your sequential images effectively, try using collage apps or Instagram's carousel feature. These tools allow viewers to swipe through your story, creating an interactive experience. Remember to arrange your images in a logical order that guides the viewer through your narrative, ensuring each photo builds upon the previous one to create a cohesive and engaging visual story.
Cohesive Editing Approaches
Creating a cohesive photo series requires careful attention to editing techniques that unify your images. When you're crafting a visual narrative with your smartphone, consistency in editing is key to tying your photos together.
Start by selecting a cohesive color palette that complements your subject matter and mood. This doesn't mean every image should look identical, but rather that they should harmonize when viewed as a collection.
Consider these elements when editing your series:
- Consistent exposure and contrast levels
- Similar color grading or filter application
- Uniform cropping ratios
- Balanced saturation across images
- Coherent use of vignettes or borders
As you edit, think about the story you're telling. Each image should contribute to the narrative while maintaining a visual connection to the others.
Don't be afraid to experiment with different editing styles, but once you've found a look that works, stick with it throughout the series.
Sharing and Showcasing Your Work

Sharing your smartphone photography is the final step in the creative process. Once you've captured and edited your images, it's time to showcase them to the world. Social media platforms like Instagram, VSCO, and 500px are excellent places to start. These platforms offer different features and audiences, so choose the one that best suits your style and goals.
When sharing, consider creating a consistent theme or aesthetic for your profile. This helps build a recognizable brand and attracts followers who appreciate your unique vision. Use relevant hashtags to increase visibility and engage with other photographers' work to build a community.
Don't limit yourself to digital platforms. Print your best shots and create physical portfolios or photo books. These tangible showcases can be powerful tools for networking or applying for photography opportunities. Consider entering photography contests or submitting your work to online galleries and magazines.
Remember to protect your work by adding watermarks or copyright information to your images. This helps prevent unauthorized use and guarantees you receive proper credit for your creations.
Frequently Asked Questions
How Do I Protect My Smartphone Camera Lens From Scratches and Damage?
To protect your smartphone camera lens, you'll want to use a protective case with a raised edge around the lens. You can also apply a tempered glass lens protector and keep your phone in a separate pocket from keys or coins.
Can I Use External Lenses With My Smartphone Camera?
Yes, you can use external lenses with your smartphone camera. They're easy to attach and can enhance your photos with wide-angle, macro, or telephoto capabilities. Just make sure you choose lenses compatible with your specific phone model.
What's the Best Way to Clean My Smartphone Camera Lens?
To clean your smartphone camera lens, use a microfiber cloth to gently wipe away smudges. For stubborn dirt, lightly dampen the cloth with distilled water. Avoid harsh chemicals or abrasive materials. Don't forget to clean the lens cover too.
How Can I Stabilize My Smartphone for Long Exposure Shots?
To stabilize your smartphone for long exposure shots, you'll want to use a tripod or a stable surface. You can also try propping it against objects, using a smartphone grip, or employing a mini-tripod designed for mobile devices.
Are There Waterproof Cases That Allow Underwater Smartphone Photography?
Yes, you'll find many waterproof cases designed for underwater smartphone photography. They'll protect your device while allowing you to capture stunning underwater shots. Make sure to choose a case that's compatible with your specific phone model.
In Summary
You've now got the tools to elevate your smartphone photography to pro levels. Remember, it's not just about the gear, but how you use it. Keep practicing these techniques, and you'll soon be capturing stunning images with ease. Don't be afraid to experiment and develop your own style. With your smartphone always at hand, you're ready to seize photographic opportunities wherever they arise. Share your creations and inspire others!


Leave a Reply