To elevate your mobile landscape photography, embrace RAW format for maximum detail and editing flexibility. Master exposure settings, keeping ISO low and aperture small for crisp, noise-free images. Utilize HDR techniques to capture wide dynamic ranges, perfect for scenes with bright skies and dark foregrounds. Compose thoughtfully using grid overlays to align key elements and create balanced compositions. When editing, take advantage of RAW files to fine-tune exposure, white balance, and local adjustments for stunning results. These pro tips will transform your mobile landscapes from ordinary to extraordinary. Dive deeper to reveal the full potential of your smartphone camera.
Understand RAW Format Advantages
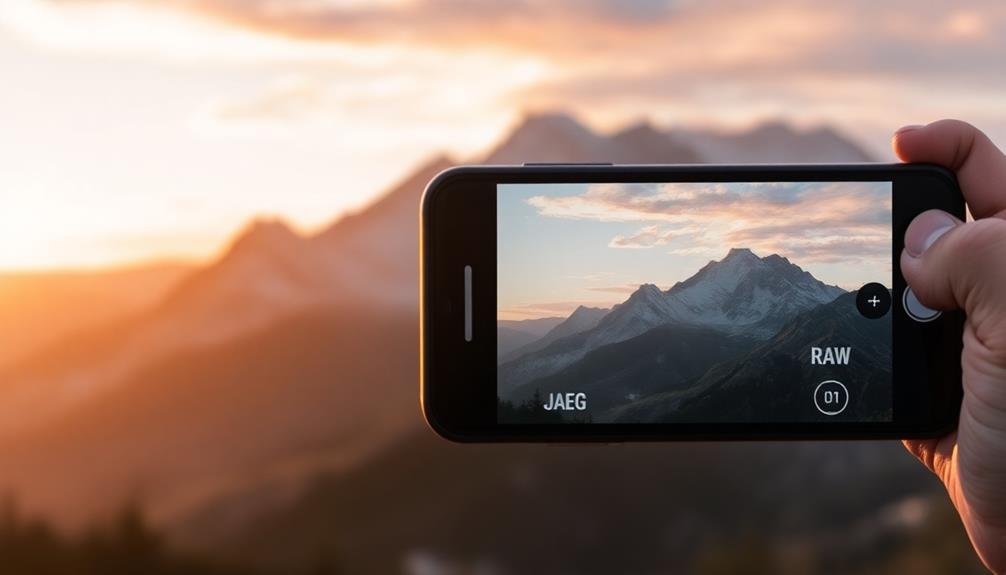
Diving into RAW format reveals its powerful advantages for mobile landscape photography. When you shoot in RAW, you're capturing all the data your phone's camera sensor can detect, unlike JPEG which compresses and discards information. This gives you greater flexibility in post-processing, allowing you to recover details in shadows and highlights that would be lost in JPEG.
RAW files retain more color information, enabling you to fine-tune white balance and color temperature without degrading image quality. You'll have increased dynamic range, essential for capturing the full spectrum of tones in landscapes with bright skies and dark foregrounds.
RAW also preserves more details in textures, making it ideal for capturing intricate elements like rock formations or foliage. While RAW files are larger and require processing, the benefits outweigh these drawbacks for serious landscape photography.
You'll have greater control over noise reduction, sharpening, and exposure adjustments. This format allows you to push your edits further without introducing artifacts or banding. By mastering RAW, you'll elevate your mobile landscape photography, producing images with greater depth, detail, and visual impact.
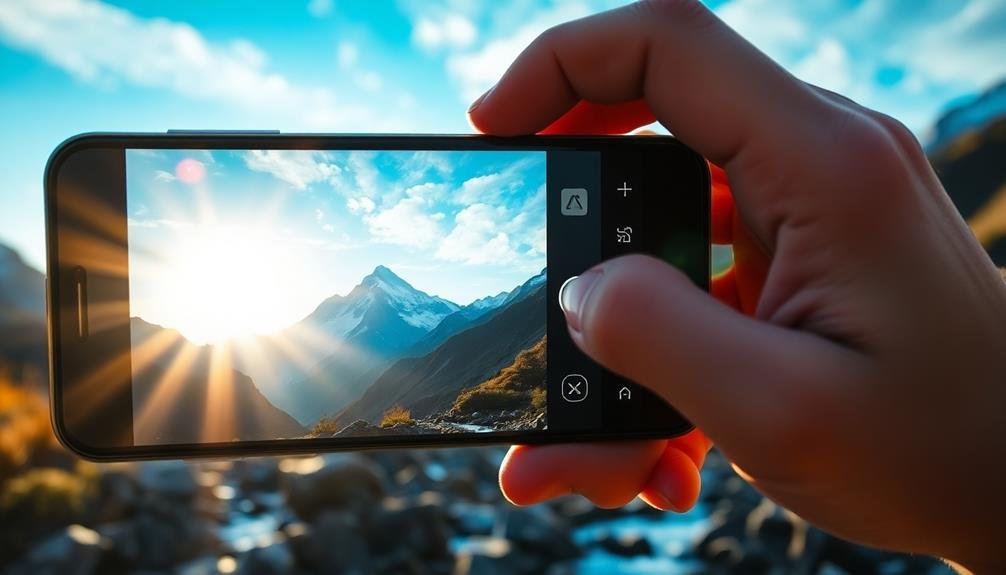
Master Exposure Settings
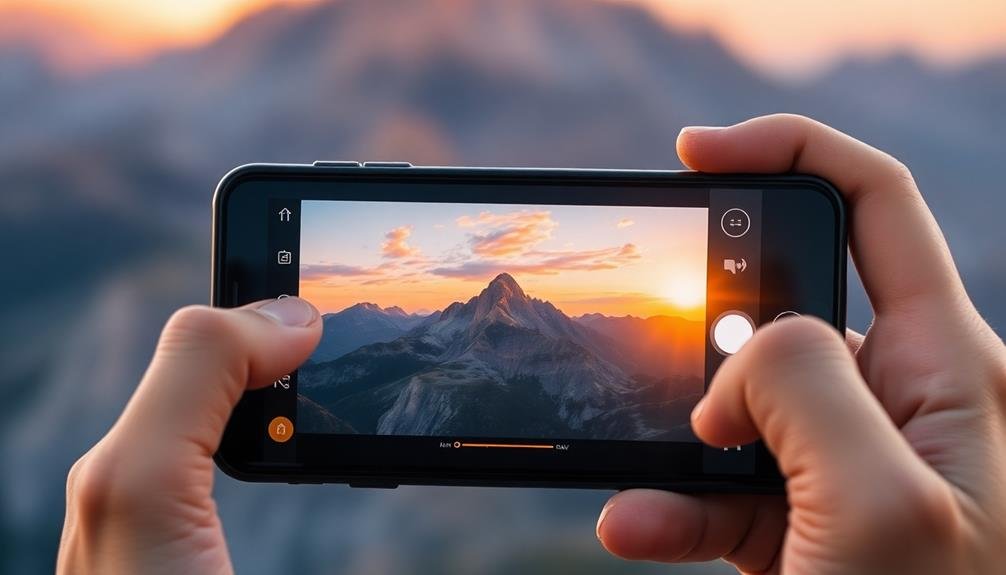
With RAW's advantages in mind, let's turn our attention to mastering exposure settings on your mobile device. Understanding how to control exposure is essential for capturing stunning landscape shots, especially when shooting in RAW. Your phone's camera app likely offers manual controls that allow you to adjust key exposure elements.
To master exposure settings for RAW landscape photography on mobile:
- Adjust ISO: Keep it as low as possible to minimize noise, typically between 50-200 for daylight landscapes.
- Set shutter speed: Use faster speeds for moving elements like water or clouds, slower for low-light scenes.
- Control aperture: If your phone allows, use smaller apertures (higher f-numbers) for greater depth of field.
- Use exposure compensation: Fine-tune brightness without changing other settings.
Start by setting your ISO, then adjust shutter speed to achieve the desired effect. If your phone allows aperture control, set it last.
Use the histogram to check for clipping in highlights or shadows. Remember, RAW files offer greater flexibility in post-processing, so don't be afraid to slightly underexpose to preserve highlight details.
Practice these techniques in various lighting conditions to develop your skills and create breathtaking landscape images with your mobile device.
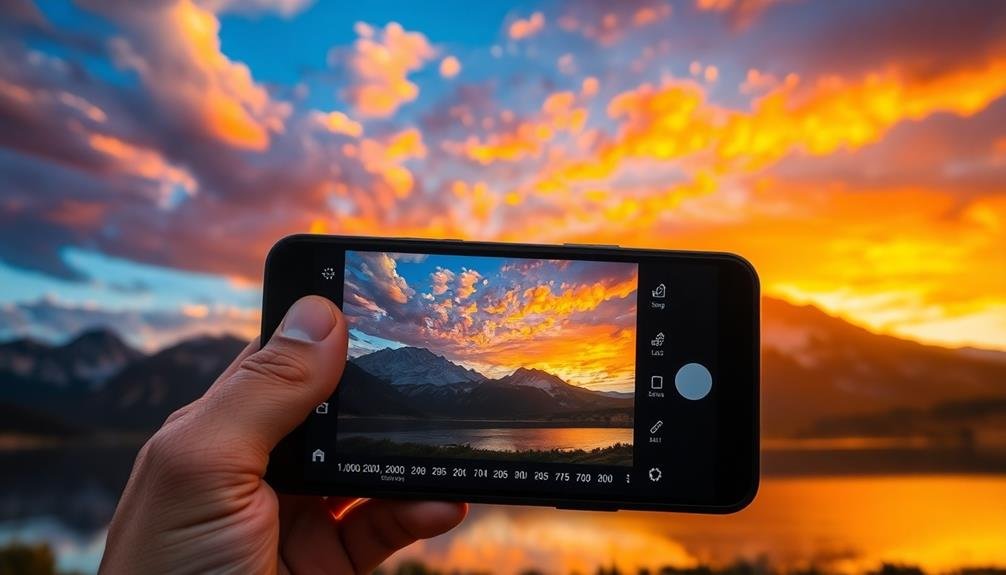
Utilize HDR Techniques
HDR (High Dynamic Range) techniques can greatly enhance your RAW landscape photos on mobile devices. When you're faced with scenes that have a wide range of light and dark areas, HDR can help you capture more detail in both the highlights and shadows.
To utilize HDR effectively, start by enabling your phone's built-in HDR mode. This feature takes multiple exposures and combines them into a single image. For more control, consider using a third-party camera app that offers manual HDR settings. These apps allow you to adjust the number of exposures and their stops of difference.
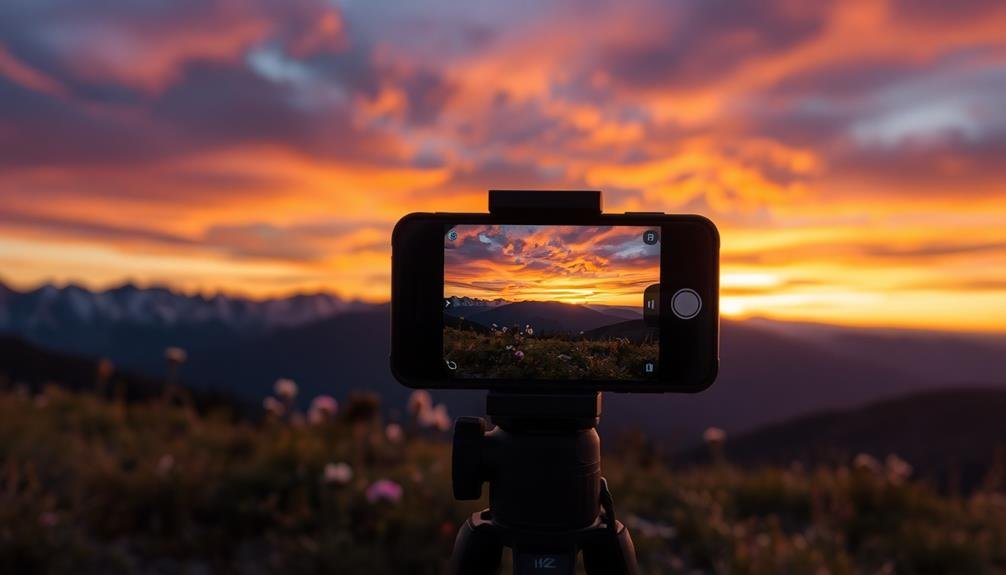
When shooting HDR, keep your phone steady or use a tripod to avoid ghosting or blurring. Be mindful of moving objects in your scene, as they can create unwanted artifacts.
After capturing your HDR images, use RAW editing software to fine-tune the results. Adjust highlights, shadows, and contrast to achieve a balanced, natural-looking image.
Don't overdo HDR effects, as this can lead to unrealistic results. Instead, aim for a subtle enhancement that preserves the scene's natural feel while expanding its dynamic range.
With practice, you'll master HDR techniques and create stunning landscape photos on your mobile device.
Compose With Grid Overlays
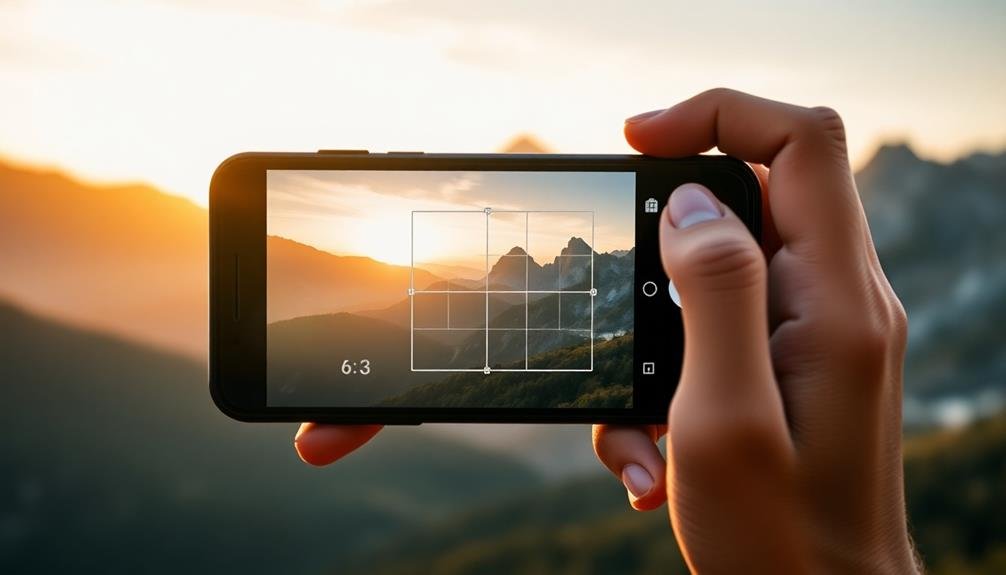
Composition is the backbone of any great landscape photograph, and grid overlays can be your secret weapon for achieving balanced, visually striking images. Most modern smartphone cameras offer grid overlay options, typically in the form of the rule of thirds or golden ratio grids. These guides help you align key elements within your frame, creating a more appealing and professional-looking composition.
To effectively use grid overlays in your mobile landscape photography:
- Enable the grid feature in your camera app settings.
- Place important subjects or focal points along the gridlines or at their intersections.
- Align horizon lines with horizontal gridlines for straight, level shots.
- Use vertical gridlines to create symmetry or balance in your composition.
As you frame your shot, pay attention to how different elements interact with the grid. Experiment with placing your main subject off-center for a more dynamic composition.
The grid can also help you maintain straight vertical lines in architectural elements within your landscape. Remember, while the grid is a useful tool, don't be afraid to break the rules when it feels right. Trust your artistic instincts and use the grid as a guide rather than a strict set of rules.
Edit RAW Files Effectively
Diving into RAW file editing can take your mobile landscape photography to the next level. When working with RAW files, you'll have considerably more data to manipulate, allowing for greater control over your final image.
Start by adjusting the exposure, ensuring you've captured the full range of tones in your landscape. Next, fine-tune the white balance to accurately represent the scene's colors or to create a specific mood.
Pay close attention to the highlights and shadows. RAW files offer more latitude for recovering blown-out skies or bringing out detail in dark areas. Use the clarity slider to enhance texture and definition in elements like rocks or foliage.
Adjust vibrance and saturation carefully to make colors pop without appearing unnatural.
Don't forget about local adjustments. Use brushes or gradients to selectively enhance specific areas of your landscape. This could mean brightening a foreground element or deepening the blue of a sky.
Frequently Asked Questions
How Much Storage Space Do RAW Files Typically Require on a Mobile Device?
You'll find RAW files consume considerably more storage than JPEGs. They typically range from 20-40MB per image, depending on your device's sensor. Consider this when shooting RAW, as you'll quickly fill up your phone's storage.
Can I Shoot RAW Photos in Burst Mode on My Smartphone?
You'll find that most smartphones don't support RAW capture in burst mode. It's typically limited to single-shot mode due to processing demands. However, some high-end models may offer this feature. Check your phone's camera settings to confirm.
Are There Any Mobile-Specific RAW Editing Apps You Recommend?
Yes, there are several great mobile RAW editing apps you can try. Snapseed, Lightroom Mobile, and VSCO are popular choices. They'll let you adjust exposure, colors, and fine details right on your smartphone with impressive results.
How Does Shooting in RAW Affect My Phone's Battery Life?
Shooting in RAW can drain your phone's battery faster due to increased processing and storage demands. You'll notice quicker power consumption, especially during extended photo sessions. It's wise to carry a portable charger for longer shoots.
Can I Share RAW Files Directly From My Phone to Social Media Platforms?
You can't directly share RAW files on most social media platforms. They typically require JPEG or PNG formats. You'll need to convert your RAW files to a compatible format before posting them on social media sites.
In Summary
You've now got the tools to elevate your mobile landscape photography. By shooting in RAW, mastering exposure, using HDR, composing with grids, and editing effectively, you'll capture stunning scenes that rival DSLR shots. Don't be afraid to experiment and push your phone's capabilities. Remember, great landscape photography isn't about the gear, it's about your vision and technique. So get out there, practice these tips, and watch your mobile landscapes transform.
Leave a Reply