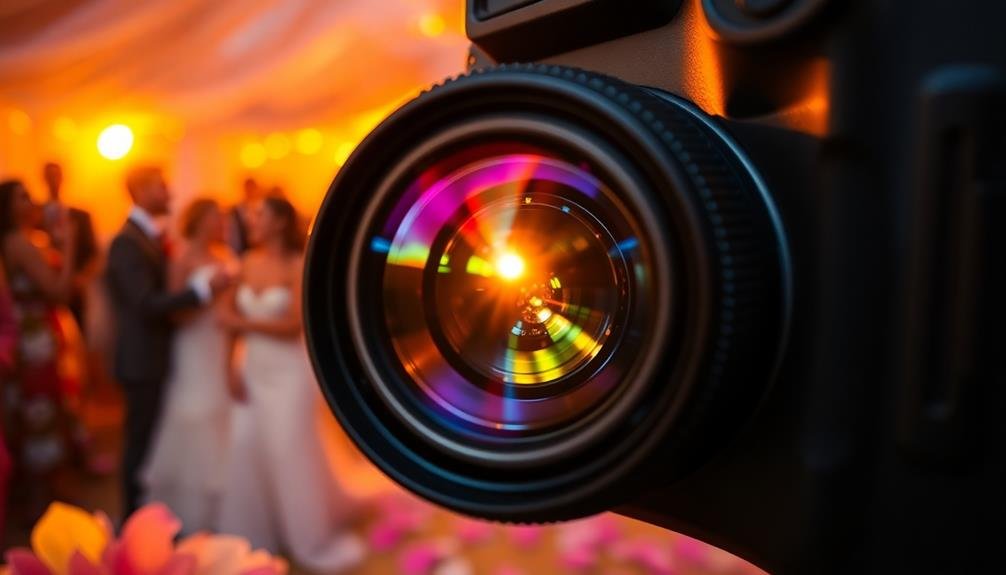
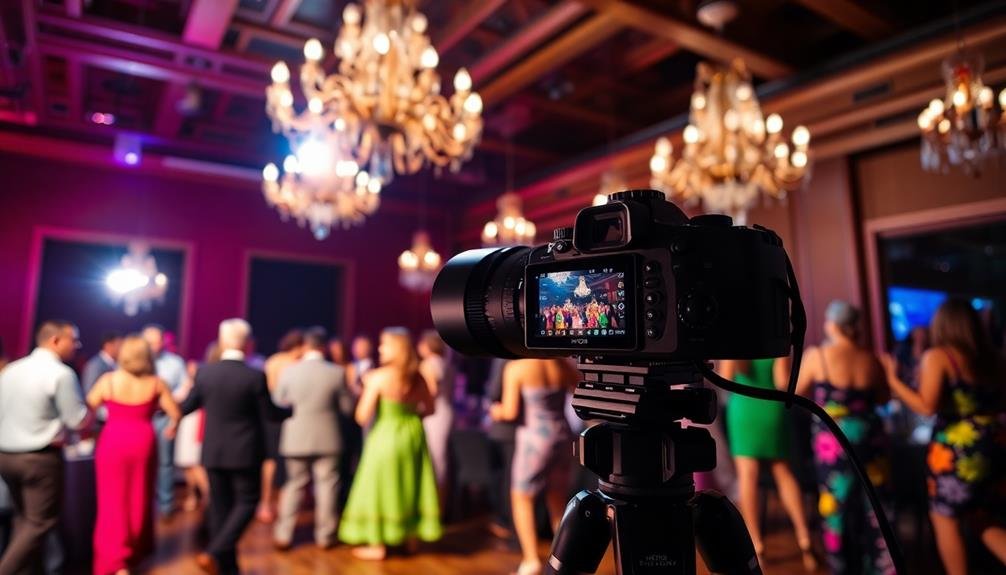
To capture memorable event shots in RAW, start by enabling RAW capture mode on your camera. Master manual exposure settings, focusing on the exposure triangle. Optimize white balance for accurate colors, and use HDR techniques in challenging lighting. Focus on candid moments and genuine emotions, leveraging available light sources for natural results. Experiment with composition techniques to create visually appealing images. After the event, edit your RAW files to bring out their full potential. Don't forget to back up and organize your images securely. By implementing these tips, you'll elevate your event photography to new heights. Discover how these techniques can transform your shots into unforgettable memories.
Enable RAW Capture Mode
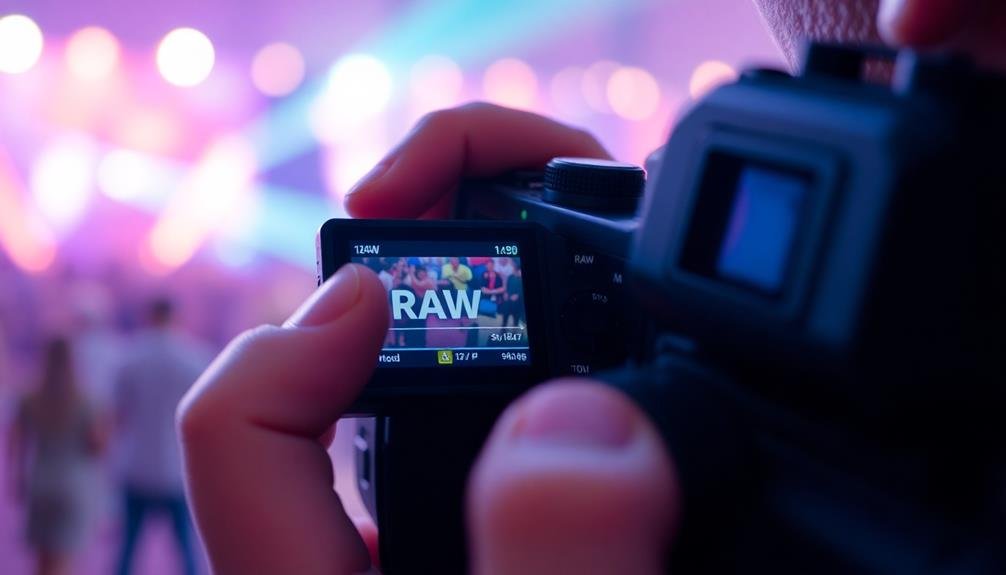
To begin your journey into RAW photography, you'll need to enable RAW capture mode on your camera. This setting allows you to capture uncompressed, unprocessed image data directly from your camera's sensor. Look for the image quality option in your camera's menu system, typically found under the shooting or setup menu. Select RAW or RAW+JPEG if you want both file formats.
Once enabled, you'll notice larger file sizes and potentially slower shooting speeds, but the benefits far outweigh these minor drawbacks. RAW files contain considerably more data than JPEGs, giving you greater flexibility in post-processing. You'll have more control over white balance, exposure, and color adjustments without sacrificing image quality.
Keep in mind that RAW files require specialized software for viewing and editing. Most camera manufacturers provide their own RAW processing software, but you can also use popular options like Adobe Lightroom or Capture One.
These programs allow you to make non-destructive edits to your RAW files, preserving the original data while giving you the freedom to experiment with different processing techniques. By shooting in RAW, you'll capture more detail and have greater creative control over your event photographs.
Master Manual Exposure Settings
To master manual exposure settings, you'll need to grasp the Exposure Triangle—the relationship between aperture, shutter speed, and ISO.
You'll learn how these three elements work together to control the amount of light entering your camera and create the desired exposure.
As you practice adjusting these settings for various lighting conditions, you'll gain greater control over your RAW images and develop a deeper understanding of how to capture the perfect shot.
Understanding the Exposure Triangle
Have you ever wondered how professional photographers achieve perfect exposure in their RAW images? The secret lies in understanding the exposure triangle, which consists of three key elements: aperture, shutter speed, and ISO. These components work together to control the amount of light that reaches your camera's sensor.
Aperture determines the size of the lens opening, affecting both light intake and depth of field. A wider aperture (smaller f-number) allows more light in and creates a shallow depth of field, while a narrower aperture (larger f-number) reduces light and increases depth of field.
Shutter speed controls how long the sensor is exposed to light. Faster speeds freeze motion but let in less light, while slower speeds allow more light but may result in motion blur.
ISO measures your camera's sensitivity to light. Higher ISO values brighten images in low-light situations but can introduce noise.
To master the exposure triangle, experiment with different combinations of these settings. Start by choosing your priority (depth of field, motion, or light sensitivity) and adjust the other two accordingly.
With practice, you'll intuitively balance these elements to capture stunning RAW images in any lighting condition.
Adjusting for Lighting Conditions
Now that you've grasped the exposure triangle, it's time to apply this knowledge to different lighting conditions. When shooting events, you'll encounter various lighting scenarios that require quick adjustments to your manual settings.
For bright outdoor settings, start with a lower ISO (100-400) to minimize noise. Use a faster shutter speed (1/250 or higher) to freeze motion and prevent overexposure. Adjust your aperture for desired depth of field, typically f/8-f/11 for group shots.
In dimly lit indoor venues, increase your ISO (800-3200) to capture more light. Slow down your shutter speed (1/60-1/200) to allow more light in, but be cautious of motion blur. Open up your aperture (f/2.8-f/5.6) for better light gathering and subject isolation.
For mixed lighting situations, like outdoor events at sunset, consider using spot metering to expose for your subject accurately. Balance your settings to maintain detail in both highlights and shadows.
Don't hesitate to adjust your white balance to compensate for different light sources.
Optimize White Balance
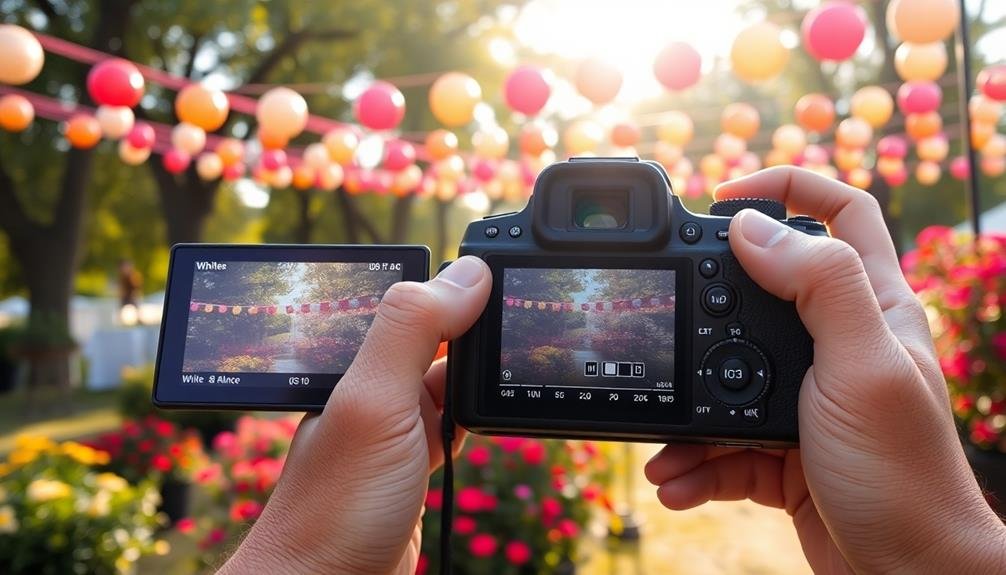
When shooting RAW, you'll have more flexibility with white balance, but it's still essential to get it right in-camera.
You can choose between preset white balance options or create custom settings using a gray card for precise color accuracy.
While you can adjust white balance during post-processing, starting with an accurate base will save you time and effort in editing.
Preset vs. Custom Settings
Optimizing white balance in RAW photography often comes down to choosing between preset and custom settings. While presets offer convenience, custom settings provide more control over your images' color accuracy.
Presets are built-in white balance options like "daylight," "cloudy," or "tungsten." They're quick and easy to use, especially when you're shooting in familiar lighting conditions. However, they may not always capture the exact color temperature of your scene.
Custom white balance settings allow you to fine-tune your camera's color interpretation. You can use a gray card or a white object in your scene to set a reference point. This method guarantees more accurate colors, particularly in mixed lighting situations or when dealing with unusual light sources.
When shooting RAW, you have the flexibility to adjust white balance during post-processing without losing image quality. This means you can experiment with different settings later. However, getting it right in-camera can save time in editing and help you visualize the final image while shooting.
Consider using presets as a starting point, then fine-tune with custom settings if needed. This approach balances efficiency with precision, helping you capture memorable event shots with accurate colors.
Using Gray Cards
Gray cards play a key role in achieving accurate white balance for RAW photography. They're simple yet powerful tools that can greatly improve the quality of your event shots.
When you're shooting in RAW, you'll have more flexibility to adjust white balance in post-processing, but using a gray card can save you time and guarantee consistency across your images.
To use a gray card, place it in your scene and take a test shot. Make sure it's evenly lit and fills a considerable portion of the frame. You can then use this reference image to set a custom white balance in your camera or during post-processing.
This method is particularly useful in challenging lighting situations, such as mixed lighting or unusual color casts.
Remember to take a new gray card shot whenever the lighting conditions change. For events with multiple locations or varying light throughout the day, this practice will help maintain color accuracy across your entire shoot.
Adjusting in Post-Processing
Three key steps are essential when adjusting white balance in post-processing for RAW images. First, select a neutral reference point in your image. This could be a gray card if you used one during the shoot, or a neutral area like a white wall or cloudy sky. Second, use your editing software's white balance tool to click on this neutral point, automatically adjusting the overall color temperature. Finally, fine-tune the results using sliders for temperature and tint.
When working with RAW files, you'll have much more flexibility in adjusting white balance without losing image quality. Don't be afraid to experiment with different settings to achieve the desired mood or atmosphere in your photos. Remember that white balance isn't just about technical accuracy; it's also a creative tool for enhancing the emotional impact of your images.
| White Balance Preset | Color Temperature (K) | Common Use Case | Effect |
|---|---|---|---|
| Tungsten | 3200 | Indoor lighting | Cooler, bluer tones |
| Daylight | 5500 | Outdoor, sunny | Neutral, balanced |
| Cloudy | 6500 | Overcast skies | Warmer, golden hues |
| Shade | 7500 | Outdoor shadows | Very warm, orange cast |
Utilize HDR for Challenging Lighting
When faced with scenes that have extreme contrasts between light and dark areas, HDR (High Dynamic Range) photography can be your secret weapon. This technique involves capturing multiple exposures of the same scene and blending them together to create a single image with a wider range of tones.
To utilize HDR effectively, start by shooting in RAW format and using your camera's auto-bracketing feature. Take at least three shots: one underexposed, one properly exposed, and one overexposed. For best results, use a tripod to guarantee perfect alignment between shots.
In post-processing, use specialized HDR software or your preferred editing program to merge the exposures. Adjust the tone mapping settings to achieve a natural-looking result, avoiding the overly processed "HDR look" that can appear artificial.
HDR is particularly useful for event photography in challenging lighting situations, such as outdoor weddings with bright skies and shaded guests, or indoor receptions with dark corners and bright windows.
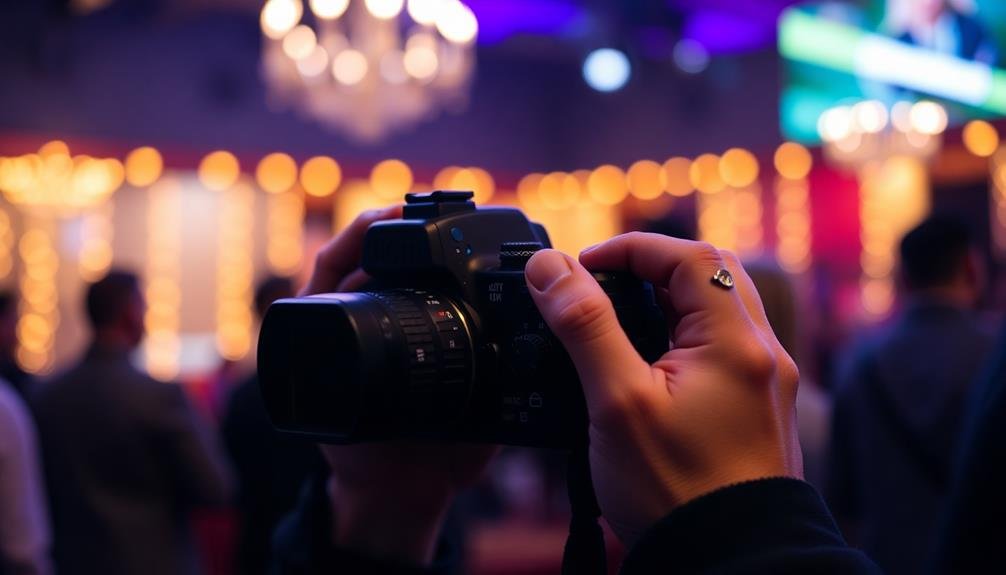
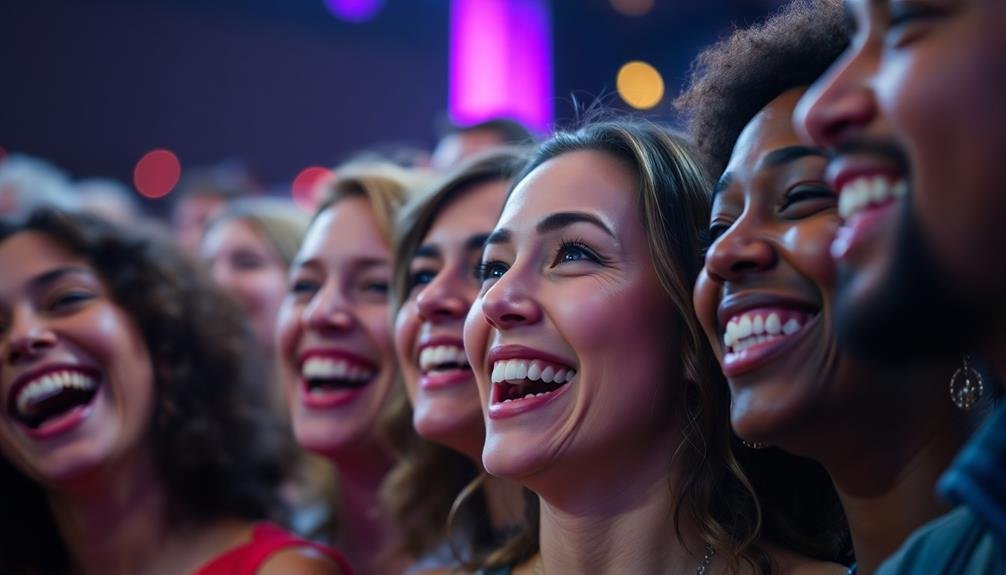
Focus on Candid Moments
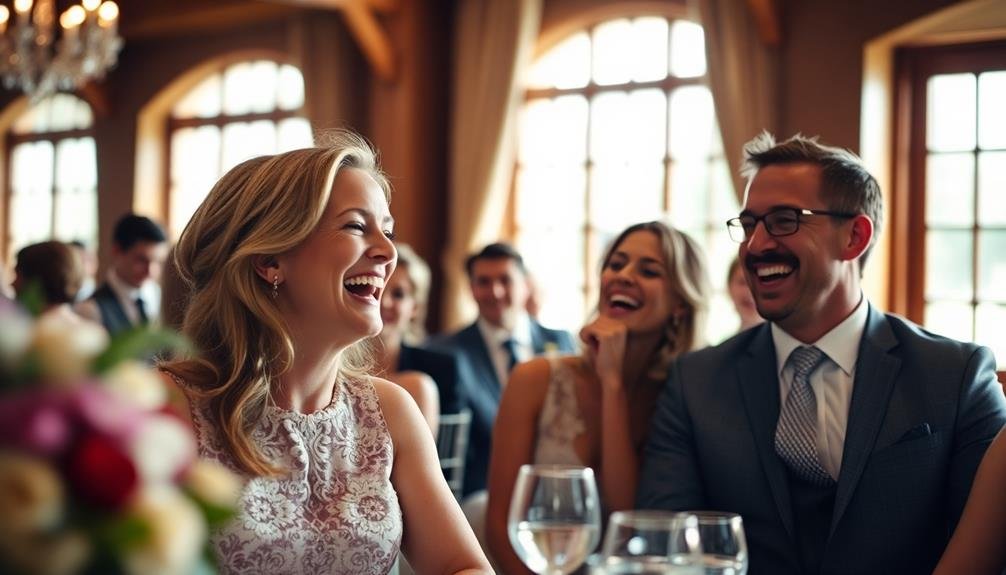
Candid photography allows you to capture authentic moments and genuine expressions.
To excel at this, you'll need to anticipate key interactions and be ready to snap the shutter at just the right time.
Use unobtrusive techniques, like shooting from a distance or blending into the background, to guarantee your subjects remain natural and unaware of the camera.
Anticipate Key Interactions
Intuition plays an essential role in capturing authentic moments. As an event photographer, you'll need to develop a keen sense of anticipation to capture key interactions.
Watch for subtle cues in body language and facial expressions that hint at upcoming moments. Pay attention to the event's flow and schedule, identifying potential photo opportunities in advance.
Position yourself strategically, considering lighting and composition, to be ready when these interactions unfold. Look for connections between people, such as shared laughter, intimate conversations, or emotional exchanges.
Don't forget to observe the event's periphery, where candid moments often occur away from the main action. Listen actively to conversations around you, as they may indicate upcoming photo-worthy interactions.
Be prepared to quickly adjust your camera settings to accommodate changing situations. Practice your timing to capture the peak of expressions and gestures.
Capture Genuine Emotions
Genuine emotions form the heart of compelling event photography. To capture these authentic moments, you'll need to blend into the background and let scenes unfold naturally. Don't be afraid to snap photos when subjects aren't posing or looking directly at the camera. Often, the most powerful images come from candid interactions between people.
Keep your camera ready at all times, as genuine emotions can surface unexpectedly. Look for:
- Laughter and joy during casual conversations
- Tears of happiness during emotional speeches
- Subtle expressions of love between couples or family members
Focus on capturing a range of emotions throughout the event. While big smiles are great, don't overlook the quieter, more reflective moments. These can add depth and contrast to your overall collection of images.
Use a longer lens to maintain distance and avoid disrupting natural interactions. This allows you to capture genuine expressions without making subjects self-conscious. Pay attention to body language and facial expressions, as these often reveal true emotions better than posed shots.
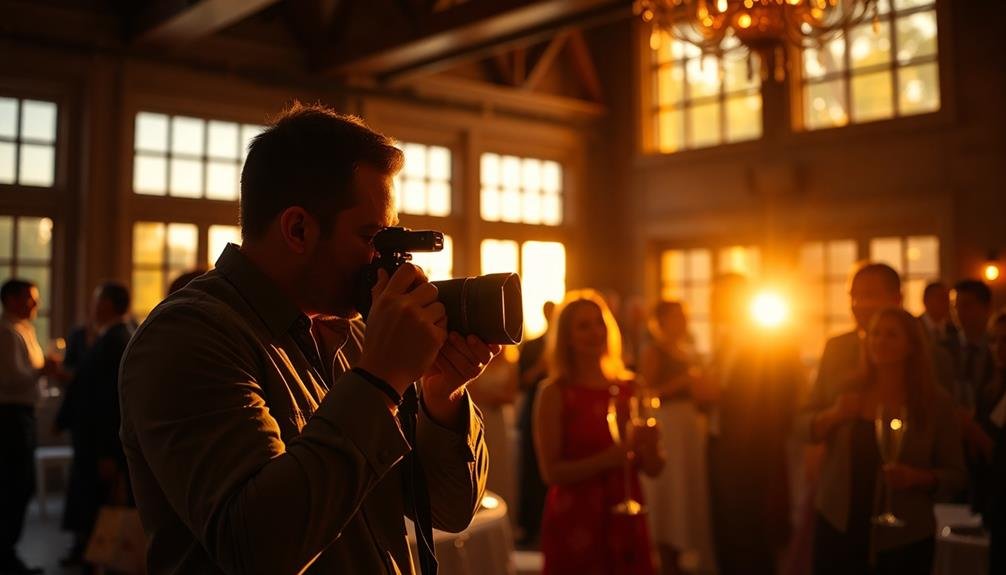
Use Unobtrusive Techniques
In line with capturing genuine emotions, unobtrusive techniques are essential for documenting candid moments. To achieve this, you'll need to blend into the background and avoid drawing attention to yourself.
Start by using a longer lens, which allows you to maintain distance while still capturing intimate shots. Opt for a 70-200mm zoom lens for versatility in various event settings.
Turn off your camera's sound and disable the flash to remain inconspicuous. Instead, rely on natural light or adjust your camera settings to work in low-light conditions.
Position yourself strategically in areas where people naturally gather, such as near the bar or dance floor. This way, you'll be ready to capture spontaneous interactions without interrupting the flow of the event.
Consider using a smaller, mirrorless camera that's less intimidating than a bulky DSLR. Practice shooting from the hip or using your camera's tilting screen to frame shots without raising the camera to your eye.
Finally, be patient and observant. Anticipate moments before they happen by watching for subtle cues in body language and facial expressions.
These unobtrusive techniques will help you capture authentic, candid moments that truly reflect the event's atmosphere.
Experiment With Composition Techniques
Experimenting with composition techniques can elevate your RAW photography from good to exceptional.
Don't be afraid to try new approaches and break traditional rules to capture unique and striking images. Start by mastering the rule of thirds, which involves dividing your frame into a 3×3 grid and placing key elements along the lines or at their intersections. This creates a balanced and visually appealing composition.
Next, explore leading lines to guide the viewer's eye through your image. Look for natural or man-made lines in your environment that can draw attention to your subject.
You can also play with symmetry and patterns to create visually striking compositions.
Consider these additional composition techniques to enhance your RAW event photography:
- Use negative space to isolate your subject and create a sense of drama
- Experiment with different angles and perspectives, such as shooting from low or high vantage points
- Incorporate framing elements like doorways, windows, or foliage to add depth and context
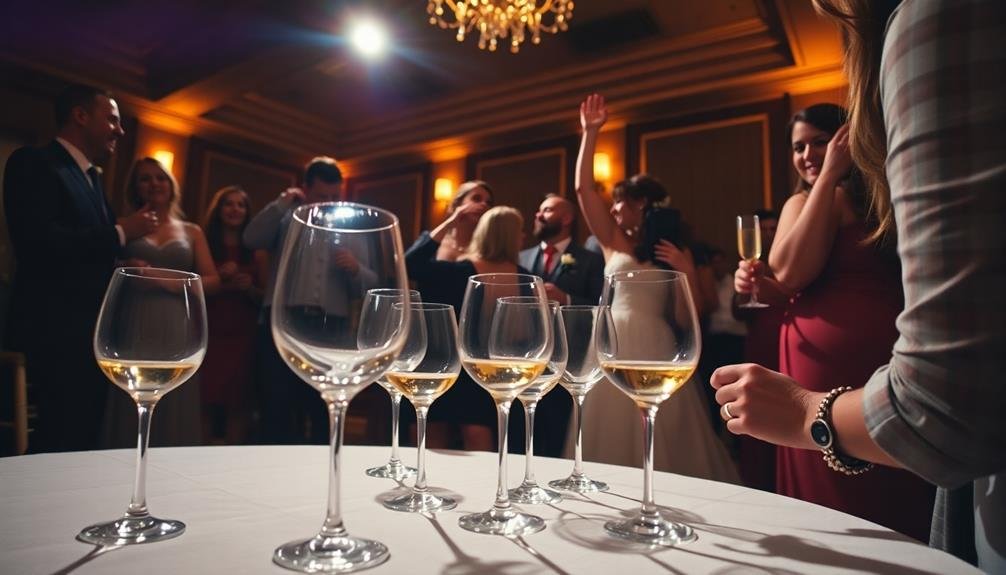
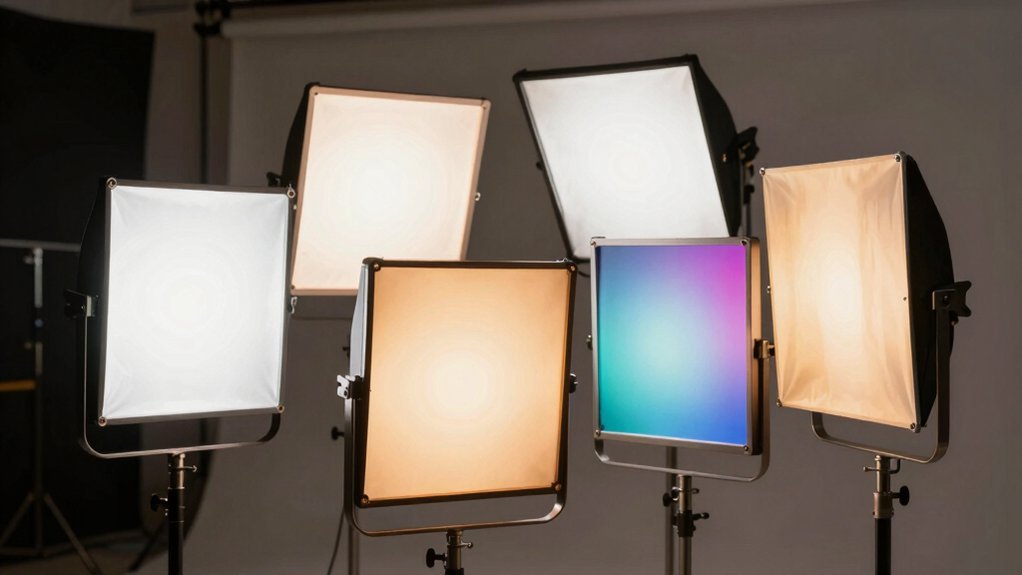
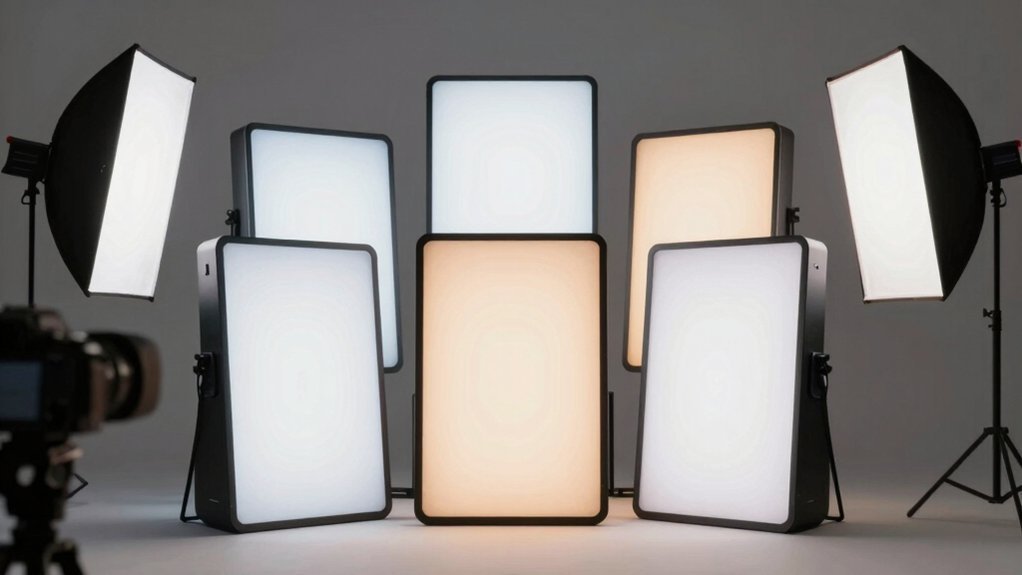
Leverage Available Light Sources
When shooting RAW, mastering available light sources can transform your images. You'll have more flexibility in post-processing, but it's essential to capture the best possible light in-camera. Look for natural light sources like windows, doorways, or outdoor areas. These often provide soft, flattering light that's ideal for portraits and candid shots.
Don't shy away from artificial lighting. Ambient room lights, decorative fixtures, and even smartphone flashlights can add interesting elements to your photos. Experiment with different angles and distances to find the most flattering light for your subjects.
Here's a quick guide to common light sources and their effects:
| Light Source | Characteristics | Best For | Challenges | Tips |
|---|---|---|---|---|
| Window Light | Soft, diffused | Portraits | Varies with time | Use reflectors |
| Overhead Lights | Harsh, unflattering | Dramatic shots | Harsh shadows | Diffuse with fabric |
| Candles | Warm, intimate | Close-ups | Low light | Increase ISO |
| Neon Signs | Colorful, vibrant | Street photography | Color cast | White balance adjustment |
| Fairy Lights | Whimsical, bokeh | Backgrounds | Limited reach | Use as accent light |
Capture Emotions and Expressions
Capturing genuine emotions and expressions is the heart of compelling RAW photography. To achieve this, you'll need to develop a keen eye for candid moments and master the art of putting your subjects at ease. Start by observing people's interactions and anticipating emotional responses. Be ready to snap the shutter at a moment's notice, as authentic expressions often last only a split second.
To enhance your ability to capture emotions:
- Practice active listening and engage with your subjects to build rapport.
- Use a longer focal length lens to maintain distance and avoid influencing the scene.
- Experiment with burst mode to capture a range of expressions in quick succession.
Remember that RAW files offer greater flexibility in post-processing, allowing you to fine-tune the mood and emphasize emotional elements. Pay attention to the eyes, as they're often the windows to a person's feelings.
Don't be afraid to get close and fill the frame with your subject's face. By focusing on genuine emotions and expressions, you'll create powerful, evocative images that resonate with viewers and tell compelling stories through your RAW photography.
Edit RAW Files Post-Event
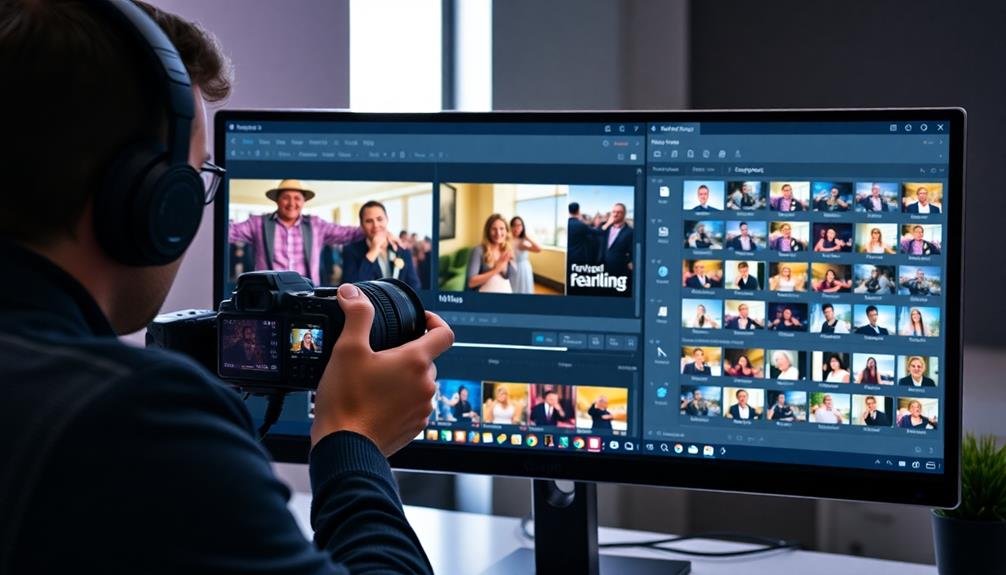
In light of your RAW photography session, it's time to plunge into post-processing. RAW files offer unparalleled flexibility, allowing you to fine-tune every aspect of your images.
Start by importing your files into a professional editing software like Adobe Lightroom or Capture One.
Begin with white balance adjustments, as RAW files retain all color information. Next, tackle exposure corrections, recovering details from shadows and highlights that might be lost in JPEG format. Pay attention to the histogram to guarantee a balanced tonal range.
Adjust contrast, clarity, and vibrance to enhance the overall impact of your images. Use selective editing tools to address specific areas, such as brightening faces or darkening distracting backgrounds.
Don't shy away from local adjustments; they can greatly improve your photos. Noise reduction and sharpening are vital steps, especially for low-light event shots. Apply these adjustments judiciously to maintain image quality.
Backup and Organize RAW Images
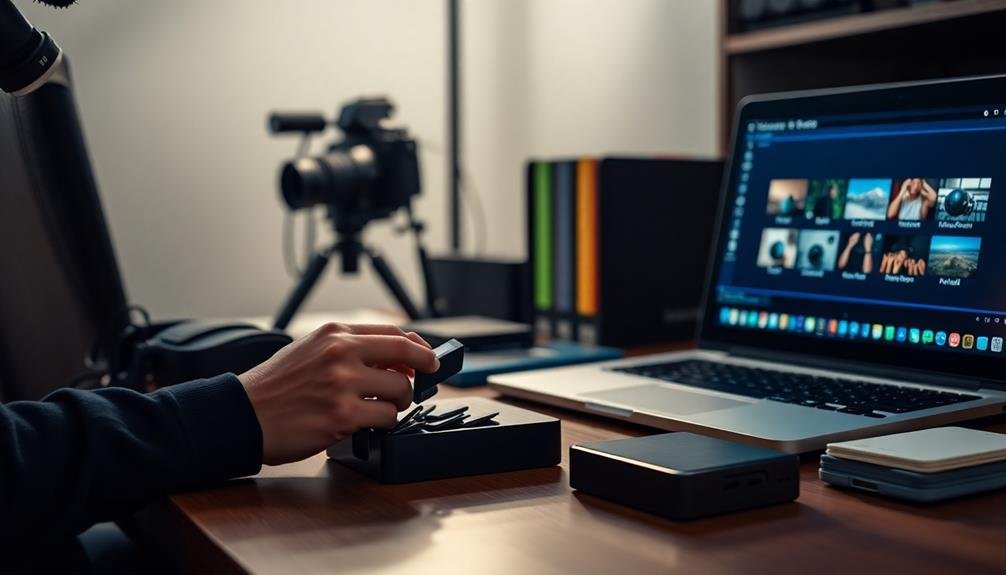
Backing up and organizing your RAW images is essential for preserving your work and maintaining an efficient workflow. After capturing memorable event shots, create a system to protect your files and make them easily accessible.
Start by transferring your RAW images to a dedicated hard drive or cloud storage service immediately after the event. Use a consistent naming convention for your folders, including the date and event name, to quickly locate specific shoots.
Implement a robust backup strategy to safeguard your valuable RAW files:
- Use the 3-2-1 backup method: three copies, two different storage types, one off-site
- Set up automatic backups to run regularly
- Test your backups periodically to confirm they're working correctly
When organizing your RAW images, use metadata and keywords to make searching easier. Add relevant tags, such as location, client name, or specific details about the event.
Consider using photo management software like Adobe Lightroom or Capture One to streamline your organization process. These tools allow you to create collections, apply ratings, and filter your images based on various criteria.
Frequently Asked Questions
What Camera Equipment Is Best for RAW Event Photography?
You'll want a full-frame DSLR or mirrorless camera with good low-light performance. Pair it with fast prime lenses (f/1.8 or wider) and a versatile zoom. Don't forget extra batteries, memory cards, and a sturdy flash.
How Much Storage Space Do I Need for RAW Files?
You'll need substantial storage for RAW files. They're typically 20-30MB each, so for a day's shoot, you're looking at 30-50GB. It's wise to have at least 1TB of space available for events.
Can I Shoot RAW and JPEG Simultaneously?
Yes, you can shoot RAW and JPEG simultaneously on most modern cameras. It's a useful feature that gives you both file types for each shot. You'll have the flexibility of RAW and the convenience of JPEG.
What Software Is Recommended for Processing RAW Event Photos?
You'll find Adobe Lightroom and Capture One are top choices for processing RAW event photos. They offer powerful editing tools and efficient workflows. DxO PhotoLab and ON1 Photo RAW are also great options to reflect upon for your editing needs.
How Do I Handle Color Management When Working With RAW Files?
You'll want to set up a color-managed workflow. Calibrate your monitor, use a consistent color space like Adobe RGB, and apply camera profiles. Always soft-proof before printing to guarantee accurate color reproduction across devices.
In Summary
You've now got the tools to elevate your event photography to the next level. By shooting in RAW, mastering manual settings, and focusing on genuine moments, you'll capture stunning images that truly reflect the event's atmosphere. Don't forget to leverage available light, experiment with HDR, and pay attention to emotions. After the event, take time to edit your RAW files carefully. With these techniques, you'll create memorable shots that'll impress your clients and preserve special moments for years to come.
Leave a Reply