Car mounts need stabilization for better photos because vehicle vibrations and movements can greatly impact image quality. Without proper stabilization, you'll often end up with blurry, shaky images due to camera shake caused by the car's motion. Even minor vibrations can result in unwanted motion blur, especially in low-light conditions or when using slower shutter speeds. Stabilized mounts help reduce these effects, allowing you to capture sharper, clearer photos while on the move. They also protect your camera equipment from potential damage caused by constant vibrations. By understanding the importance of stabilization, you'll be better equipped to capture professional-looking shots from your vehicle.
Understanding Car Mount Photography Challenges
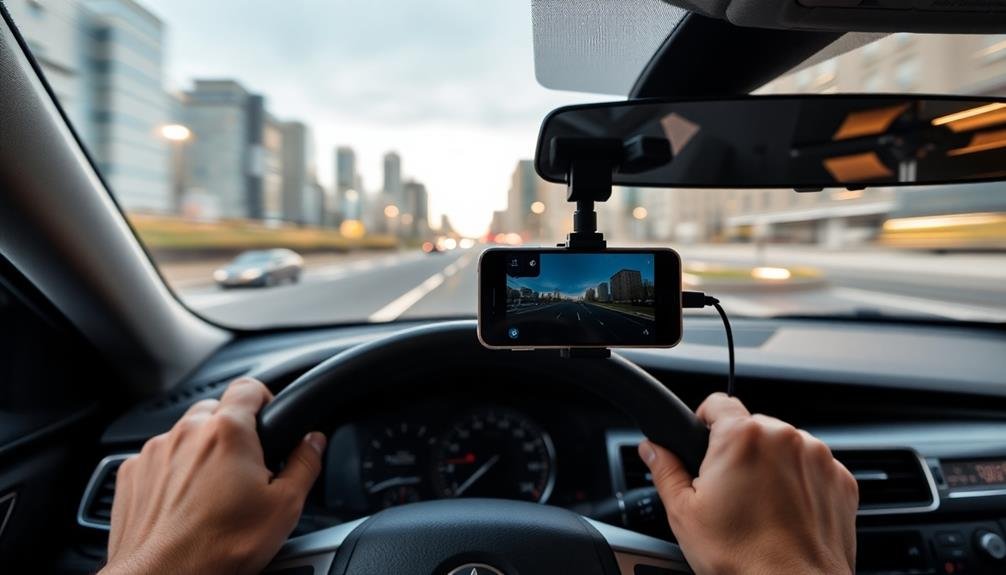
While car mount photography offers unique perspectives, it comes with its own set of challenges. You'll quickly discover that capturing sharp, clear images from a moving vehicle isn't as straightforward as it seems. The constant vibration and motion of the car can lead to blurry, unusable shots if you're not prepared.
One of the primary hurdles you'll face is camera shake. Even the smoothest roads can transmit subtle vibrations to your camera, causing unwanted movement during exposure. This is particularly problematic in low-light situations or when using slower shutter speeds.
Additionally, sudden bumps or turns can jolt your camera, ruining carefully composed shots. Wind resistance is another factor you'll need to grapple with, especially at higher speeds. It can cause your camera to wobble or shift position, affecting both framing and focus.
You'll also need to take into account the limitations of your car mount itself. Some mounts may not be sturdy enough to withstand the rigors of road travel, potentially leading to equipment damage or loss. Understanding these challenges is vital for developing effective stabilization strategies and capturing stunning car-mounted photos.
Vibration Effects on Image Quality
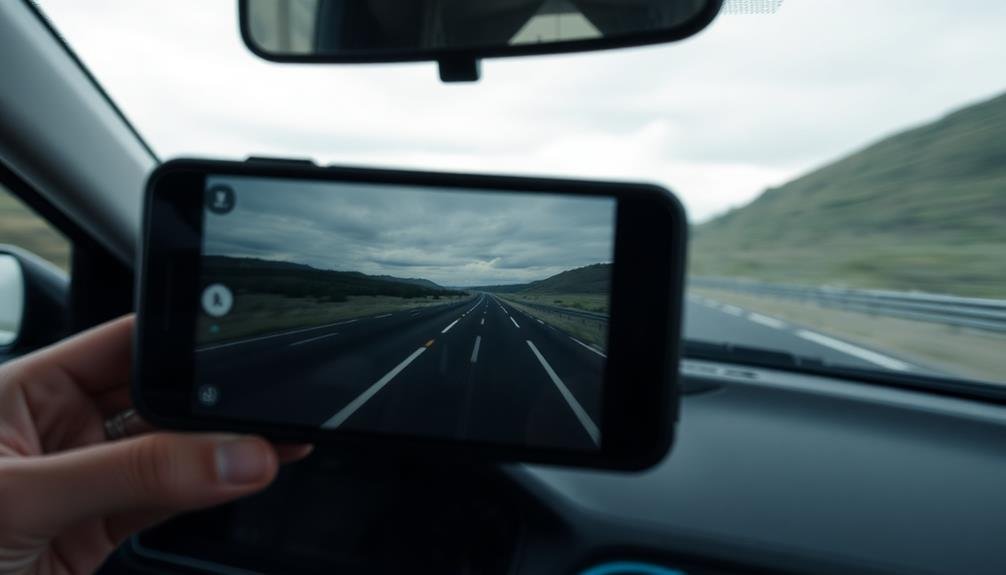
Vibrations in car-mounted photography can greatly impact your image quality, often resulting in blurred images that lack sharpness and detail.
You'll find that even minor vehicle movements can cause your camera to shake, leading to unwanted motion blur in your shots.
Additionally, prolonged exposure to intense vibrations may potentially damage your camera's sensitive sensor, affecting its long-term performance and image quality.
Blurred Images
Frequently, car-mounted cameras produce blurred images due to vibrations from the vehicle's movement and engine. These vibrations can cause your camera's sensor to move during exposure, resulting in a loss of sharpness and detail.
Even if you're using a fast shutter speed, the constant micro-movements can still affect image quality, especially in low light conditions.
You'll notice that blurred images are particularly problematic when you're driving on rough roads or at higher speeds. The faster you're moving, the more likely you're to encounter motion blur. This effect is exacerbated when using longer focal lengths, as any movement is magnified.
To combat this issue, you'll need to take into account stabilization techniques. Image stabilization technology in your camera or lens can help, but it may not be enough to counteract the intense vibrations of a moving vehicle.
That's where a specialized car mount with built-in stabilization comes in handy. These mounts use various mechanisms, such as shock absorbers or gyroscopic stabilizers, to isolate your camera from the vehicle's vibrations, greatly reducing the chances of capturing blurred images.
Camera Sensor Damage
Beyond blurred images, constant vibrations from car-mounted setups can potentially damage your camera's sensor over time. The delicate components inside your camera aren't designed to withstand prolonged exposure to intense vibrations. When you mount your camera on a car without proper stabilization, you're subjecting it to these harmful forces.
Your camera's sensor is particularly vulnerable. Repeated shaking can loosen its mounting, affecting its alignment and causing focus issues. In extreme cases, it might even detach completely. You'll also risk damaging the sensor's microlenses, which are essential for light gathering and image quality. These tiny lenses can become misaligned or even crack under constant vibration.
Moreover, vibrations can impact other camera parts. Your lens elements might shift, leading to inconsistent focusing. The camera's internal connections could loosen, causing electronic malfunctions. Even if you don't see immediate effects, cumulative damage can shorten your camera's lifespan.
To protect your equipment, invest in a quality stabilized car mount. It'll absorb vibrations, safeguarding your camera's sensor and other components. You'll not only improve your image quality but also extend the life of your valuable gear.
Stabilization Techniques for Car Mounts
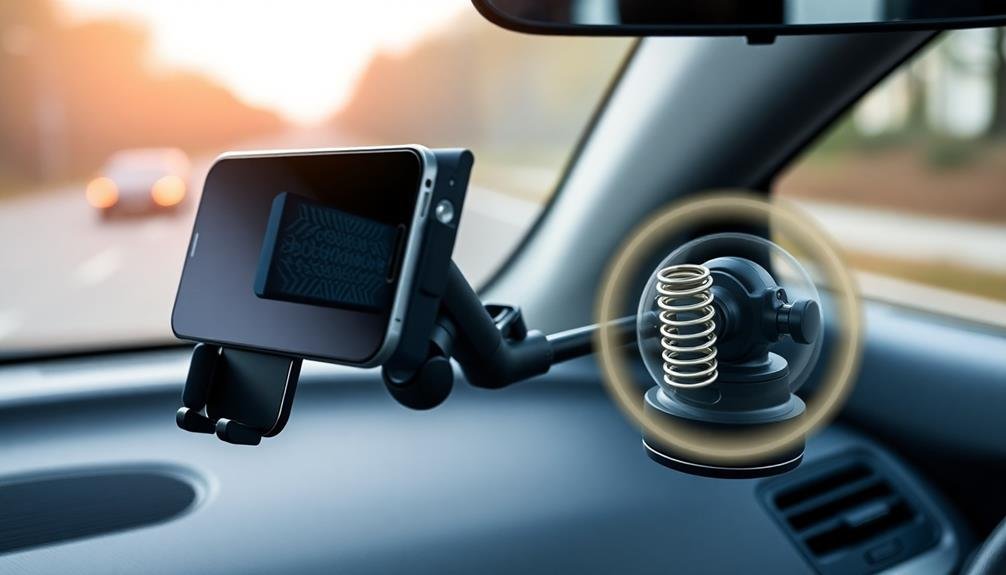
A stable foundation is essential for capturing sharp images from a moving vehicle. To achieve this, you'll need to employ various stabilization techniques for your car mount.
Start by selecting a sturdy mount that securely attaches to your vehicle. Look for mounts with vibration-dampening features or add your own cushioning material to absorb road vibrations.
Position the mount on a solid part of your car's frame, avoiding areas prone to flexing or movement. Use a ball head or gimbal to allow for quick adjustments and to help compensate for the car's motion. If possible, opt for a remote shutter release to minimize camera shake when triggering the shot.
Consider using image stabilization technology, either in-camera or through stabilized lenses. These systems can help counteract minor movements and vibrations.
For longer exposures, try using a neutral density filter to allow for slower shutter speeds, which can help smooth out road bumps.
Benefits of Stabilized Car Mounts
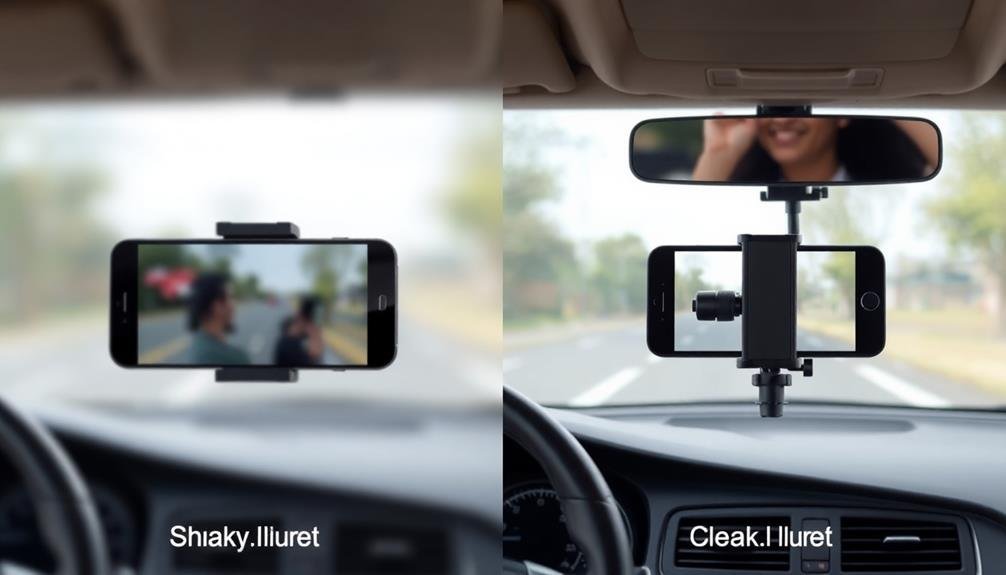
When you use a stabilized car mount for your camera, you'll notice a significant reduction in camera shake.
This improved stability translates directly into better image quality, allowing you to capture sharper, clearer photos even when your vehicle is in motion.
You'll be able to take professional-looking shots from your car without the blur and distortion often associated with mobile photography.
Reduced Camera Shake
Stability is the cornerstone of great automotive photography. When you're shooting from a moving vehicle, camera shake can ruin even the most perfectly framed shot. That's where stabilized car mounts come in, considerably reducing unwanted movement and vibrations.
By minimizing camera shake, you'll notice a dramatic improvement in your images' sharpness and overall quality. You'll be able to capture crisp details of passing landscapes, other vehicles, or your car's interior without the frustrating blur that often plagues in-motion photography.
Reduced camera shake also allows you to:
- Use slower shutter speeds, enabling better low-light performance and creative motion blur effects
- Achieve more precise focus, especially when shooting subjects at varying distances
- Capture smoother video footage, essential for automotive vlogs or promotional content
With a stabilized car mount, you'll have the freedom to experiment with different shooting techniques and styles. You can confidently use longer focal lengths for close-up shots of distant subjects or try panning shots to convey a sense of speed and movement.
The reduced shake guarantees that your creative vision isn't compromised by the challenges of shooting from a moving vehicle.
Improved Image Quality
Beyond reducing camera shake, stabilized car mounts greatly enhance overall image quality. When you're shooting from a moving vehicle, even the slightest vibration can compromise your photos. Stabilized mounts counteract these movements, allowing you to capture sharper, more detailed images.
You'll notice a significant improvement in the clarity of your shots, especially when using longer focal lengths or shooting in low light conditions. Colors appear more vibrant and true-to-life, as the stabilization prevents the blurring that can muddy hues. Fine details, like textures and patterns, remain crisp and well-defined.
With a stabilized mount, you're able to use slower shutter speeds without sacrificing image quality. This gives you more flexibility in challenging lighting situations and allows for creative techniques like motion blur and light trails. You'll also find that your camera's autofocus performs better, as it's not constantly trying to compensate for movement.
The improved image quality extends to video as well. Your footage will be smoother and more professional-looking, with less of the jerkiness often associated with car-mounted cameras. This makes stabilized car mounts invaluable for filmmakers, vloggers, and anyone looking to capture high-quality moving images from a vehicle.
Types of Stabilization Systems
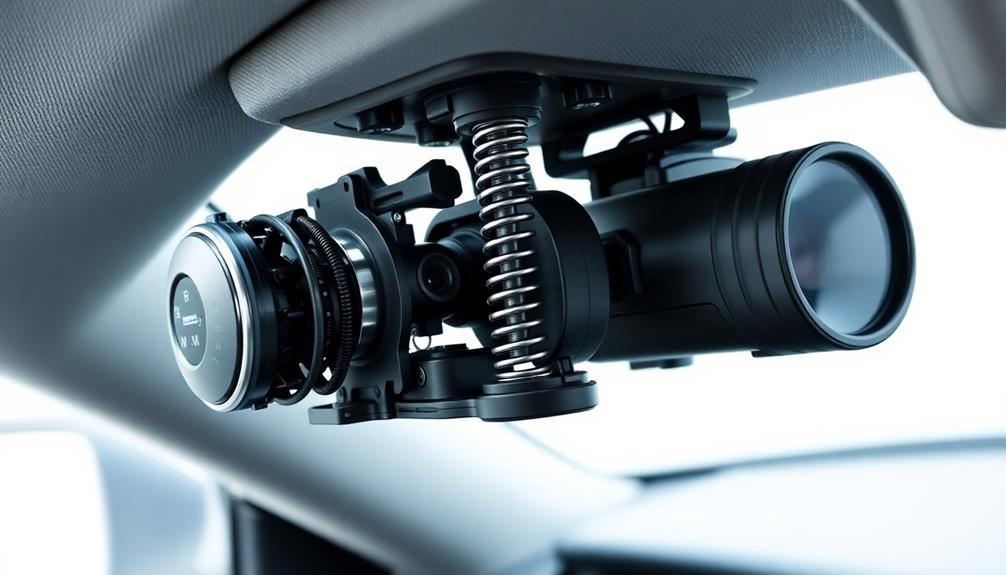
Exploring the world of car mount stabilization reveals several distinct systems designed to enhance your photography on the move.
You'll find that these systems fall into three main categories: mechanical, electronic, and hybrid stabilization.
Mechanical stabilization systems use physical components like springs, dampeners, and counterweights to absorb vibrations and sudden movements.
They're often simple, reliable, and don't require power, making them ideal for long trips or remote locations.
Electronic stabilization systems, on the other hand, use sensors and motors to detect and counteract unwanted motion.
These systems can be more precise and adaptable to various conditions, but they do require power and may have a slight delay in response time.
Hybrid systems combine the best of both worlds, using mechanical elements for initial stabilization and electronic components for fine-tuning.
They're often the most effective but can be more complex and expensive.
When choosing a car mount stabilization system, consider:
- Your specific photography needs (e.g., long exposures, action shots)
- The type of terrain you'll be driving on
- Your budget and willingness to maintain the system
Choosing the Right Stabilized Mount
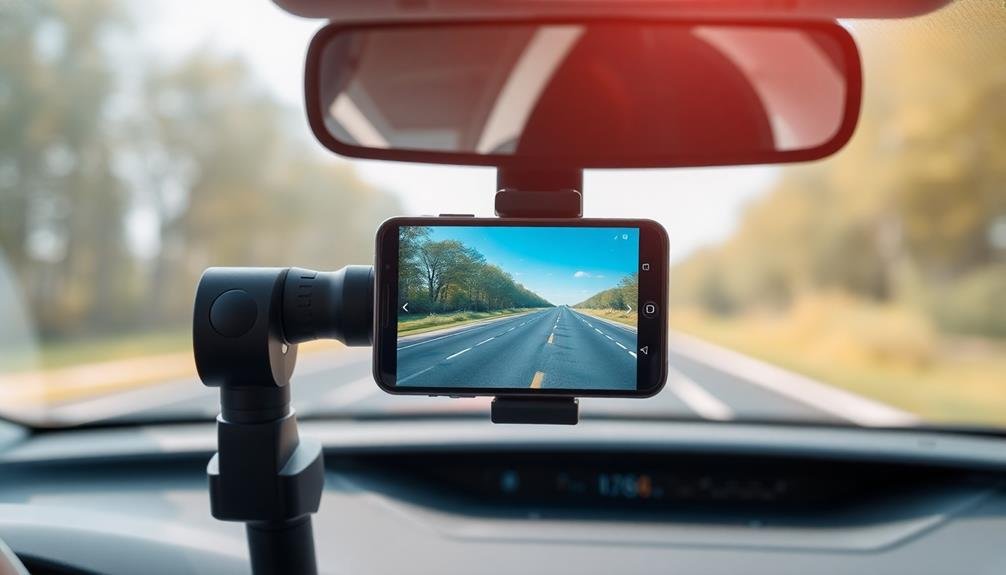
Selecting the perfect stabilized mount for your car photography setup is essential for achieving crisp, professional-looking shots. You'll need to evaluate several factors to make the right choice.
First, assess your camera's weight and size. Heavier DSLRs require sturdier mounts with higher weight capacities, while lighter mirrorless cameras can use more compact options.
Next, think about the types of shots you want to capture. If you're focusing on stationary subjects, a simple vibration-dampening mount might suffice. For action shots or moving vehicles, opt for a gyroscopic stabilizer that can handle more complex movements.
Examine the mounting options available in your vehicle. Suction cup mounts work well on smooth surfaces, while clamp-style mounts are versatile for various attachment points.
Don't forget about ease of use and quick release mechanisms for swift setup and removal.
Your budget will also play a role in your decision. While high-end stabilized mounts offer superior performance, there are quality mid-range options that provide excellent results for most enthusiasts.
DIY Stabilization Solutions for Cars
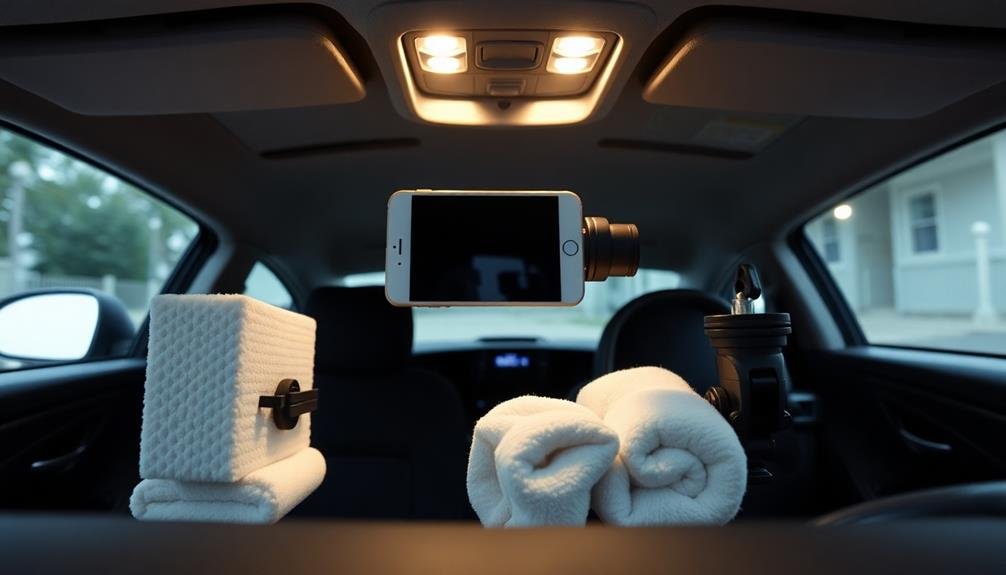
If you're looking for budget-friendly ways to stabilize your car mount, consider DIY solutions.
You can use foam padding techniques to reduce vibrations and cushion your camera equipment.
Additionally, enhancing suction cup mounts with stronger materials or reinforcing their grip can greatly improve stability during your car photography sessions.
Foam Padding Techniques
Foam padding offers a simple yet effective DIY solution for stabilizing your camera mount in a car. You'll find that foam can absorb vibrations and reduce unwanted movement, resulting in smoother footage and sharper images.
To implement this technique, you'll need high-density foam, adhesive, and scissors.
Start by measuring your camera mount's contact points with the car's surface. Cut the foam to fit these areas, ensuring a snug fit. Apply adhesive to one side of the foam pieces and attach them to your mount. Let the adhesive dry completely before use.
For best results, consider using different foam densities:
- Soft foam for initial vibration absorption
- Medium-density foam for general cushioning
- High-density foam for maximum stability
You can layer these foam types to create a custom suspension system for your mount.
Don't forget to test your setup before heading out on a shoot. Adjust the foam placement and thickness as needed to achieve ideal stabilization.
With this DIY foam padding technique, you'll notice a significant improvement in your car-mounted photography and videography, all without breaking the bank.
Suction Cup Enhancements
Suction cup mounts' effectiveness can be greatly enhanced with a few simple DIY techniques. You can improve their grip and stability by cleaning both the suction cup and the mounting surface thoroughly with rubbing alcohol. This removes oils and debris that might compromise adhesion. For an even stronger hold, try applying a thin layer of petroleum jelly to the suction cup's rim.
To reduce vibration, consider adding a layer of rubber or silicone between the mount and your camera. This can dampen micro-movements and result in sharper images. You can also reinforce the suction cup's seal by applying a bead of removable silicone caulk around its edge.
Here's a quick reference table for suction cup enhancements:
| Enhancement | Materials Needed | Difficulty | Effectiveness |
|---|---|---|---|
| Cleaning | Rubbing alcohol | Easy | High |
| Lubrication | Petroleum jelly | Easy | Medium |
| Dampening | Rubber/silicone | Medium | High |
| Sealing | Silicone caulk | Medium | Very High |
Professional vs. Amateur Stabilization Methods
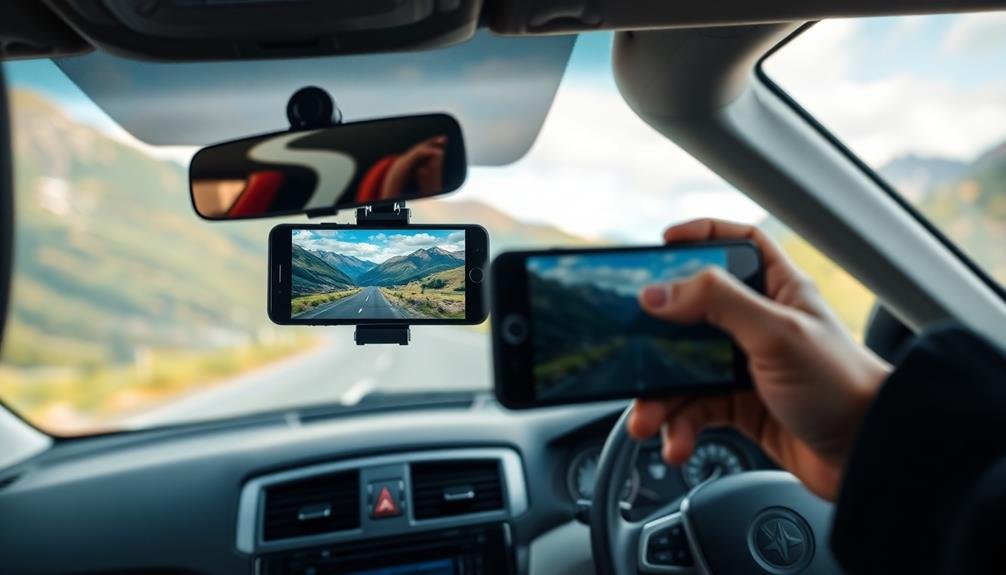
When it comes to car mount stabilization, professionals and amateurs often take different approaches.
Professionals typically invest in high-end equipment and techniques, while amateurs may rely on more accessible and budget-friendly methods.
Professional photographers often use:
- Specialized vibration dampening mounts
- Gyroscopic stabilizers
- Remote-controlled pan and tilt heads
These tools allow for precise control and smoother shots, even in challenging driving conditions. They're designed to minimize vibrations and sudden movements, resulting in crisp, professional-quality images.
On the other hand, amateur photographers might opt for DIY solutions or entry-level stabilization methods. You'll find them using foam padding, bungee cords, or weighted bases to reduce camera shake.
While these methods can be effective to some degree, they often lack the precision and consistency of professional-grade equipment.
As an amateur, you can still achieve impressive results by focusing on proper mounting techniques, choosing stable surfaces within your vehicle, and using your camera's built-in image stabilization features.
With practice and creativity, you can bridge the gap between professional and amateur stabilization methods, improving your car-mounted photography skills over time.
Comparing Stabilized and Non-Stabilized Results
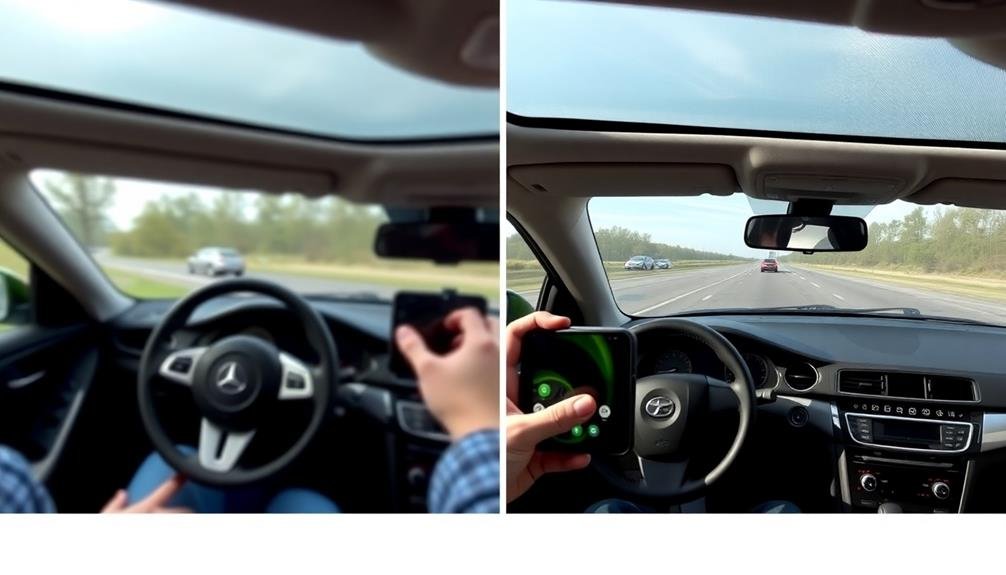
Examining the differences between stabilized and non-stabilized results can be eye-opening for photographers.
When you compare images taken with and without proper stabilization, you'll notice significant improvements in sharpness, clarity, and overall image quality.
In non-stabilized photos, you'll often see motion blur, especially in low-light conditions or when using slower shutter speeds. This blur can make your subjects appear soft or out of focus, reducing the overall impact of your images.
You might also notice camera shake, which can introduce unwanted distortions and reduce fine detail.
Stabilized results, on the other hand, showcase crisp, clear images with well-defined edges and preserved details.
Colors appear more vibrant, and textures are more pronounced. You'll be able to capture subtle nuances in your subjects that might've been lost in non-stabilized shots.
The difference is particularly noticeable in challenging shooting conditions, such as moving vehicles or uneven terrain.
With stabilization, you can achieve professional-looking results even in these difficult situations, giving your photos a polished, high-quality appearance that's sure to impress viewers and clients alike.
Smartphone Settings for Stable Shots
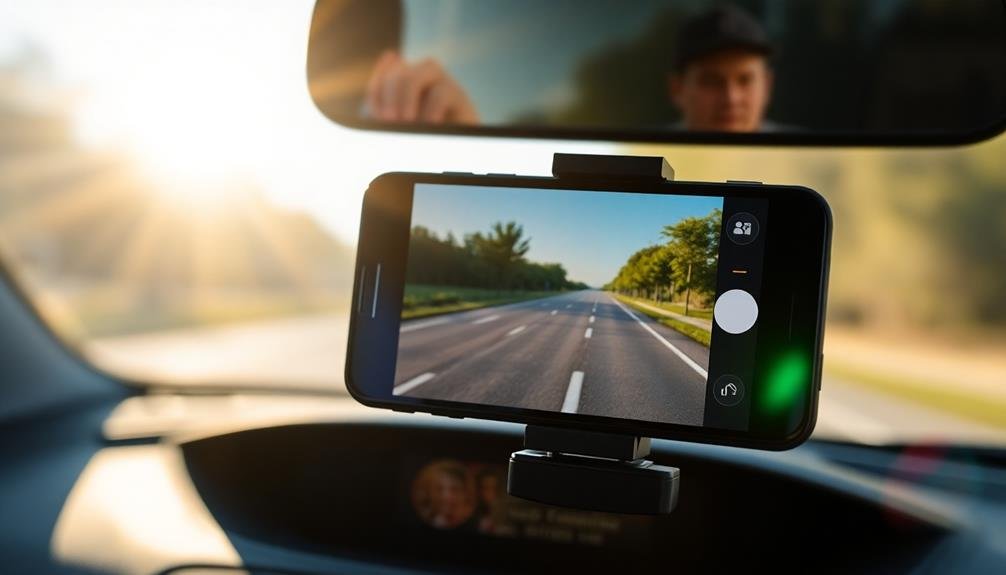
Modern smartphones offer a variety of settings and features to help you capture stable shots, even when using a car mount. To maximize your phone's built-in stabilization capabilities, start by enabling any optical or electronic image stabilization options in your camera app. These features work to counteract small movements and vibrations, resulting in smoother photos and videos.
Next, adjust your camera's shutter speed. A faster shutter speed will freeze motion more effectively, reducing blur caused by vehicle movement. However, in low-light conditions, you'll need to balance this with proper exposure. Consider using your phone's "Pro" or manual mode to fine-tune these settings.
To further enhance stability when using a car mount, try these additional tips:
- Use your phone's voice commands or timer function to avoid touching the device during capture.
- Enable HDR mode to compensate for challenging lighting conditions often encountered while driving.
- Experiment with burst mode to increase your chances of getting a sharp image in dynamic situations.
Lastly, don't forget to clean your car mount and phone's camera lens regularly. A smudge-free surface will contribute to clearer, more stable shots during your on-the-go photography adventures.
Long Exposure Photography From Vehicles

Through long exposure photography from vehicles, you can capture stunning motion blur and light trails that convey the energy of travel. This technique requires a stable platform for your camera, making car mounts essential. To achieve the best results, you'll need to set your camera to a slow shutter speed, typically between 1 and 30 seconds.
Start by securing your camera to a sturdy car mount, ensuring it's tightly fastened to minimize vibrations. Use a wide-angle lens to capture more of the scene and set your aperture to f/8 or higher for a greater depth of field. Keep your ISO low to reduce noise in the final image.
Choose your subject carefully. City streets at night offer excellent opportunities for capturing light trails from passing cars. Winding mountain roads can create mesmerizing streaks of headlights. For added interest, include stationary elements in your composition, like buildings or landscapes, to contrast with the motion blur.
Remember to experiment with different shutter speeds and compositions. The key is finding the right balance between exposure time and vehicle speed to create the desired effect.
Overcoming Motion Blur in Cars
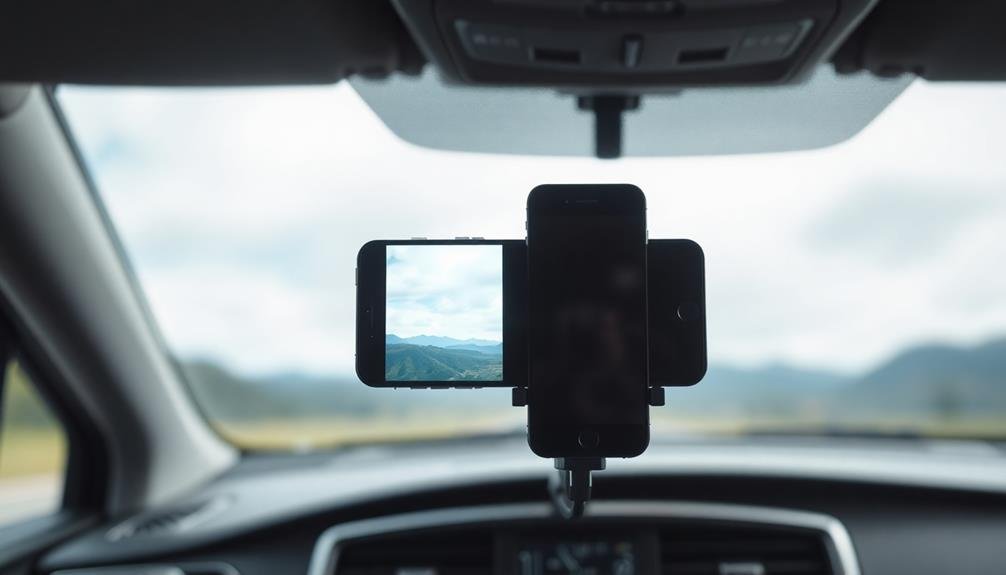
Despite the best car mounts, motion blur can still plague your in-vehicle photography. To combat this issue, you'll need to employ specific techniques and adjust your camera settings.
First, increase your shutter speed to freeze motion. A general rule of thumb is to use a shutter speed of at least 1/focal length of your lens. For example, if you're using a 50mm lens, aim for a shutter speed of 1/50th of a second or faster.
Next, consider raising your ISO to compensate for the faster shutter speed, especially in low light conditions. Modern cameras can produce clean images at higher ISOs, so don't be afraid to push it.
Finally, use image stabilization if your camera or lens offers this feature. It can help reduce the effects of small movements and vibrations.
To further improve your in-car photography, try these additional tips:
- Use burst mode to capture multiple shots, increasing your chances of getting a sharp image
- Focus on stationary objects outside the car rather than moving ones
- Experiment with different angles and compositions to find the most stable position for your camera
Frequently Asked Questions
Can Stabilized Car Mounts Be Used for Video Recording as Well?
Yes, you can definitely use stabilized car mounts for video recording. They'll help reduce camera shake and vibrations, giving you smoother, more professional-looking footage. Whether you're vlogging or capturing scenic drives, a stabilized mount enhances your video quality markedly.
How Does Weather Affect the Performance of Stabilized Car Mounts?
Weather can greatly impact your stabilized car mount's performance. You'll find that wind, rain, and extreme temperatures can affect stability and functionality. It's best to use them in calm conditions for best results.
Are There Legal Restrictions on Using Car Mounts While Driving?
You'll find legal restrictions on using car mounts while driving vary by location. Generally, it's illegal to obstruct your view or operate devices while driving. Check local laws and prioritize safety when using mounts in your vehicle.
Can Stabilized Car Mounts Be Used With Action Cameras Like Gopros?
Yes, you can use stabilized car mounts with action cameras like GoPros. They'll help reduce vibrations and provide smoother footage while driving. You'll get better quality videos for your road trips and adventures. Just make certain it's securely attached.
How Do Stabilized Car Mounts Impact Battery Life of Cameras or Smartphones?
You'll notice stabilized car mounts can drain your camera or smartphone's battery faster. They're constantly working to counteract vibrations, which requires power. It's wise to keep your device charged or bring an extra battery when using them.
In Summary
You've now explored why car mounts need stabilization for better photos. By understanding the challenges and implementing various techniques, you'll capture clearer, sharper images from your vehicle. Whether you're using a dedicated camera or smartphone, remember to employ stabilization methods and adjust your settings accordingly. With practice, you'll overcome motion blur and vibration effects, allowing you to take stunning photos on the go. Don't let a moving car limit your photography—embrace the challenge and create amazing shots!



Leave a Reply