To master time-lapse photography on your smartphone, focus on these seven techniques: First, experiment with interval settings to capture the right pace. Next, stabilize your device using a tripod or steady surface. For cloud movements, use wide-angle lenses and longer intervals. When shooting urban traffic, find elevated positions and adjust exposure settings. Capture day-to-night changes by planning your shoot and gradually adjusting settings. Try hyperlapse for dynamic scenes with camera motion. Finally, edit your sequences to smooth transitions, apply color grading, and add music. These techniques will elevate your mobile time-lapse game, but there's always more to explore in this fascinating art form.
Mastering Interval Settings

The key to creating stunning time-lapse videos on your mobile device lies in mastering interval settings. These determine how often your phone captures a frame, greatly influencing the final result. For smoother videos, use shorter intervals; for dramatic changes over longer periods, opt for longer intervals.
Start by considering your subject. Fast-moving clouds or busy street scenes benefit from intervals of 1-3 seconds. Slower subjects like blooming flowers or sunsets work well with 5-30 second intervals. For extremely slow changes like construction projects, you might set intervals of several minutes.
Experiment with different settings to find what works best for your scene. Most time-lapse apps allow you to adjust intervals on the fly, so don't be afraid to make changes during shooting.
Remember, shorter intervals will drain your battery faster and take up more storage space. Balance your creative vision with practical constraints. If you're shooting a long event, guarantee you have enough power and storage.
Lastly, consider the playback speed of your final video. Faster playback speeds can compensate for longer intervals, allowing you to capture extended periods while maintaining smooth motion in the final product.
Stabilizing Your Smartphone

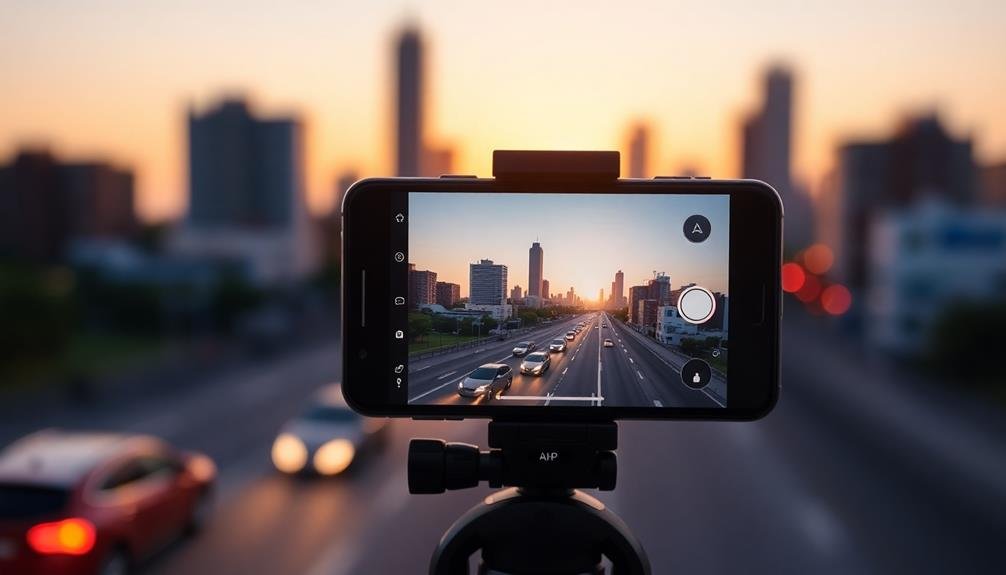
While mastering interval settings is important, your time-lapse efforts will be in vain if your smartphone isn't properly stabilized. Camera shake can ruin your footage, resulting in a jittery and unprofessional-looking time-lapse. To guarantee your shots are smooth and steady, invest in a reliable smartphone tripod. These come in various sizes and styles, from compact tabletop models to full-sized tripods with adjustable legs.
When setting up your tripod, consider the following:
- Choose a stable surface: Avoid placing your tripod on uneven ground or areas prone to vibrations.
- Use a remote shutter: This prevents camera movement when starting and stopping your time-lapse.
- Enable image stabilization: If your phone has this feature, turn it on for added smoothness.
- Lock your focus and exposure: This prevents unwanted changes during the shooting process.
If you don't have a tripod, you can improvise with everyday objects. Lean your phone against a stable surface, use a makeshift stand, or even employ a bag of rice as a cushion.
Capturing Cloud Movements
Nature's ever-changing canvas offers a perfect subject for time-lapse photography: cloud movements. To capture these ethereal formations, you'll need to plan your shoot carefully. Choose a day with interesting cloud patterns, such as cumulus or cirrus clouds, and find a location with an unobstructed view of the sky.
Set your smartphone on a stable surface or tripod, and use a wide-angle lens attachment if available. Adjust your camera settings to manual mode, ensuring a consistent exposure throughout the sequence. For cloud movements, aim for an interval of 10-30 seconds between shots, depending on the cloud speed.
You'll want to shoot for at least 30 minutes to an hour to capture noticeable changes. During this time, keep an eye on your phone's battery life and storage capacity. Consider using an external power bank and clearing space on your device beforehand.
Pay attention to the foreground elements in your composition. Including landmarks or interesting silhouettes can add depth and context to your time-lapse.
As you process your footage, experiment with different playback speeds to find the most engaging representation of the cloud movements you've captured.
Urban Traffic Flow Time-Lapse

When you're ready to capture the pulsing rhythm of city streets, selecting the right vantage point is essential for your urban traffic flow time-lapse.
You'll need to adjust your exposure settings to account for changing light conditions as day turns to night.
Once you've captured your sequence, post-processing techniques can enhance the visual impact, creating a stunning representation of urban movement.
Best Vantage Point Selection
Choosing the right vantage point is essential for capturing a compelling urban traffic flow time-lapse. You'll want to find an elevated position that offers a clear, unobstructed view of the streets below. Look for rooftops, pedestrian bridges, or high-rise buildings with accessible viewing areas. These locations will provide a bird's-eye perspective, allowing you to capture the intricate patterns of traffic movement.
Consider the following factors when selecting your vantage point:
- Time of day: Choose a spot that works well during peak traffic hours
- Weather conditions: Confirm your location offers some shelter from wind or rain
- Safety: Always prioritize your personal safety and obtain necessary permissions
- Composition: Look for interesting road layouts, intersections, or landmarks to include
Once you've found your ideal spot, take time to experiment with different angles and compositions. You might want to include both nearby and distant traffic flows to add depth to your time-lapse.
Remember to stabilize your mobile device using a tripod or sturdy surface to guarantee smooth, consistent footage. With the right vantage point, you'll be able to create stunning urban traffic flow time-lapses that showcase the city's dynamic energy.
Optimal Exposure Settings
Setting up the right exposure for your urban traffic flow time-lapse is essential to capturing the dynamic movement of vehicles and city lights. Start by using your phone's manual mode to control shutter speed, ISO, and aperture.
For daytime shots, use a faster shutter speed (1/60s to 1/250s) to avoid overexposure and maintain crisp details. As night falls, slow down your shutter speed (1/15s to 1/30s) to capture light trails from moving vehicles.
Keep your ISO as low as possible (100-400) during the day to minimize noise. At night, you may need to increase it (800-1600) to maintain proper exposure. If your phone allows aperture control, use a smaller aperture (f/8 to f/11) for greater depth of field and sharper overall images.
Use the AE/AF lock feature to maintain consistent exposure throughout your time-lapse sequence. This prevents sudden brightness changes that can ruin the flow of your final video.
Consider using a neutral density filter for longer exposures during bright daylight hours. Experiment with different settings to find the perfect balance between capturing movement and maintaining image quality for your unique urban scene.
Post-Processing for Impact
Post-processing often makes the difference between a good time-lapse and a great one. When editing your urban traffic flow time-lapse, focus on enhancing the visual impact while maintaining a natural look. Start by adjusting the exposure and contrast to bring out the details in both bright and dark areas.
Then, fine-tune the color balance to accurately represent the scene's atmosphere, whether it's a warm sunset or a cool cityscape at night.
Next, consider applying subtle effects to enhance the flow of movement:
- Use motion blur to smooth out traffic trails
- Add a slight vignette to draw attention to the center of the frame
- Implement color grading to create a cohesive mood throughout the sequence
- Apply noise reduction to minimize graininess in low-light shots
Don't forget to stabilize your footage if there's any unwanted camera shake. Many mobile editing apps offer this feature, which can appreciably improve the overall quality of your time-lapse.
Day-to-Night Transition Techniques

Capturing the seamless change from day to night in a time-lapse can create stunning visual effects. To achieve this, you'll need to plan your shoot carefully. Start by finding a location with an interesting foreground and a clear view of the sky. Begin shooting well before sunset and continue until it's fully dark.
Set your phone on a stable tripod and use manual exposure settings to maintain consistency. As the light changes, you'll need to adjust your camera's settings gradually. Begin with a faster shutter speed and lower ISO, then slowly increase both as it gets darker.
Use an intervalometer app to take photos at regular intervals, typically every 5-10 seconds. To smooth out the change, you can use a technique called "dragging the shutter." This involves intentionally using slower shutter speeds as it gets darker, creating a slight blur in moving elements.
Another approach is to use HDR mode, which can help balance the exposure between bright skies and dark foregrounds. In post-processing, use software that allows for smooth ramping of exposure settings between frames. This will help create a natural-looking change from day to night in your final time-lapse video.
Hyperlapse for Dynamic Scenes

Hyperlapses elevate your time-lapse photography by adding motion to the camera itself. This technique allows you to capture dynamic scenes with a sense of movement and progression. To create a hyperlapse, you'll need to move your camera steadily between each shot, maintaining a consistent distance from your subject.
When shooting a hyperlapse with your mobile device, stability is key. Use a gimbal or stabilizer to keep your shots smooth. Plan your route beforehand, ensuring you have enough space to move and a clear path. As you shoot, maintain a consistent pace and interval between shots.
Here are some tips to enhance your hyperlapse:
- Use gridlines to keep your subject centered
- Experiment with different movement patterns (linear, circular, zigzag)
- Incorporate foreground elements for added depth
- Adjust your frame rate in post-processing for smoother motion
In post-production, use stabilization software to further smooth out any bumps or jitters. You can also experiment with speed ramping to vary the pace of your hyperlapse, adding visual interest and emphasizing key moments in your sequence.
With practice, you'll master this dynamic technique and create stunning, immersive time-lapse videos.
Editing Time-Lapse Sequences

Once you've captured your time-lapse footage, it's time to polish your creation in post-processing.
You'll want to focus on smoothing out shifts between frames, applying color grading techniques to enhance the mood, and adding music or sound effects to bring your sequence to life.
These editing steps can transform your raw footage into an enchanting visual story that engages viewers and showcases your mobile photography skills.
Smoothing Out Transitions
Three key techniques can help you smooth out shifts when editing time-lapse sequences on your mobile device.
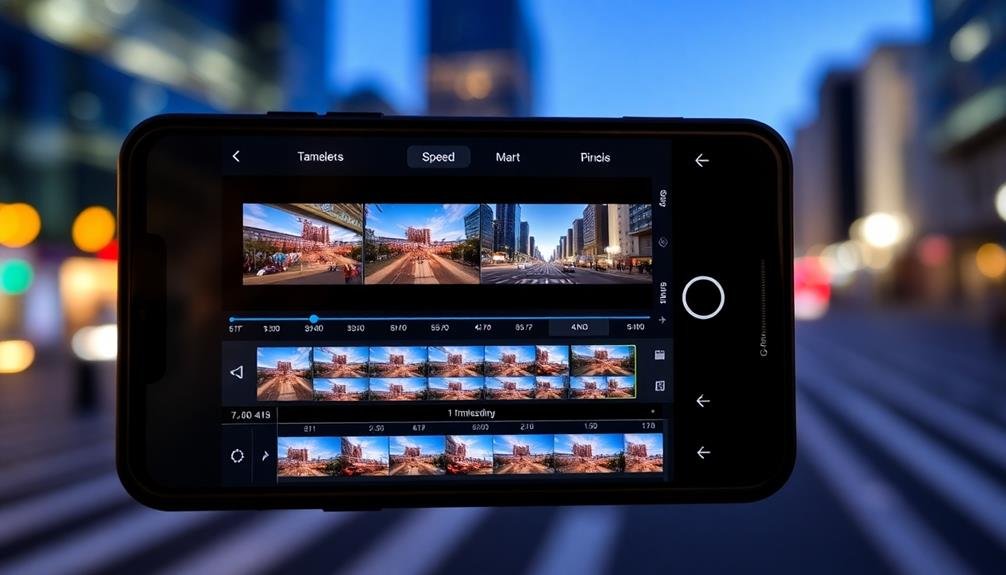
First, use frame blending to create a more fluid motion between frames. This technique involves merging adjacent frames, reducing jarring changes and creating a smoother overall effect.
Second, adjust your playback speed to find the right balance between showcasing changes and maintaining visual coherence. Slower speeds can help soften abrupt shifts, while faster speeds may mask minor inconsistencies.
Lastly, consider using keyframe animation to gradually adjust exposure, color, or other parameters throughout your sequence. This method allows you to seamlessly blend different lighting conditions or correct for camera movement.
When implementing these techniques, keep in mind the following tips:
- Experiment with different blend modes to achieve the desired smoothness
- Use motion blur to further enhance the illusion of continuous movement
- Apply subtle zoom or pan effects to add dynamism to static scenes
- Utilize noise reduction tools to minimize flickering in low-light sequences
Color Grading Techniques
When approaching color grading for time-lapse sequences, it's essential to maintain consistency while enhancing the overall visual appeal. Start by adjusting the white balance to guarantee a cohesive look across all frames.
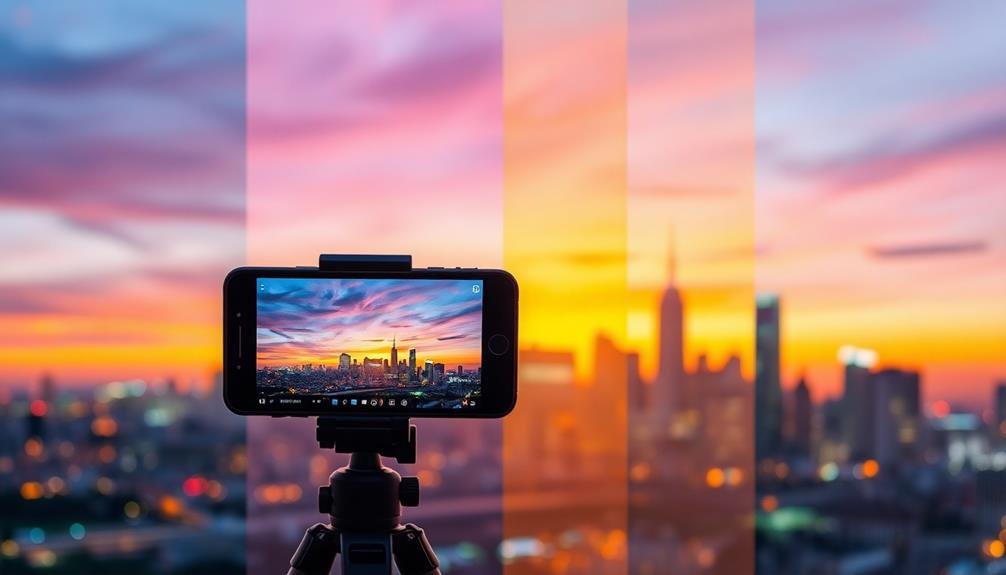
Next, focus on tweaking exposure, contrast, and saturation to create a balanced, eye-catching result. Consider using LUTs (Look-Up Tables) to apply a specific color palette or mood to your time-lapse. These preset color grades can save time and provide a professional look.
However, don't rely solely on presets; fine-tune the settings to suit your specific footage. Pay attention to highlights and shadows, adjusting them to reveal details without losing depth.
Use selective color adjustments to emphasize certain elements or create a particular atmosphere. For example, you might boost blues in a sky-heavy sequence or enhance greens in a nature time-lapse.
Remember to keep your adjustments subtle. Overly dramatic color grading can distract from the time-lapse's content and movement.
Always preview your work at full speed to guarantee the color changes appear smooth and natural throughout the sequence. Finally, export your time-lapse in a high-quality format to preserve the color grading work you've done.
Adding Music/Sound Effects
Adding music and sound effects to your time-lapse sequences can dramatically enhance their impact and emotional resonance. When selecting audio, consider the mood and pace of your footage. Upbeat tracks work well for bustling city scenes, while serene melodies complement nature time-lapses. Use your smartphone's built-in editing apps or download specialized software to sync audio with your visuals.
Pay attention to the rhythm of your time-lapse and try to match it with the beat of the music. This synchronization creates a more cohesive viewing experience. Don't overlook the power of ambient sounds or subtle effects to add depth to your creation. For instance, adding distant bird calls to a sunrise time-lapse can make it more immersive.
When adding audio to your time-lapse, keep these tips in mind:
- Choose royalty-free music to avoid copyright issues
- Adjust volume levels to guarantee audio doesn't overpower the visuals
- Fade in and out at the beginning and end for a polished feel
- Experiment with different audio tracks to find the perfect match
Frequently Asked Questions
How Much Storage Space Do Time-Lapse Videos Typically Require on a Smartphone?
You'll find that time-lapse videos can vary greatly in storage requirements. They typically range from 50MB to 1GB, depending on the length, resolution, and frame rate you choose. It's wise to have ample free space available.
Can Time-Lapse Photography Drain My Phone's Battery Faster Than Regular Photography?
Yes, time-lapse photography can drain your phone's battery faster than regular photography. You're constantly using the camera, processor, and storage, which consumes more power. It's a good idea to keep your phone charged or use a portable battery.
Are There Any Weather-Resistant Smartphone Cases Specifically Designed for Time-Lapse Photography?
Yes, you'll find weather-resistant cases designed for time-lapse photography. They protect your phone from the elements while providing mounting options. Look for cases with built-in tripod mounts, lens attachments, and extended battery life for ideal performance.
What Are the Best Apps for Creating Time-Lapse Videos on Ios and Android?
For iOS, you'll love Hyperlapse and Lapse It. On Android, try Framelapse and Time Lapse Camera. Both platforms offer Motorola's Time Lapse Video app. These apps give you great control and easy-to-use interfaces for creating stunning time-lapses.
How Can I Prevent My Phone From Overheating During Long Time-Lapse Sessions?
To prevent overheating during long time-lapses, you'll want to keep your phone out of direct sunlight. Use a cooling pad or fan, lower screen brightness, close unnecessary apps, and consider using airplane mode to reduce battery drain.
In Summary
You've now got a toolkit of time-lapse techniques to elevate your mobile photography. Don't be afraid to experiment with different intervals, subjects, and editing styles. Remember, practice makes perfect. As you refine your skills, you'll capture stunning sequences that tell compelling visual stories. Whether you're shooting cityscapes or natural wonders, these methods will help you create engaging time-lapse videos. So grab your smartphone, get out there, and start freezing time in motion!


Leave a Reply