To capture stunning wildlife photos on your smartphone, start by mastering portrait mode for sharp, focused images with blurred backgrounds. Use manual focus for precise control, and employ burst mode to catch fast-moving animals. Stabilize your phone using both hands or a tripod for crisp shots. Experiment with different angles, getting low for smaller creatures or finding elevated positions for unique perspectives. Take advantage of golden hour lighting for warm, soft tones. Edit your photos thoughtfully, making subtle adjustments to enhance without over-processing. Remember to blend into the environment and practice patience for the best results. These techniques will elevate your smartphone wildlife photography to new heights.
Use Portrait Mode Creatively

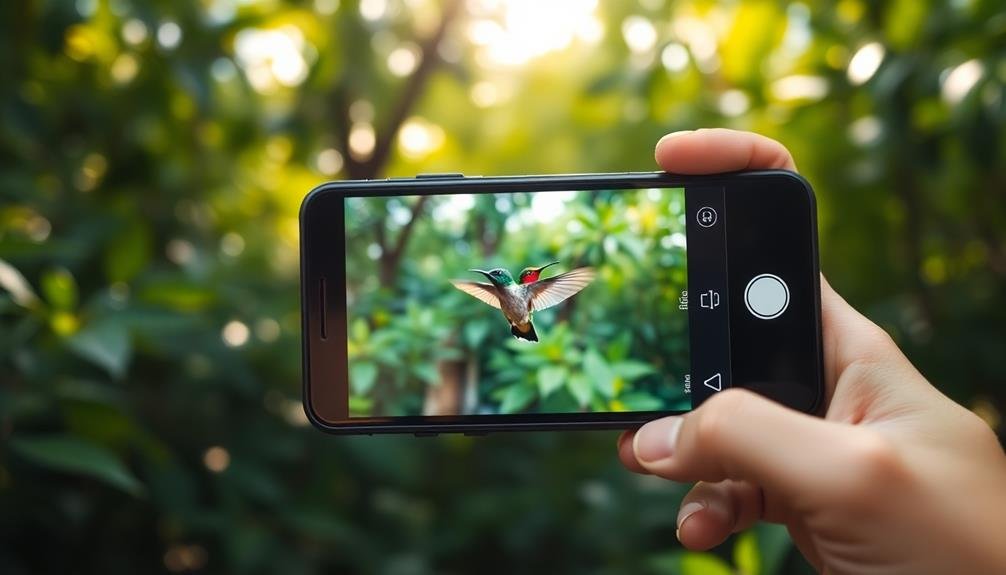
Portrait mode isn't just for human subjects. You can leverage this feature to capture stunning wildlife photos with your smartphone. When using portrait mode for animals, focus on their eyes to create a sharp, engaging image. The artificial bokeh effect can beautifully blur the background, making your subject stand out.
Experiment with different angles and distances to find the sweet spot where portrait mode works best. You'll often need to be closer to smaller animals for the effect to work properly. For larger creatures, try capturing just their face or a portion of their body to maximize the impact.
Don't limit yourself to close-ups. Use portrait mode to isolate animals in their environment, creating a sense of depth and context. This technique works particularly well with animals perched on branches or rocks.
Be aware of your smartphone's limitations. Portrait mode may struggle in low light or with fast-moving subjects. In these cases, switch to standard photo mode for better results.
Remember to be patient and take multiple shots, as wildlife can be unpredictable. With practice, you'll master using portrait mode creatively for impressive wildlife photography.
Master Manual Focus

You'll gain more control over your wildlife shots by mastering manual focus on your smartphone.
Start by using the tap-to-focus feature for precise subject targeting, then explore your camera app's focus peaking option to highlight sharp edges.
If your phone supports it, try adjusting the manual focus ring for fine-tuned clarity in challenging situations.
Tap-To-Focus for Precision
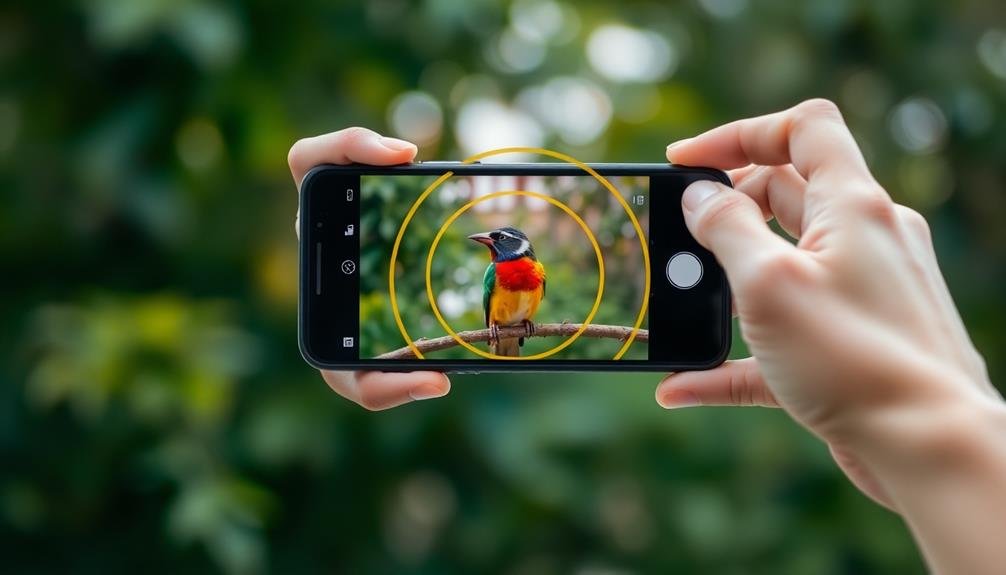
Precision is key when capturing wildlife with your smartphone. While manual focus offers great control, tap-to-focus is a quick and effective alternative for many wildlife shots. This feature allows you to pinpoint the exact area you want in focus by simply tapping on your smartphone's screen.
To use tap-to-focus effectively, frame your shot and tap on the animal's eye or most important feature. This tells your phone's camera where to prioritize focus. If your subject moves, don't hesitate to tap again to readjust. Many smartphones also offer exposure adjustment with this feature. After tapping to focus, you can often slide your finger up or down to adjust the exposure, ensuring your subject is well-lit.
For fast-moving wildlife, try pre-focusing on a spot where you anticipate the animal will be. Tap that area in advance, then wait for the perfect moment to capture the shot.
Focus Peaking Feature
Mastery of manual focus can elevate your wildlife photography to new heights, and focus peaking is a powerful tool to help you achieve this. Focus peaking highlights the sharpest edges in your frame, making it easier to pinpoint exact focus. While not all smartphones offer this feature natively, you can often find it in third-party camera apps.
To use focus peaking effectively, enable it in your camera settings or app. As you adjust focus manually, you'll see colored highlights appear on the edges of subjects. These highlights indicate areas of sharp focus. Experiment with different colors and intensity levels to find what works best for you in various lighting conditions.
| Benefits of Focus Peaking | Challenges to Overcome |
|---|---|
| Precise focus control | Learning curve |
| Works well in low light | Can be distracting |
| Enhances creative control | Not available on all phones |
| Improves image sharpness | May drain battery faster |
Adjusting Manual Focus Ring
Immerse yourself in the world of manual focus by familiarizing yourself with your smartphone's focus ring or slider. This feature, often hidden in pro or manual camera modes, gives you precise control over what's in focus. Unlike autofocus, which can be unpredictable with wildlife, manual focus lets you decide exactly where to draw attention.
To master manual focus, start by practicing on stationary objects. Move the focus ring slowly, observing how different parts of the image come into clarity. For wildlife photography, pre-focus on an area where you expect the animal to appear. This technique is particularly useful for capturing birds in flight or animals emerging from hiding spots.
When adjusting the focus ring, use your phone's zoom feature to check critical focus. Many smartphones offer focus peaking, which highlights in-focus areas, making it easier to nail the shot.
Remember, slight adjustments can make a big difference, especially when photographing small subjects like insects. Don't be afraid to take multiple shots at slightly different focus points.
With practice, you'll develop an intuitive feel for manual focus, allowing you to capture stunning wildlife images that stand out from typical smartphone photos.
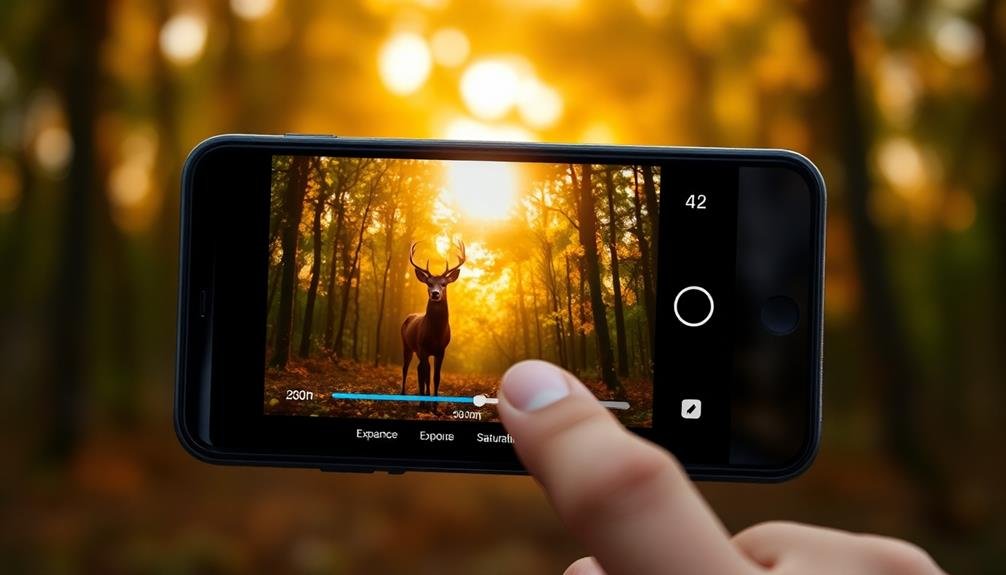
Leverage Golden Hour Lighting
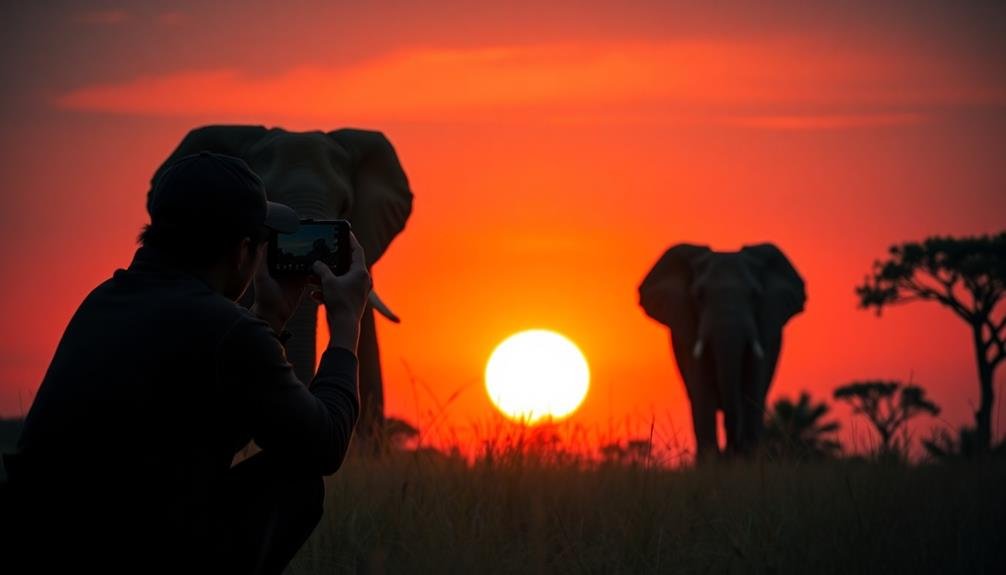
Nature's most enchanting light show occurs during the golden hour, offering wildlife photographers a prime opportunity to capture stunning images. This magical time, just after sunrise or before sunset, bathes your subjects in warm, soft light that can transform ordinary scenes into extraordinary photographs.
To leverage golden hour lighting with your smartphone, you'll need to plan ahead. Research sunrise and sunset times for your location and arrive early to set up. Position yourself so the light illuminates your subject from the side or back for dramatic effects.
Use your phone's HDR mode to capture a wider range of tones and colors. Experiment with silhouettes by placing your subject between you and the light source. Adjust your phone's exposure by tapping on the brightest part of the scene.
Don't forget to look for reflections in water or dew-covered surfaces, which can add depth to your compositions. Be patient and ready to act quickly, as golden hour lighting changes rapidly.
Try different angles and compositions to make the most of this fleeting opportunity. With practice, you'll learn to harness the power of golden hour to create mesmerizing wildlife images using just your smartphone.
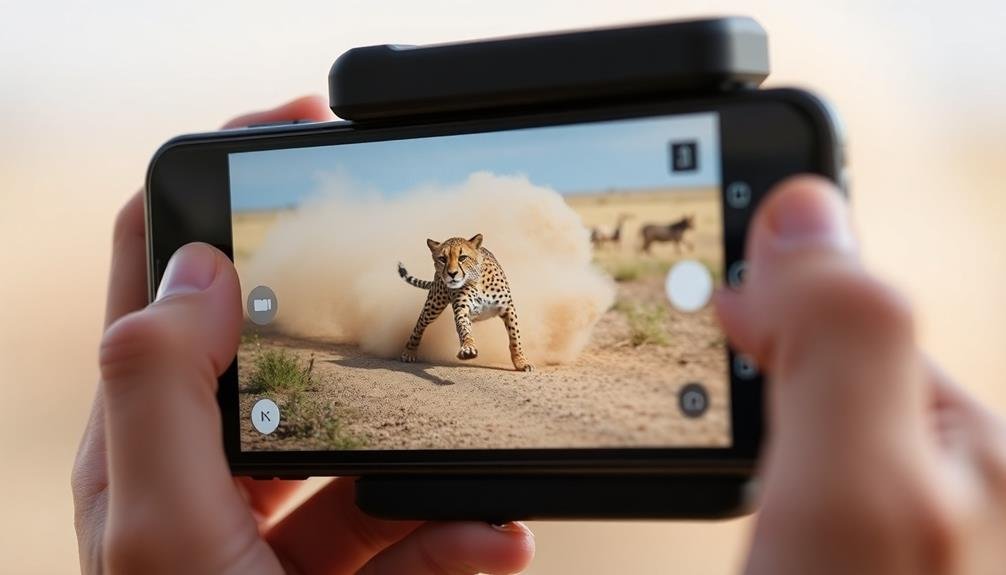
Employ Burst Mode Effectively
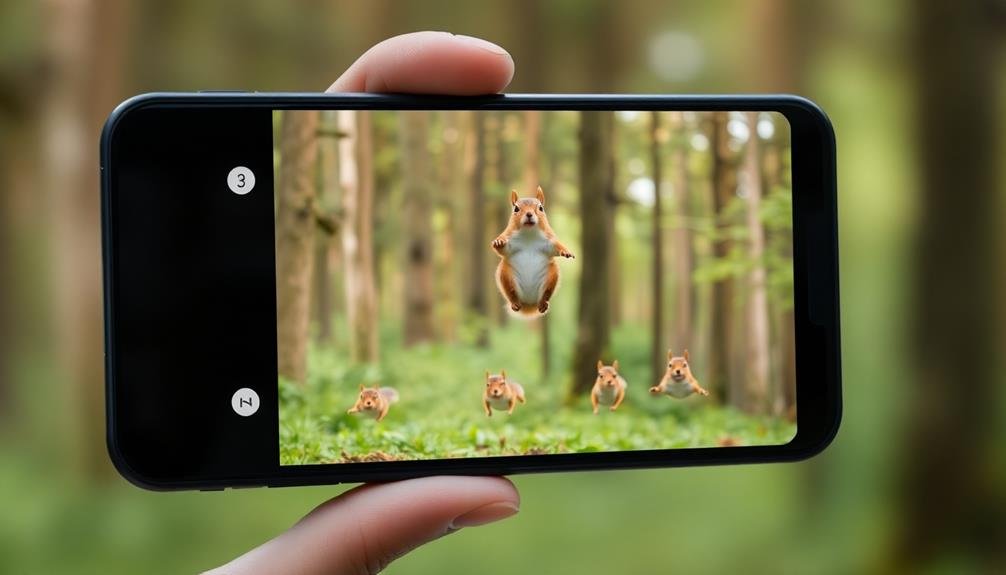
While golden hour offers stunning lighting, capturing fast-moving wildlife requires a different technique. Enter burst mode, a powerful feature on most smartphones that can help you snap the perfect shot of animals in action. To use burst mode effectively, you'll need to anticipate the animal's movements and be ready to shoot.
Start by activating burst mode on your phone. On iPhones, press and hold the shutter button; on Android devices, check your camera settings for the burst mode option. As you're tracking your subject, begin shooting just before you expect the action to occur. This way, you'll capture a series of rapid-fire images, increasing your chances of getting that ideal moment.
When photographing birds in flight or animals running, use burst mode to freeze motion. It's also excellent for capturing subtle changes in an animal's expression or behavior.
After shooting, review your burst sequence and select the best images. Remember, burst mode can quickly fill up your phone's storage, so be selective about when you use it and delete unnecessary shots promptly.
Stabilize Your Smartphone
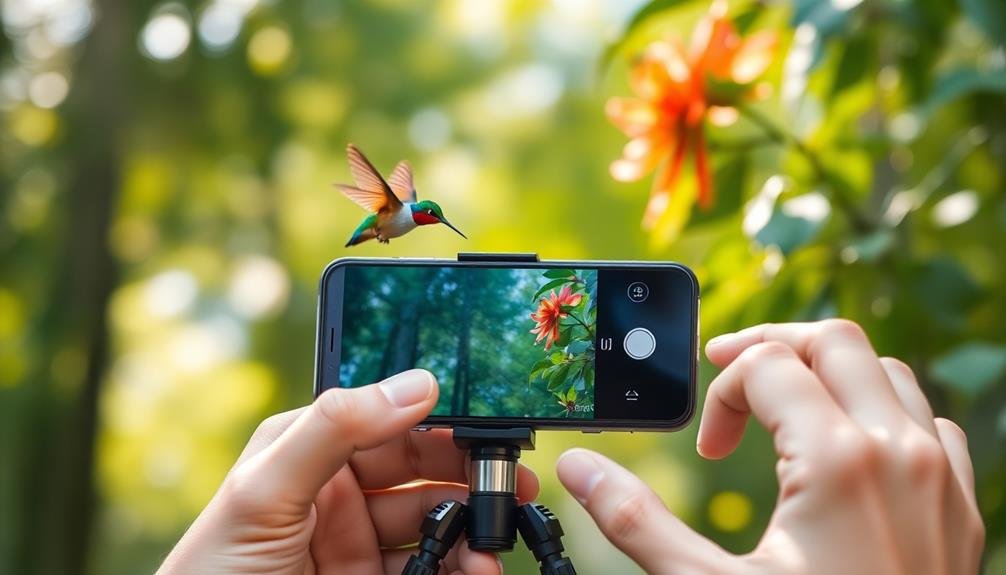
Stability is essential for capturing sharp, professional-looking wildlife photos with your smartphone. Even the slightest movement can result in blurry images, especially when using zoom or shooting in low light conditions.
To stabilize your device, start by holding it with both hands and keeping your elbows close to your body. This creates a more stable base for your shot.
Consider investing in a smartphone tripod or gimbal for even greater stability. These accessories can help you maintain a steady shot, especially during long waits for wildlife to appear.
If you don't have a tripod, improvise by resting your phone on a stable surface like a rock, tree branch, or car window.
When using your smartphone's touch screen to take a photo, be careful not to jerk the device as you tap. Instead, use the volume buttons or a Bluetooth remote shutter to minimize movement.
Enable your phone's image stabilization feature if available, as it can help reduce blur caused by minor hand movements.
Explore Macro Photography Options
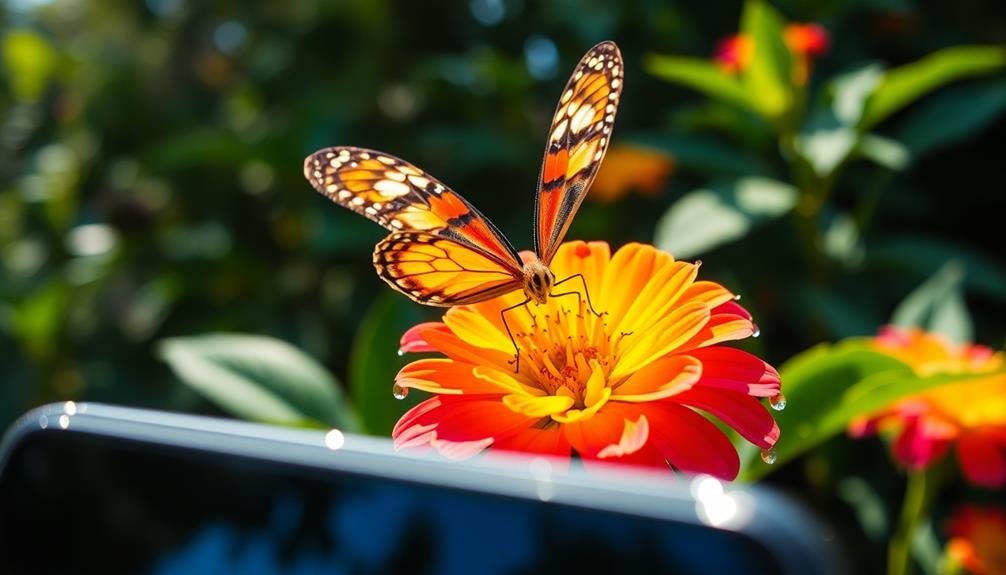
Macro photography opens up a whole new world of wildlife opportunities for smartphone users. You'll be amazed at the intricate details of insects, flowers, and small creatures you can capture with the right equipment and techniques.
Start by exploring your phone's built-in macro mode if available. Many newer smartphones have this feature, allowing you to focus on subjects as close as a few centimeters away. If your phone lacks this option, consider investing in a clip-on macro lens. These affordable accessories can dramatically enhance your close-up shooting capabilities.
When shooting macro, stability is essential. Use a tripod or rest your phone on a stable surface to minimize camera shake. Natural light works best for macro shots, so try to shoot during the golden hours of early morning or late afternoon. If you need additional light, use a small LED panel or ring light to illuminate your subject.
Experiment with composition by focusing on interesting textures, patterns, or colors. Don't be afraid to get creative with unusual angles or perspectives.
Remember to be patient and respectful of your wildlife subjects, especially when photographing small creatures.
Utilize Negative Space
How can negative space elevate your wildlife smartphone photography? Negative space, the empty area surrounding your subject, can dramatically enhance your wildlife shots. It's a powerful compositional tool that draws attention to your main subject and creates a sense of balance in your images.
To utilize negative space effectively, you'll need to resist the urge to zoom in too close. Instead, step back and allow the environment to frame your subject. Look for clean backgrounds like expansive skies, calm water, or uniform vegetation. These elements provide a perfect canvas for your wildlife subject to stand out.
When composing your shot, place your subject off-center using the rule of thirds. This creates a more dynamic image and allows the negative space to guide the viewer's eye. You can also use negative space to convey a sense of scale, isolation, or freedom, depending on your subject and its surroundings.
Don't be afraid to experiment with different angles and orientations. Sometimes, turning your phone sideways can create a more impactful composition with ample negative space.
Perfect Your Composition
While negative space is a powerful tool, it's just one aspect of creating enchanting wildlife photos with your smartphone. To perfect your composition, you'll need to master several key techniques. First, use the rule of thirds by imagining your screen divided into a 3×3 grid and placing your subject along these lines or at their intersections. This creates a more balanced and visually appealing image.
Next, pay attention to leading lines in your environment. These can be natural elements like branches, shorelines, or paths that guide the viewer's eye towards your subject. Don't forget to take into account the background; verify it complements your subject rather than distracting from it.
Here's a quick reference guide for composition techniques:
| Technique | Purpose | Example |
|---|---|---|
| Rule of Thirds | Balance | Deer at grid intersection |
| Leading Lines | Guide the eye | Path leading to a bird |
| Framing | Focus attention | Animal through tree branches |
Lastly, experiment with different angles. Get low for an imposing shot of larger animals or shoot from above for smaller creatures. By combining these techniques, you'll create stunning wildlife compositions that stand out, even when using a smartphone.
Experiment With Different Angles
When photographing wildlife with your smartphone, don't limit yourself to eye-level shots.
Try crouching down or lying on the ground to capture animals from their perspective, or find an elevated position to shoot from above.
Experimenting with unconventional angles can lead to striking images that showcase wildlife in unique and enchanting ways.
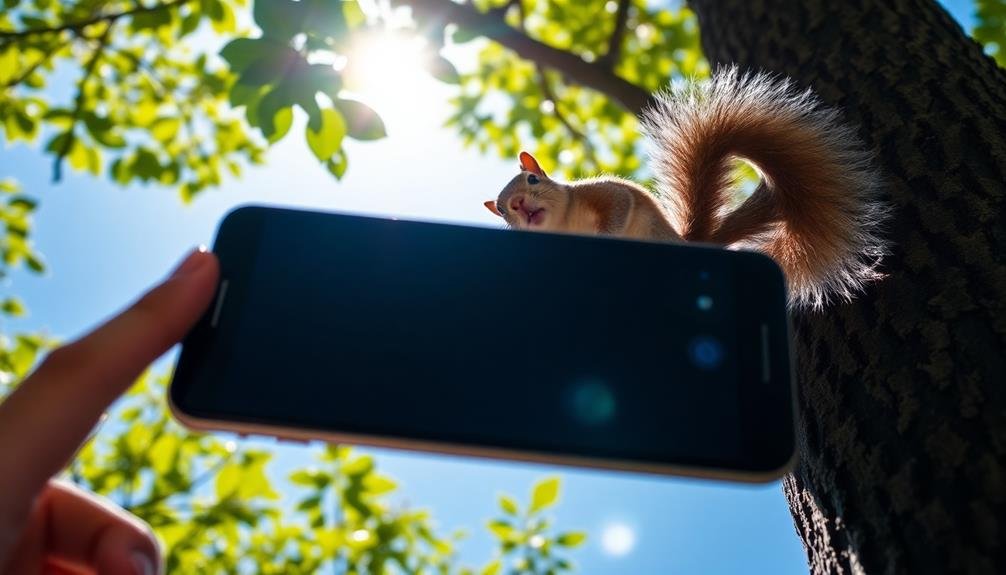
Get Low, Go High
From ground level to treetop views, experimenting with different angles can dramatically improve your wildlife photography.
Getting low offers a unique perspective, bringing you eye-to-eye with smaller creatures and creating a more intimate feel. Crouch down or even lie on the ground to capture frogs, insects, or small mammals at their level. This technique can make your subject appear larger and more imposing against the background.
On the flip side, shooting from a higher vantage point can provide a bird's-eye view of your subject, revealing patterns and behaviors that mightn't be visible from ground level. Climb a hill, use a sturdy tree branch, or even a drone (where permitted) to achieve this elevated perspective. When photographing birds or tree-dwelling animals, a higher angle can help you capture them in their natural habitat.
Remember to adjust your smartphone's settings accordingly. For low-angle shots, enable HDR mode to balance the bright sky with darker foreground elements.
When shooting from above, use the grid feature to guarantee proper composition and alignment. By varying your shooting height, you'll add depth and interest to your wildlife photographs.
Unique Perspectives Matter
Experimenting with angles goes beyond just high and low perspectives.
You'll want to explore unconventional viewpoints to capture wildlife in fresh, enchanting ways. Try shooting through natural frames like tree branches or tall grass to add depth and context to your images.
Tilt your smartphone slightly for a dynamic diagonal composition that draws the viewer's eye across the frame.
Don't shy away from close-ups. Use your phone's zoom or move closer (if safe) to highlight intricate details like an animal's eye or texture of its fur.
Conversely, step back to include more of the surrounding environment, giving a sense of the creature's habitat.
Consider the rule of thirds, placing your subject off-center for a more engaging composition.
Experiment with reflections in water bodies or puddles for a unique double image effect.
Try shooting from the animal's eye level to create a more intimate connection between viewer and subject.
Edit Photos Thoughtfully
Once you've captured your wildlife shots, it's time to polish them up. Thoughtful editing can transform good photos into great ones, but it's essential to maintain the integrity of the scene you've captured.
Start by adjusting basic elements like brightness, contrast, and saturation to enhance the image without making it look artificial.
When editing wildlife photos on your smartphone, keep these key points in mind:
- Use subtle adjustments: Avoid over-editing, which can make your photos look unnatural. Small tweaks often yield the best results.
- Crop carefully: Frame your subject for maximum impact, but don't sacrifice image quality by cropping too aggressively.
- Preserve natural colors: While it's tempting to boost vibrancy, aim to maintain realistic tones that reflect the actual scene.
- Experiment with black and white: Some wildlife photos can be particularly striking in monochrome, especially those with strong textures or contrasts.
Capture Animal Behavior
Capturing animal behavior is at the heart of compelling wildlife photography. To achieve this on your smartphone, you'll need patience and preparation. Start by researching your subject's habits and patterns. Know when and where they're most active, and position yourself accordingly.
Use your phone's burst mode to capture quick movements or fleeting expressions. This feature takes multiple shots in rapid succession, increasing your chances of getting the perfect moment. Set your focus on the animal's eyes, as this draws viewers into the image.
Learn to anticipate action. If you're photographing birds, watch for signs they're about to take flight. For predators, look for hunting behaviors. Be ready to snap the shot when the moment arrives.
Consider using time-lapse or slow-motion features to capture unique perspectives on animal behavior. These can reveal patterns or movements not visible to the naked eye.
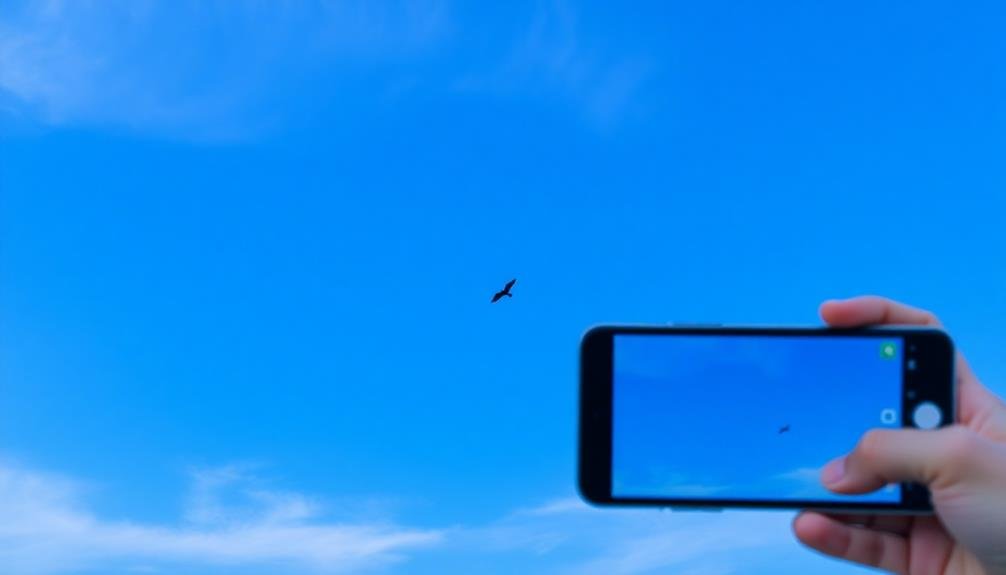
Lastly, respect wildlife and maintain a safe distance. Use your phone's zoom feature instead of approaching too closely.
Blend Into the Environment
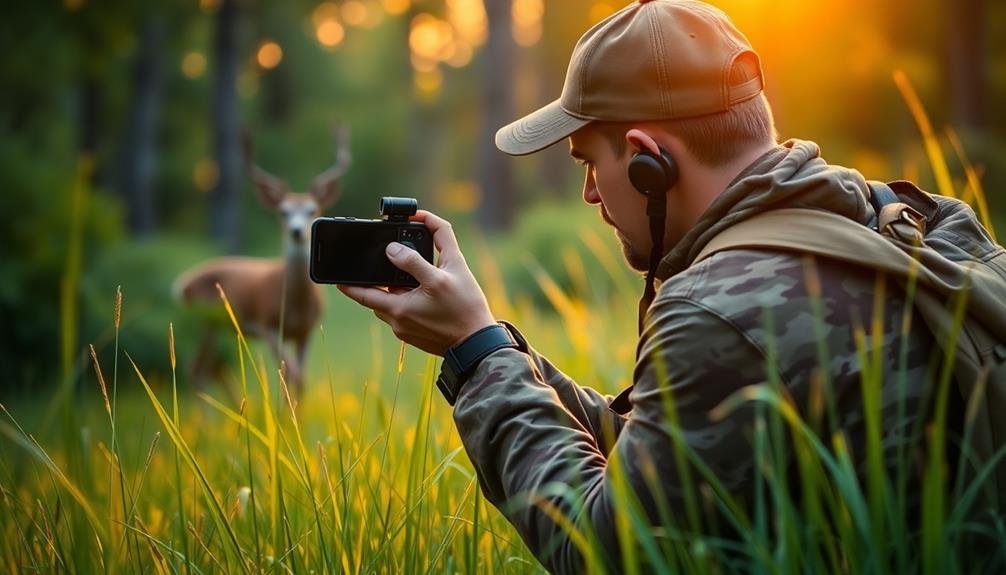
Blending into the environment is a key skill for wildlife photographers, even when using smartphones. You'll need to become part of the landscape to capture authentic wildlife moments without disturbing the animals. Wear neutral colors that match your surroundings, and avoid bright or flashy clothing that might startle your subjects. Move slowly and deliberately, minimizing sudden movements that could alert animals to your presence.
To further enhance your ability to blend in, consider these techniques:
- Use natural cover like trees, bushes, or rocks to partially conceal yourself.
- Employ a portable blind or camouflage netting for added concealment.
- Stay downwind from animals to prevent them from catching your scent.
- Arrive at your location early and remain still, allowing wildlife to become accustomed to your presence.
Remember that patience is essential when blending into the environment. You may need to wait for extended periods before animals appear or exhibit interesting behaviors.
Use this time to observe your surroundings and anticipate potential photo opportunities. By becoming one with the environment, you'll increase your chances of capturing stunning wildlife images with your smartphone.
Frequently Asked Questions
How Do You Protect Your Smartphone From Harsh Wildlife Environments?
To protect your smartphone in harsh wildlife environments, you'll want to use a rugged waterproof case, apply screen protectors, and keep it in a sealed bag when not in use. Don't forget to bring backup power banks too.
What Are the Best Smartphone Apps for Wildlife Photography?
You'll find several great apps for wildlife photography. Try ProCamera for manual controls, Snapseed for editing, and iNaturalist for species identification. Don't forget camera apps with burst mode and AI-enhanced zooming for capturing elusive animals.
How Can You Attract Wildlife for Better Photo Opportunities?
You can attract wildlife by setting up feeders or water sources near your shooting spot. Use camouflage clothing and scent blockers to blend in. Be patient and quiet, and research animal behaviors to predict their movements and habits.
Is It Ethical to Use Bait or Calls to Photograph Wildlife?
You should avoid using bait or calls to photograph wildlife. It's generally considered unethical as it can disrupt natural behavior, stress animals, and create dependency. Instead, focus on patience, observation, and respecting wildlife's natural habitat for authentic shots.
What Safety Precautions Should Be Taken When Photographing Dangerous Animals?
When photographing dangerous animals, you'll need to prioritize safety. Keep a safe distance, use telephoto lenses, stay in a vehicle if possible, and research the animal's behavior. Don't approach or provoke them. Always have an escape route planned.
In Summary
You've now got a toolkit of smartphone wildlife photography tricks at your fingertips. Remember, it's not just about the gear, but how you use it. Keep practicing these techniques, and you'll see your skills improve. Don't be afraid to experiment and find your own unique style. With patience and creativity, you'll capture stunning wildlife shots that rival those taken with professional cameras. So get out there and start snapping!


Leave a Reply