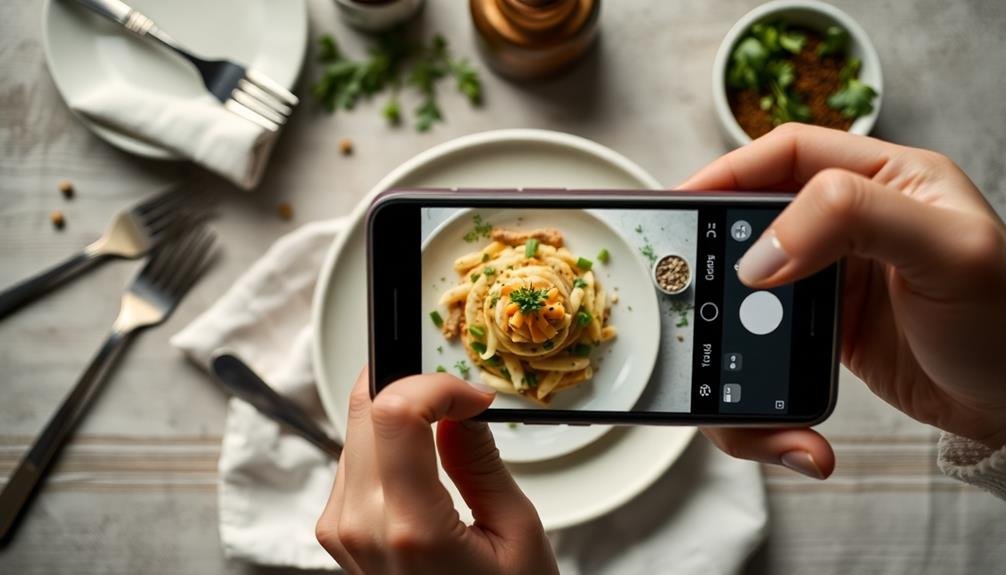
Elevate your mobile food photography with these five secrets: First, master lighting by using natural light or investing in portable LED panels. Next, apply composition techniques like the rule of thirds and negative space to create visually appealing shots. Then, enhance your images with carefully chosen props and styling elements that complement your dish. Don't forget to use editing apps like Snapseed or VSCO to fine-tune your photos, but keep adjustments subtle. Finally, capture steam and movement to add dynamism to your images. By incorporating these tips, you'll transform your food storytelling from ordinary to mouthwatering. Hungry for more? There's plenty to explore in the world of mobile food photography.
Lighting: Natural vs. Artificial
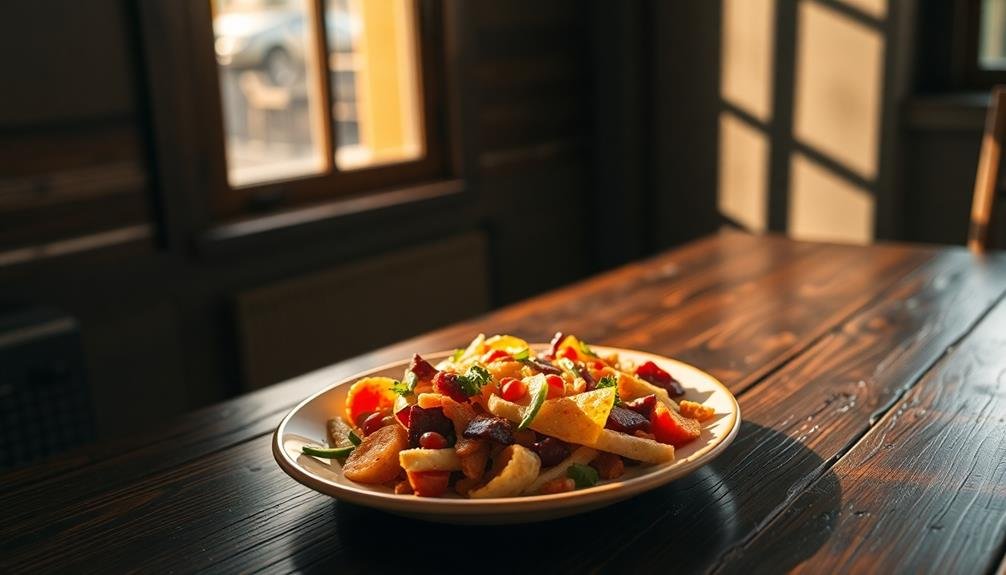
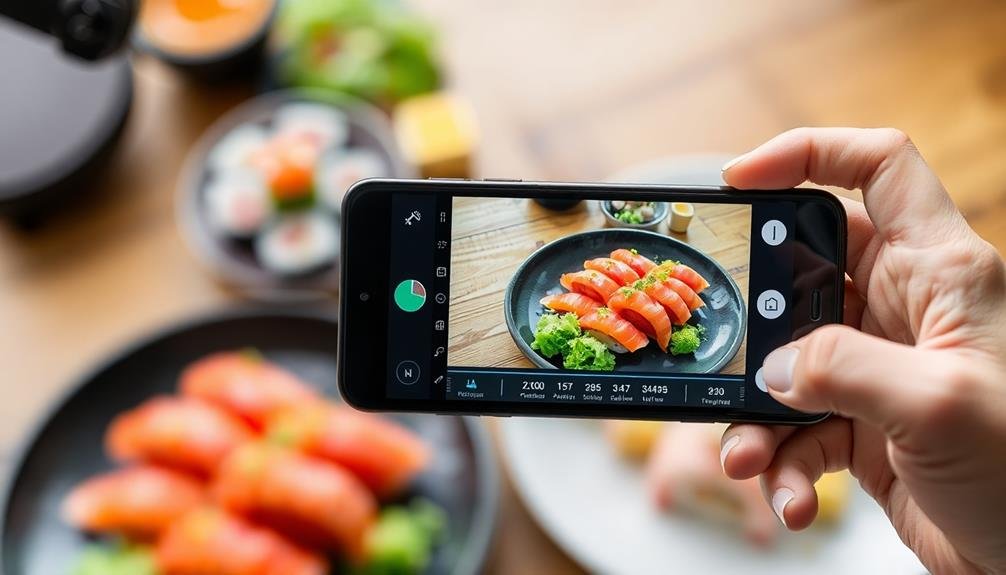
The battle between natural and artificial lighting in food photography is as old as the craft itself. When you're shooting with your mobile device, understanding the pros and cons of each can elevate your food stories.
Natural light offers a soft, flattering glow that's hard to replicate. It's free and easily accessible near windows or outdoors. You'll find it brings out the true colors and textures of your food, creating an authentic, appetizing look.
However, it's not always reliable – cloudy days or nighttime shoots can pose challenges.
Artificial lighting gives you more control. You can shoot anytime, anywhere, and maintain consistency across multiple images. It's perfect for creating dramatic shadows or highlighting specific elements of your dish.
LED panels or ring lights are popular choices for mobile photographers. The downside? Artificial light can sometimes make food look less natural or appetizing if not used correctly.
Your choice depends on your style, the mood you're trying to create, and practical considerations. Experiment with both to find what works best for your food stories.
Composition and Framing Techniques
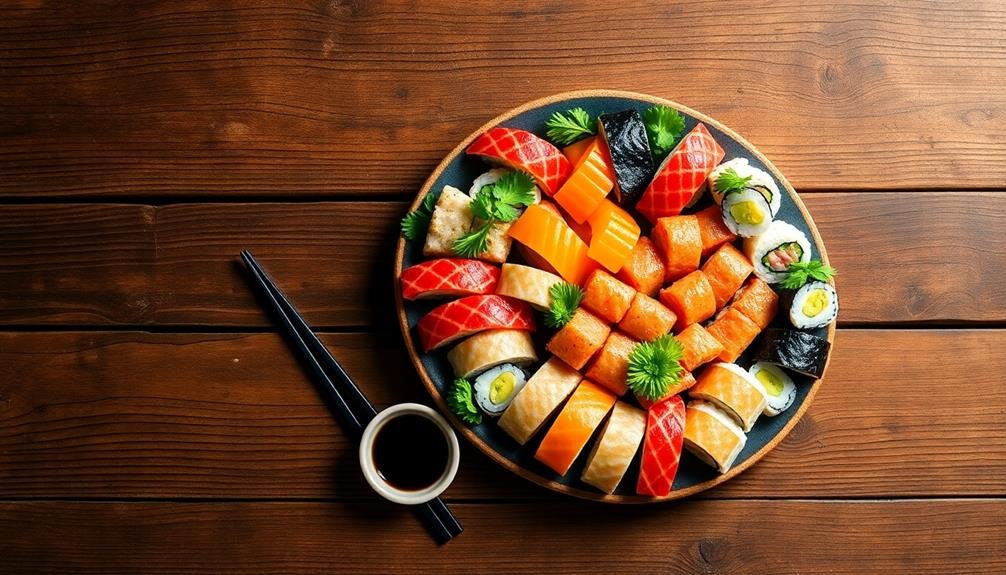
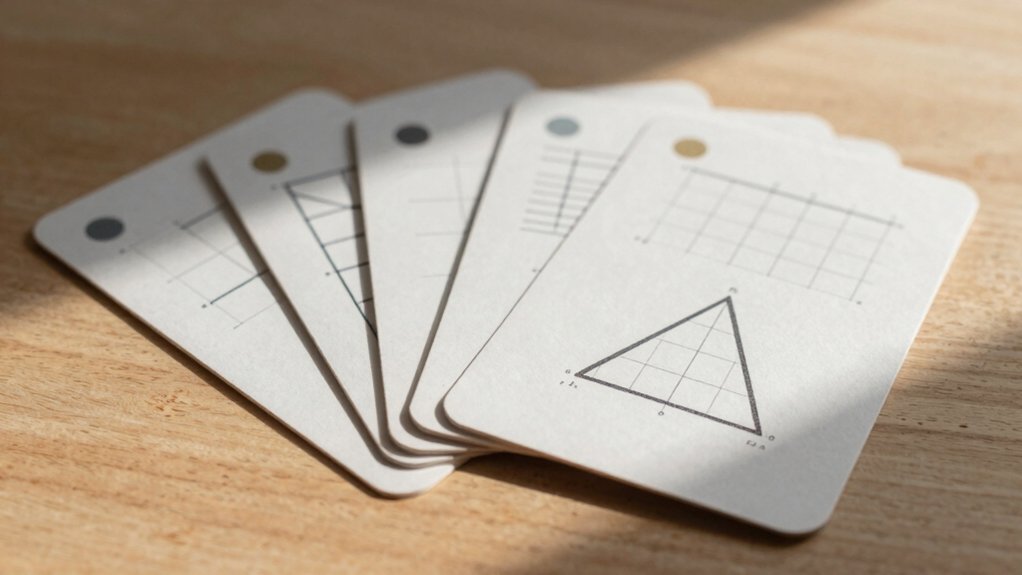
With your lighting sorted, it's time to focus on composition and framing techniques. These elements can transform an ordinary food photo into a enchanting visual story. Start by applying the rule of thirds: imagine your screen divided into a 3×3 grid and place key elements along these lines or at their intersections. This creates a more balanced and visually appealing image.
Experiment with different angles to find the most flattering perspective for your dish. Overhead shots work well for flat foods or table spreads, while a 45-degree angle can highlight texture and depth. Don't be afraid to get close and capture intricate details.
Consider the following composition techniques:
| Technique | Description | Best For |
|---|---|---|
| Negative Space | Use empty areas to draw attention | Minimalist dishes |
| Leading Lines | Guide viewer's eye through the image | Utensils, plate edges |
| Symmetry | Create balance and order | Perfectly plated meals |
| Contrast | Highlight differences in color or texture | Mixed ingredient dishes |
Remember to keep your frame clean and clutter-free. Remove distracting elements and focus on the star of your photo: the food itself. With practice, you'll develop an eye for compelling compositions that tell your culinary story.
Props and Styling Essentials
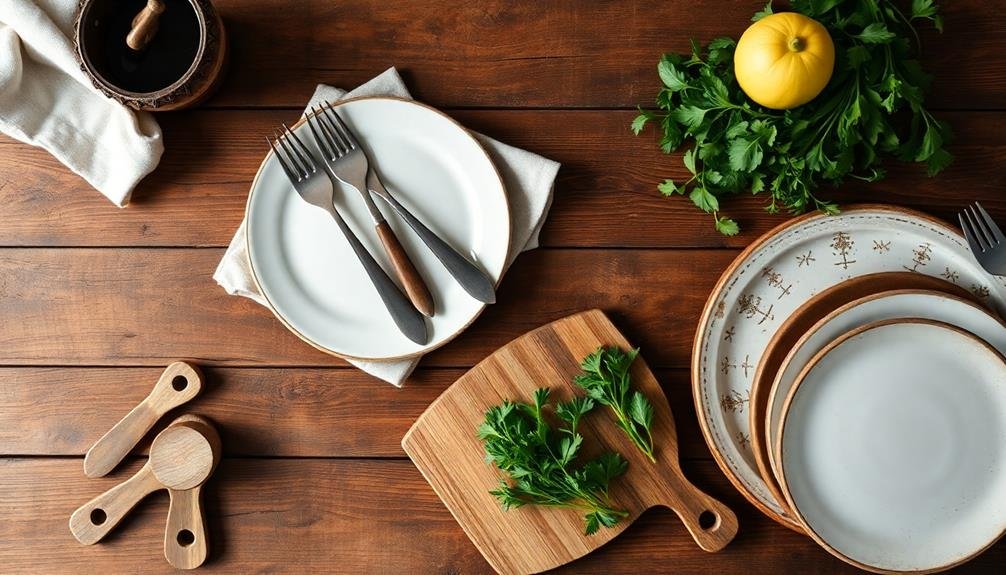
Carefully selected props and thoughtful styling can elevate your food photography from appetizing to irresistible. When choosing props, opt for items that complement your dish without overshadowing it. Use neutral-toned plates, bowls, and utensils to keep the focus on the food. Textured surfaces like worn wooden boards or marble slabs can add depth to your images.
Consider the color palette of your dish when selecting linens and backgrounds. Contrasting colors can make your food pop, while complementary hues create a harmonious look. Don't forget about negative space; it's essential for creating a balanced composition.
When styling your food, aim for a natural, just-prepared appearance. Use tweezers to place individual elements precisely, and keep a spray bottle handy to add freshness to produce. Garnishes should enhance the dish, not overpower it.
Think about the story you're telling through your image – is it a casual family meal or an elegant fine-dining experience?
Editing Apps for Food Photos
Once you've captured your mouthwatering shots, editing apps can take your food photos to the next level. These tools offer a range of features to enhance colors, adjust lighting, and perfect your composition. Some popular apps include Snapseed, VSCO, and Lightroom Mobile.
When editing food photos, focus on:
- Adjusting brightness and contrast
- Enhancing vibrance and saturation
- Sharpening details
- Applying subtle filters
Here's a quick comparison of top editing apps:
| App | Features | Ease of Use | Price |
|---|---|---|---|
| Snapseed | Selective editing, healing tool | Easy | Free |
| VSCO | Film-like presets, advanced tools | Moderate | Free/Paid |
| Lightroom | Pro-level adjustments, presets | Advanced | Free/Paid |
| Foodie | Food-specific filters | Easy | Free |
Remember to maintain a natural look when editing. Avoid over-saturating colors or applying heavy filters that might make your food appear unappetizing. Subtle adjustments often yield the best results, preserving the authenticity of your dish while enhancing its visual appeal. Experiment with different apps to find the one that best suits your style and workflow.
Capturing Steam and Movement
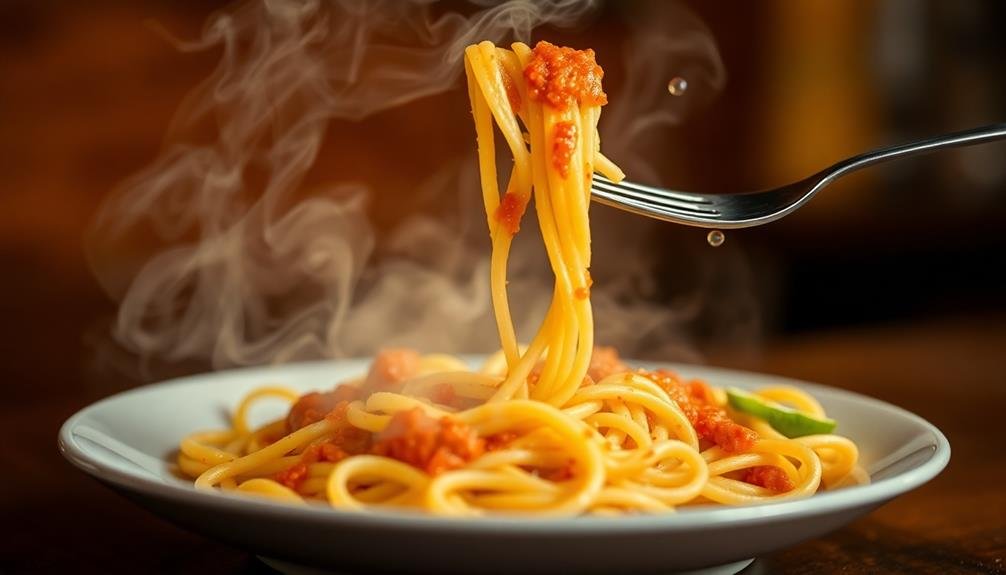
Capturing steam and movement in food photography can transform a static image into a dynamic, enticing scene. To capture steam, you'll need to create contrast. Use a dark background and side lighting to make the steam visible.
Timing is essential; photograph your dish immediately after it's prepared when steam is most abundant. For best results, use a fast shutter speed and continuous shooting mode.
To capture movement, try action shots like pouring sauce, sprinkling herbs, or tossing a salad. Use burst mode on your phone to increase your chances of getting the perfect moment.
Experiment with different angles and heights to find the most appealing composition. Don't forget to clean up any spills between shots for a polished look.
Consider using props to enhance movement, such as a hand holding a utensil or a napkin in motion. Remember to focus on the food, not just the action.
Use manual focus if available to guarantee your main subject remains sharp. With practice, you'll master the art of bringing your food photos to life through steam and movement, creating more engaging and appetizing images.
Frequently Asked Questions
How Do I Prevent Food From Wilting or Melting During Long Photo Shoots?
To prevent food from wilting or melting during long photo shoots, you'll want to use ice packs, mist with water, and work quickly. Keep dishes chilled, use stand-ins for setup, and have backup ingredients ready to swap.
What's the Best Way to Photograph Dark-Colored Foods Like Chocolate or Coffee?
To capture dark foods like chocolate or coffee, you'll want to use side lighting to create contrast. Experiment with white balance settings, adjust exposure, and consider using a light-colored background to make your subject pop.
How Can I Create a Cohesive Instagram Feed With Varied Food Photos?
To create a cohesive Instagram feed, you'll want to stick to a consistent color palette and editing style. Use similar backgrounds, props, and lighting across your photos. Plan your grid layout and alternate between close-ups and wider shots.
Are There Any Legal Considerations When Photographing Food in Restaurants?
Yes, there are legal considerations. You should always ask for permission before photographing food in restaurants. Some establishments have policies against it. Be respectful of other diners' privacy and don't disrupt the dining experience.
How Do I Capture the Texture of Foods Like Bread or Pasta?
To capture food texture, you'll want to use side lighting to create shadows. Get close with a macro lens, focus on the surface details, and adjust your aperture for depth. Don't forget to experiment with different angles.
In Summary
You've now got the tools to elevate your food photography game on mobile. Remember, it's all about experimenting and finding your unique style. Don't be afraid to play with lighting, composition, and props. Embrace editing apps to enhance your shots, and capture those mouthwatering moments of steam and movement. With practice, you'll soon be creating stunning food stories that'll make your followers' stomachs growl. So grab your phone and start shooting!


Leave a Reply