Transform your mobile photos with these powerful color grading techniques. Master split-toning to enhance mood and depth, and use LUTs for instant cinematic looks. Apply selective color adjustments to target specific hues, and create custom gradient overlays for unique effects. Harness HSL sliders to fine-tune individual color channels, and emulate classic film stocks for a vintage feel. Finally, add mood-enhancing vignettes and fades to guide the viewer's eye and evoke emotions. These seven techniques will elevate your creative expression and visual storytelling, turning ordinary snapshots into compelling images. Dive deeper to reveal the full potential of mobile photo editing.
Mastering Split-Toning on Mobile
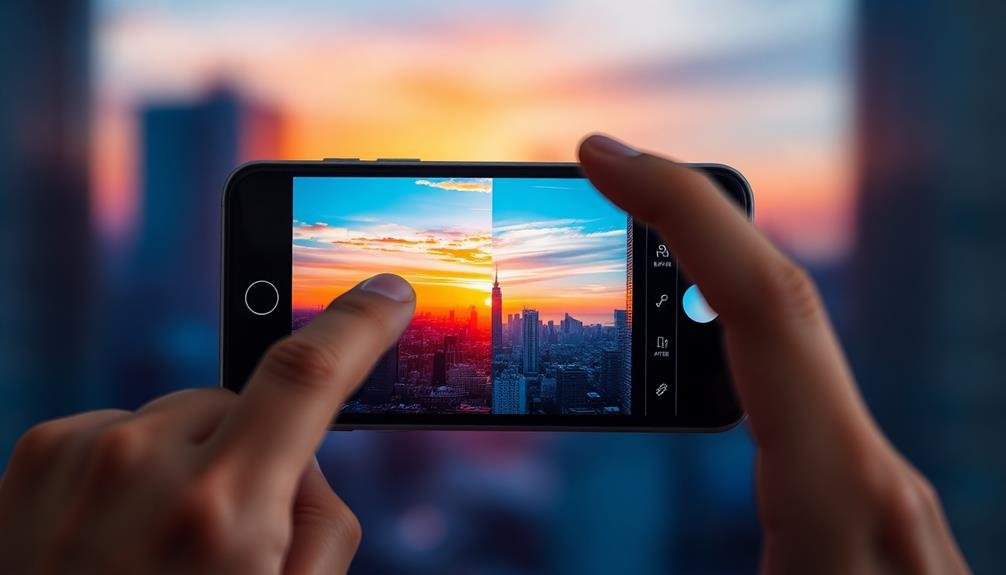
Nearly every mobile photo editing app now offers split-toning capabilities, making it easier than ever to enhance your images' mood and atmosphere.
Split-toning allows you to apply different colors to the highlights and shadows of your photo, creating a unique and stylized look.
To master split-toning on mobile, start by selecting complementary colors for your highlights and shadows. For a warm, vintage feel, try pairing yellow highlights with blue shadows. For a more dramatic effect, experiment with contrasting colors like orange and teal. Adjust the saturation and intensity of each color to find the perfect balance.
Pay attention to the midtones, as they'll blend the highlight and shadow colors. Some apps offer a balance slider to control how the colors shift. Use this to fine-tune your image's overall look.
Don't overdo it – subtle split-toning can add depth and dimension without appearing unnatural.
Practice on different types of photos to understand how split-toning affects various subjects and lighting conditions. As you gain experience, you'll develop an eye for which color combinations work best for different moods and styles.
Crafting Cinematic Looks With LUTS
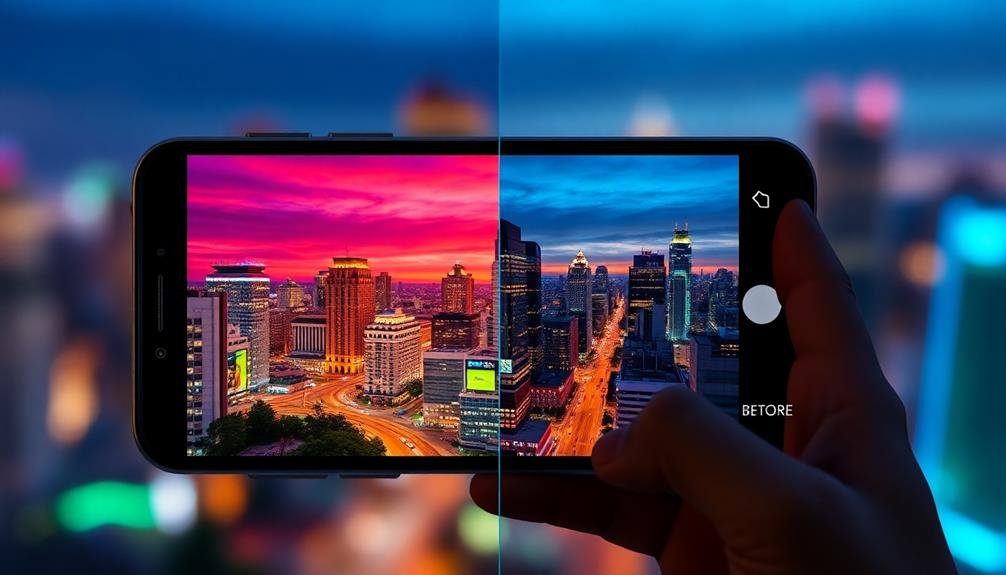
LUTs (Look-Up Tables) have revolutionized mobile photo editing, bringing cinematic color grading to your fingertips. These pre-made color profiles allow you to instantly transform your images with professional-grade looks inspired by popular films and TV shows.
To craft cinematic looks using LUTs on your mobile device, start by selecting a high-quality LUT pack compatible with your editing app. Apply the chosen LUT to your image, then fine-tune the intensity to achieve the desired effect.
Experiment with different LUTs to find the perfect match for your photo's mood and subject. Don't be afraid to layer multiple LUTs or combine them with other adjustments like contrast, saturation, and sharpness. Remember that LUTs are a starting point, not a one-click solution. Use them as a foundation to develop your unique style.
Here are five popular cinematic looks you can achieve with LUTs:
- Warm, golden-hour tones reminiscent of Wes Anderson films
- Cool, blue-tinted shadows inspired by sci-fi blockbusters
- Muted, vintage-inspired colors for a nostalgic feel
- High-contrast, desaturated looks emulating war movies
- Rich, vibrant hues inspired by fantasy and superhero films
Selective Color Adjustments

Selective color adjustments allow you to target specific hues in your mobile photos for precise enhancements.
You can isolate individual color ranges, such as blues, greens, or skin tones, to fine-tune their saturation, brightness, and hue.
Enhancing Specific Color Ranges
With selective color adjustments, you can transform specific hues in your mobile photos without affecting the entire image. This technique allows you to enhance or mute particular color ranges, creating a more balanced and visually appealing composition.
By isolating individual colors, you'll have precise control over the mood and emphasis of your photo.
To effectively enhance specific color ranges, consider these key points:
- Identify the dominant colors in your image
- Determine which colors you want to emphasize or tone down
- Use the HSL (Hue, Saturation, Luminance) sliders in your editing app
- Experiment with complementary colors to create contrast
- Pay attention to how color changes affect the overall balance of your photo
When enhancing specific color ranges, start by making subtle adjustments. Gradually increase the intensity until you achieve the desired effect.
Remember that small changes can have a significant impact on the overall look of your image. By mastering this technique, you'll be able to create unique and eye-catching mobile photos that stand out from the crowd.
Practice regularly to develop your color grading skills and discover your personal style in mobile photography.
Isolating Tones for Adjustments
Beyond enhancing specific color ranges, isolating tones for adjustments allows you to fine-tune your mobile photos with surgical precision. This technique, often called selective color adjustment, lets you target specific tonal ranges without affecting the entire image.
To isolate tones effectively, you'll need to understand the luminosity range of your photo. Most mobile editing apps offer tools to select highlights, midtones, and shadows independently. You can then adjust these isolated tones for contrast, saturation, or even color shifts.
Here's a quick guide to common tonal adjustments:
| Tonal Range | Contrast | Saturation | Color Shift |
|---|---|---|---|
| Highlights | Increase | Decrease | Cool tones |
| Midtones | Neutral | Increase | Warm tones |
| Shadows | Decrease | Neutral | Deep tones |
| Blacks | Increase | Decrease | Rich blacks |
| Whites | Decrease | Neutral | Pure whites |
Creating Custom Gradient Overlays
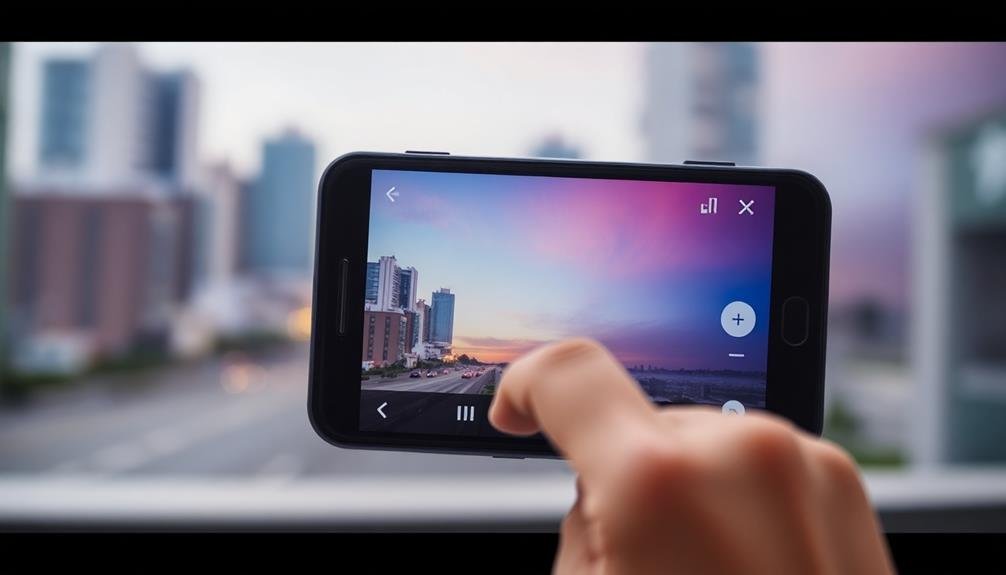
Custom gradient overlays offer a powerful way to enhance your mobile photos with unique color effects. They allow you to add depth, atmosphere, and mood to your images by blending multiple colors across the frame.
To create custom gradients, you'll need a photo editing app that supports layering and gradient tools. Start by selecting your base image and adding a new layer on top. Choose your gradient colors and adjust the direction, opacity, and blending mode to achieve the desired effect.
Experiment with different color combinations and gradient directions to create various moods:
- Sunset-inspired: Orange to purple for a warm, dreamy look
- Ocean vibes: Teal to deep blue for a coastal feel
- Dramatic contrast: Dark blue to bright yellow for a cinematic effect
- Subtle warmth: Soft yellow to light pink for a gentle glow
- Moody atmosphere: Deep green to dark purple for a mysterious ambiance
Once you've created a gradient you like, save it as a preset for future use. This will streamline your editing process and help maintain consistency across your photo series.
Remember to adjust the overlay's opacity to guarantee it complements rather than overpowers your original image. With practice, you'll develop a keen eye for creating custom gradients that elevate your mobile photography.
Harnessing HSL Sliders for Impact
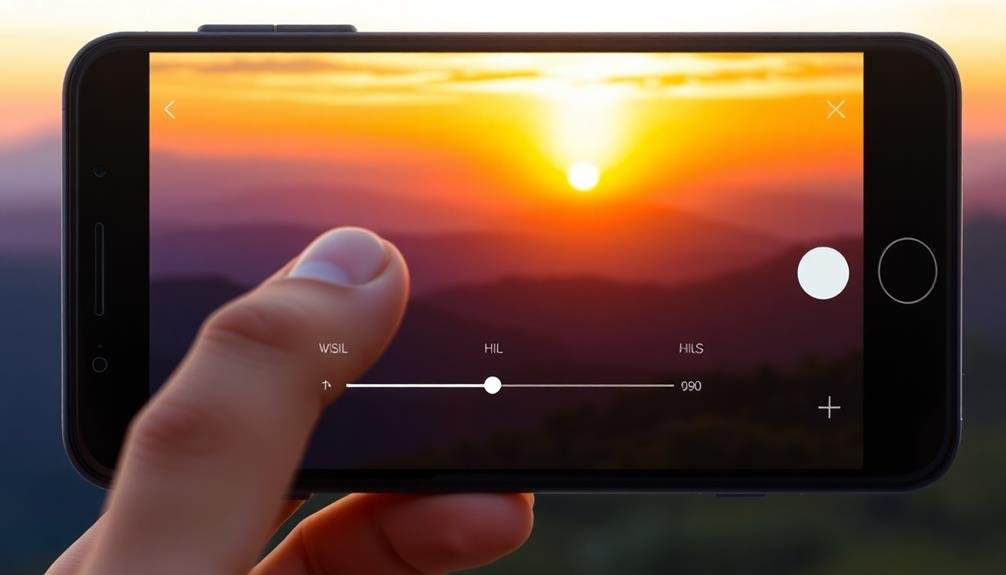
HSL (Hue, Saturation, Lightness) sliders are powerful tools that allow you to make selective color adjustments in your mobile photos.
You'll find these sliders invaluable for creating mood palettes that evoke specific emotions or atmospheres in your images.
Selective Color Adjustments
With selective color adjustments, you'll reveal a powerful tool for enhancing your mobile photos. This technique allows you to target specific color ranges within your image, giving you precise control over hues, saturation, and luminance. By isolating individual colors, you can create dramatic effects or subtle improvements that elevate your photography.
To make the most of selective color adjustments, focus on these key areas:
- Skin tones: Refine complexions by adjusting reds and oranges
- Sky: Enhance blue hues for more vibrant or muted atmospheres
- Foliage: Tweak greens to create lush landscapes or autumn scenes
- Water: Modify cyan and blue tones for clearer or moodier water bodies
- Highlights and shadows: Fine-tune yellows and blacks for depth
When using selective color adjustments, start with small changes and build gradually. Pay attention to how adjustments in one color range affect others.
For example, altering yellows might impact skin tones or foliage. Experiment with different combinations to achieve your desired look.
Creating Mood Palettes
Building on your selective color skills, you can now craft entire mood palettes using HSL sliders. These powerful tools allow you to manipulate hue, saturation, and luminance for each color channel, giving you precise control over your image's mood and atmosphere.
To create a cohesive mood palette:
- Identify your dominant colors
- Adjust HSL sliders for each color
- Fine-tune relationships between colors
Here's a guide to common moods and their associated HSL adjustments:
| Mood | Hue | Saturation | Luminance |
|---|---|---|---|
| Warm | Shift reds | Boost oranges | Lift yellows |
| Cool | Shift blues | Boost cyans | Lower greens |
| Vintage | Shift yellows | Lower overall | Lift shadows |
| Dramatic | Shift magentas | Boost reds | Lower blacks |
Enhancing Specific Elements
After mastering mood palettes, it's time to focus on enhancing specific elements in your photos using HSL sliders. These powerful tools allow you to target specific colors within your image, adjusting their hue, saturation, and luminance independently. This precision editing can dramatically impact your photo's overall look and feel.
Start by identifying the key colors in your image that you want to emphasize or tone down. Then, use the HSL sliders to make subtle adjustments. For example, you can boost the saturation of a sunset sky to make it more vibrant or decrease the luminance of distracting background elements to draw attention to your subject.
Here's what you can achieve with HSL sliders:
- Make skin tones appear more natural or add a stylized look
- Enhance the color of foliage in landscape shots
- Create separation between similar colors in your composition
- Adjust the mood of your image by shifting color temperatures
- Isolate and emphasize specific objects within the frame
Emulating Film Stocks Digitally
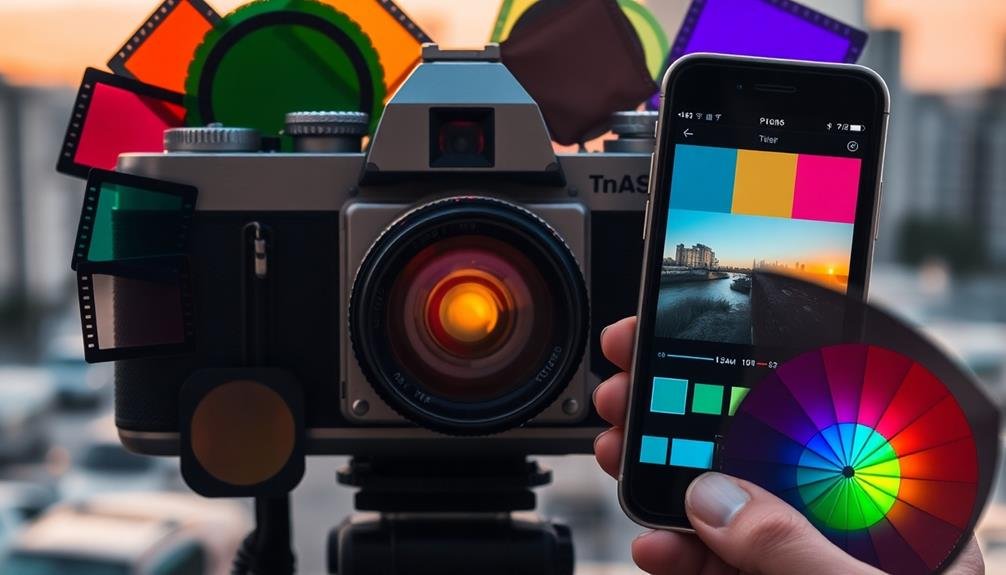
Although digital photography has largely replaced film, many photographers still crave the unique aesthetic of classic film stocks. Fortunately, you can now emulate these beloved looks on your mobile device. Start by familiarizing yourself with popular film stocks like Kodak Portra, Fujifilm Velvia, or Ilford HP5. Each has distinct color profiles, contrast levels, and grain patterns.
To achieve film-like results, use apps that offer film presets or manual adjustments. Adjust your image's color temperature, tint, and saturation to match your chosen film stock. Pay attention to highlights and shadows, as different films handle these areas uniquely.
Don't forget to add grain – a vital element in recreating that analog feel. Experiment with curves to fine-tune contrast and color balance. Many films have characteristic S-curves that you can replicate.
For black and white emulations, focus on tonal range and contrast. Remember that film often has a softer, more organic look than digital, so avoid over-sharpening.
Lastly, consider the era of the film you're emulating. Older stocks may have a more muted palette, while modern films can be more vibrant. With practice, you'll develop an eye for these nuances and create convincing film-like images on your mobile device.
Mood-Enhancing Vignettes and Fades
Vignettes and fades are powerful tools for enhancing the mood and focus of your mobile photos. These subtle effects can draw attention to your subject, create depth, and evoke specific emotions. When applied thoughtfully, vignettes darken the edges of your image, while fades soften the overall contrast and color intensity.
To create mood-enhancing vignettes and fades, consider these techniques:
- Use a radial gradient to apply a soft, circular vignette
- Experiment with linear gradients for a more dramatic fade effect
- Adjust the opacity and feathering to achieve a natural look
- Combine vignettes with color tints to amplify the mood
- Try inverse vignettes (lighter edges) for a dreamy atmosphere
Start by applying these effects subtly, then gradually increase their intensity until you achieve the desired impact. Remember, the goal is to enhance your image without drawing attention to the effect itself.
Many mobile editing apps offer built-in vignette and fade tools, making it easy to experiment with different styles. As you refine your technique, you'll discover how these simple adjustments can transform an ordinary photo into a compelling visual story, guiding your viewer's eye and evoking the intended emotional response.
Frequently Asked Questions
How Do Color Grading Techniques Impact File Size and Device Storage?
Color grading can increase your file sizes due to added data. You'll notice larger files taking up more device storage. However, using efficient formats and compression techniques can help minimize the impact on your storage space.
Can Color Grading Affect Facial Recognition in Social Media Apps?
Yes, color grading can affect facial recognition in social media apps. If you're altering skin tones or changing contrast considerably, you might confuse algorithms. However, most modern facial recognition systems are robust enough to handle minor adjustments.
Are There Copyright Concerns When Using Preset Filters From Popular Influencers?
You should be cautious when using preset filters from influencers. There can be copyright concerns, especially if they're sold commercially. It's best to check the terms of use or get explicit permission before using them publicly.
How Does Color Grading Influence Battery Life on Mobile Devices?
Color grading can impact your device's battery life. When you're editing photos intensively, your screen brightness increases and your processor works harder. This combination drains your battery faster than usual, so you'll want to monitor your power usage carefully.
What Are the Best Practices for Color Grading HDR Photos?
For HDR color grading, you'll want to balance highlights and shadows carefully. Adjust contrast, saturation, and color temperature to enhance depth. Don't overdo it; aim for natural-looking results. Use selective adjustments to fine-tune specific areas.
In Summary
You've now got a toolkit of powerful color grading techniques at your fingertips. Don't be afraid to experiment and combine these methods to create your unique style. Remember, there's no right or wrong in creative expression. Trust your eye, push boundaries, and let your imagination run wild. With practice, you'll develop an instinct for enhancing mood and atmosphere in your mobile photos. So grab your phone and start grading – your artistic journey awaits!


Leave a Reply