To capture stunning window reflections with your phone, start by finding clean, large windows in urban settings during golden hour or after dark. Adjust your camera settings, enabling HDR and manual focus for sharp details. Position yourself at different angles to find the perfect reflection, and use nearby objects to add depth. Master light and shadows by experimenting with backlit scenes and high-contrast situations. Apply composition techniques like the rule of thirds and symmetry for visually striking images. Post-processing can enhance details and create the desired mood. With these pro tips, you'll reveal a world of enchanting imagery that blends realities.
Understanding Window Reflection Photography

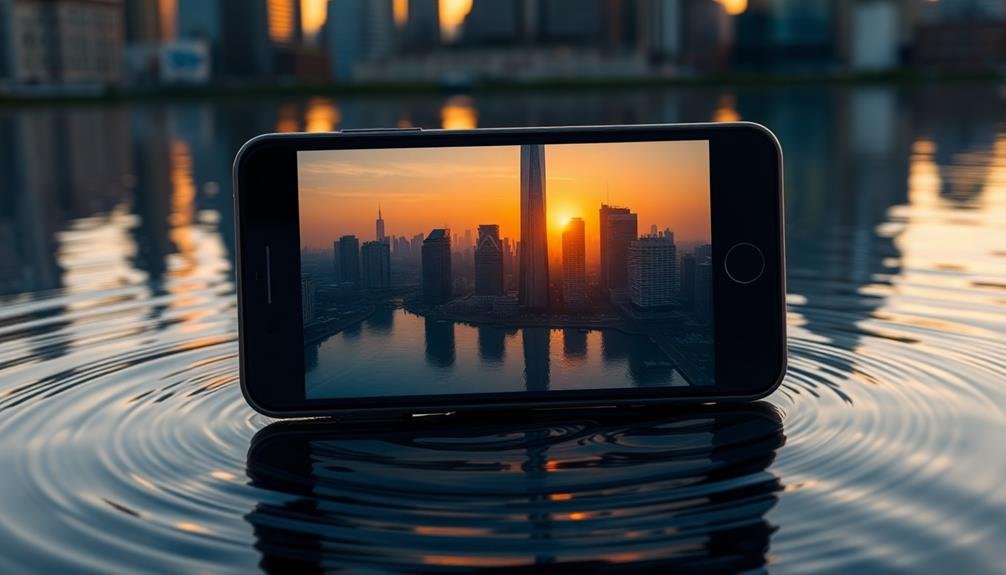
Through the lens of your smartphone, window reflection photography opens up a world of creative possibilities. This unique form of photography captures both the scene behind the glass and the reflections on its surface, creating a fascinating blend of realities.
To master this technique, you'll need to understand how light interacts with glass and how your phone's camera interprets these interactions.
Window reflections are most visible when there's a significant contrast between the light levels on either side of the glass. You'll get the best results during golden hour or after dark when interior lights are on.
Pay attention to the angle of your shot; it affects the intensity and clarity of the reflection. Experiment with different perspectives to find the perfect balance between the reflected image and the scene beyond.
Your phone's camera settings play an essential role. Use the HDR mode to capture a wider range of light and dark tones.
Adjust your exposure to highlight either the reflection or the scene behind the glass. Focus on the reflection itself or the background to create different effects.
Choosing the Perfect Location

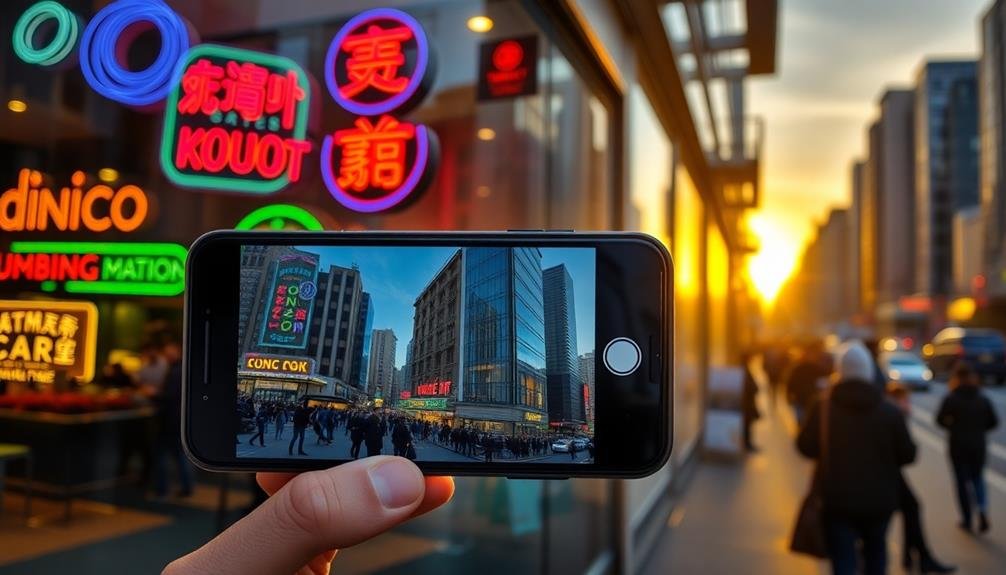
Frequently, the success of window reflection photography hinges on selecting the right location. You'll want to find a spot with clean, large windows that offer interesting reflections of the surrounding environment. Urban areas with modern architecture, bustling streets, or colorful storefronts can provide enchanting subjects for your photos.
Look for windows that aren't tinted or heavily textured, as these can distort reflections. Seek out locations with contrasting elements, such as a quiet cafe window reflecting a busy street or a skyscraper's glass facade mirroring neighboring buildings.
Time of day matters too; early morning or late afternoon light can create dramatic reflections and long shadows. Consider the angle of the sun relative to your chosen window. You'll often get the best results when the sun is at a 45-degree angle to the glass surface.
Don't forget about indoor locations like museums, shopping malls, or airports, which can offer unique reflection opportunities. Finally, be mindful of privacy and property rules when photographing reflections in private or restricted areas. Always ask for permission when necessary to avoid any legal issues.
Adjusting Phone Camera Settings

Once you've found the perfect location, it's time to fine-tune your phone's camera settings for ideal reflection shots.
Start by adjusting your exposure. Tap on the reflection in your phone's viewfinder and slide the exposure bar down slightly. This will help maintain details in both the reflection and the surrounding scene.
Next, focus on your phone's HDR (High Dynamic Range) setting. Enable it to capture a wider range of tones, especially useful when dealing with contrasting light conditions often found in reflection photography.
Consider these additional camera settings to enhance your reflection shots:
- Manual focus: Use this to guarantee the reflection is sharp and in focus
- Grid lines: Enable these to help compose your shot using the rule of thirds
- RAW format: If available, shoot in RAW for greater editing flexibility later
Experiment with your phone's different camera modes, such as portrait or pro mode, to see which yields the best results for your specific scene.
Don't forget to clean your lens before shooting to avoid unwanted smudges or distortions in your reflections.
With these adjustments, you'll be well-equipped to capture stunning window reflection photos using just your smartphone.
Positioning for Optimal Reflections
Finding the right position is essential for capturing stunning window reflections. Start by moving around the window to find the best angle. You'll want to avoid direct sunlight on your phone's screen, as it can create glare and make it difficult to see your composition. Instead, look for areas where the light is softer and more diffused.
Consider the distance between your phone and the window. Getting too close can result in unwanted reflections of your device, while being too far may reduce the clarity of the reflection. Experiment with different distances to find the sweet spot for your particular scene.
Pay attention to your surroundings and use them to your advantage. Objects near the window can add depth and interest to your reflection shots. Try positioning yourself at different heights – crouching down or standing on tiptoe can dramatically change the perspective of your reflection.
Don't forget to stabilize your phone. Use both hands or lean against a stable surface to minimize camera shake. If available, a small tripod can be invaluable for achieving sharp, clear reflections, especially in low-light conditions.
Mastering Light and Shadows

With your phone positioned correctly, it's time to focus on the interplay of light and shadows in your reflection shots. Understanding how light affects your images is essential for capturing stunning window reflections.
Pay attention to the direction and intensity of light sources, both natural and artificial. Aim to shoot during the golden hour for warm, soft lighting that enhances reflections.
Experiment with backlit scenes to create dramatic silhouettes and add depth to your images. Use shadows strategically to frame your subject or add intrigue to the composition.
Don't shy away from high-contrast situations; they can produce striking results when handled skillfully.
To master light and shadows in your reflection photography:
- Play with exposure compensation to fine-tune the balance between highlights and shadows
- Use HDR mode for challenging lighting conditions to capture a wider range of tones
- Experiment with black and white filters to emphasize contrast and texture in reflections
Composition Techniques for Reflections

Composing alluring reflection shots requires more than just pointing your phone at a window. You'll need to take into account several key elements to create fascinating images.
First, focus on symmetry and balance. Position yourself so that the reflection creates a harmonious composition with the real-world elements. Look for interesting lines, shapes, and patterns that can be mirrored in the reflection.
Next, experiment with the rule of thirds. Place your main subject or the point where the reflection meets reality along these imaginary lines for a more dynamic image. Don't be afraid to tilt your phone to create unique angles and perspectives. Sometimes, a slight diagonal can add drama to your shot.
Think about framing your subject within the reflection itself. Use window frames, architectural elements, or even people to create a natural border around your main focus.
Play with depth by including both near and far elements in your composition. This can create a sense of dimension and intrigue in your image.
Lastly, don't overlook the power of negative space. Sometimes, a minimalist approach with a single striking reflection against a plain background can be incredibly impactful.
Post-Processing Reflection Photos

Once you've captured your reflection shots, it's time to enhance them through post-processing. Start by adjusting the exposure and contrast to bring out the details in both the reflected and real elements of your image.
Use the highlights and shadows sliders to balance the light and dark areas, ensuring neither is overpowered.
Next, focus on color correction. Reflections can often introduce color casts, so use white balance tools to neutralize unwanted tints.
Boost saturation selectively to make certain elements pop while maintaining a natural look overall.
Consider these advanced techniques to elevate your reflection photos:
- Use selective masking to adjust the reflection and subject separately
- Apply subtle vignetting to draw attention to the center of the image
- Experiment with split toning to create a unique mood
Frequently Asked Questions
Can Window Reflection Photography Be Done With Older Smartphone Models?
Yes, you can do window reflection photography with older smartphones. While newer models offer better features, you'll still capture stunning reflections with an older phone. Focus on composition, lighting, and angles to make the most of your device's capabilities.
How Do You Prevent Glare When Shooting Reflections on Sunny Days?
You'll want to use a polarizing filter to reduce glare on sunny days. If you don't have one, try adjusting your angle, shielding the lens with your hand, or waiting for clouds to diffuse the harsh sunlight.
Are There Specific Apps That Enhance Window Reflection Photography?
You'll find several apps that enhance window reflection photography. Try Snapseed for precise adjustments, VSCO for filters, or Lightroom Mobile for advanced editing. These apps can help you fine-tune reflections, adjust contrast, and enhance overall image quality.
What Safety Precautions Should Be Taken When Photographing Reflections in Public Spaces?
When photographing reflections in public, you'll want to be aware of your surroundings. Don't obstruct paths or traffic. Respect people's privacy, and avoid capturing identifiable faces without permission. Be cautious near water or busy streets.
How Can You Create Artistic Distortions in Window Reflection Photographs?
You can create artistic distortions in window reflections by using curved surfaces, experimenting with water droplets, or employing prisms. Try shooting through textured glass, adjusting focus, or using editing tools to enhance and manipulate reflections for unique effects.
In Summary
You've now got the tools to create stunning window reflection photos with your phone. Remember, it's all about finding the right spot, tweaking your camera settings, and nailing the composition. Don't be afraid to experiment with light and shadows. With practice, you'll capture mirror-like magic that'll wow your followers. So get out there, start shooting, and let your creativity shine through those reflective surfaces. Your best shots are waiting!


Leave a Reply