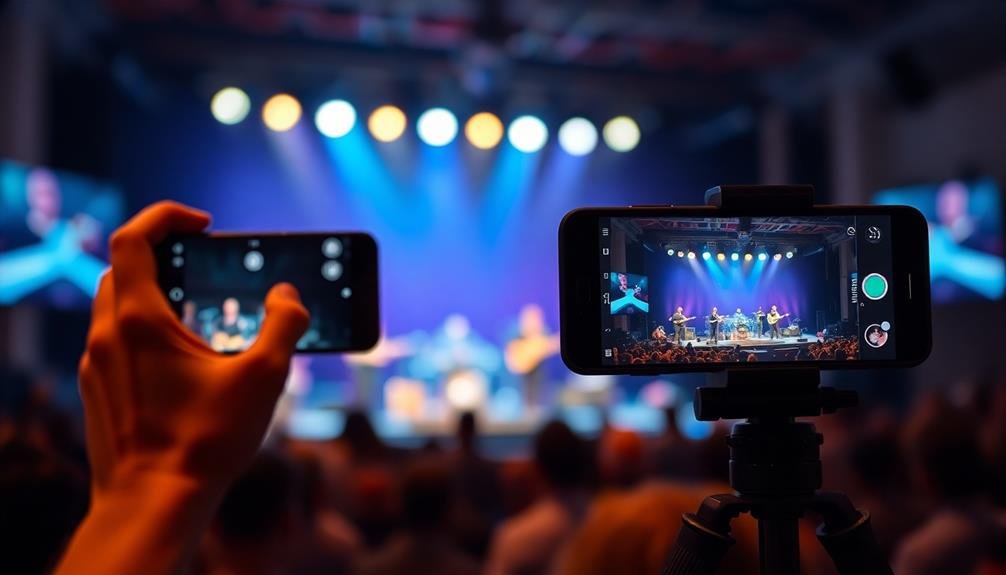
Tripods are essential for capturing stunning concert photos with your mobile device. They help you overcome low light challenges, ensuring sharp images even in dimly lit venues. With a tripod, you'll achieve steady shots in crowded spaces and explore creative long exposure techniques. It enhances your smartphone's camera control, allowing for better composition and framing. You can experiment with unique angles and perspectives, capture time-lapse videos, and enjoy hands-free recording options. By stabilizing your device, tripods greatly improve image quality and detail, transforming your concert snapshots into professional-looking photographs. Dive deeper to access the full potential of your mobile concert photography.
Low Light Challenges
Steering through the dim environment of concert venues presents a significant challenge for photographers.
You'll often find yourself struggling to capture clear, sharp images due to the low light conditions. Concert lighting is typically dynamic and unpredictable, with sudden bursts of brightness followed by near-darkness. This constant flux makes it difficult for your camera's auto-focus to lock onto subjects effectively.
When you're shooting handheld in these conditions, you'll need to use higher ISO settings, which can introduce unwanted noise to your images. You might also be forced to use slower shutter speeds, increasing the risk of motion blur from both the performers' movements and your own hand shake.
A tripod can help you overcome these obstacles.
It'll allow you to use longer exposure times without introducing camera shake, enabling you to capture more light and maintain lower ISO settings. You'll be able to achieve sharper images, even in the darkest corners of the venue.
With a stable platform, you can also experiment with creative techniques like light trails or multiple exposures, enhancing your concert photography repertoire.
Steady Shots in Crowds
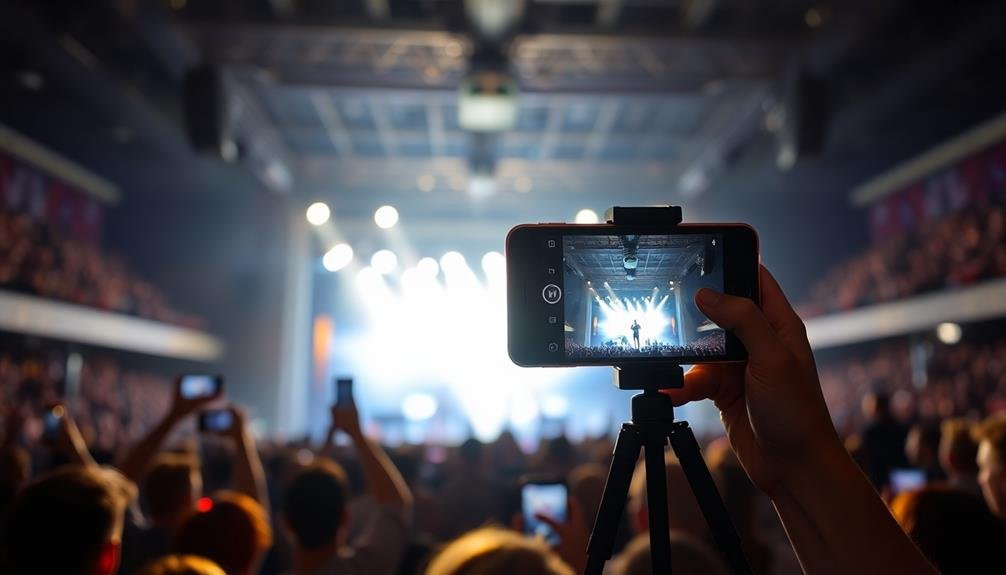
Capturing steady shots in crowded concert venues presents three main challenges: limited space, constant movement, and unpredictable audience behavior. You'll often find yourself squeezed between enthusiastic fans, making it difficult to maintain a stable position for your mobile device. The constant jostling and bumping can cause your hands to shake, resulting in blurry images.
To combat these issues, a compact tripod for your mobile device is essential. It provides a stable base, allowing you to take crisp photos even in tight spaces. Look for a tripod with flexible legs that can wrap around railings or grip uneven surfaces. This versatility lets you set up your shot in unconventional spots, giving you unique angles while keeping your device steady.
When using a tripod in crowds, be mindful of others. Choose a position that won't obstruct views or create a tripping hazard. Consider a telescoping tripod that can extend above the crowd, providing a clear view of the stage.
Remember to secure your device firmly to the tripod to prevent accidents in the dynamic concert environment. With a tripod, you'll capture sharper, more professional-looking concert photos, even in challenging crowd conditions.
Image Sharpness and Detail
You'll notice a significant improvement in image sharpness and detail when using a tripod for concert photography.
Your camera's low-light performance will be enhanced, allowing you to capture crisp images even in dimly lit venues.
Additionally, you'll achieve better zoom stability and gain the ability to experiment with long exposure shots, opening up new creative possibilities for your concert photos.
Low-Light Performance Enhancement
While concert lighting can be challenging, enhancing your camera's low-light performance is essential for achieving sharp, detailed images.
Using a tripod for your mobile device can greatly improve your low-light photography at concerts. It allows you to use slower shutter speeds without introducing camera shake, resulting in cleaner, less grainy images.
With a stable platform, you can experiment with longer exposures to capture more light. This technique helps you maintain lower ISO settings, reducing digital noise and preserving image quality. You'll also be able to use smaller apertures, increasing depth of field and ensuring more of the scene is in focus.
Many mobile devices now offer night mode or specialized low-light settings. These features often work best when the camera remains still, making a tripod indispensable. You can also explore manual controls, adjusting settings like ISO, shutter speed, and white balance to optimize your shots in challenging lighting conditions.
Don't forget to use your tripod for capturing video footage too. Stable video recordings will look more professional and engaging, allowing you to relive the concert experience with crisp, clear visuals.
Zoom Stability Improvement
Zooming in on distant performers can be a challenge when shooting concert photos with a mobile device. As you zoom in, even the slightest hand movement can result in blurry, unusable images. That's where a tripod comes in handy. By stabilizing your device, a tripod greatly improves zoom stability, allowing you to capture sharper, more detailed photos of performers on stage.
When you're using a tripod, you'll notice a dramatic improvement in image quality, especially at higher zoom levels. You'll be able to frame your shots more precisely and maintain that composition throughout the performance.
The increased stability also means you can use slower shutter speeds without introducing camera shake, which is particularly useful in low-light concert environments.
Moreover, a tripod enables you to experiment with different zoom levels without worrying about image blur. You can smoothly shift from wide-angle shots of the entire stage to close-ups of individual band members, all while maintaining excellent image sharpness.
This versatility allows you to capture a diverse range of photos that truly showcase the concert experience, from sweeping views to intimate details of the performers.
Long Exposure Capabilities
Another significant advantage of using a tripod for concert photography is its ability to enable long exposure shots. When you're capturing the energy of a live performance, long exposures can create stunning light trails and motion blur effects that convey the excitement of the show. With a tripod, you'll keep your mobile device steady for several seconds or even minutes, allowing you to experiment with these creative techniques.
Long exposures also help in low-light situations, which are common at concerts. By keeping the shutter open longer, you'll gather more light, resulting in brighter, clearer images without relying on high ISO settings that introduce noise. You'll capture sharper details of the stage, instruments, and performers, even in dimly lit venues.
Moreover, a tripod lets you use slower shutter speeds to capture movement creatively. You can blur the motion of energetic performers or flowing stage effects while keeping stationary elements crisp. This technique adds depth and dynamism to your concert photos, making them stand out from typical snapshots.
With a tripod, you'll have the stability to push your mobile device's camera to its limits, producing professional-quality concert images that truly capture the essence of the performance.
Long Exposure Techniques
When experimenting with long exposure techniques at concerts, you'll discover exciting creative possibilities.
You can capture light trails and streaks from stage lights, or use slower shutter speeds to showcase motion blur from performers.
For a different effect, try combining a long exposure with a flash to freeze the subject while blurring the background.
Light Trails and Streaks
Long exposure techniques can transform concert photography, creating enchanting light trails and streaks. You'll capture the dynamic energy of live performances by leaving your camera's shutter open for extended periods. This technique works best with a tripod to keep your mobile device steady.
To achieve stunning light trails, focus on bright, moving light sources like stage lights, lasers, or LED wristbands. Experiment with different shutter speeds to control the length and intensity of the streaks. Start with 1-2 second exposures and adjust based on the lighting conditions and desired effect.
Here's a guide to common light trail effects and their settings:
| Effect | Shutter Speed | ISO | Aperture |
|---|---|---|---|
| Soft streaks | 1/2 – 1 sec | 100-400 | f/8-f/11 |
| Long trails | 2-4 sec | 100-200 | f/11-f/16 |
| Star bursts | 1/15 – 1/4 sec | 400-800 | f/5.6-f/8 |
| Light painting | 10-30 sec | 100-200 | f/11-f/16 |
Remember to use your tripod's remote shutter or timer function to minimize camera shake. With practice, you'll master capturing the visual spectacle of concerts through enchanting light trails and streaks.
Capturing Motion Blur
Motion blur techniques offer another dimension to concert photography, complementing the light trails and streaks we've explored.
To capture motion blur effectively, you'll need to use longer exposure times, typically between 1/15 and 1 second. This is where your tripod becomes indispensable, keeping your mobile device steady during these extended shots.
When shooting concerts, focus on capturing the movement of performers or the crowd. You can create a sense of energy by blurring the motion of a guitarist's strumming hand or a drummer's sticks.
For crowd shots, try to capture the movement of dancing fans or waving arms. Experiment with different shutter speeds to find the right balance between blur and recognizable subjects.
To enhance your motion blur shots, consider using burst mode or combining multiple exposures in post-processing. This technique allows you to create a composite image with both sharp and blurred elements, adding depth to your photos.
Remember to adjust your ISO and aperture settings to compensate for the longer exposure times, ensuring proper exposure in the often challenging lighting conditions of concert venues.
Freeze-Frame With Flash
After mastering motion blur, it's time to explore the opposite end of the spectrum: freeze-frame photography with flash. This technique allows you to capture sharp, crisp images of performers in action, even in low-light conditions. To achieve this effect, you'll need to use your mobile device's flash or an external flash unit.
Set your camera app to manual mode and adjust the ISO to a lower setting, around 100-400, to minimize noise. Choose a faster shutter speed, typically 1/250 second or faster, to freeze the action. Use a smaller aperture (higher f-number) to increase depth of field and guarantee more of the scene is in focus.
When using flash, be mindful of your device's limitations. Most built-in flashes have a limited range, so position yourself closer to the stage if possible. For better results, consider using an external flash unit with a higher output. Sync your flash to the beginning of the exposure (front-curtain sync) to capture the initial movement.
Remember to respect venue rules regarding flash photography and be considerate of other concertgoers.
With practice, you'll be able to capture stunning freeze-frame shots that showcase the energy and excitement of live performances.
Creative Angles and Perspectives
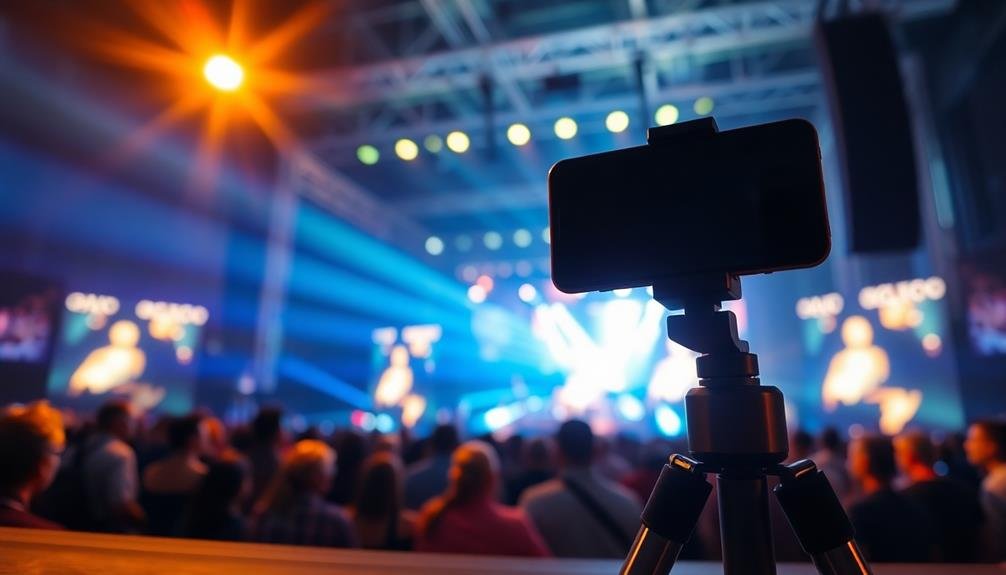
Creative angles and perspectives can transform your concert photography from ordinary to extraordinary. With a tripod for your mobile device, you'll have the stability to experiment with unique viewpoints that capture the energy of the performance.
Try positioning your camera low to the ground for a dramatic upward angle, emphasizing the artist's towering presence on stage. Alternatively, seek out elevated vantage points to capture sweeping shots of the entire venue and crowd.
Don't shy away from unconventional compositions. Use the rule of thirds to place your subject off-center, creating a more dynamic image. Experiment with silhouettes by positioning yourself behind the stage lights, turning performers into striking dark shapes against a vibrant background.
Capture reflections in puddles, mirrors, or shiny surfaces for a surreal effect. Your tripod allows you to use slower shutter speeds without camera shake, opening up possibilities for light trails and motion blur.
Pan your camera to follow a moving performer, creating a sense of movement while keeping them in focus. Remember, the most compelling concert photos often come from unexpected angles, so don't be afraid to get creative and break the rules.
Avoiding Camera Shake
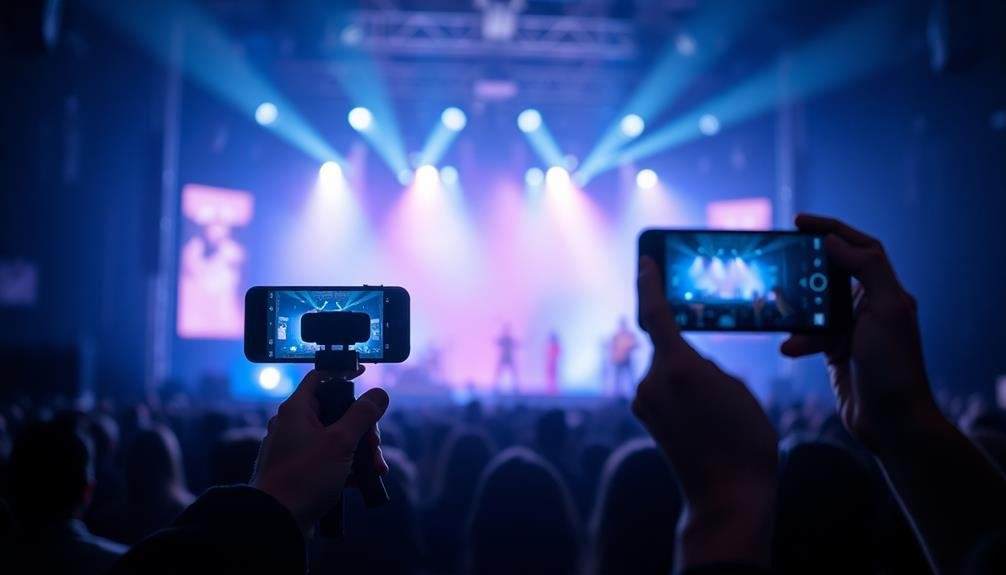
You'll need steady hands to capture sharp concert images, especially in low-light conditions.
If you're shooting long exposures or using slower shutter speeds, camera stability becomes vital.
Consider using a tripod or monopod to eliminate camera shake and guarantee your photos remain crisp and clear.
Steady Hands, Sharper Images
Sharp concert photos demand rock-steady hands and smart techniques to combat camera shake.
You'll need to master proper hand-holding techniques and utilize your camera's features to their fullest. Start by gripping your device firmly with both hands, keeping your elbows tucked close to your body for added stability. Breathe steadily and press the shutter button gently to avoid jerking the camera.
Take advantage of your camera's built-in stabilization features, if available. Many smartphones now offer optical image stabilization, which can greatly reduce blur. Additionally, experiment with your camera's burst mode to capture multiple shots in quick succession, increasing your chances of getting a sharp image.
To further improve your concert photography, consider these tips:
- Use a higher ISO setting to allow for faster shutter speeds
- Look for stable surfaces to rest your elbows or device on
- Time your shots with the performers' movements
- Frame your shots during quieter moments between songs
Long Exposures Require Stability
When attempting long exposures at concerts, how can you guarantee your images remain crisp and blur-free? The answer lies in stability. Long exposures require your camera to stay perfectly still for several seconds or even minutes. Any movement, no matter how slight, can result in blurry or streaky images.
This is where a tripod becomes essential. It provides a stable platform for your mobile device, eliminating camera shake caused by hand-holding. With a tripod, you can capture stunning light trails from stage effects, create motion blur of performers, or even shoot in low-light conditions without sacrificing image quality.
You'll also find that a tripod allows you to experiment with slower shutter speeds, which can help you achieve creative effects like light painting or capturing the energy of the crowd.
It's particularly useful when you're shooting from a distance or in crowded areas where maintaining a steady hand is challenging.
Capturing Fast-Moving Performers
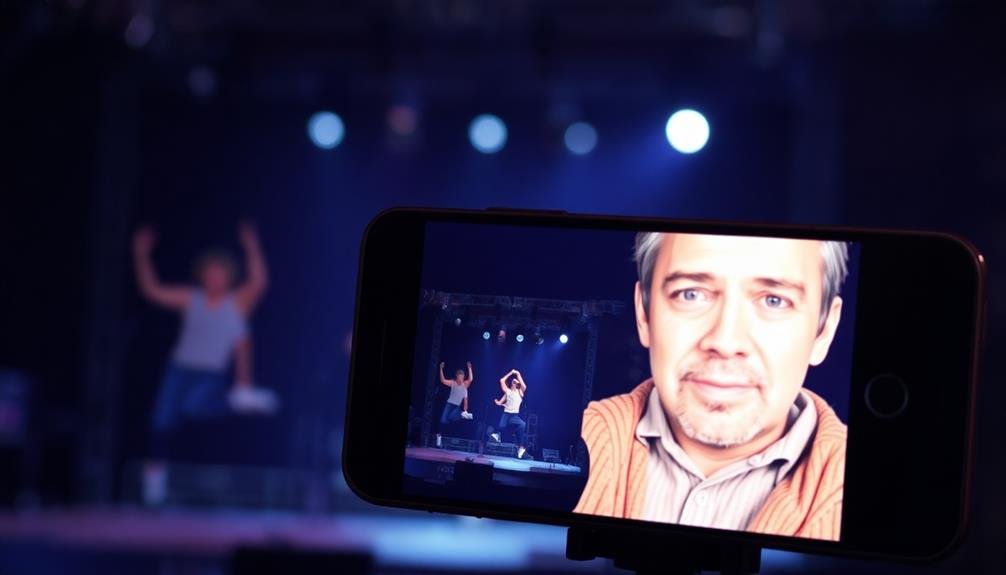
Concert stages burst with energy as performers leap, spin, and dash across them. Capturing these fast-moving artists can be challenging, especially when you're using a mobile device. That's where a tripod comes in handy, even for high-speed action shots.
With a tripod, you'll have a stable platform to track moving subjects, allowing you to focus on composition and timing rather than struggling to hold your device steady. You can also use faster shutter speeds without worrying about camera shake, freezing the action crisply.
Here are four ways a tripod helps you capture fast-moving performers:
- Enables panning shots to follow moving subjects
- Allows for quick adjustments to framing and composition
- Provides stability for using zoom features without blur
- Frees your hands to adjust camera settings on the fly
Panoramic Concert Shots
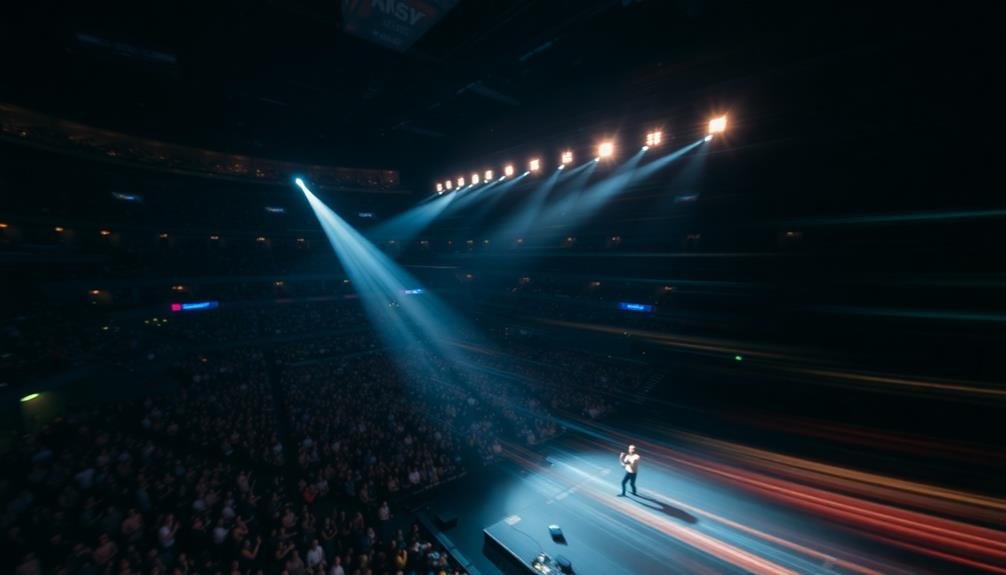
Panoramic shots offer a unique way to capture the full scope and energy of a concert. With a tripod for your mobile device, you'll be able to create stunning wide-angle images that encompass the entire stage, crowd, and venue atmosphere.
These shots are perfect for showcasing the scale of the event and giving viewers a sense of being there.
To take a panoramic concert photo, you'll need to set your phone on the tripod and use the panorama mode in your camera app. Slowly pan from one side to the other, keeping the movement steady and level.
The tripod guarantees your phone remains stable throughout the process, resulting in a crisp, seamless image.
Panoramic shots work best when there's a lot of visual interest across the frame. Try capturing the stage with all the performers, the lighting setup, and the audience in one sweeping image.
You can also experiment with vertical panoramas to showcase tall stage designs or multi-level venues. Remember to take into account the lighting and exposure as you pan, as concert lighting can change rapidly.
With practice and your trusty tripod, you'll create breathtaking panoramic concert photos that truly capture the essence of the event.
Time-Lapse Concert Videos
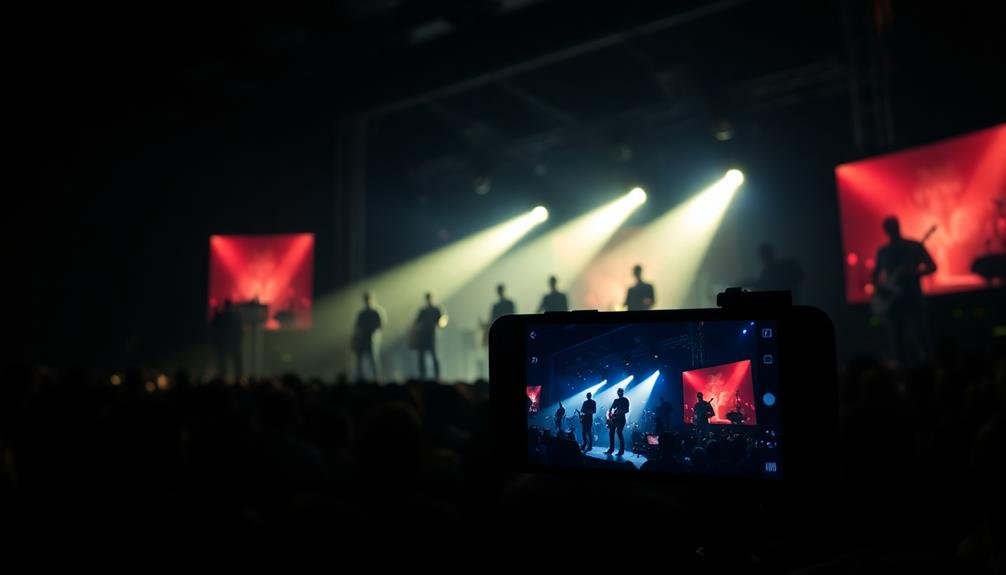
Time-lapse videos offer a mesmerizing way to capture the evolution of a concert from setup to finale. You'll need a tripod to create these stunning visual narratives, as stability is essential for seamless footage. By securing your mobile device, you'll guarantee smooth shifts between frames, resulting in a professional-looking time-lapse.
To create an engaging time-lapse concert video, consider these key elements:
- Duration: Set up your tripod early to capture pre-show activities.
- Interval: Choose the right time between shots for ideal flow.
- Composition: Frame your shot to include stage and audience.
- Lighting: Adjust settings as the concert progresses.
With your mobile device securely mounted, you can capture hours of footage condensed into minutes. This technique allows you to showcase the venue's transformation, from an empty space to a bustling crowd and electrifying performance.
You'll catch subtle changes in lighting, stage setups, and audience reactions that might otherwise go unnoticed.
Remember to position your tripod in a spot that won't obstruct views or create safety hazards. By planning ahead and using a tripod, you'll create a unique perspective on the concert experience that'll impress your followers and preserve memories in an innovative way.
Improved Smartphone Camera Control
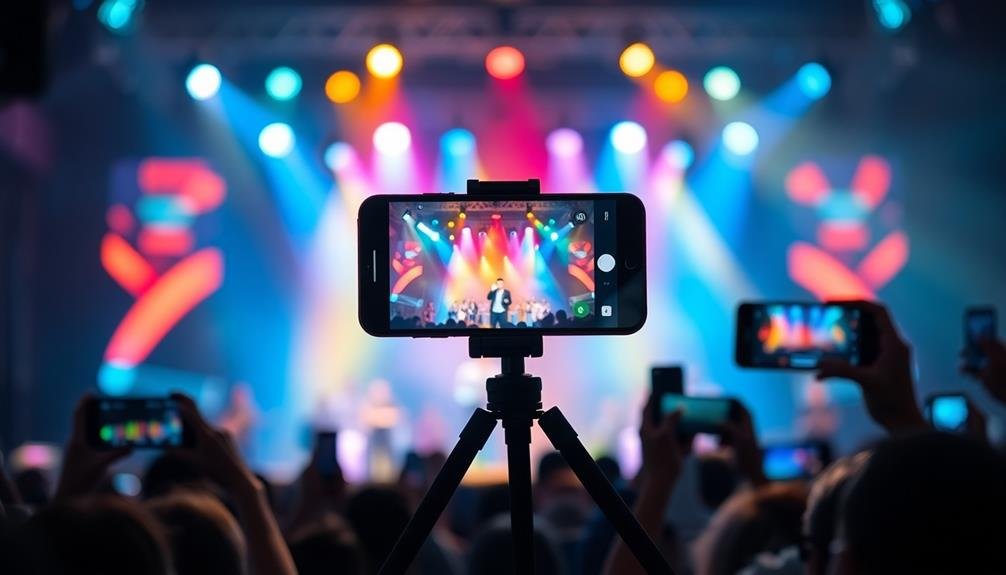
While tripods offer stability for time-lapse videos, they also enable advanced smartphone camera features. With your device securely mounted, you'll have better control over manual settings like ISO, shutter speed, and focus. This control allows you to capture high-quality concert photos in challenging lighting conditions.
Using a tripod, you can experiment with long exposures to create light trails or motion blur effects. It's also easier to frame your shots precisely and maintain consistent composition throughout the event. You'll find that your hands are free to adjust settings or use external accessories like clip-on lenses or microphones.
| Feature | Handheld | With Tripod |
|---|---|---|
| Stability | Limited | Excellent |
| Manual Control | Difficult | Easy |
| Long Exposures | Nearly Impossible | Possible |
Many smartphone camera apps offer advanced features that are more accessible when your device is stabilized. You can use interval shooting for creating stop-motion animations or explore HDR techniques for balanced exposures. Some apps even allow for remote control, letting you trigger the shutter from a distance and avoid camera shake entirely.
Better Composition and Framing
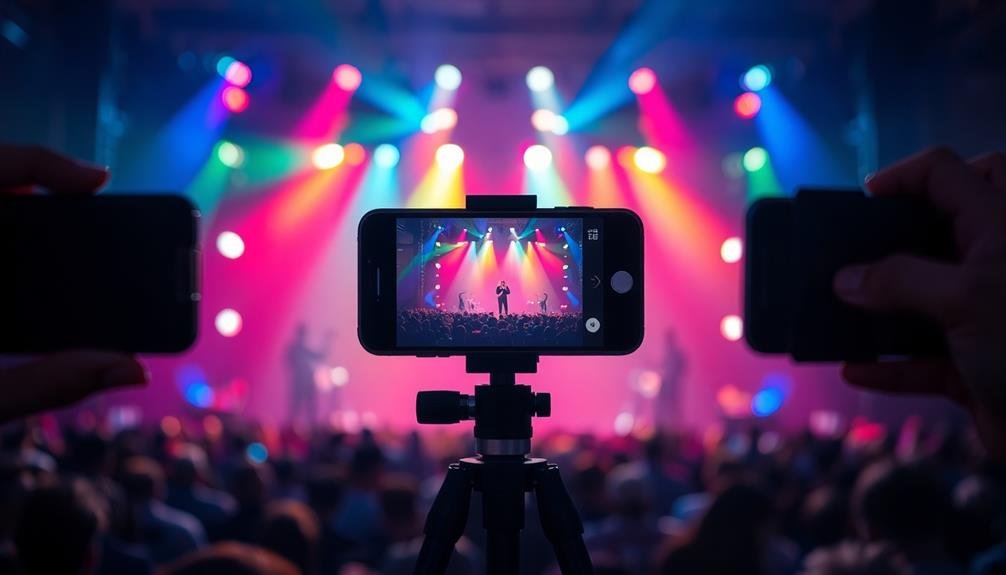
Tripods offer three key advantages for better composition and framing at concerts. First, they provide stability, allowing you to capture sharp images even in low-light conditions.
Second, they enable you to maintain consistent framing throughout the performance, ensuring you don't miss significant moments.
Third, tripods free up your hands, letting you focus on adjusting camera settings and timing your shots perfectly.
When using a tripod for concert photography, you'll find it easier to:
- Align your shots with the rule of thirds
- Create symmetrical compositions
- Capture wide-angle shots of the entire stage
- Frame multiple band members in a single shot
You'll also have more control over your camera's position, allowing you to experiment with different angles and perspectives.
Hands-Free Recording Options
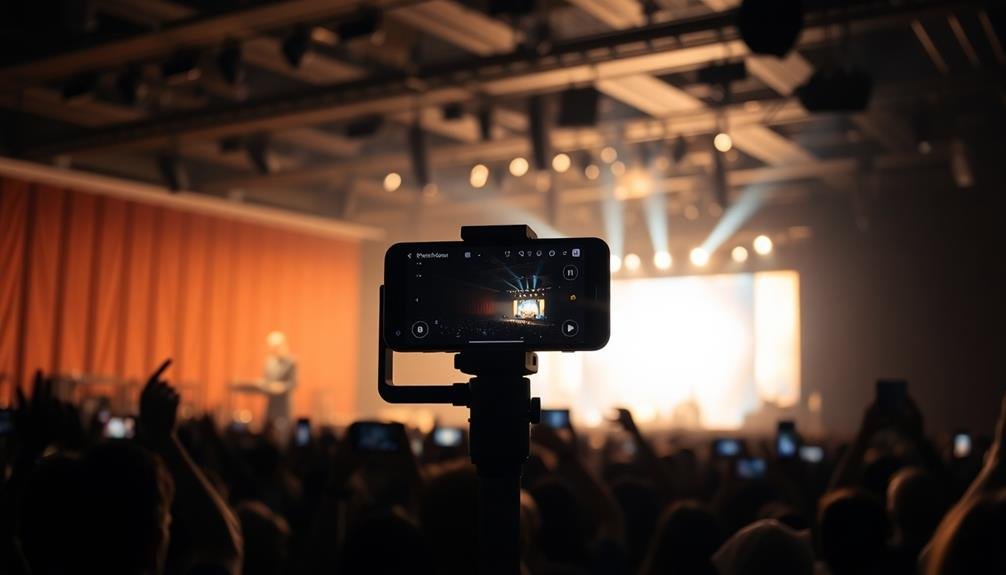
Several hands-free recording options can enhance your concert photography experience when using a tripod. One popular choice is a Bluetooth remote shutter, which allows you to trigger your camera from a distance. This device is particularly useful when you're trying to capture shots without disturbing others or drawing attention to yourself.
Another option is using your smartphone's voice commands or gestures to take photos. Many modern phones have built-in features that let you say "cheese" or wave your hand to snap a picture. This can be incredibly convenient when your phone is mounted on a tripod and you can't easily reach the screen.
Time-lapse and slow-motion modes are also excellent hands-free options. Set up your tripod, enable these modes, and let your device capture the concert's progression or highlight specific moments without constant interaction.
Lastly, consider using a gimbal with your tripod. While not entirely hands-free, a gimbal provides stabilization for smooth video recording, allowing you to pan and tilt with minimal effort. This combination can result in professional-looking footage of the entire concert experience.
Frequently Asked Questions
Are Tripods Allowed at All Concert Venues?
You'll find that tripod policies vary between venues. Some allow them, while others don't. It's best to check the specific venue's rules before attending. If prohibited, you'll need alternative options for stabilizing your shots.
Can Tripods for Mobile Devices Support Larger Smartphones or Tablets?
You'll find many mobile tripods can support larger smartphones and tablets. They're designed with adjustable grips and sturdy bases to accommodate various device sizes. Just check the weight limit and grip width before purchasing to guarantee compatibility.
How Do You Transport a Tripod Discreetly to a Concert?
You can transport a tripod discreetly to a concert by using a compact, foldable model. Slip it into a small bag or backpack. If it's collapsible, you might even fit it in a large pocket. Don't forget to check venue rules.
What's the Best Tripod Height for Concert Photography?
You'll want a tripod that extends to eye level or slightly above. It's best to adjust based on your venue's layout and crowd density. Don't forget to reflect on your shooting angle and the stage's height.
Are There Alternatives to Tripods for Stabilizing Mobile Devices at Concerts?
You've got options beyond tripods for concert stabilization. You can use handheld gimbals, monopods, or camera grips. Don't forget about makeshift solutions like leaning against walls or using your body as a brace. Experiment to find what works best!
In Summary
You've now seen why tripods are essential for concert photography with your mobile device. They'll help you overcome low light issues, capture steady shots in crowded venues, and achieve sharper images with more detail. You'll be able to experiment with long exposures, creative angles, and time-lapse videos. With improved camera control and composition, you'll take your concert photos to the next level. Don't forget the hands-free recording options too. Embrace the tripod and elevate your concert photography game!



Leave a Reply