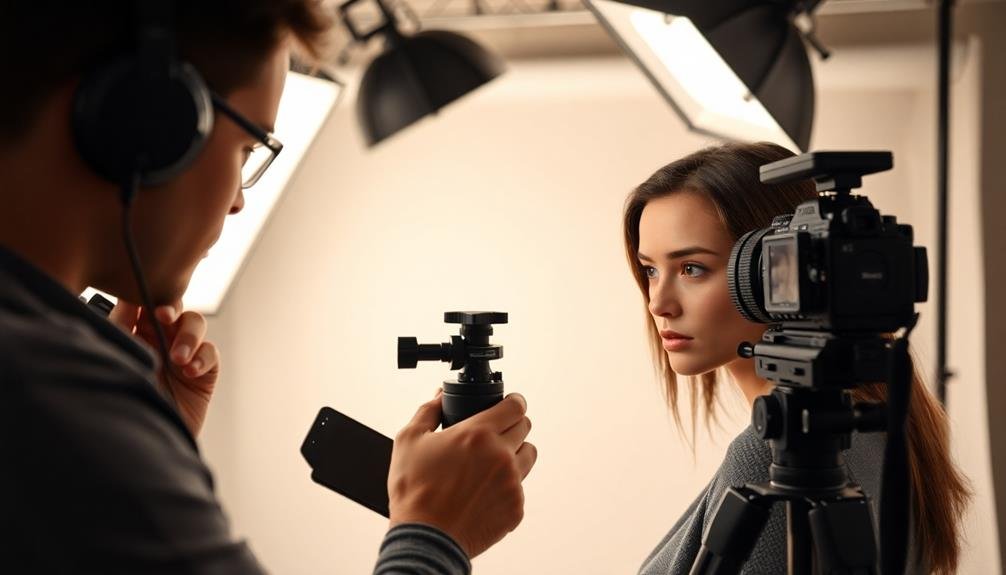
To capture rock-steady portrait photos, start by mastering the two-handed grip technique. Utilize everyday objects like trees, walls, or benches as makeshift camera supports. Invest in smartphone tripods and mounts for added stability, especially in challenging conditions. Don't forget to employ your device's image stabilization features to reduce blur from minor hand movements. For ultimate shake-free results, use timed shooting or remote shutters to eliminate manual vibration. These pro techniques will elevate your portrait photography, ensuring crisp, professional-quality images. Dive deeper into each method to perfect your craft and take your portraits to the next level.
Mastering the Two-Handed Grip

Stability is the cornerstone of great portrait photography. To achieve sharp, professional-looking portraits, you'll need to master the two-handed grip technique. This method helps minimize camera shake and guarantees crisp images, even in challenging lighting conditions.
Start by holding your camera with your right hand, wrapping your fingers around the grip and placing your index finger on the shutter button. Your left hand should cradle the lens from underneath, providing support and allowing for quick adjustments.
Keep your elbows tucked close to your body to create a stable triangle between your arms and torso. As you compose your shot, press the viewfinder against your face, using your forehead as an additional point of contact. This three-point connection (hands and face) further reduces camera movement.
Take a deep breath, exhale halfway, and gently press the shutter button. Practice this grip in various scenarios, including standing, kneeling, and sitting positions. You'll find that it becomes second nature, allowing you to focus on composition and subject interaction.
Utilizing Everyday Objects as Support

Leveraging your environment can greatly enhance your portrait photography. When you're out in the field, look for everyday objects that can serve as makeshift supports for your camera. Trees, walls, and fences are excellent options for steadying your shots. You'll find that leaning against a sturdy surface or resting your camera on a flat object can markedly reduce camera shake.
Don't overlook the potential of urban environments. Mailboxes, park benches, and even parked cars can provide stable platforms for your camera. When indoors, tables, chairs, and windowsills offer similar advantages. Remember to protect your gear by using a small cloth or your camera strap as a cushion between the camera and the support surface.
Here's a quick reference guide for common objects and their uses:
| Object | Indoor Use | Outdoor Use |
|---|---|---|
| Table | Camera rest | N/A |
| Fence | N/A | Lean or rest |
| Backpack | Improvised pod | Improvised pod |
Smartphone Tripods and Mounts

For those who rely on smartphones for their portrait photography, a wide array of tripods and mounts is available to enhance stability. These accessories come in various sizes and designs, from pocket-sized mini tripods to full-sized options that rival traditional camera tripods.
When choosing a smartphone tripod, consider portability and versatility. Flexible-leg tripods can wrap around objects, offering unique positioning options. Compact folding tripods are easy to carry and set up quickly. For more stability, look for models with extendable legs and adjustable ball heads.
Smartphone mounts are essential for securing your device to the tripod. Verify the mount is compatible with your phone's size and case. Spring-loaded clamps are popular for their quick adjustment, while screw-tightened mounts offer a more secure grip.
Some tripods come with built-in remote controls, allowing you to trigger your camera from a distance. This feature is particularly useful for group shots or self-portraits. Alternatively, you can use your phone's timer function or a separate Bluetooth remote.
Investing in a quality smartphone tripod and mount can greatly enhance your portrait photography, providing the stability needed for sharp, professional-looking images.
Employing Image Stabilization Features

Many modern smartphones come equipped with built-in image stabilization features that can markedly improve the quality of your portrait photos. These systems work by compensating for small movements of your hand, reducing blur and ensuring sharper images. To make the most of this technology, you'll want to enable it in your camera settings.
When using image stabilization, you can shoot at slower shutter speeds than you'd normally use, allowing more light into the sensor. This is particularly useful in low-light situations, where you'd otherwise need to increase ISO and potentially introduce noise.
However, don't rely solely on stabilization for every shot. It's most effective for slight movements and may not compensate for significant camera shake or subject motion.
Some advanced smartphones offer different stabilization modes. For portraits, look for options that prioritize still subjects. If your device has optical image stabilization (OIS), it'll generally outperform electronic image stabilization (EIS) for portraiture.
Remember that while stabilization can improve image quality, it's not a substitute for good technique. Combine it with proper hand-holding methods and a stable stance for the best results.
Timed Shooting for Shake-Free Results

Timed shooting stands out as a powerful technique for achieving shake-free portrait photos. By using your camera's self-timer or a remote shutter release, you'll eliminate the vibrations caused by pressing the shutter button manually. Set your timer for 2-10 seconds, depending on your needs and the stability of your setup.
For best results, mount your camera on a sturdy tripod before engaging the timer. This combination guarantees maximum stability throughout the exposure.
When shooting portraits, communicate clearly with your subject about the timed delay to maintain natural poses and expressions.
Consider using longer delays for more complex setups or when you need to position yourself in the frame. Many cameras offer customizable timer options, allowing you to set multiple shots in succession. This feature is particularly useful for capturing a series of expressions or slight variations in pose.
Don't forget to account for changing lighting conditions when using longer delays. If you're shooting in rapidly changing light, such as during sunset, you may need to adjust your settings between shots to maintain consistent exposure.
Frequently Asked Questions
How Do Lighting Conditions Affect Portrait Stability?
Lighting conditions greatly impact your portrait stability. Poor lighting can force slower shutter speeds, increasing the risk of camera shake. You'll need to adjust your settings or use artificial light to maintain sharp images in challenging conditions.
What's the Ideal Shutter Speed for Handheld Portrait Photography?
You'll want to aim for a shutter speed of at least 1/60th of a second for handheld portrait shots. If you're using a longer lens, follow the reciprocal rule: use a shutter speed that's at least 1/focal length.
Can Lens Choice Impact the Steadiness of Portrait Shots?
Yes, lens choice can affect your portrait shot steadiness. You'll find longer lenses amplify camera shake, while wider lenses are more forgiving. Lighter lenses are easier to hold steady. Image stabilization in lenses also helps reduce shake.
How Does Subject Movement Affect Portrait Stability Techniques?
Subject movement can greatly impact your portrait stability techniques. You'll need to adjust your shutter speed and tracking focus to capture sharp images. Don't forget to communicate with your subject to minimize unexpected movements during the shoot.
Are There Post-Processing Methods to Correct Slight Blur in Portraits?
You can correct slight blur in portraits using post-processing techniques. Try sharpening tools, focus stacking, or deconvolution algorithms in photo editing software. For best results, apply these methods selectively to key areas like eyes and facial features.
In Summary
You've now got a solid toolkit for capturing rock-steady portrait photos. Remember, practice makes perfect. Don't be afraid to experiment with these techniques in different situations. Whether you're using your hands, everyday objects, or specialized equipment, you'll find your shots becoming sharper and more professional. Keep exploring your camera's features, and you'll soon be taking portraits that'll wow your subjects and viewers alike. Happy shooting!


Leave a Reply