To capture stunning RAW long exposure photos on your mobile device, you'll need to master a few key secrets. Start by using a third-party camera app that supports RAW format, and invest in essential equipment like a sturdy tripod and smartphone mount. Set your camera to manual mode, using low ISO and small aperture for best results. Choose scenes with moving elements, such as flowing water or city lights, to create dramatic effects. In post-processing, fine-tune exposure, contrast, and clarity to enhance the image's impact. By avoiding common pitfalls like camera shake and incorrect settings, you'll be well on your way to creating breathtaking long exposure shots. Discover more techniques to elevate your mobile photography game.
Understanding RAW Format

RAW format often intimidates newcomers to mobile photography, but it's actually a powerful tool for capturing long exposures. Unlike JPEG, which compresses and processes your image, RAW preserves all the data your camera sensor captures. This means you'll have more flexibility when editing your long exposure shots.
When you shoot in RAW, you're working with uncompressed data that includes a wider range of colors and tones. This is essential for long exposures, where you'll often encounter challenging lighting conditions. RAW files retain more detail in highlights and shadows, allowing you to recover seemingly lost information during post-processing.
Another advantage of RAW for long exposures is the ability to adjust white balance without degrading image quality. This is particularly useful when shooting at night or in mixed lighting situations. RAW also gives you more control over noise reduction, which is often necessary in low-light long exposures.
To shoot RAW on your mobile device, you'll need a third-party camera app that supports this format. While RAW files are larger and require more storage space, the benefits for long exposure photography far outweigh this minor inconvenience.
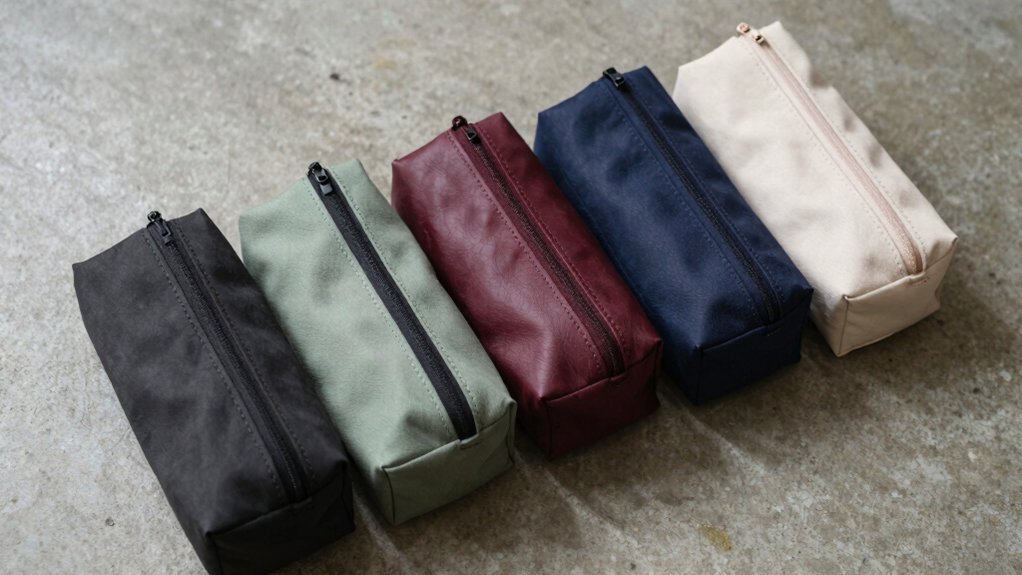
Essential Long Exposure Equipment

Now that you understand the benefits of RAW, let's focus on the gear you'll need for long exposure mobile photography.
First and foremost, you'll want a sturdy tripod to keep your phone stable during extended exposures. Look for a lightweight, compact option that's easy to carry and set up quickly.
Next, invest in a smartphone mount or clamp that securely attaches your device to the tripod. Verify it's compatible with your phone model and case.
To control your camera remotely and avoid shake, consider a Bluetooth shutter release or use your smartwatch if it has that capability.
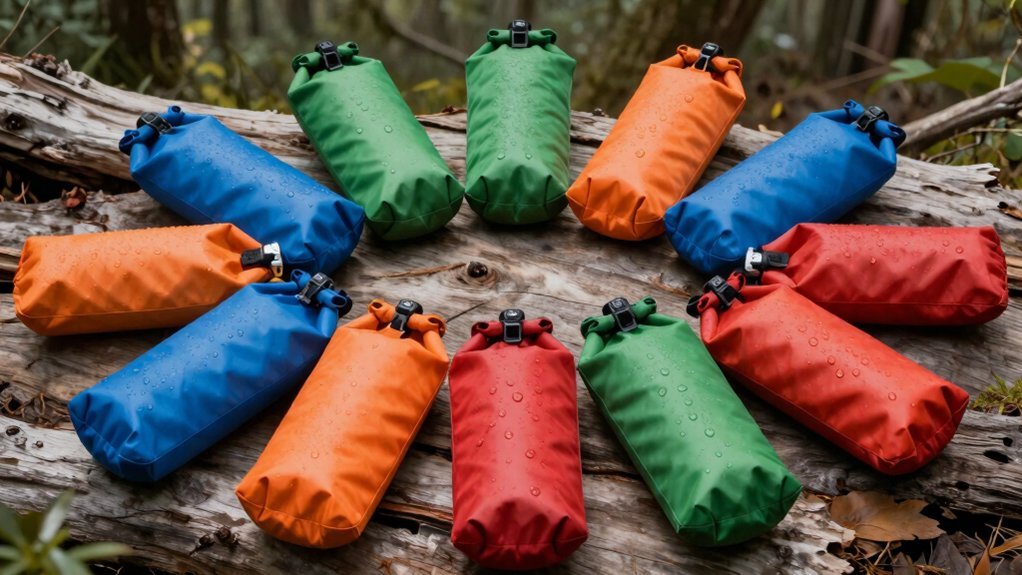
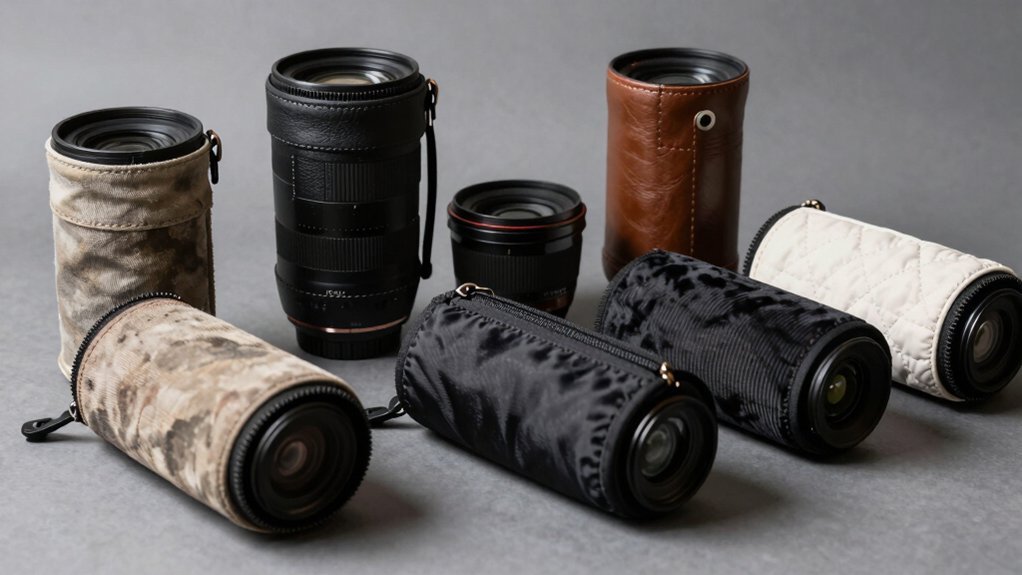
For more control over light, grab a set of neutral density (ND) filters. These attach to your phone's lens and reduce the amount of light entering the camera, allowing for longer exposures even in bright conditions. Some popular options include clip-on filters or cases with built-in filter threads.
Lastly, don't forget a portable charger or power bank. Long exposure shots can drain your battery quickly, especially when shooting in RAW format. Having extra power on hand guarantees you won't miss any vital shots during your photo session.
Optimal Camera Settings

When it comes to capturing stunning long exposure shots on your mobile device, dialing in the right camera settings is vital. Start by switching your camera app to manual or pro mode, which gives you control over key parameters.
Set your ISO to the lowest possible value, typically 50 or 100, to reduce noise and maintain image quality. Choose a small aperture (high f-number) to increase depth of field and create sharp images throughout the frame.
For shutter speed, experiment with different durations based on your subject:
- Water motion: Use 1-4 seconds for silky waterfalls or smooth ocean waves
- Light trails: Try 10-30 seconds to capture car headlights or star trails
- Cityscape: Opt for 15-60 seconds to blur clouds and create a dreamy atmosphere
Enable RAW format in your camera settings to capture maximum detail and allow for extensive post-processing.
Use the camera's self-timer or a remote shutter release to minimize camera shake. Finally, activate your phone's built-in level or grid to guarantee straight horizons and proper composition.
With these ideal settings, you'll be well-equipped to create breathtaking long exposure images using your mobile device.
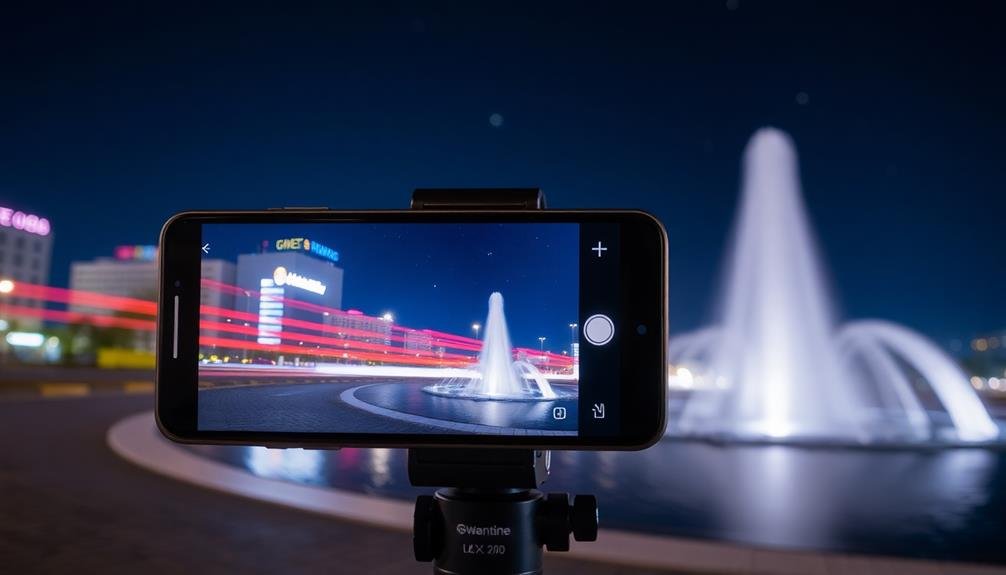
Choosing the Right Scene

For successful long exposure mobile photography, selecting the right scene is essential. You'll want to look for subjects that involve movement, as these will create the most striking effects. Flowing water, like waterfalls, rivers, or ocean waves, is an excellent choice. The movement will be smoothed out, creating a dreamy, silky appearance.
Busy city streets are another great option. Capture the light trails of moving cars and buses to add energy to your urban landscapes. Cloudy skies can also produce dramatic results, as the clouds will appear to streak across the frame. For a unique twist, try shooting star trails or light painting in dark environments.
When choosing your scene, consider the available light. Long exposures work best in low-light conditions, such as during blue hour or at night. However, you can use neutral density filters to shoot long exposures during the day.
Look for scenes with strong compositional elements that will anchor your image, like rocks in a seascape or buildings in a cityscape. These static elements will contrast beautifully with the blurred motion, creating a compelling visual narrative.
Post-Processing RAW Long Exposures

After capturing your long exposure shots in RAW format, post-processing becomes an essential step in realizing your creative vision. RAW files contain more data than JPEGs, giving you greater flexibility to adjust exposure, color, and detail.
Start by importing your RAW files into a mobile editing app that supports this format, such as Lightroom Mobile or Snapseed.
Begin with basic adjustments like exposure, contrast, and white balance. Then, focus on enhancing the unique aspects of your long exposure:
- Highlight movement: Boost clarity and dehaze to accentuate light trails or smooth water surfaces.
- Adjust color: Fine-tune saturation and vibrance to bring out the rich hues often present in long exposures.
- Reduce noise: Apply selective noise reduction to dark areas while preserving details in brighter regions.
Don't shy away from local adjustments. Use gradient filters to balance bright skies with darker foregrounds, or brush tools to selectively sharpen key elements.
Experiment with black and white conversions to create dramatic, moody images. Remember, RAW processing allows for non-destructive editing, so don't hesitate to push your adjustments and try different creative approaches.
Common Mistakes to Avoid

While mastering post-processing techniques is important, it's equally essential to avoid common pitfalls during the capture phase of long exposure photography. One frequent mistake isn't using a stable surface or tripod, resulting in blurry images. Always secure your mobile device to prevent unwanted camera shake.
Another error is neglecting to clean your lens before shooting. Even small smudges can become noticeable in long exposures, so wipe your lens thoroughly.
Don't forget to check your camera app settings; verify you're shooting in RAW format and have selected the appropriate shutter speed for your desired effect.
Overexposure is a common issue in long exposure photography. To combat this, use neutral density filters or adjust your ISO and aperture accordingly. Conversely, underexposure can occur if you don't account for low-light conditions. Experiment with different settings to find the right balance.
Lastly, avoid moving your device or changing the composition during the exposure. This can create unwanted ghosting or light trails. Once you've framed your shot, remain patient and let the camera complete its work uninterrupted.
Frequently Asked Questions
Can Long Exposure Photography Damage My Mobile Phone's Camera Sensor?
You don't need to worry about damaging your phone's camera sensor with long exposure photography. Modern mobile sensors are designed to handle extended exposures. Just be mindful of potential overheating during prolonged use in extreme conditions.
How Do I Handle Extreme Temperature Conditions During Long Exposure Shoots?
You'll need to protect your phone from extreme temperatures during long exposure shoots. Use insulating cases, avoid direct sunlight or freezing conditions, and take breaks to let your device cool down or warm up as needed.
Are There Any Legal Considerations When Taking Long Exposure Photos in Public Spaces?
When taking long exposure photos in public spaces, you'll need to take into account privacy laws, property rights, and potential restrictions. Always respect "no photography" signs, get permission when necessary, and be mindful of capturing identifiable individuals without consent.
What's the Maximum Exposure Time Possible on Most Modern Smartphones?
You'll find most modern smartphones can handle exposures up to 30 seconds. Some offer even longer times through special modes or third-party apps. Remember, you'll need a steady surface or tripod for the best results.
How Can I Create Light Trails in Long Exposure Photos Without a Tripod?
You can create light trails without a tripod by stabilizing your phone against a solid surface. Use a long exposure app, set a slow shutter speed, and steady your hands. Practice holding still for best results.
In Summary
You've now got the tools to create stunning long exposure photos on your mobile device. Remember to shoot in RAW, use essential equipment, and dial in the right settings. Choose your scenes carefully and master post-processing techniques. Avoid common pitfalls, and you'll be well on your way to capturing breathtaking images. With practice, you'll develop your unique style and push the boundaries of mobile photography. Keep experimenting and enjoy the creative journey!
Leave a Reply