
Elevate your smartphone photography with these tap-to-focus hacks. Lock focus and exposure for tricky lighting situations, and separate them for even more control. Tap on shadows to reveal hidden details in high-contrast scenes. Use grid lines to perfect your composition. Create stunning depth of field effects by tapping to focus on your subject's face. Combine HDR mode with tap-to-focus for balanced exposures in challenging light. When shooting panoramas, tap to focus on key elements before panning. These techniques will help you capture professional-looking images with ease. Mastering these hacks is just the beginning of your journey to smartphone photography perfection.
Mastering Focus and Exposure Lock
One of the most powerful features on your smartphone camera is often overlooked. Focus and exposure lock can transform your mobile photography, giving you precise control over your shots.
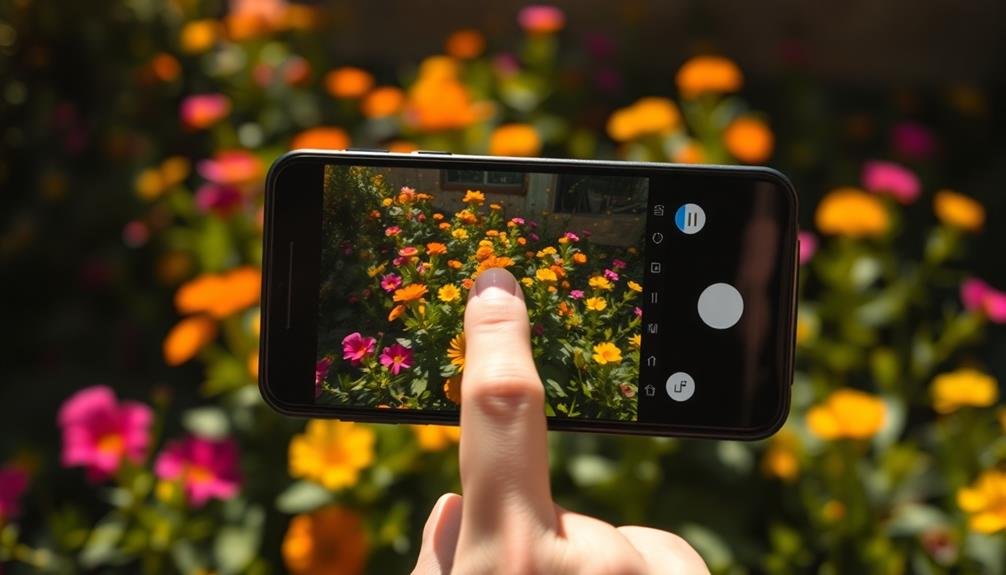
To use this feature, simply tap and hold on your subject in the camera app. You'll see a box appear, indicating that focus and exposure are locked.
This technique is particularly useful for tricky lighting situations. If you're shooting a backlit subject, for example, lock focus on their face and adjust exposure by sliding your finger up or down. This guarantees your subject remains sharp while preventing overexposure.
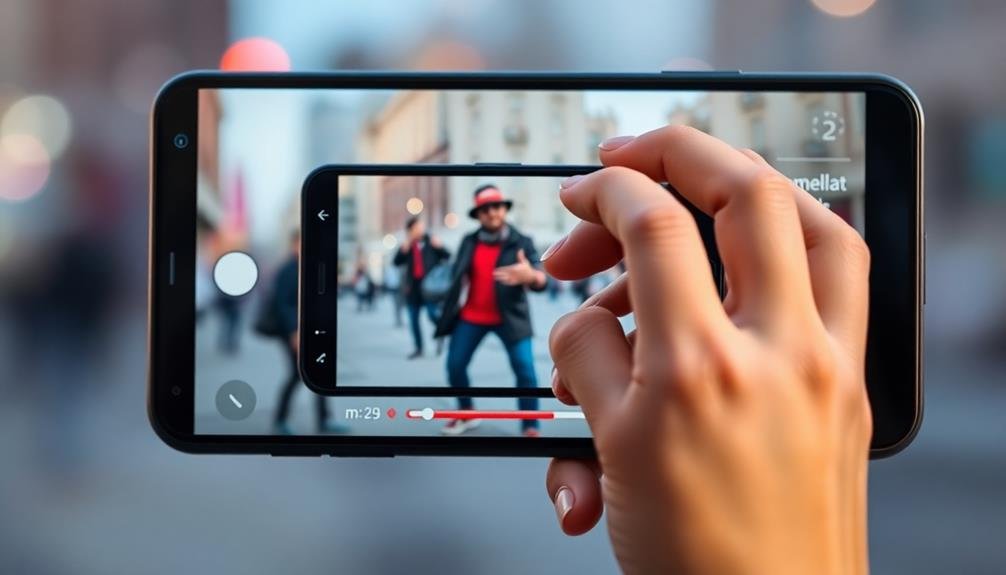
For moving subjects, pre-focus by locking onto where they'll be, not where they are. This works great for action shots or street photography.
You can also use focus lock to create artistic effects. Lock focus on a nearby object to blur the background, creating a shallow depth of field.
Separating Focus From Exposure
While many smartphone cameras automatically link focus and exposure, some advanced models allow you to separate these controls for even greater creative freedom. By enabling this feature, you'll have more control over your images, especially in challenging lighting conditions.
To separate focus from exposure, tap on your subject to focus, then use a separate gesture (often sliding up or down) to adjust exposure. This technique is particularly useful when your subject is backlit or in high-contrast scenes. You can darken or brighten the image while maintaining sharp focus on your subject.
Here's a quick guide to separating focus and exposure on popular smartphone models:
| Brand | Focus Action | Exposure Adjustment |
|---|---|---|
| iPhone | Tap subject | Slide up/down |
| Samsung | Tap subject | Drag exposure ring |
| Tap subject | Slide exposure bar |
Practice this technique in various lighting situations to master it. You'll find it especially helpful for capturing sunsets, portraits against bright backgrounds, or any scene where the subject's brightness differs considerably from the surroundings. Remember, separating focus from exposure gives you the power to create perfectly balanced, professional-looking photos right from your smartphone.
Tapping Shadows for Dramatic Lighting
Shadows possess the power to transform ordinary smartphone photos into dramatic masterpieces. By tapping on shadow areas in your composition, you'll reveal a world of moody, high-contrast images that captivate viewers.
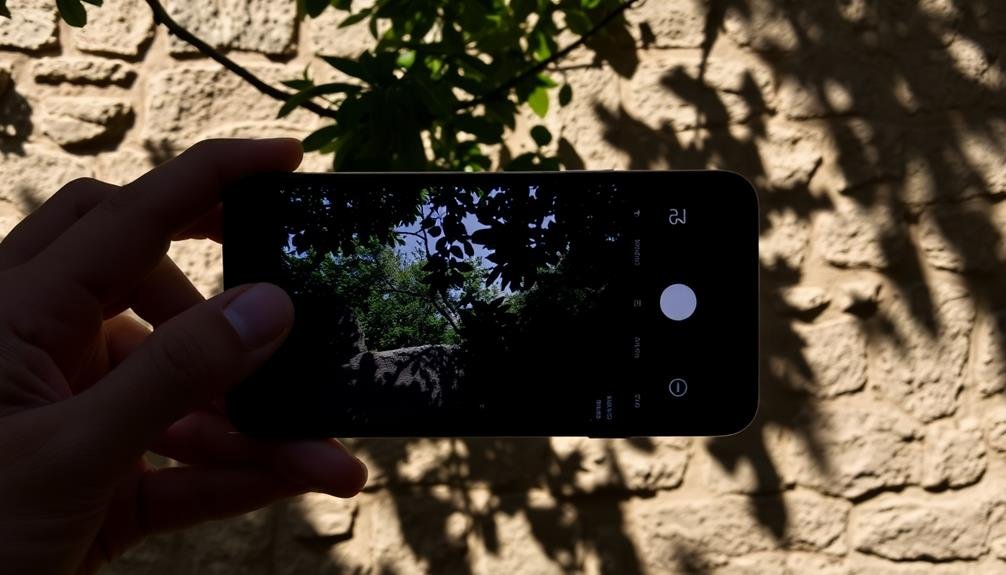
When you're faced with a scene containing both bright highlights and deep shadows, tap on the darkest area of your frame. This action will force your camera to expose for the shadows, revealing hidden details and textures. As a result, your highlights may become overexposed, creating a striking contrast that adds depth and drama to your image.
Experiment with this technique during golden hour or in urban environments with strong directional lighting. You'll find that tapping shadows can accentuate silhouettes, emphasize textures, and create a sense of mystery in your photos.
Don't be afraid to combine this technique with HDR mode for even more dynamic results. By tapping shadows and enabling HDR, you'll retain details in both dark and bright areas, producing a balanced yet dramatic image.
Utilizing Grid Lines for Composition
In accordance with the rule of thirds, grid lines serve as powerful tools for enhancing your smartphone photography composition.
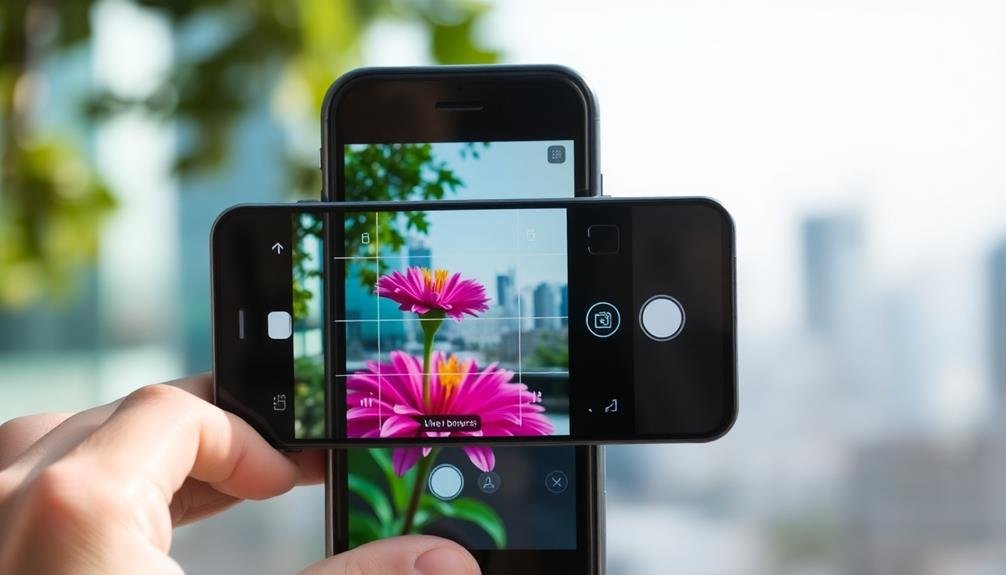
Most smartphones offer a built-in grid overlay feature, which you can easily activate in your camera settings. These lines divide your screen into nine equal rectangles, creating four intersecting points that naturally draw the viewer's eye.
To make the most of grid lines, consider these key techniques:
- Place your main subject at one of the intersecting points
- Align horizons with the horizontal lines
- Position vertical elements along the vertical lines
- Use the spaces between lines to create balance
- Experiment with asymmetry by placing subjects off-center
Exploiting Depth of Field Effects

How can you create stunning portraits with a blurred background using just your smartphone? The key lies in exploiting depth of field effects. While smartphones don't have the same optical capabilities as DSLR cameras, you can still achieve impressive results with a few simple techniques.
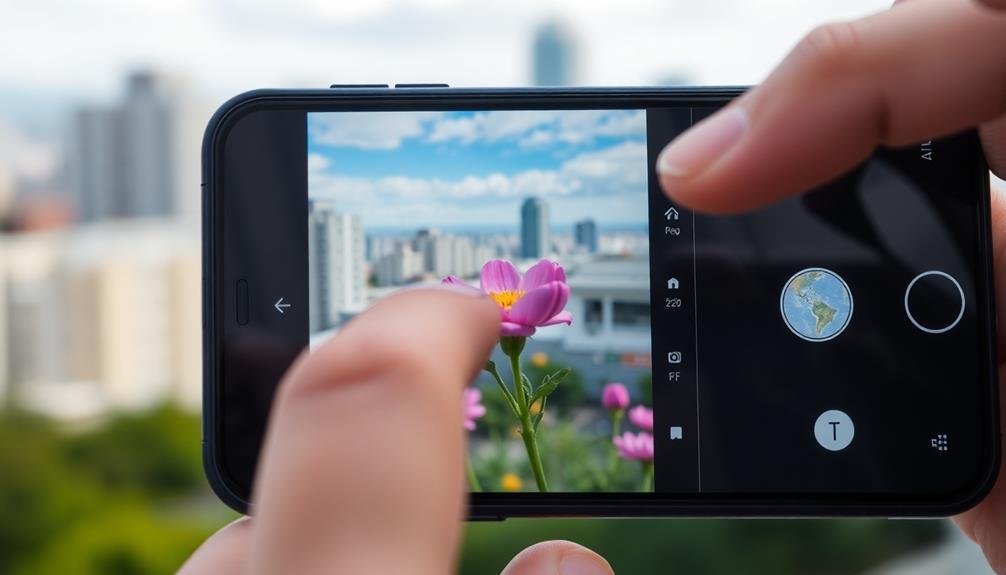
First, tap to focus on your subject's face. This guarantees sharp details where it matters most. Next, position your subject farther away from the background. The greater the distance between subject and background, the more pronounced the blur effect will be.
Try using portrait mode if your phone has this feature, as it simulates a shallow depth of field. You can also create a makeshift macro lens by placing a drop of water on your phone's camera lens. This DIY approach allows you to capture extreme close-ups with a beautifully blurred background.
Another trick is to use a small mirror or reflective surface near your subject. This adds depth and creates interesting bokeh effects in the background.
Experiment with different angles and distances to find the sweet spot for maximum background blur. With practice, you'll master the art of creating professional-looking portraits using just your smartphone.
Leveraging HDR With Tap-To-Focus
HDR mastery combined with tap-to-focus techniques can elevate your smartphone photography to new heights.
By tapping to focus on your subject, you're not only ensuring sharpness but also setting the exposure point. When you enable HDR mode, your phone captures multiple exposures and combines them, creating a well-balanced image with enhanced dynamic range.
To make the most of HDR with tap-to-focus:
- Tap on the brightest area to prevent overexposure
- Focus on shadowy regions to bring out hidden details
- Use HDR for high-contrast scenes like sunsets or backlit subjects
- Experiment with tapping different areas to see varied HDR results
- Combine HDR with AE/AF lock for consistent exposures in changing light
Panorama Mode Focus Techniques
Mastering panorama mode on your smartphone requires more than just sweeping the camera from side to side. To capture stunning panoramas, you'll need to employ specific focus techniques that guarantee clarity across the entire image.
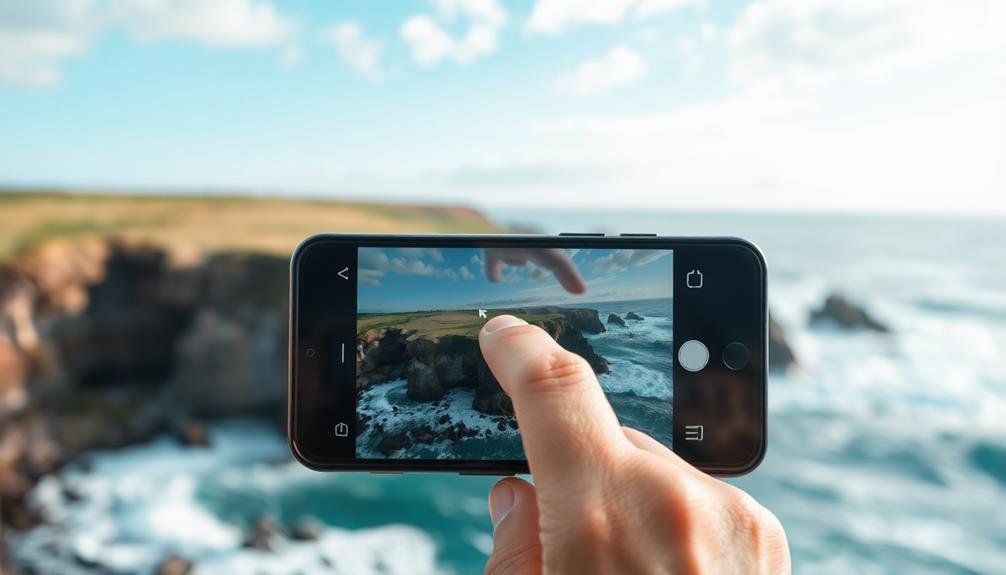
Start by identifying the most important elements in your panoramic scene. Before initiating the panorama, tap to focus on these key areas. This sets a baseline focus that'll carry through the entire sweep.
As you pan, maintain a steady hand and consistent speed to avoid distortion. For scenes with varying depths, try the "focus bracketing" technique. Take multiple panoramas, each focused on a different distance. Later, you can blend these images for a fully focused result.
When capturing landscapes, focus on the horizon to maximize overall sharpness. In low light situations, use your smartphone's night mode in conjunction with panorama for better exposure.
For moving subjects, anticipate their path and adjust your panning speed accordingly. Remember to lock your exposure before starting the panorama to maintain consistent lighting throughout the image.
Frequently Asked Questions
How Can I Clean My Smartphone Camera Lens for Better Focus?
You can clean your smartphone camera lens by gently wiping it with a microfiber cloth. If it's particularly dirty, use a small amount of lens cleaner. Don't use harsh chemicals or abrasive materials. Regular cleaning will improve focus and image quality.
Which Smartphone Brands Offer the Most Advanced Tap-To-Focus Features?
You'll find advanced tap-to-focus features in top brands like Apple, Samsung, and Google. They offer precise control, quick autofocus, and exposure adjustments. Huawei and Sony also provide innovative focus technologies in their high-end smartphone models.
Can Tap-To-Focus Work Effectively in Low-Light Conditions?
Yes, tap-to-focus can work in low light, but it's often less effective. You'll need to hold your phone steady and give it more time to focus. Consider using manual focus or a night mode for better results.
Are There Third-Party Camera Apps That Enhance Tap-To-Focus Capabilities?
Yes, you'll find numerous third-party camera apps that boost tap-to-focus features. They often offer advanced controls, manual focus options, and customizable focus points. Try apps like Camera+ 2, ProCam, or Halide for enhanced focusing capabilities on your smartphone.
How Does Tap-To-Focus Differ Between Rear and Front-Facing Cameras?
You'll notice rear cameras often have more advanced tap-to-focus features, allowing precise control. Front-facing cameras may have simpler tap-to-focus abilities, sometimes limited to face detection. The difference stems from the cameras' hardware and software capabilities.
In Summary
You've now got a powerful set of tap-to-focus tricks up your sleeve. Don't be afraid to experiment with these techniques in various lighting conditions and scenarios. Remember, practice makes perfect. The more you use these hacks, the more intuitive they'll become. Soon, you'll be capturing stunning smartphone photos with ease. Keep exploring, keep tapping, and keep pushing the boundaries of your mobile photography skills. Your best shots are just a tap away!


Leave a Reply