To capture stunning puddle reflections with your smartphone, choose smooth, still water surfaces in urban settings or after rain. Position your phone low and parallel to the puddle for a mirror-like effect. Use a tripod or stable surface for sharper images. Adjust your camera settings: lower ISO for bright conditions, faster shutter speeds to freeze motion. Tap the screen to focus on the reflection, and experiment with HDR mode for balanced exposure. Frame your shot using the rule of thirds, and include interesting elements in the composition. Edit your photos to enhance contrast and colors. With these quick tricks, you'll transform ordinary puddles into extraordinary photographs.
Finding the Perfect Puddle
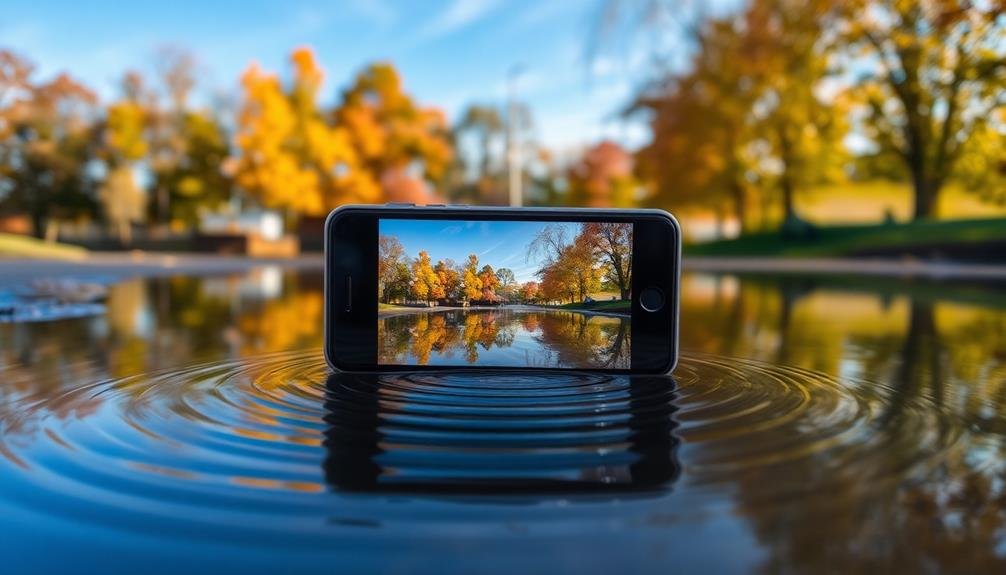
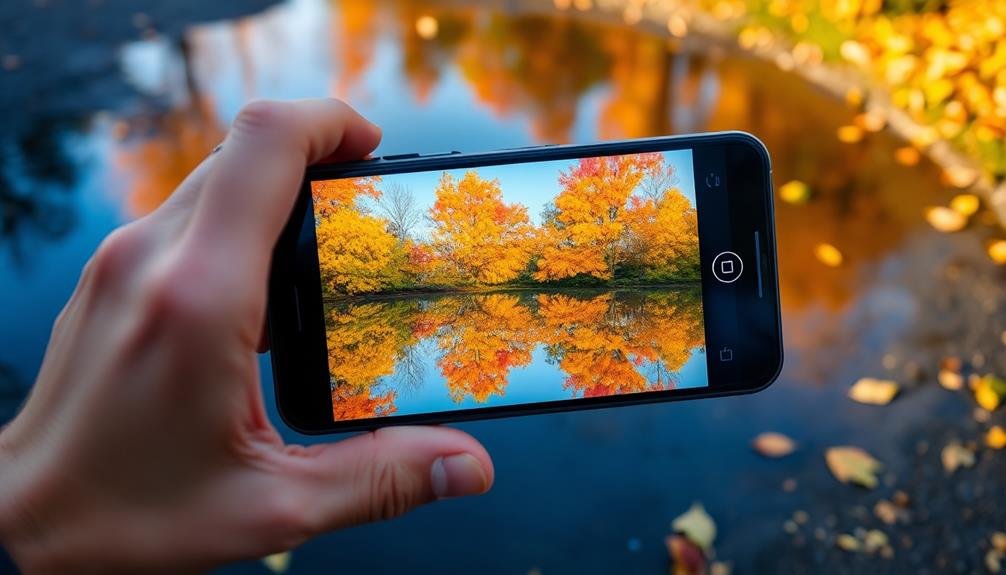
When it comes to capturing stunning reflections with your phone camera, finding the perfect puddle is key. Look for smooth, still water surfaces after rain or in areas with recent precipitation. Seek out puddles in urban settings, where buildings and streetlights can create interesting reflections. Parks and parking lots often have ideal puddle locations.
Size matters – larger puddles offer more reflection space, while smaller ones can frame subjects uniquely. Consider the puddle's surroundings; interesting textures or colorful objects nearby can enhance your composition.
Timing is vital; early morning or late afternoon light creates the most dramatic reflections. Experiment with different angles. Get low to the ground for a more expansive reflection, or shoot from above for a bird's-eye view.
Clean puddles work best, so avoid those with debris or ripples. If necessary, gently smooth the water's surface with your hand. Don't forget to focus on the reflection itself, not just the subject. Use your phone's manual focus feature if available.
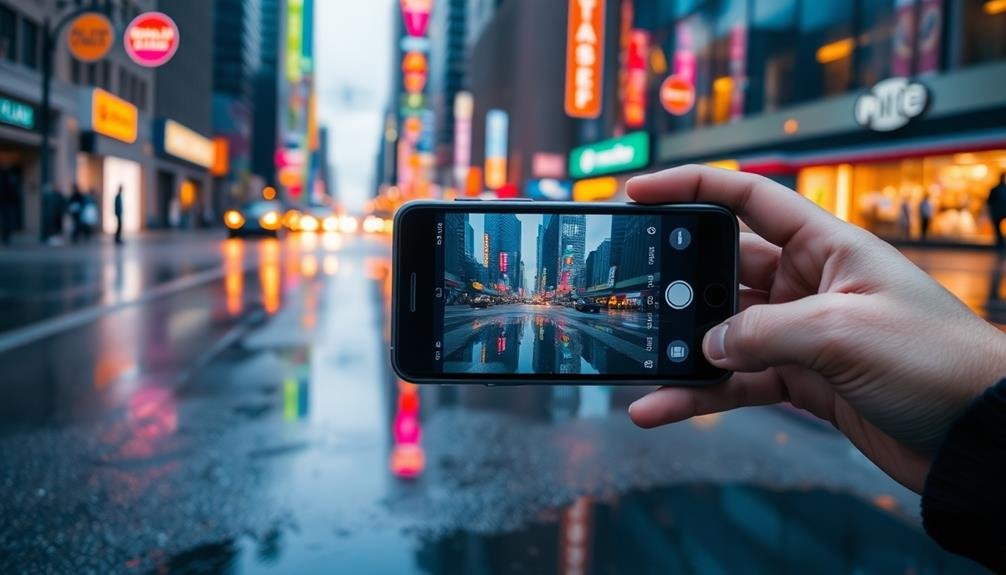
Positioning Your Smartphone
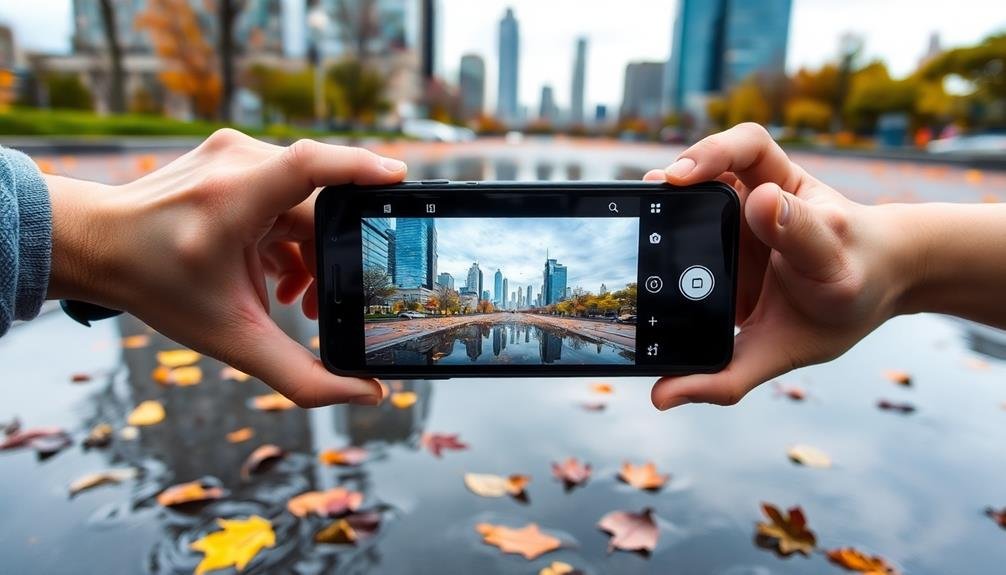
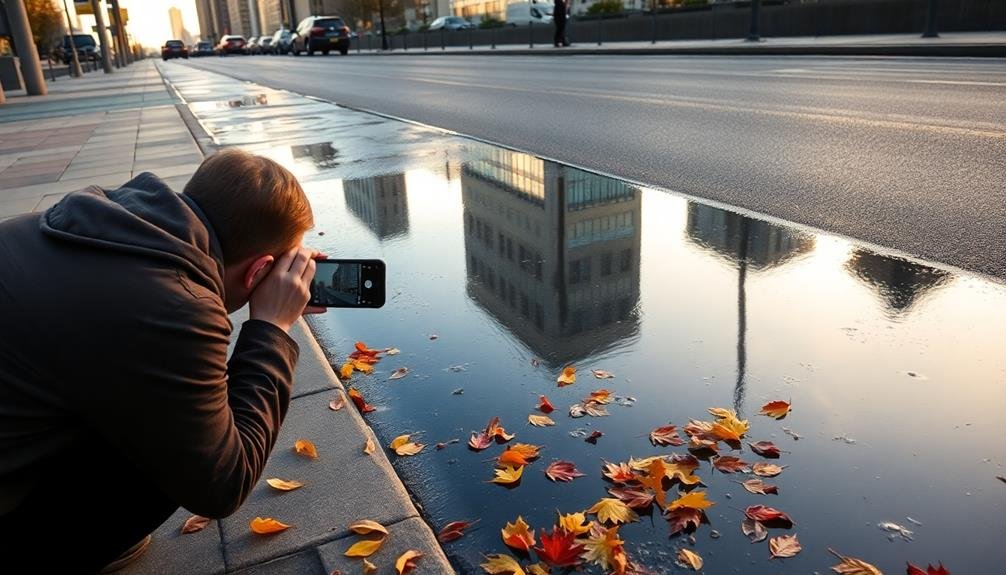
When capturing reflections, you'll want to get low to the ground for the best angle.
Make certain your smartphone is steady by using a small tripod or resting it on a stable surface.
Align your device parallel to the reflective surface to maximize the mirror-like effect in your shot.
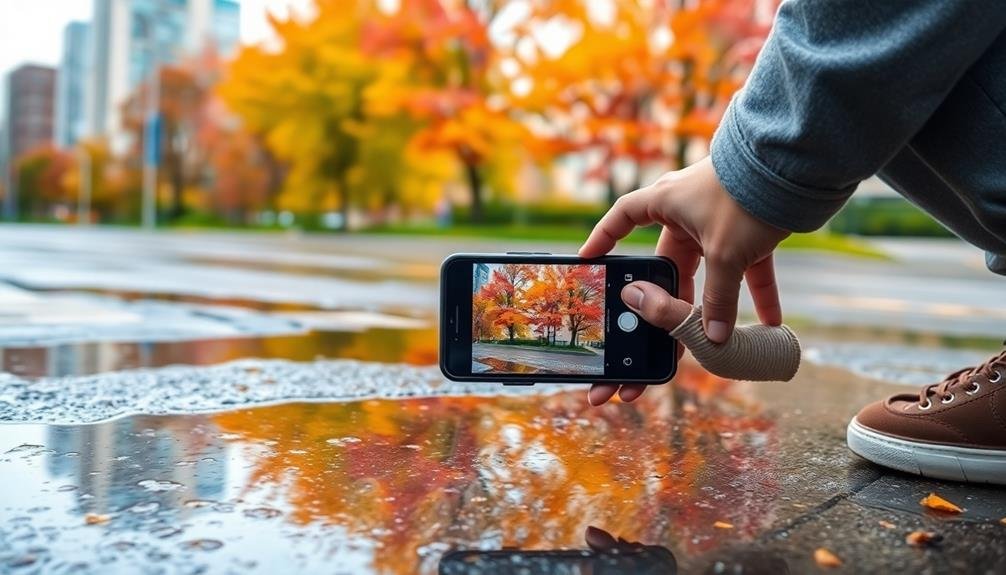
Low Angle Is Key
Getting down low with your smartphone can dramatically transform your photos. When capturing puddle reflections, it's essential to position your camera just inches above the water's surface. This low angle creates a mirror-like effect, doubling the visual impact of your subject.
To achieve this, you'll need to get creative with your body position. Crouch, kneel, or even lie down if necessary. Don't be afraid to get a little dirty – the results are worth it. Remember to keep your phone parallel to the water's surface to maintain symmetry in your reflection.
Here's a quick guide to low-angle shooting techniques:
| Technique | Body Position | Camera Height |
|---|---|---|
| Crouch | Squatting | Knee-level |
| Kneel | On one knee | Ankle-level |
| Prone | Lying down | Ground-level |
| Tripod | Standing | Adjustable |
| Selfie stick | Standing | Variable |
Experiment with these techniques to find what works best for each scenario. You'll be surprised at how a simple change in perspective can elevate your puddle reflection photos from ordinary to extraordinary. Practice often, and soon you'll develop an instinct for finding the perfect low angle.
Stabilize Your Device
Stability is essential for capturing sharp, professional-looking puddle reflections. When you're positioning your smartphone to snap that perfect shot, even the slightest movement can blur your image. To guarantee your device remains steady, you'll need to employ some clever techniques.
First, let's explore four effective ways to stabilize your phone:
- Use a tripod: Invest in a compact, portable tripod designed for smartphones. It'll provide unmatched stability for your shots.
- Lean on nearby objects: If you don't have a tripod, use your environment. Rest your phone against a wall, tree, or any stable surface.
- Employ the two-handed grip: Hold your phone with both hands, keeping your elbows close to your body for added support.
- Utilize your body: If you're crouching down, rest your elbows on your knees to create a makeshift tripod with your body.
Align With Reflection Surface
Your smartphone's alignment with the reflection surface is essential for capturing stunning puddle reflections. Position your device parallel to the water's surface, maintaining a low angle. This technique maximizes the reflective area in your frame, creating a mirror-like effect.
For the best results, experiment with different heights. Try holding your phone just inches above the puddle, then gradually raise it. You'll notice how the reflection changes, allowing you to find the perfect balance between the reflected image and its surroundings.
Consider these alignment tips for various reflection scenarios:
| Surface Type | Camera Angle | Distance |
|---|---|---|
| Small Puddle | Very Low | Close |
| Large Puddle | Low | Medium |
| Calm Lake | Slightly Low | Far |
| Window | Eye-level | Medium |
| Metallic | Varied | Close |
Remember to keep your phone steady while aligning. Use both hands or rest your elbows on a stable surface for added stability. If possible, use your phone's grid feature to verify your horizon line is straight. This attention to alignment will greatly enhance the impact of your puddle reflection photos, transforming ordinary scenes into enchanting, symmetrical compositions.
Adjusting Camera Settings
You'll access your smartphone's full photographic potential by mastering manual mode basics.
Adjusting exposure compensation can dramatically improve your images in challenging lighting conditions.
Don't forget to experiment with focus settings and HDR to capture scenes with greater depth and dynamic range.
Manual Mode Basics
In spite of the automatic settings on most smartphone cameras, mastering manual mode can considerably elevate your photography skills.
Manual mode gives you control over essential elements like exposure, focus, and white balance, allowing you to capture the perfect puddle reflection.
To start using manual mode effectively:
- Adjust ISO: Lower ISO values (100-400) reduce graininess in bright conditions, while higher values (800+) are better for low light.
- Set shutter speed: Faster speeds (1/250s or more) freeze motion, while slower speeds (1/60s or less) create motion blur or let in more light.
- Control aperture: A wider aperture (lower f-number) creates a shallow depth of field, while a narrower one (higher f-number) keeps more of the scene in focus.
- Fine-tune white balance: Match the color temperature of your surroundings for more accurate colors.
When shooting puddle reflections, you'll want to focus on the reflection itself, use a lower ISO for clarity, and adjust your shutter speed based on available light.
Experiment with different apertures to achieve your desired depth of field.
Exposure Compensation Techniques
Building on your manual mode skills, exposure compensation is another powerful tool in your smartphone photography arsenal. It allows you to override your camera's automatic exposure settings, giving you more control over the brightness of your puddle reflection shots.
To use exposure compensation, look for a +/- icon in your camera app. Tap it to reveal a slider. Moving the slider to the right increases exposure, brightening your image. Sliding left decreases exposure, darkening the shot.
For puddle reflections, you'll often want to underexpose slightly to enhance contrast and color saturation. Experiment with different levels of compensation. Start with -0.3 or -0.7 and adjust as needed.
Pay attention to highlights and shadows. If the sky is too bright, decrease exposure. If the reflection is too dark, increase it. Remember, it's easier to brighten a slightly underexposed image in post-processing than to recover details from an overexposed one.
Use exposure compensation in conjunction with HDR mode for challenging lighting situations. This combination can help you capture both the bright sky and dark reflections in a single, well-balanced shot.
Focus and HDR
Two essential camera settings to master for stunning puddle reflection photos are focus and HDR. For focus, tap on the puddle's surface in your phone's camera app to guarantee the reflection is sharp. If your device has manual focus, experiment with different focal points to achieve the desired effect.
HDR (High Dynamic Range) can help balance the exposure between the bright sky and darker ground, capturing more detail in both areas.
When using HDR for puddle reflections:
- Enable HDR mode in your camera settings
- Keep your phone steady or use a tripod for best results
- Experiment with different HDR strengths if your app offers this option
- Compare HDR and non-HDR shots to see which you prefer
Remember that HDR mightn't always be necessary, especially in well-lit conditions. However, it can be particularly useful during golden hour or in high-contrast scenes.
If your phone doesn't have built-in HDR, consider downloading a third-party app that offers this feature. By mastering focus and HDR techniques, you'll be able to capture breathtaking puddle reflections that showcase both the sky and ground in perfect harmony.
Framing the Shot
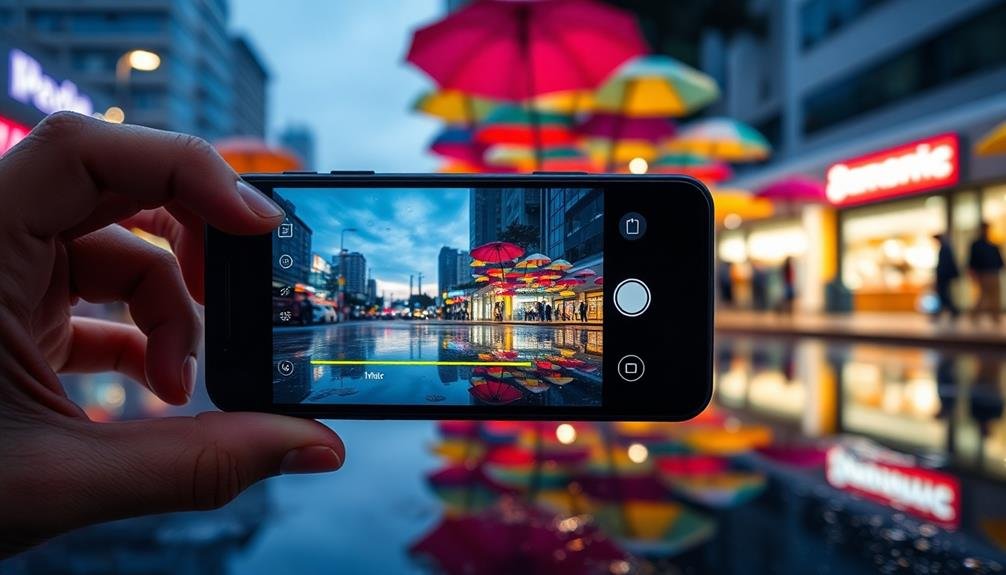
Framing your shot is essential for creating visually appealing photos with your phone camera. When capturing puddle reflections, look for interesting elements to include in the frame. Position yourself so that the puddle reflects a striking subject, like a colorful building or a dramatic sky.
Consider the rule of thirds: divide your screen into a 3×3 grid and place key elements along these lines or at their intersections.
Don't be afraid to get low. Crouch down or even lie on the ground to get the best angle for your reflection shot. This perspective can make the puddle appear larger and more prominent in your image. Pay attention to the edges of your frame, ensuring you don't accidentally cut off important parts of the reflection or subject.
Experiment with symmetry by centering the puddle in your shot, creating a mirror-like effect. Alternatively, try an asymmetrical composition by placing the puddle off-center for a more dynamic image.
Use leading lines, such as sidewalks or building edges, to guide the viewer's eye towards the reflection. Remember, framing isn't just about what you include, but also what you choose to leave out.
Mastering Composition Techniques
To elevate your phone photography, you'll want to master key composition techniques.
Start by applying the Rule of Thirds, which involves mentally dividing your frame into a 3×3 grid and placing important elements along these lines or at their intersections.
Next, experiment with the Leading Lines technique, where you use natural or man-made lines within your scene to draw the viewer's eye towards your main subject.
Rule of Thirds
Photographers swear by the Rule of Thirds, a fundamental composition technique that can instantly elevate your smartphone shots. This principle divides your frame into a 3×3 grid, creating nine equal parts. The idea is to place key elements along these lines or at their intersections, rather than centering everything.
To apply the Rule of Thirds to your puddle reflection photos:
- Enable the grid feature on your phone's camera app.
- Position the horizon line along the top or bottom horizontal grid line.
- Place the subject or point of interest at one of the grid intersections.
- Allow negative space to occupy the remaining two-thirds of the frame.
This technique creates a more balanced, visually appealing composition that naturally draws the viewer's eye to the important elements. It adds depth and interest to your puddle reflections, making them stand out from typical centered shots.
Don't be afraid to experiment with different placements along the grid. You'll find that even slight adjustments can dramatically impact the overall feel of your image.
With practice, you'll develop an intuitive sense for applying the Rule of Thirds, resulting in more dynamic and professional-looking puddle reflection photos.
Leading Lines Technique
Another powerful composition technique to level up your puddle reflection photos is the use of leading lines. This method guides the viewer's eye through the image, creating depth and drawing attention to your main subject. To incorporate leading lines in your puddle shots, look for natural or man-made elements that form paths or directional cues.
When photographing puddle reflections, you'll often find leading lines in:
| Urban Settings | Natural Environments | Architectural Elements |
|---|---|---|
| Sidewalks | Tree branches | Staircases |
| Road markings | Shorelines | Railings |
| Fences | Ripples in water | Building edges |
To effectively use leading lines:
- Position your phone to capture the lines converging towards your subject.
- Experiment with different angles to find the most compelling composition.
- Use the lines to frame both the real scene and its reflection in the puddle.
Playing With Light

While many amateur photographers focus solely on their subjects, mastering the art of playing with light can elevate your phone camera shots to new heights.
Light is the essence of photography, and understanding how to manipulate it can transform ordinary scenes into extraordinary images. Start by observing how light interacts with your environment, noting its direction, intensity, and color.
Experiment with different lighting conditions to create unique effects:
- Golden hour: Shoot during sunrise or sunset for warm, soft light that adds a magical glow to your subjects.
- Backlighting: Position your subject between you and the light source for dramatic silhouettes or an ethereal halo effect.
- Shadow play: Use strong sunlight to create interesting shadow patterns, adding depth and intrigue to your composition.
- Low light: Embrace the challenge of dimly lit scenes by adjusting your phone's exposure and using steady hands for moody, atmospheric shots.
Don't be afraid to get creative with artificial light sources, too. Use flashlights, car headlights, or even string lights to add unexpected elements to your photos.
Capturing Movement in Reflections
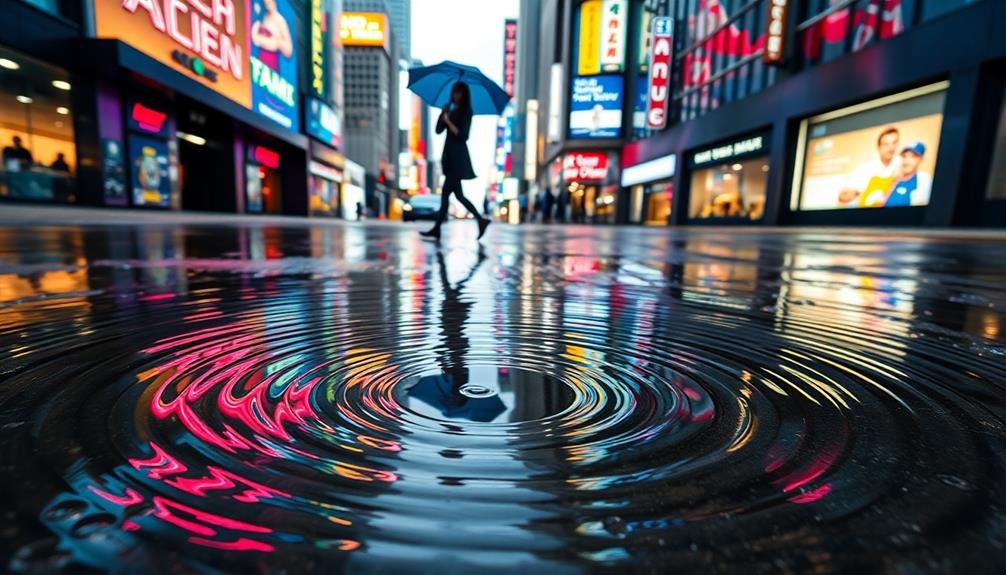
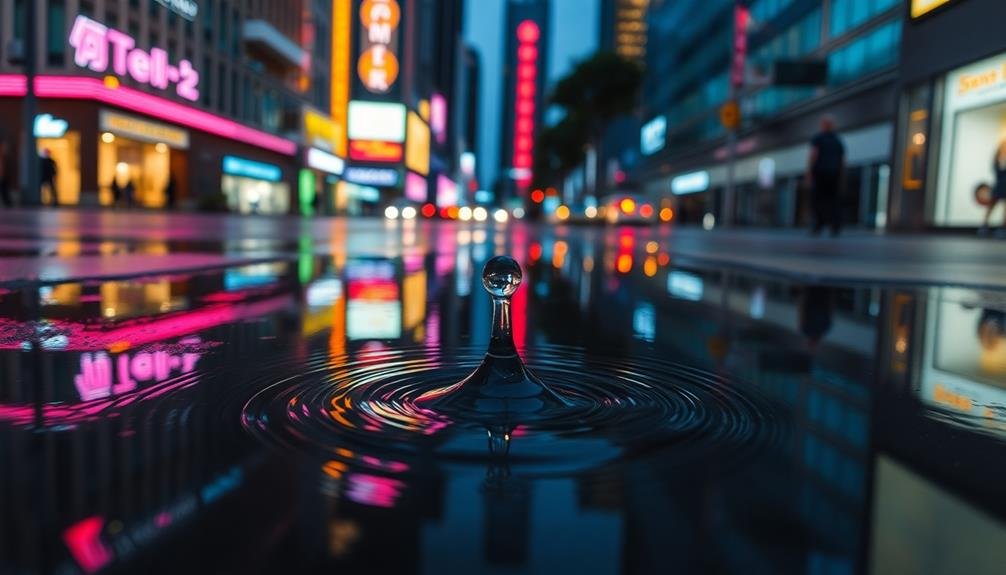
Moving beyond static light manipulation, you can breathe life into your photos by capturing movement in reflections. To achieve this effect, focus on puddles or other reflective surfaces during rainy days or after a storm. Look for scenes with pedestrians, cars, or cyclists passing by.
Set your phone's camera to burst mode or use a slow shutter speed app to capture multiple frames or longer exposures. Position yourself at a low angle to maximize the reflection's visibility. As subjects move through the frame, snap a series of photos or hold steady for a longer exposure.
Experiment with different surfaces like glass windows, polished floors, or even bodies of water. Try capturing the motion of falling raindrops, ripples in a pond, or swaying trees reflected in a puddle. For added interest, incorporate stationary elements like buildings or street lamps to contrast with the moving reflections.
Don't be afraid to embrace imperfections – partial reflections or distorted images can create unique, artistic effects.
Post-processing can enhance the movement's impact by adjusting contrast, highlights, and shadows to emphasize the reflected motion.
Enhancing Colors and Contrast
Vibrant colors and striking contrast can transform an ordinary photo into an enchanting image. When capturing puddle reflections, you'll want to enhance these elements to make your shot truly stand out. Use your phone's built-in editing tools or download a photo editing app to fine-tune your image's colors and contrast.
To enhance your puddle reflection photos:
- Adjust the saturation to make colors pop, but be careful not to overdo it.
- Increase the contrast to make the reflection more distinct from its surroundings.
- Play with the highlights and shadows to bring out details in both the reflection and the surrounding area.
- Use selective editing to enhance specific parts of the image, like the sky or the reflected object.
Don't be afraid to experiment with different settings and filters. You might find that a slight boost in warmth brings out the golden hues of a sunset reflection, or that increasing the coolness enhances the blue tones in a daytime sky.
Editing Puddle Reflection Photos
Editing puddle reflection photos requires a keen eye and a thoughtful approach to bring out their unique beauty. Start by adjusting the image's orientation to guarantee the reflection is perfectly aligned with the real-world objects.
Crop the photo to emphasize the symmetry between the actual scene and its mirrored counterpart.
Next, focus on enhancing the contrast and clarity of both the reflection and the surrounding elements. Boost the shadows slightly to reveal more detail in the reflected image, while carefully increasing the highlights to make the puddle's surface appear more reflective.
Fine-tune the color balance to create a cohesive look between the real world and its watery double. You might want to slightly desaturate the reflection to make it appear more natural.
Use selective editing tools to sharpen the edges of objects in the reflection, making them crisper and more defined.
Don't forget to address any distracting elements like debris or ripples in the puddle. Use spot healing or clone stamp tools to clean up these imperfections.
Overcoming Challenging Weather Conditions
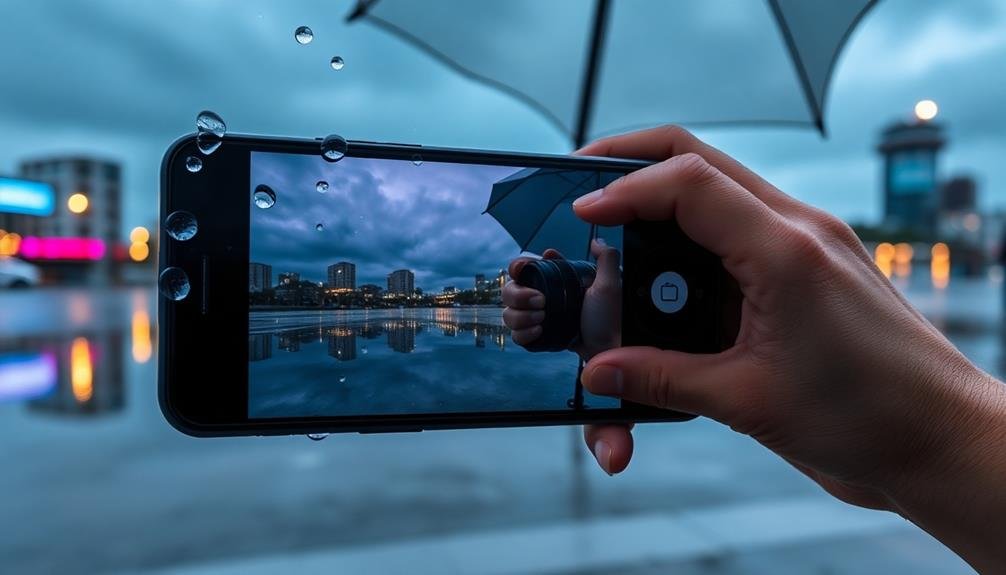
Weather can be a photographer's greatest challenge or most valuable asset. When capturing puddle reflections, you'll often face less-than-ideal conditions. Don't let this deter you; instead, use these challenges to create unique and mesmerizing images.
On cloudy days, embrace the soft, diffused light. It can enhance the reflections and create a moody atmosphere. If it's windy, wait for brief lulls to capture still reflections or experiment with the ripples for an abstract effect. Rain can actually be your ally, creating fresh puddles and adding interesting textures to your shots.
To overcome challenging weather conditions, try these techniques:
- Use a polarizing filter to reduce glare and enhance reflections
- Adjust your camera's white balance to compensate for overcast skies
- Increase your ISO in low light conditions, but be mindful of noise
- Protect your phone with a waterproof case for rainy day shoots
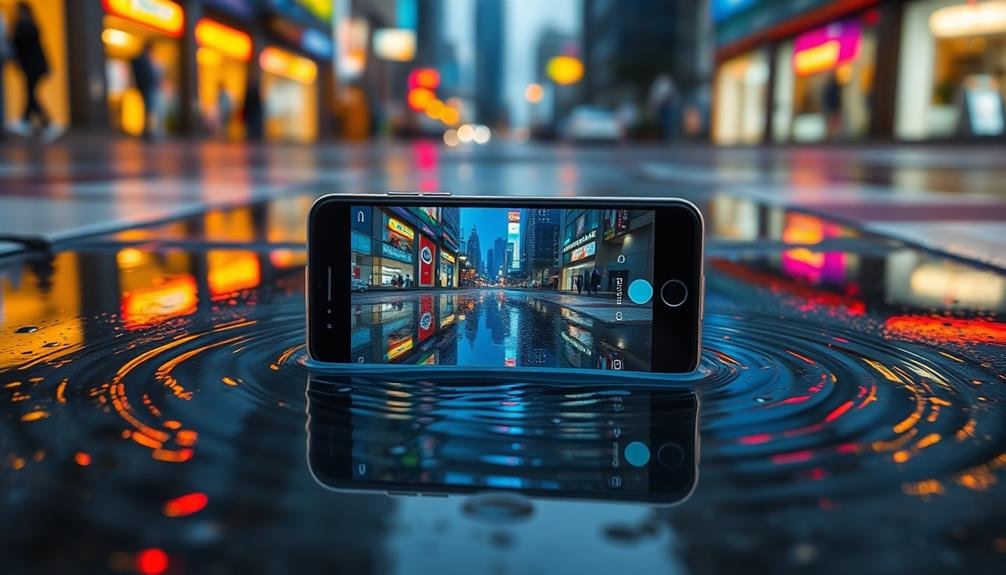
Creative Angles for Unique Reflections
Now that you've learned to work with various weather conditions, it's time to explore the art of finding unique perspectives for your puddle reflections.
Start by getting low to the ground, as this will maximize the reflection's size in your frame. Try laying your phone flat on the puddle's edge or using a small tripod to achieve stability at this low angle.
Experiment with different compositions by adjusting your position around the puddle. Capture symmetrical reflections by aligning your subject directly above its mirror image, or create more dynamic shots by positioning the reflection off-center.
Don't forget to explore vertical orientations too, which can yield striking results with tall subjects like buildings or trees.
For added creativity, incorporate foreground elements like leaves, pebbles, or even your own feet to frame the reflection.
Play with focus by tapping on different areas of your screen to emphasize either the reflection or the actual subject.
Frequently Asked Questions
Can I Create Artificial Puddles for Reflection Photography?
Yes, you can create artificial puddles for reflection photography. You'll need a flat surface, some water, and a spray bottle. Spread the water evenly, adjust the amount as needed, and experiment with different angles for unique shots.
How Do I Protect My Smartphone While Shooting Near Water?
You'll want to protect your smartphone near water. Use a waterproof case or bag, keep it away from splashes, and don't submerge it. Always have a firm grip and consider using a lanyard for extra security.
Are There Apps Specifically Designed for Puddle Reflection Photography?
You'll find several apps designed for puddle reflection photography. Try "Reflect" or "Puddle Reflection Camera." They offer features like symmetry guides, reflection enhancement tools, and filters to make your puddle shots more stunning and professional-looking.
What Time of Day Is Best for Capturing Puddle Reflections?
You'll capture the best puddle reflections during golden hour, just after sunrise or before sunset. The low-angled light creates stunning colors and contrasts. Overcast days can also work well, providing even lighting for reflections.
How Can I Incorporate Wildlife or People Into Puddle Reflection Shots?
You can include wildlife or people in puddle reflections by positioning them near the puddle's edge. Wait for animals to approach or ask someone to stand still. Capture their reflection alongside the surrounding scenery for a unique composition.
In Summary
You've now got the tools to capture stunning puddle reflections with your smartphone. Don't be afraid to experiment with different angles, settings, and editing techniques. Remember, practice makes perfect. Keep an eye out for puddles after rain and challenge yourself to find unique reflections in unexpected places. With these tips, you'll be snapping eye-catching puddle photos that'll wow your friends and followers in no time. Happy shooting!


Leave a Reply