To achieve perfect white balance, start by identifying your light source. Whether it's natural daylight or artificial lighting, understanding the dominant illumination helps you choose the right settings. Next, select an appropriate white balance mode on your camera. Use presets like Daylight or Tungsten, or opt for Auto as a starting point. Finally, fine-tune your settings using manual controls. Adjust color temperature in Kelvin and tweak the tint to eliminate any color casts. Take test shots and review them on a calibrated display to guarantee accurate colors. These three steps will set you on the path to mastering white balance in your photography.
Identify Your Light Source
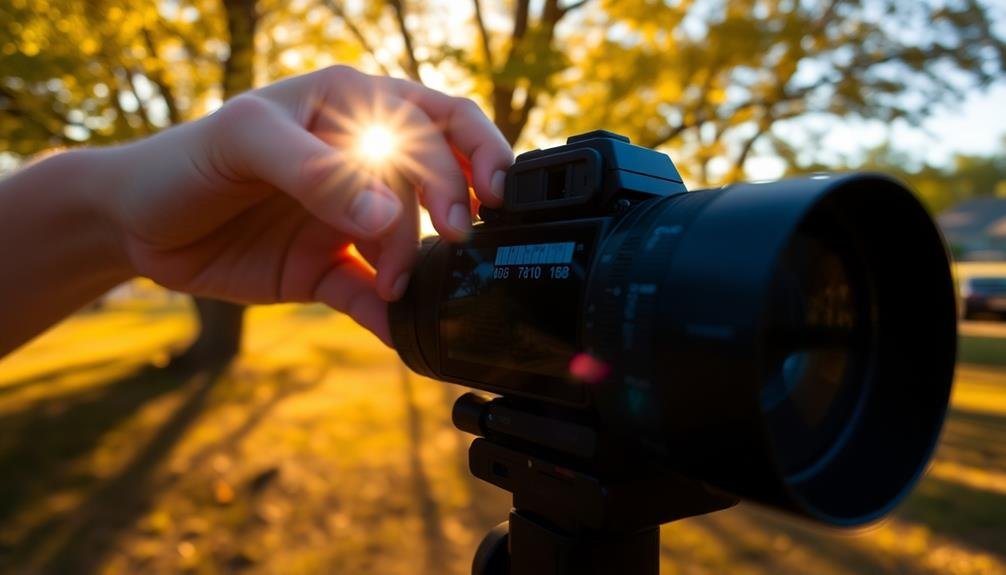
Before adjusting your camera's white balance, you'll need to identify the primary light source in your scene. This step is essential because different light sources emit varying color temperatures, which can affect the overall tone of your images.
Look around and determine if you're shooting in natural daylight, under artificial indoor lighting, or with a mix of both. Natural daylight changes throughout the day, from cool blue tones in the early morning to warmer hues during sunset.
Artificial lighting can vary widely, with fluorescent bulbs casting a greenish tint and tungsten lights producing a warm, orange glow.
If you're dealing with multiple light sources, focus on the dominant one that's illuminating your main subject. Pay attention to any color casts on your subject or in the background, as these can help you identify the primary light source.
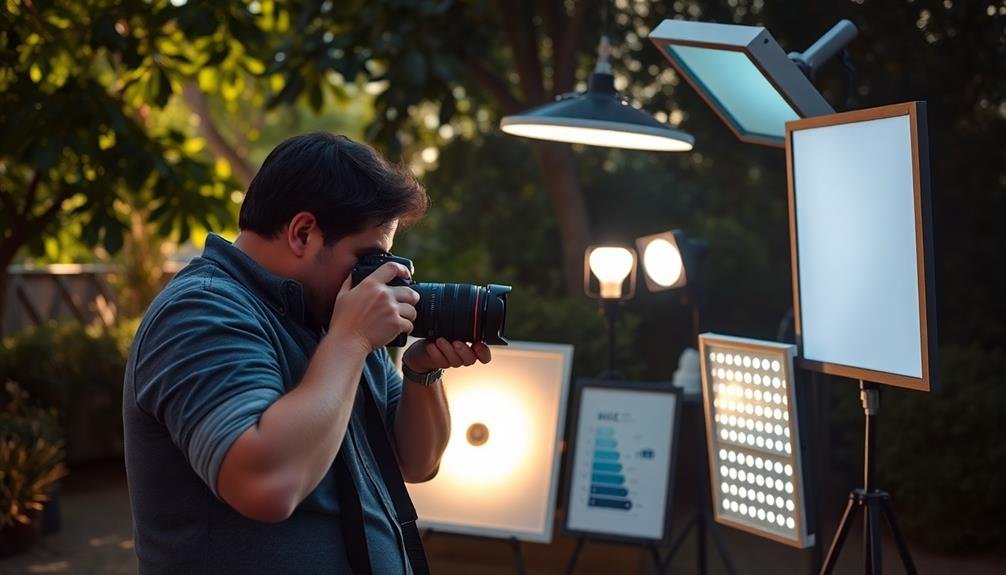
For more challenging situations, such as mixed lighting or unusual light sources, you may need to use a gray card or white balance target to get a precise reading. These tools provide a neutral reference point for your camera to measure the light accurately.
Select White Balance Mode
Once you've identified your light source, it's time to select the appropriate white balance mode on your camera. Most digital cameras offer several preset white balance options, including Auto, Daylight, Cloudy, Shade, Tungsten, Fluorescent, and Flash. Each of these modes is designed to correct color temperature for specific lighting conditions.
Auto white balance is a good starting point, but it can sometimes produce inconsistent results. For more precise control, choose the preset that matches your lighting situation. If you're shooting outdoors on a sunny day, select Daylight. For overcast conditions, use Cloudy or Shade. When shooting indoors under artificial lighting, choose Tungsten for warm incandescent bulbs or Fluorescent for cooler fluorescent lights.
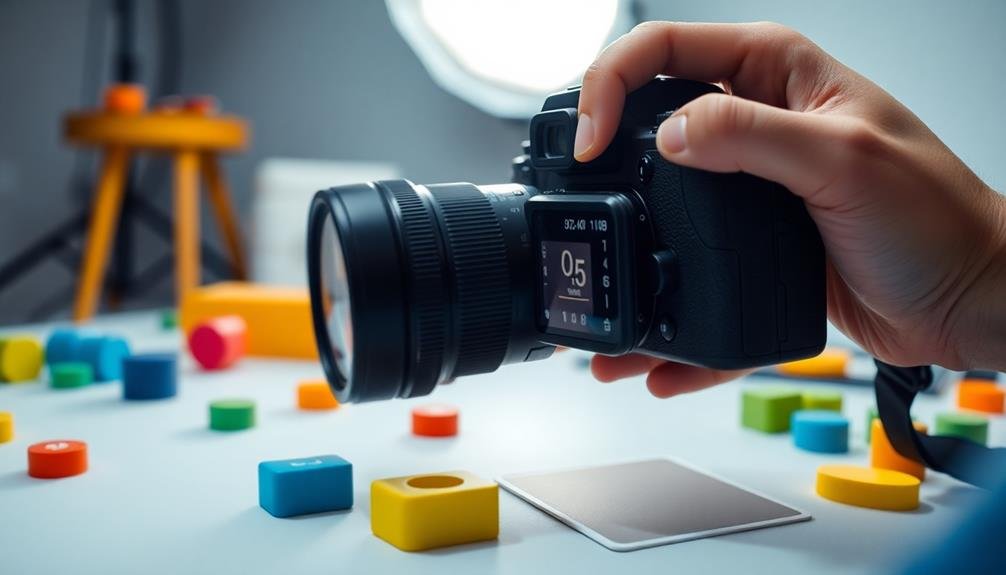
If your camera offers a Custom or Manual white balance option, you can achieve even more accurate results. This mode allows you to calibrate the white balance using a white or gray reference card.
Simply photograph the card under your current lighting conditions and set it as your custom white balance. This method is particularly useful in mixed lighting situations or when shooting in challenging environments with unusual color casts.
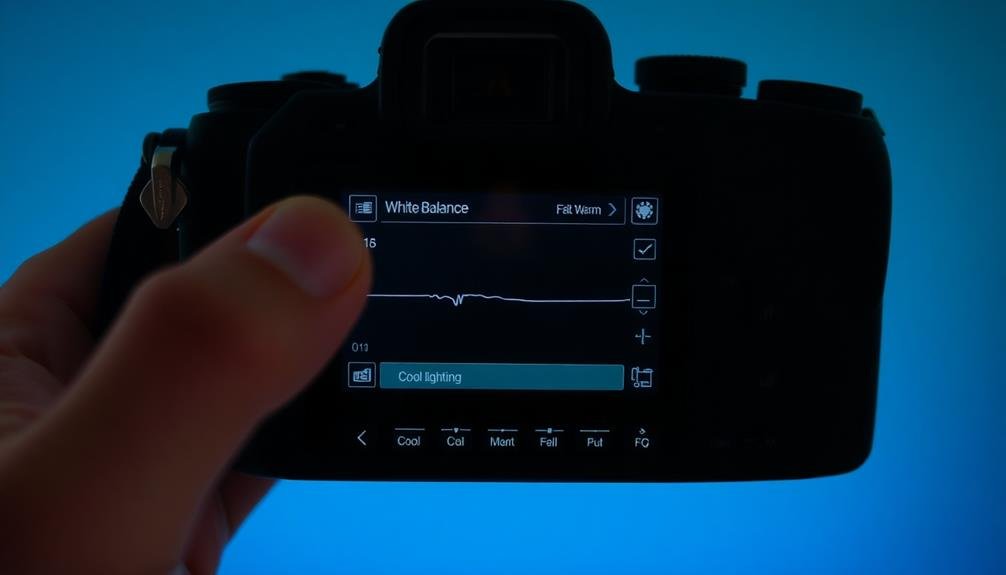
Fine-Tune Using Manual Controls
While preset white balance modes offer a good starting point, you can achieve even more precise color accuracy by fine-tuning your camera's manual controls. Most cameras allow you to adjust the color temperature in Kelvin units, typically ranging from 2000K to 10000K. Lower values create warmer tones, while higher values produce cooler hues.
To fine-tune your white balance, start by selecting the closest preset mode. Then, use the Kelvin adjustment to make incremental changes. You'll see the effect in real-time through your camera's live view or electronic viewfinder. Pay attention to neutral areas in your scene, like white or gray objects, and adjust until they appear colorless.
Some cameras also offer tint adjustment, which lets you fine-tune the green-magenta balance. This is particularly useful when dealing with artificial lighting that may have a slight color cast. Use this feature sparingly, as small changes can have a significant impact on your image's overall color.
Remember to take test shots and review them on a calibrated display for the best results. With practice, you'll develop an intuitive sense of how to adjust white balance manually for various lighting situations.
Frequently Asked Questions
How Does White Balance Affect the Mood of a Photograph?
White balance considerably impacts your photo's mood. It can make scenes appear warm and cozy or cool and crisp. You'll find that adjusting white balance changes the overall color temperature, influencing the viewer's emotional response to your image.
Can I Fix White Balance Issues in Post-Processing Software?
Yes, you can fix white balance issues in post-processing software. You'll find tools to adjust color temperature and tint in most editing programs. It's easier to correct if you shoot in RAW format, giving you more flexibility.
What's the Difference Between Color Temperature and White Balance?
Color temperature refers to the warmth or coolness of light, measured in Kelvin. White balance is how you adjust your camera to accurately capture colors under different lighting conditions. You're fundamentally setting the white point.
How Do Different Camera Brands Handle White Balance Settings?
You'll find most camera brands offer similar white balance presets like daylight, cloudy, and tungsten. They'll also provide custom options. Some brands may have unique features or naming conventions, but the core functionality remains consistent across manufacturers.
Are There Specific White Balance Considerations for Video Recording?
When recording video, you'll need to take into account changing light conditions. You can't adjust white balance as easily in post-production, so it's essential to set it correctly before filming. Use custom presets or manual settings for best results.
In Summary
You've now mastered the key steps to achieve perfect white balance. By identifying your light source, selecting the right white balance mode, and fine-tuning with manual controls, you'll consistently capture true-to-life colors in your photos. Don't be afraid to experiment and trust your eyes. With practice, you'll develop an intuitive sense for white balance adjustments. Remember, it's not just about technical accuracy; it's about creating images that match your artistic vision. Keep shooting and refining your skills!


Leave a Reply