To lock camera exposure on your phone, start by understanding your device's settings. Tap to focus and hold to secure both focus and exposure. Use the AE/AF lock feature for stable settings during movement. Adjust exposure compensation with the slider or +/- icon for fine-tuning. Explore third-party camera apps for advanced control options. Master manual exposure mode to have full command over ISO and shutter speed. Practice in various lighting conditions to improve your skills. By mastering these techniques, you'll capture stunning photos in challenging situations and release your phone's full photographic potential.
Understand Your Phone's Exposure Settings
Typically, your phone's camera app offers various exposure settings that you'll need to familiarize yourself with. These settings control how much light enters the camera sensor, affecting the brightness and overall look of your photos.
The main elements of exposure are ISO, shutter speed, and aperture.
ISO determines your camera's sensitivity to light. A higher ISO allows you to shoot in darker conditions but may introduce more grain or noise to your images.
Shutter speed controls how long the camera's sensor is exposed to light. Faster speeds freeze motion, while slower speeds can create motion blur.
Aperture, which is fixed on most smartphones, affects depth of field and the amount of light entering the lens.
Many phone cameras have an auto-exposure (AE) mode that adjusts these settings automatically. However, you can often override this by tapping on the screen to set a focus point and adjust exposure.
Some advanced camera apps allow manual control over ISO and shutter speed. Look for options like "Pro" or "Manual" mode in your camera app to access these features.
Understanding these settings will help you lock exposure effectively for better photos.
Tap to Focus and Lock

To lock your phone's camera exposure, you'll need to identify your subject's focal point.
Once you've found it, tap on that area of your screen to set focus.
For most smartphones, you can then long-press on the same spot to lock both focus and exposure, ensuring your image maintains consistent lighting even if you move the camera.
Find Focal Point
Finding your focal point is essential when locking camera exposure on your phone. It's the key to creating well-composed and sharp images. To find the focal point, consider the main subject of your photo. What do you want viewers to focus on? Once you've identified this, position it strategically within your frame.
For portraits, the focal point is typically the subject's eyes. In landscape photography, it might be a prominent feature like a mountain peak or a lone tree. For action shots, focus on the area where the movement is occurring. Remember, the focal point doesn't always need to be centered; using the rule of thirds can create more dynamic compositions.
When you've determined your focal point, tap on that area of your phone's screen. This action tells your camera where to focus and base its exposure calculations.
Many phones allow you to press and hold to lock this focus and exposure. After locking, you can recompose your shot while maintaining the desired focus and exposure settings. This technique gives you more control over your final image, ensuring your subject is sharp and properly exposed.
Long-Press to Lock
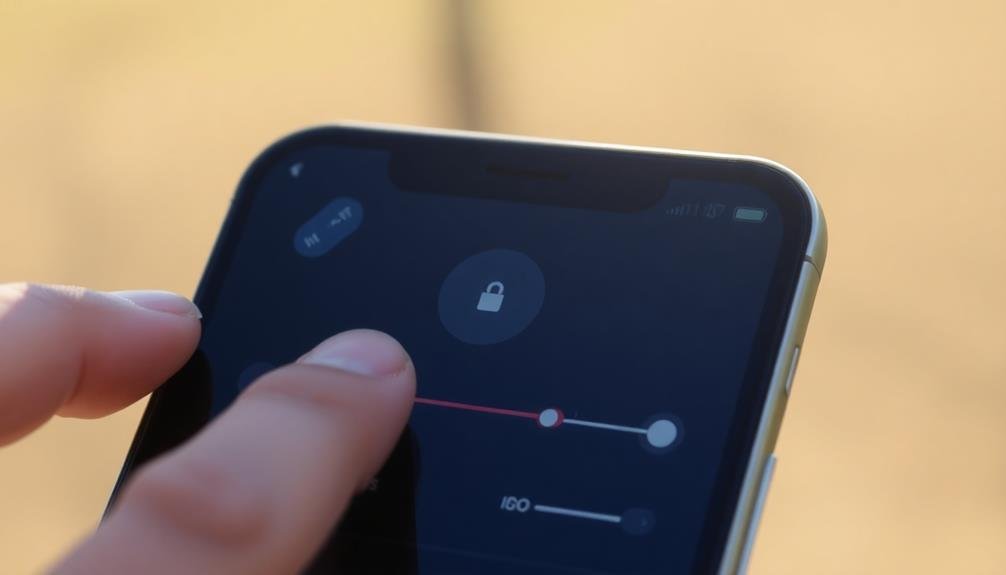
Mastering the long-press technique is essential for locking your camera's exposure and focus. To use this feature, open your phone's camera app and frame your shot. Identify the area where you want to set the exposure and focus. Instead of a quick tap, press and hold your finger on that spot for about two seconds.
You'll notice a small box or circle appear, often accompanied by a "locked" icon or message. This indicates that the camera has secured both the exposure and focus on that specific point. The rest of the frame will adjust accordingly, maintaining those settings even if you move the phone.
This technique is particularly useful in challenging lighting situations or when your subject is moving. It prevents the camera from continually readjusting as you compose your shot. Remember, you can always release by tapping elsewhere on the screen.
Some phones offer separate exposure and focus controls. In this case, you might need to long-press for focus, then adjust exposure using a slider. Experiment with your device to find the exact method that works best for your phone model.
Use AE/AF Lock Feature
To activate AE/AF Lock on most smartphones, you'll need to tap and hold on the screen where you want to focus.
This feature allows you to lock both the focus and exposure settings, preventing them from changing as you move the camera.
Activating Ae/Af Lock
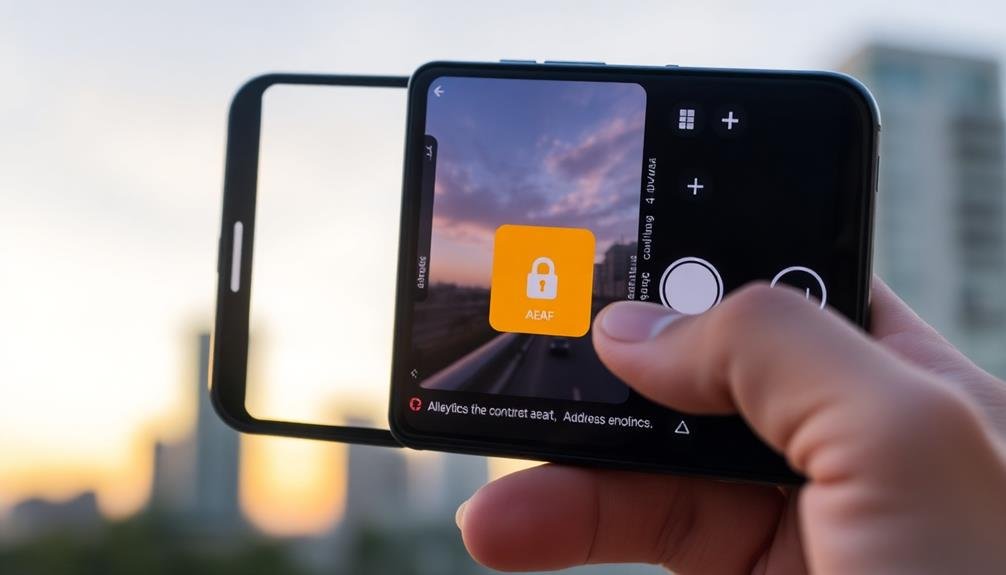
Most smartphones come equipped with an AE/AF lock feature, which allows you to lock both the exposure and focus settings.
To activate this function, open your phone's camera app and frame your shot. Tap and hold on the area of the screen where you want to set the focus and exposure. After a moment, you'll see an indicator that AE/AF lock is engaged, often in the form of a locked icon or text.
Once activated, the camera will maintain these settings even if you move the phone or recompose the shot. This is particularly useful when photographing high-contrast scenes or subjects in motion.
To release the lock, simply tap anywhere else on the screen.
Some phones offer separate controls for AE and AF lock. In this case, you might need to tap with two fingers or use a specific gesture to lock both simultaneously.
Check your phone's camera settings or user manual for exact instructions.
Benefits of Exposure Locking
With exposure locking, you'll gain significant control over your smartphone photography. By using the AE/AF lock feature, you're able to maintain consistent lighting and focus across multiple shots, even if you recompose your frame.
This technique is particularly useful in challenging lighting conditions, where your camera's auto-exposure might struggle to capture the scene as you envision it.
Exposure locking allows you to capture tricky subjects like backlit portraits or high-contrast landscapes with greater accuracy. You'll avoid the frustration of constantly adjusting your composition to achieve the desired exposure. Instead, you can lock in the perfect settings and focus on framing your shot.
Here are five emotional benefits of mastering exposure locking:
- Confidence in capturing difficult lighting situations
- Pride in producing professional-looking images
- Excitement in exploring creative composition techniques
- Satisfaction in overcoming technical photography challenges
- Joy in preserving memories exactly as you remember them
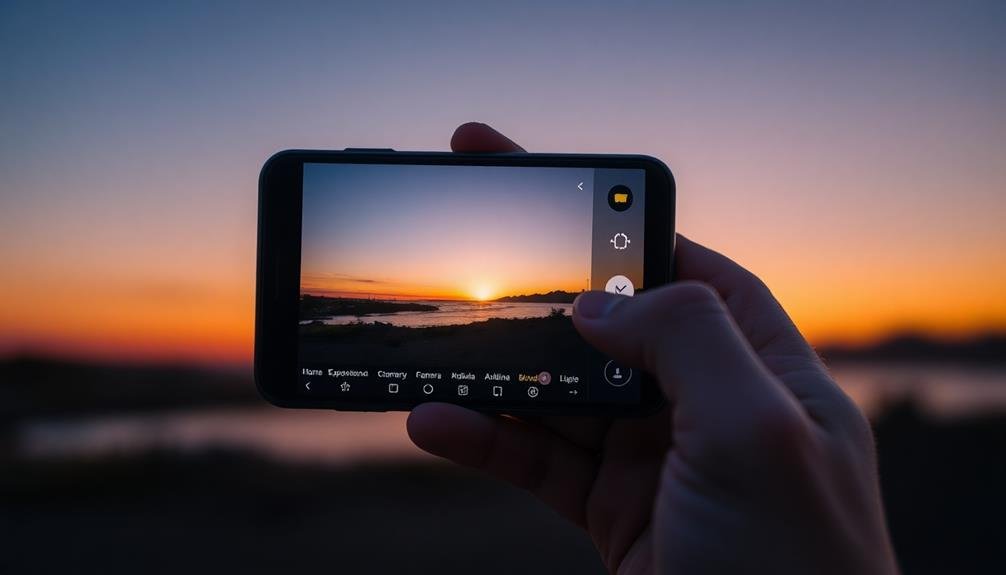
Adjust Exposure Compensation
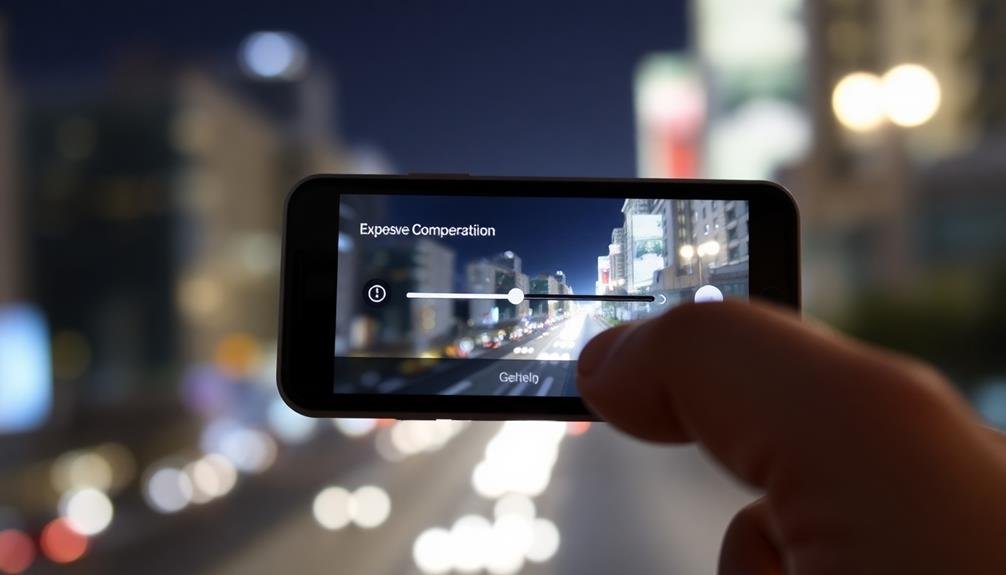
Once you've locked the exposure, you're not limited to that exact setting. Most smartphone cameras allow you to adjust the exposure compensation after locking it. This feature gives you more control over the final image's brightness.
To adjust exposure compensation, look for a slider or +/- icon on your screen after locking exposure. Sliding towards the + side will brighten the image, while moving towards the – side will darken it. Make small adjustments and observe the changes in real-time on your screen.
This tool is particularly useful in high-contrast scenes. For example, if you've locked exposure on a bright sky but your subject appears too dark, increase the exposure compensation to bring out details in the shadows.
Conversely, if you've locked on a dark area and highlights are blown out, decrease the compensation to recover detail in bright areas.
Explore Third-Party Camera Apps
Why limit yourself to your phone's built-in camera app when there's a whole world of third-party options available? These apps often offer more advanced features, including robust exposure controls.
You'll find apps that allow you to lock exposure with a simple tap, adjust it manually, or even create custom presets for different lighting situations. Some apps even offer spot metering, giving you precise control over which part of the image determines the exposure.
When choosing a third-party camera app, look for ones that offer:
- Intuitive exposure locking mechanisms
- Manual control over ISO, shutter speed, and aperture
- Histograms for real-time exposure feedback
- RAW image capture for maximum editing flexibility
- Advanced metering modes like spot and matrix metering
Don't be afraid to experiment with different apps to find the one that best suits your needs. Many offer free versions or trials, so you can test them out before committing.
Master Manual Exposure Mode
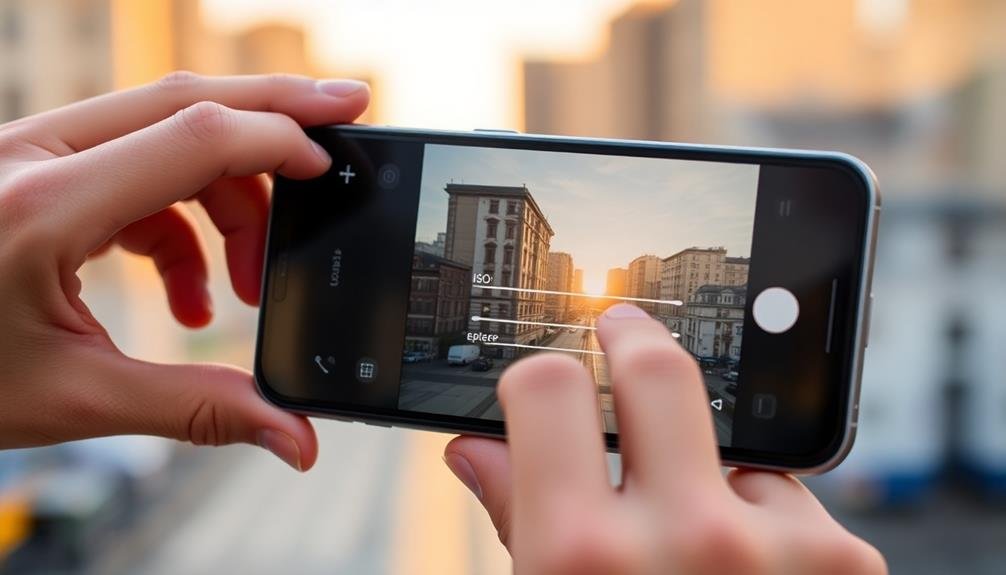
Taking full control of your phone's camera starts with mastering manual exposure mode. This feature allows you to adjust settings like ISO, shutter speed, and aperture independently, giving you precise control over your image's exposure.
To begin, familiarize yourself with each setting's function. ISO determines your camera's sensitivity to light, with higher values brightening the image but potentially introducing noise. Shutter speed controls how long your sensor is exposed to light, affecting motion blur and overall brightness. Aperture, if adjustable on your phone, impacts depth of field and light intake.
Start by setting your ISO to the lowest possible value for ideal image quality. Then, adjust your shutter speed based on your subject's movement and available light. For stationary subjects in good light, use faster shutter speeds. In low light or for creative effects, opt for slower speeds.
Fine-tune your exposure by balancing these settings. If your image is too dark, increase ISO or slow down the shutter speed. If it's too bright, do the opposite.
With practice, you'll develop an intuitive understanding of how these elements work together, allowing you to capture perfectly exposed photos in any situation.
Practice With Different Lighting Scenarios
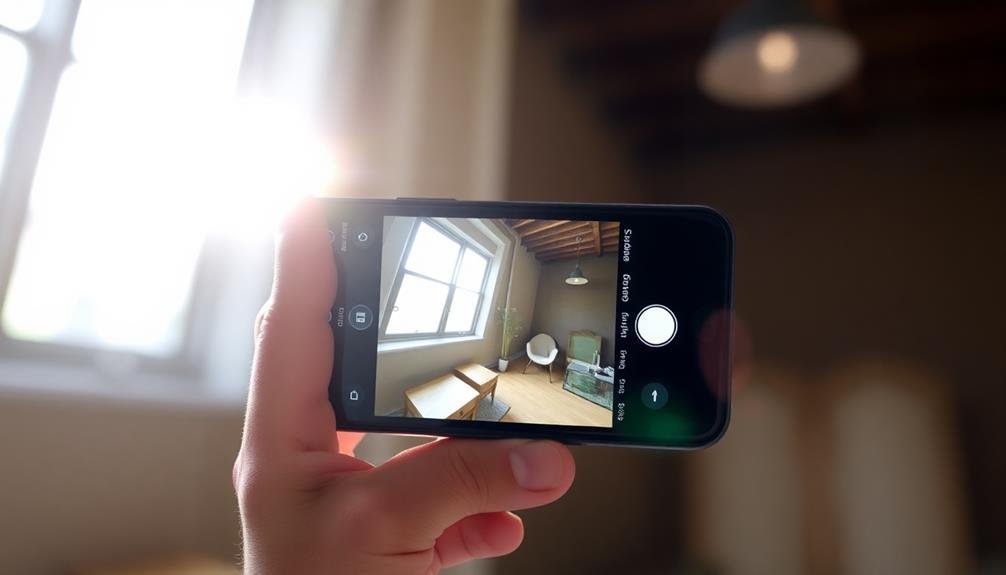
To truly master exposure control on your phone's camera, you'll need to practice in various lighting conditions. Start by experimenting in daylight, then move on to indoor settings, low light situations, and high-contrast scenes.
Pay attention to how different light sources affect your images and how adjusting exposure can dramatically change the mood and quality of your photos.
Try capturing the same subject at different times of day to understand how natural light changes. Use your newfound manual exposure skills to properly expose for shadows or highlights, depending on your artistic vision.
Don't be afraid to push your phone's camera to its limits – this is how you'll learn its capabilities and limitations.
As you practice, you'll develop an intuitive sense of how to lock exposure for the best results.
Remember these emotional benefits of mastering exposure control:
- Feeling of empowerment over your phone's camera
- Pride in capturing professional-looking images
- Excitement when nailing the perfect exposure in challenging conditions
- Satisfaction of preserving memories exactly as you remember them
- Joy of expressing your unique artistic vision through photography
With consistent practice, you'll soon be confidently locking exposure in any lighting scenario, elevating your mobile photography to new heights.
Frequently Asked Questions
Can Locking Exposure Affect Image Quality?
Yes, locking exposure can affect image quality. You'll maintain consistent lighting, which can be beneficial or detrimental depending on the scene. It may result in over or underexposed areas if you're not careful with your composition.
How Does Exposure Lock Impact Battery Life?
Exposure lock won't considerably impact your battery life. While it keeps your camera active, it's not a major drain. You'll notice more battery usage if you're constantly adjusting settings or taking multiple shots.
Is Exposure Lock Available for Video Recording?
Yes, exposure lock is often available for video recording on many smartphones. You'll typically find it in your camera app's settings or by tapping the screen while recording. It can help maintain consistent lighting throughout your video.
Can I Use Exposure Lock With Flash Photography?
Yes, you can use exposure lock with flash photography. It'll help you maintain consistent lighting in your shots. Lock the exposure before enabling the flash to prevent overexposure. This technique works well for both smartphone and traditional cameras.
Does Exposure Lock Work With All Phone Camera Lenses?
Exposure lock doesn't always work with all phone camera lenses. It's typically available for your main camera, but might not function with ultra-wide or telephoto lenses. Check your phone's camera app settings to see which lenses support this feature.
In Summary
You've now got the tools to take control of your phone's camera exposure. Remember, practice makes perfect. Don't be afraid to experiment with different techniques in various lighting conditions. Whether you're using built-in features or third-party apps, mastering exposure control will dramatically improve your mobile photography. Keep these tips handy, and you'll soon be capturing stunning, well-exposed images with ease. Your phone's camera is more powerful than you think—go out and make the most of it!


Leave a Reply