
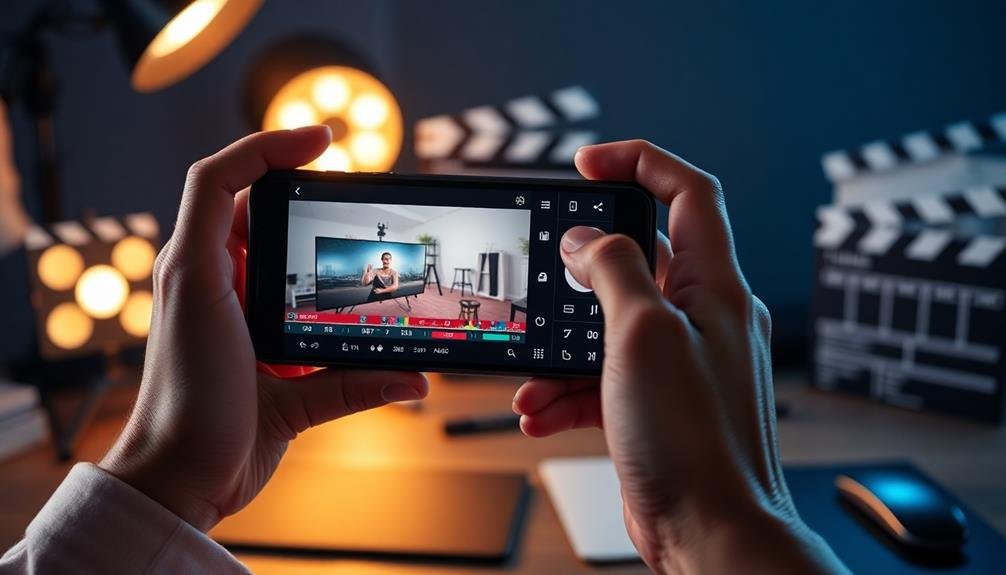
To create pro-level cinematic videos on your mobile, start by mastering your phone's manual camera settings. Experiment with frame rates, shutter speed, and ISO for ideal results. Next, utilize manual focus techniques to add depth and guide viewers' attention. Stabilize your shots using proper hand-holding techniques or invest in a gimbal for smoother footage. Perfect your lighting by leveraging natural light or using portable LED lights for more control. Finally, edit like a pro by organizing clips, color grading, and incorporating sound design. With these five tips, you'll be well on your way to producing Hollywood-worthy content from your smartphone. Dive deeper to reveal even more cinematic potential.
Master Mobile Camera Settings
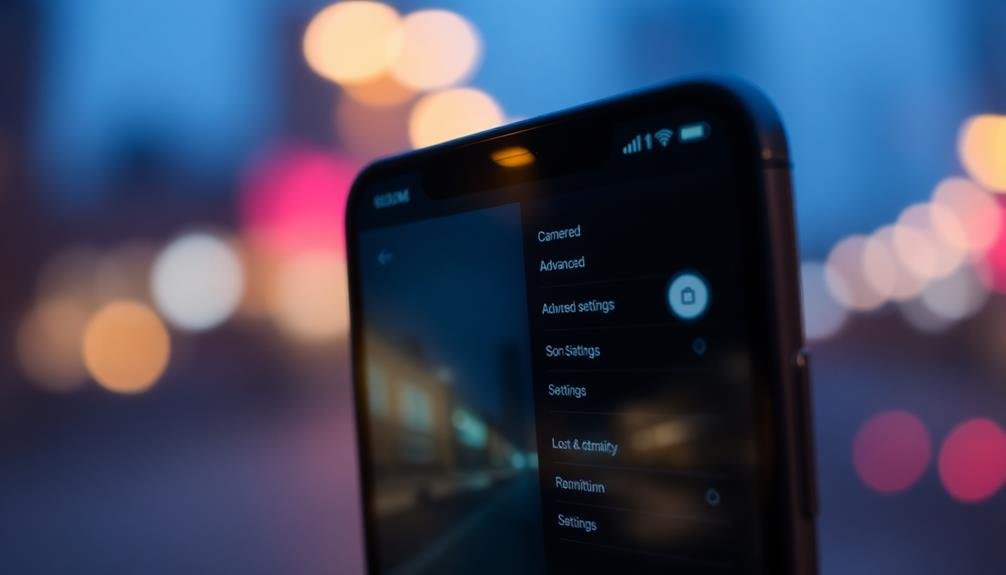
When it comes to creating pro-level cinematic videos on your mobile device, mastering the camera settings is vital. Start by familiarizing yourself with your phone's manual or pro mode. This allows you to adjust significant parameters like ISO, shutter speed, and white balance.
Set your frame rate to 24 or 30 fps for a cinematic look. If you're aiming for slow-motion footage, choose 60 fps or higher. Adjust your shutter speed to double your frame rate (e.g., 1/48 for 24 fps) to achieve natural-looking motion blur.
Keep your ISO as low as possible to minimize noise. In low-light situations, increase it gradually while monitoring image quality. Use the exposure compensation feature to fine-tune brightness without affecting other settings.
For white balance, avoid auto mode and select a preset that matches your lighting conditions. You can also set a custom white balance using a gray card for precise color accuracy.
Enable grid lines to help with composition and maintain level horizons. If available, activate focus peaking to guarantee sharp focus on your subject.
Utilize Manual Focus Techniques
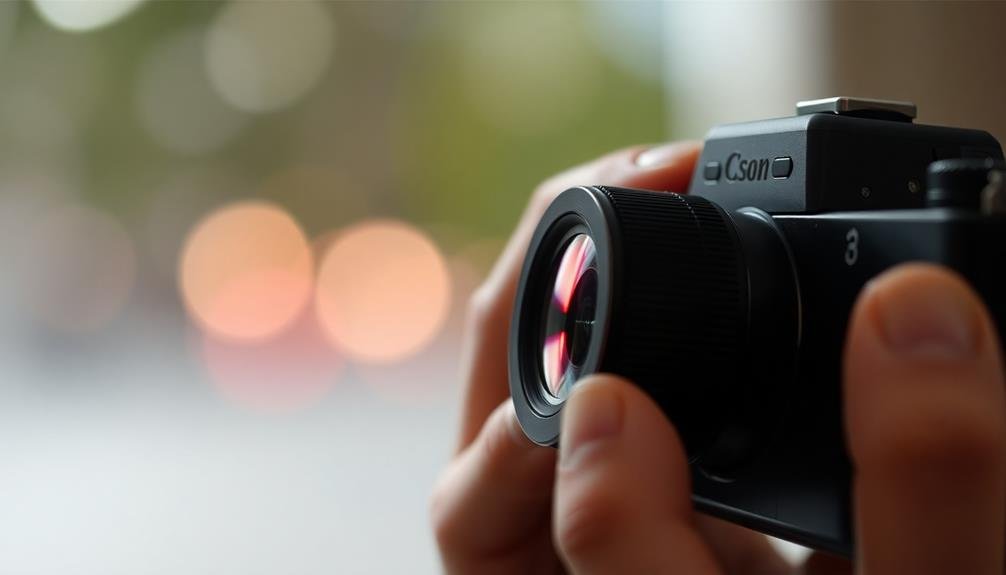
Diving into manual focus techniques can elevate your mobile cinematography to new heights. Start by familiarizing yourself with your phone's manual focus feature, usually activated by tapping the screen and adjusting a slider. This control allows you to precisely set the focal point, creating depth and guiding the viewer's attention.
Practice rack focusing, a technique where you shift focus between subjects during a shot. This adds visual interest and can emphasize story elements. To execute this smoothly, set focus points before recording and practice the changeover.
Use focus pulling to draw attention to specific details. Start with the background in focus, then slowly shift to a foreground object, or vice versa. This technique creates a sense of discovery and can reveal plot points subtly.
Experiment with selective focus to isolate subjects. By keeping one area sharp while blurring others, you'll create a cinematic look that mimics larger camera systems.
Combine this with composition techniques like the rule of thirds for maximum impact.
Stabilize Your Smartphone Shots
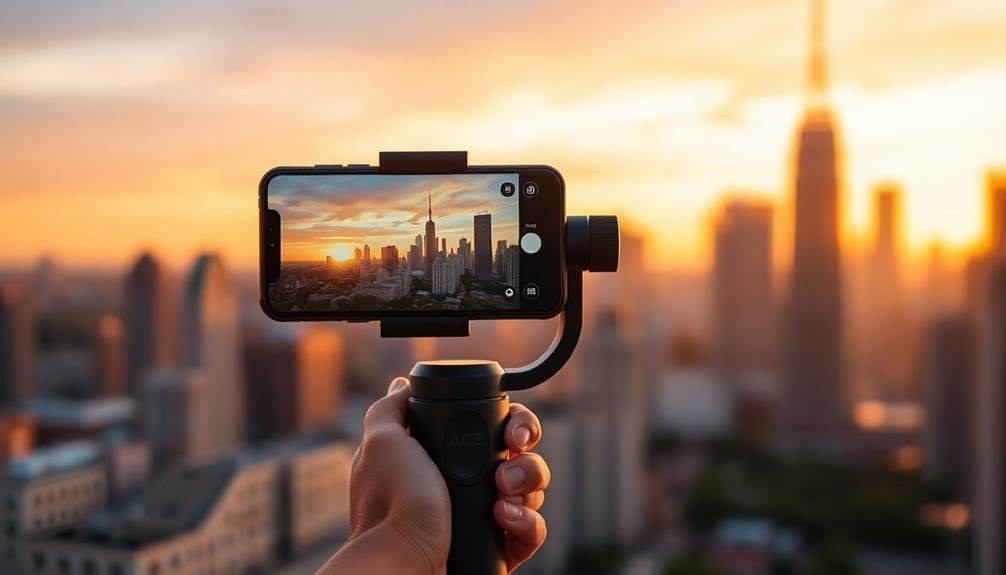
With manual focus mastered, it's time to tackle another essential aspect of pro-level mobile cinematography: stabilization. Shaky footage can instantly ruin the cinematic quality of your videos, so it's vital to keep your smartphone steady while shooting.
Start by adopting proper hand-holding techniques. Grip your phone with both hands, keeping your elbows close to your body for added stability. When possible, lean against a wall or sturdy object to minimize body movement.
For smoother panning shots, pivot from your hips rather than your arms.
Invest in a smartphone gimbal for professional-grade stabilization. These handheld devices use motors to counteract unwanted movements, resulting in silky-smooth footage.
Alternatively, consider a less expensive option like a smartphone grip or a mini tripod with flexible legs.
Don't overlook your phone's built-in stabilization features. Many smartphones offer optical image stabilization (OIS) or electronic image stabilization (EIS).
Enable these options in your camera settings for improved stability.
Perfect Lighting for Cinematic Effect
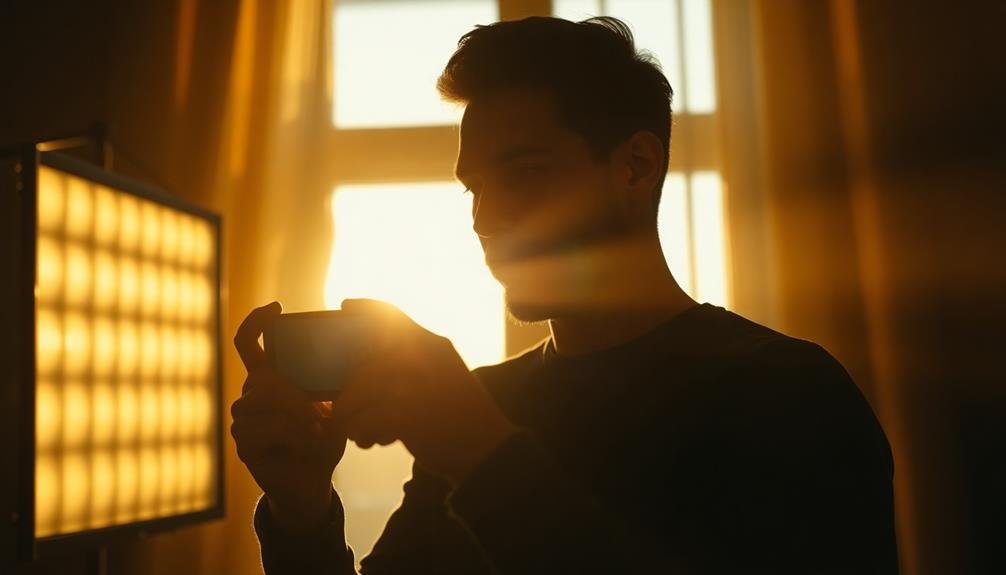
In light of creating cinematic videos, proper lighting is paramount. It can transform your mobile footage from amateur to professional-looking with just a few adjustments. Start by understanding natural light. Use the golden hour, just after sunrise or before sunset, for warm, soft illumination. When shooting indoors, position your subject near windows for flattering, diffused light.
For more control, invest in portable LED lights. They're compact, affordable, and can dramatically improve your shots. Place them strategically to create depth and mood. Remember the three-point lighting setup: key light, fill light, and backlight. This classic technique adds dimension and separates your subject from the background.
| Lighting Type | Pros | Cons |
|---|---|---|
| Natural Light | Free, soft | Unpredictable |
| LED Panels | Portable, adjustable | Requires power |
| Reflectors | Inexpensive, versatile | Limited control |
Don't forget about color temperature. Match your light sources or use white balance settings to avoid inconsistent hues. Experiment with shadows and contrast to create atmosphere. Finally, consider using practical lights within your scene, like lamps or street lights, to add authenticity and depth to your cinematic mobile videos.
Edit Like a Hollywood Pro
Once you've captured your perfectly lit footage, it's time to elevate your mobile videos through editing. Professional-grade editing apps like LumaFusion and Adobe Premiere Rush offer powerful tools to transform your raw footage into cinematic masterpieces.
Start by organizing your clips and selecting the best takes. Then, focus on creating a compelling narrative by arranging your shots in a logical sequence.
To add a Hollywood touch, experiment with color grading to enhance the mood and atmosphere of your video. Use cuts sparingly, opting for clean cuts most of the time. Don't forget to incorporate sound design, including background music and sound effects, to create a more immersive experience.
Here are five key editing techniques to make your mobile videos look pro:
- Use the rule of thirds for precise framing
- Implement J-cuts and L-cuts for smoother shifts
- Apply subtle zoom and pan effects for dynamic shots
- Utilize slow motion and time-lapses creatively
- Add cinematic letterboxing for a widescreen look
Frequently Asked Questions
How Do I Choose the Best Smartphone for Cinematic Video Recording?
When choosing a smartphone for cinematic video recording, you'll want to evaluate camera specs, low-light performance, stabilization features, and manual controls. Look for devices with multiple lenses, 4K capability, and high frame rates for the best results.
What External Microphones Work Well With Smartphones for Better Audio Quality?
You'll find several external microphones that work great with smartphones. Consider lavalier mics for clear voice recording, shotgun mics for directional audio, or compact wireless systems. Look for options with smartphone-compatible connections like TRRS or USB-C for seamless integration.
Are There Specific Apps for Color Grading Mobile Footage?
Yes, there are several great apps for color grading mobile footage. You'll want to check out FilmicPro, LumaFusion, and VSCO. They offer powerful tools to adjust color, contrast, and tone, giving your videos a professional look.
How Can I Achieve a Shallow Depth of Field on a Smartphone?
You can achieve shallow depth of field on a smartphone by using portrait mode, getting close to your subject, tapping to focus, and maximizing distance between subject and background. Some apps also offer simulated bokeh effects.
What Frame Rates Should I Use for Different Types of Cinematic Shots?
For cinematic shots, you'll want to use 24fps for a traditional film look, 30fps for smoother motion, and 60fps for slow-motion effects. Choose 120fps or higher if you're aiming for ultra-slow-motion sequences.
In Summary
You've now got the tools to create stunning cinematic videos with just your smartphone. Remember, it's all about mastering your camera settings, nailing manual focus, keeping shots steady, perfecting your lighting, and editing like a pro. Don't be afraid to experiment and push your mobile filmmaking skills to the limit. With practice, you'll be amazed at the Hollywood-quality results you can achieve right from your pocket. Now go out there and start shooting!


Leave a Reply