
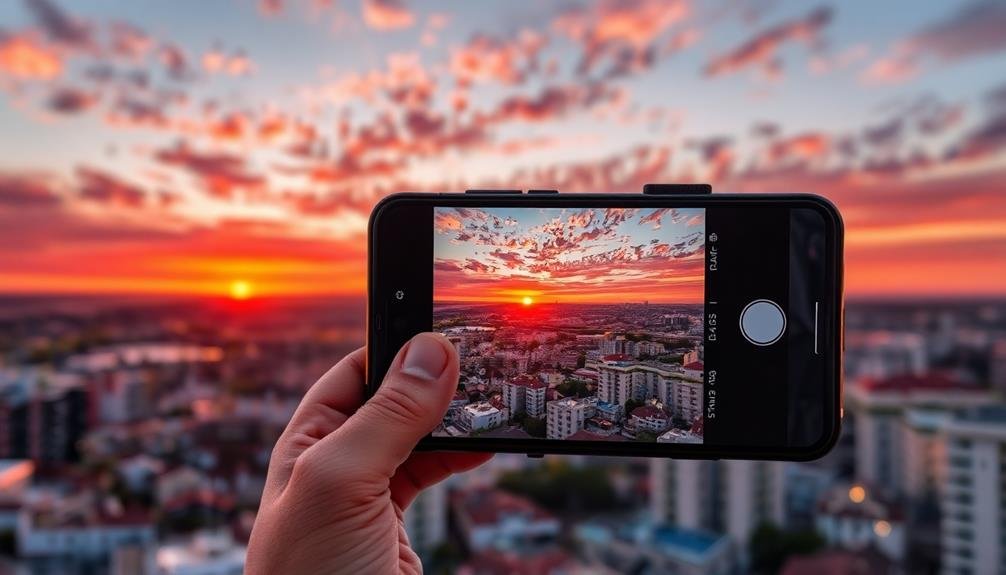
Camera bracketing on your mobile device is a powerful technique that captures multiple shots at different exposure levels, ensuring you get the perfect image in challenging lighting conditions. It expands your dynamic range, preserving details in both highlights and shadows, and greatly improves low-light performance. You'll have precise exposure control, reduce camera shake, and create stunning HDR images. Bracketing acts as a safety net, allowing you to experiment with artistic effects and capture high-contrast scenes with ease. With various apps available and post-processing options, you can elevate your mobile photography to new heights. Dive deeper to access the full potential of this game-changing feature.
Understanding Camera Bracketing

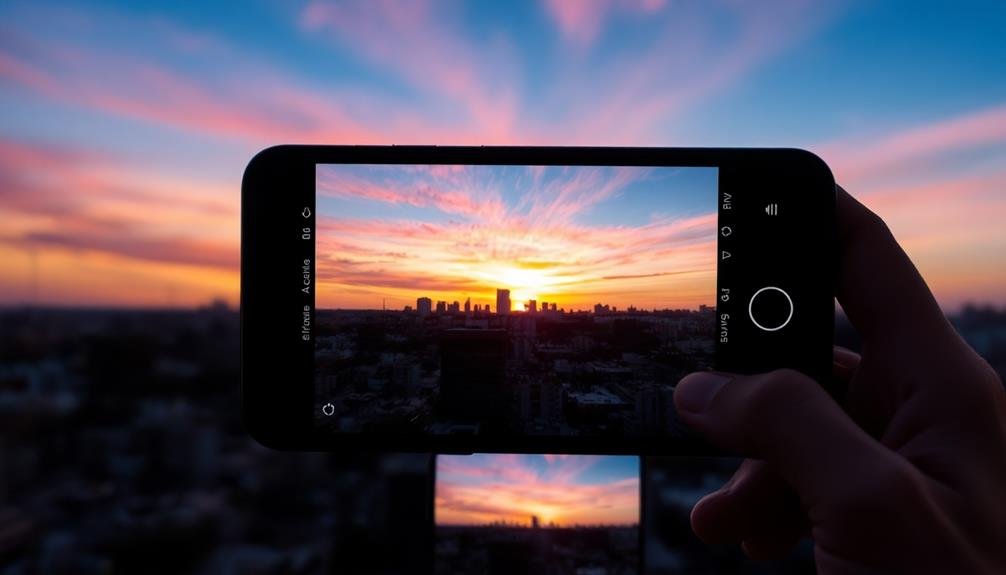
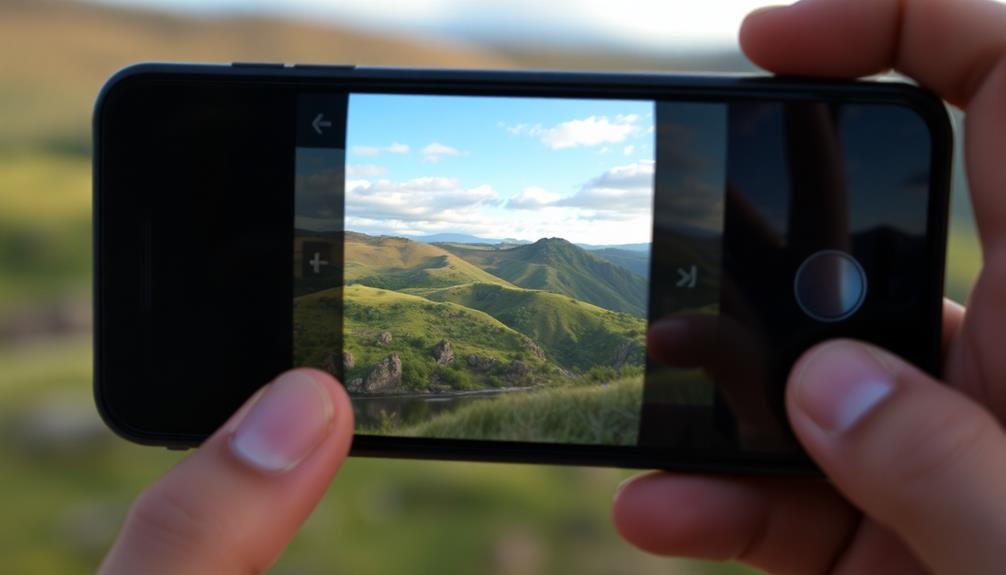
At its core, camera bracketing is a technique that captures multiple shots of the same scene at different exposure levels.
It's a powerful tool that allows you to hedge your bets and guarantee you've captured the perfect shot, even in challenging lighting conditions.
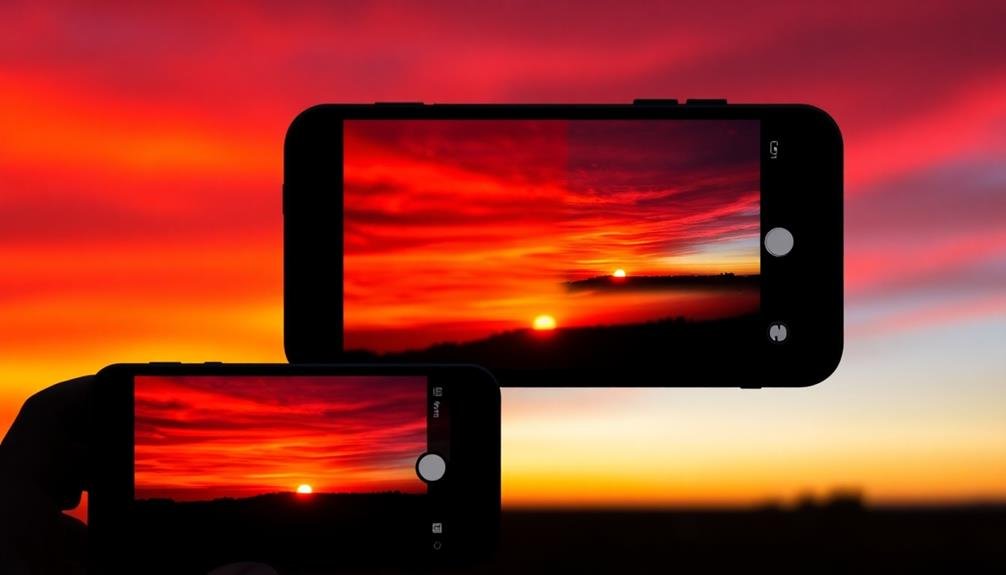
When you use bracketing, your camera will typically take three or more photos in quick succession. Each photo will have a slightly different exposure setting: one at the "correct" exposure, one underexposed, and one overexposed.
This range gives you more flexibility in post-processing and helps you capture details in both highlights and shadows.
You'll find bracketing particularly useful in high-contrast scenes, like landscapes with bright skies and dark foregrounds.
It's also invaluable for HDR photography, where you'll combine these differently exposed images to create a single photo with a wider dynamic range.
On mobile devices, bracketing is becoming increasingly common.
Many advanced camera apps offer this feature, allowing you to take advantage of this professional technique with the device in your pocket.
Benefits of Mobile Bracketing
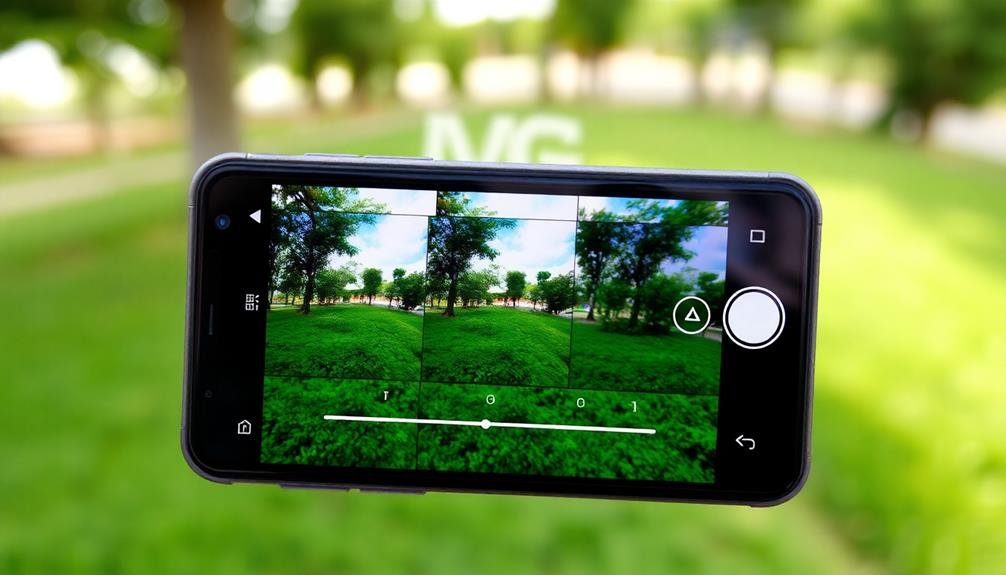
In light of the increasing sophistication of mobile camera technology, bracketing has become a game-changer for smartphone photographers. This technique offers numerous benefits that can elevate your mobile photography skills and results.
Firstly, bracketing allows you to capture a wider dynamic range. By taking multiple shots at different exposures, you'll be able to preserve details in both highlights and shadows that might otherwise be lost in a single exposure. This is particularly useful when shooting high-contrast scenes, such as landscapes with bright skies and dark foregrounds.
Secondly, bracketing provides a safety net for challenging lighting conditions. You'll have multiple versions of the same shot to choose from, ensuring you don't miss the perfect moment due to incorrect exposure settings.
Lastly, mobile bracketing opens up creative possibilities in post-processing. With multiple exposures at your disposal, you can:
- Create stunning HDR images with enhanced detail and color
- Blend exposures for dramatic landscape shots
- Experiment with surreal, dreamlike effects by combining different exposures
Improved Dynamic Range
Camera bracketing on your mobile device allows you to capture both highlights and shadows effectively, expanding the scene's dynamic range.
Capture Highlights and Shadows
One of the key advantages of camera bracketing is its ability to capture a wider range of light in your scenes. When you use bracketing, you're fundamentally taking multiple shots at different exposures, allowing you to capture both highlights and shadows in detail. This technique is particularly useful in high-contrast situations where a single exposure might result in blown-out highlights or lost shadow details.
By using bracketing, you'll be able to:
- Preserve the intricate details in bright sky areas without losing the texture of clouds
- Capture the rich colors and textures in shadowy areas of landscapes
- Retain the subtle nuances in both light and dark areas of indoor scenes with mixed lighting
When you combine these bracketed images later, you'll create a final photo with a much broader dynamic range than what's possible with a single exposure.
This means you'll have more flexibility in post-processing to adjust the image to your liking. You'll be able to bring out details in shadows without overexposing highlights, or vice versa, resulting in a more balanced and visually appealing photograph that closely resembles what your eyes actually saw.
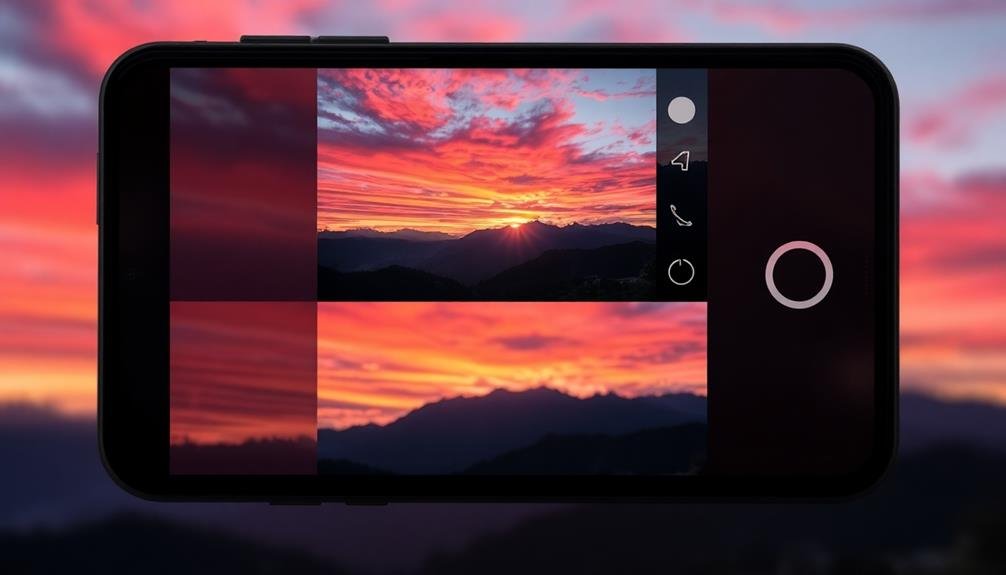
Merge Multiple Exposures
Along with capturing highlights and shadows, camera bracketing allows you to merge multiple exposures, greatly improving the dynamic range of your final image. By combining the best parts of each exposure, you'll create a photo with rich details in both bright and dark areas.
To merge your bracketed exposures, you'll need to use HDR (High Dynamic Range) software or a mobile app with HDR capabilities. These tools analyze each exposure and intelligently blend them, preserving highlights from underexposed shots and shadow details from overexposed ones.
The result is a single image with a wider tonal range than what your camera could capture in a single shot. You'll notice improved color accuracy, more visible textures, and better overall balance in high-contrast scenes.
When merging exposures, pay attention to potential artifacts like ghosting or halos. These can occur when elements in your scene move between shots.
Many HDR apps offer deghosting options to minimize these issues. Experiment with different merging settings to find the right balance between a natural look and enhanced dynamic range.
Preserve Image Details
A key benefit of camera bracketing is its ability to preserve image details across a wide dynamic range. When you're shooting in challenging lighting conditions, your phone's camera often struggles to capture both bright highlights and dark shadows in a single exposure.
This is where bracketing shines, allowing you to retain details that would otherwise be lost.
By capturing multiple shots at different exposures, you'll preserve information in:
- Bright areas like sunlit windows or reflective surfaces
- Shadowy regions such as under trees or in dimly lit interiors
- Mid-tones that add depth and texture to your images
When you merge these bracketed shots, you'll create a final image with improved dynamic range.
You'll notice richer colors, more visible textures, and a better overall balance between light and dark areas. This technique is particularly useful for landscape photography, where you might encounter stark contrasts between the sky and foreground.
Better Low-Light Performance
You'll notice a significant improvement in low-light photography when using camera bracketing on your mobile device.
By combining multiple exposures, you'll achieve reduced noise levels and enhanced dynamic range, resulting in cleaner and more detailed images in challenging lighting conditions.
Camera bracketing also allows you to capture improved shadow details, revealing textures and elements that might otherwise be lost in darkness.
Reduced Noise Levels
Clarity emerges from the shadows when using camera bracketing for low-light photography. By capturing multiple exposures, you're able to markedly reduce noise levels in your final image. This technique allows you to maintain detail in darker areas without introducing the grainy artifacts often associated with high ISO settings.
When you bracket your shots, you're fundamentally giving your phone's camera more data to work with. The software can then combine the best parts of each exposure, resulting in a cleaner, more refined image.
You'll notice:
- Smoother gradients in shadowy areas
- Crisper details in dimly lit subjects
- Less color distortion in low-light scenes
This reduction in noise isn't just about aesthetics; it also improves the overall quality of your photos. You'll be able to crop, edit, and enlarge your images with greater flexibility, as the reduced noise provides a cleaner canvas to work with.
Additionally, by avoiding excessive noise reduction in post-processing, you'll preserve more of the original image's natural texture and detail. Camera bracketing on mobile effectively gives you the best of both worlds: the convenience of smartphone photography with the quality typically associated with more advanced camera systems.
Enhanced Dynamic Range
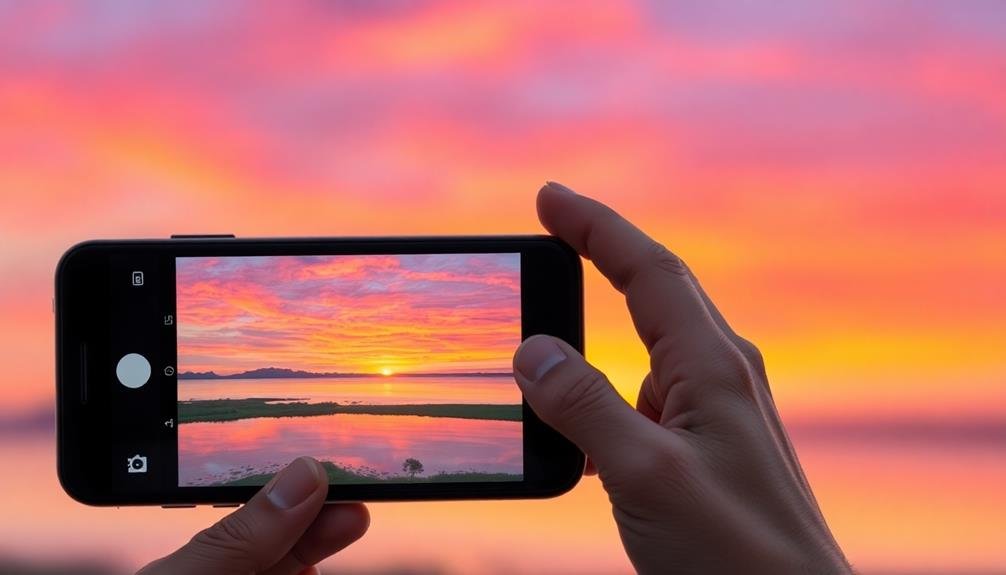
One of the most significant advantages of camera bracketing on mobile is the enhanced dynamic range it offers, especially in low-light conditions. By capturing multiple exposures, you'll be able to preserve details in both shadows and highlights that might otherwise be lost in a single shot.
In challenging lighting situations, such as a sunset or a dimly lit room, your phone's camera often struggles to capture the full range of tones. With bracketing, you're effectively expanding your camera's capabilities, allowing you to capture more information across the entire tonal range.
| Lighting Scenario | Without Bracketing | With Bracketing |
|---|---|---|
| Sunset | Blown-out sky | Rich, vibrant colors |
| Indoor low-light | Grainy, dark image | Clear, detailed shot |
| High contrast | Lost details | Balanced exposure |
This technique lets you create images that more closely resemble what your eyes see, resulting in more natural-looking photos. You'll notice improved color accuracy, better shadow detail, and reduced instances of overexposed highlights. By using bracketing, you're giving yourself more flexibility in post-processing, allowing you to create stunning images that truly capture the mood and atmosphere of the scene.
Improved Shadow Details
When the light fades, camera bracketing on mobile devices truly shines. It's your secret weapon for capturing stunning low-light scenes that would otherwise remain hidden in the shadows. By taking multiple exposures, bracketing allows you to reveal details in dark areas without overexposing the brighter parts of your image.
You'll notice a significant improvement in shadow details when using bracketing in low-light situations. This technique helps you:
- Capture the intricate textures of a dimly lit stone wall
- Reveal the subtle color variations in a twilight landscape
- Preserve details in shadowy foregrounds while maintaining a well-exposed background
Bracketing compensates for your phone camera's limited dynamic range by combining information from multiple exposures. This process results in images with richer, more nuanced shadows that retain their natural look without appearing artificially brightened.
You'll find that bracketing is particularly useful for challenging lighting scenarios, such as indoor scenes with bright windows or outdoor shots during the golden hour.
Precise Exposure Control
In recent years, mobile camera technology has made significant strides in offering precise exposure control. With camera bracketing, you'll gain even more control over your mobile photography. This technique allows you to capture multiple shots at different exposure levels, guaranteeing you get the perfect image regardless of challenging lighting conditions.
When you use bracketing, you're not relying on a single exposure setting. Instead, you're capturing a range of exposures, from underexposed to overexposed. This gives you the flexibility to choose the best exposure in post-processing or combine the images for a perfectly balanced result.
You'll find that bracketing is particularly useful in high-contrast scenes where your phone's camera might struggle to capture all the details. By taking multiple exposures, you're fundamentally expanding your camera's dynamic range, allowing you to preserve highlights without losing shadow details.
Most modern smartphones offer bracketing features within their native camera apps. You can typically adjust the number of shots and the exposure increments between each shot. This level of control guarantees you can tailor the bracketing to suit your specific shooting situation and artistic vision.
Creating HDR Images
By combining multiple bracketed exposures, you can create stunning High Dynamic Range (HDR) images on your mobile device. HDR photography allows you to capture a wider range of tones and details in high-contrast scenes, resulting in more balanced and visually appealing images.
When you use bracketing for HDR, your phone takes multiple shots at different exposures and then merges them into a single image. This process helps to preserve details in both the shadows and highlights that might be lost in a single exposure. Most modern smartphones have built-in HDR modes, but manual bracketing gives you more control over the final result.
To create HDR images using bracketing:
- Set your camera to bracket mode and choose the number of exposures
- Keep your phone steady or use a tripod for sharp results
- Experiment with different exposure values for varied effects
After capturing your bracketed shots, you can use your phone's built-in HDR processing or third-party apps to merge the exposures.
Capturing Challenging Lighting Conditions
Camera bracketing on mobile devices can help you tackle challenging lighting scenarios.
You'll find it particularly useful for high contrast scenes, backlit subjects, and low light environments.
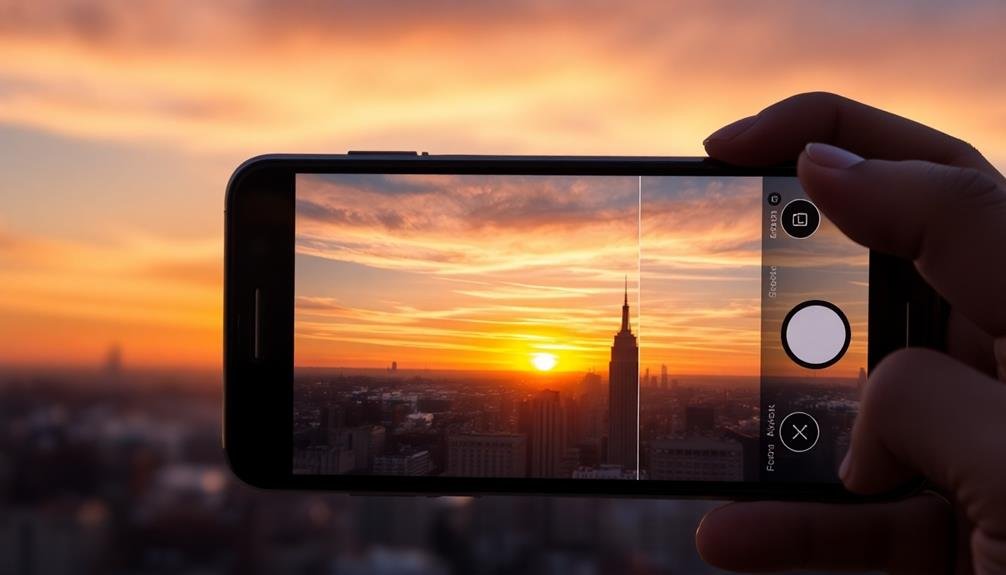
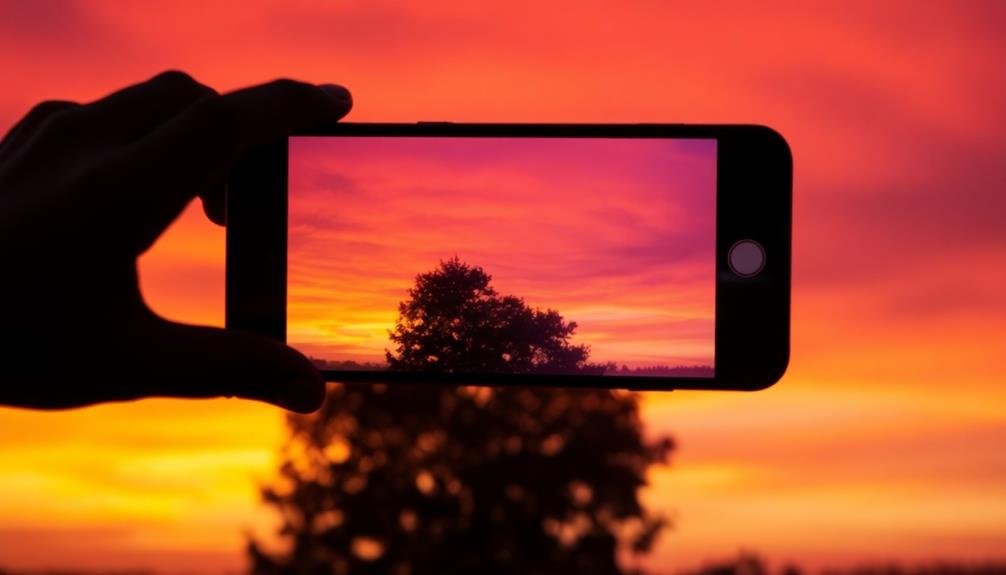
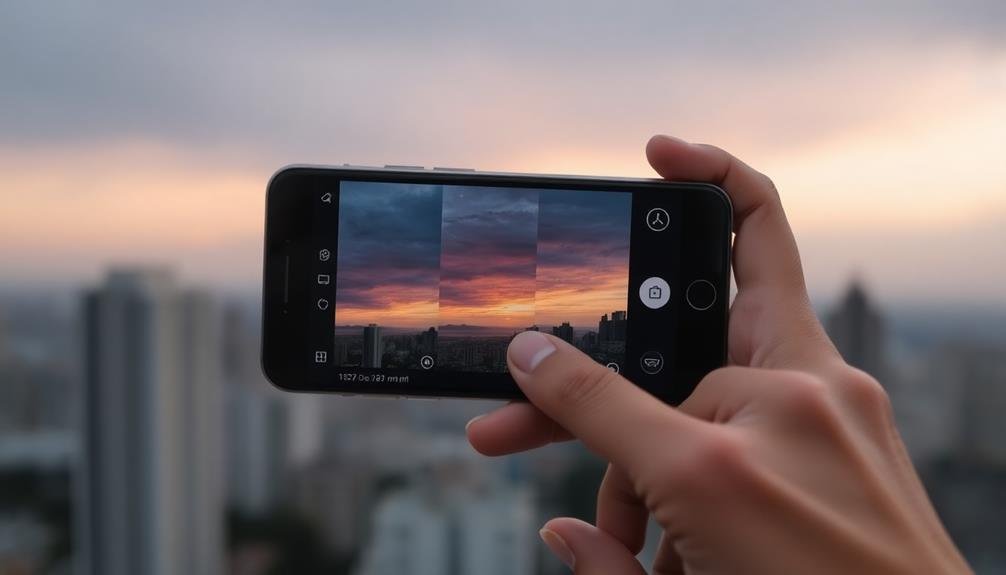
High Contrast Scenes
Capturing high contrast scenes presents a considerable challenge for mobile photographers. When faced with bright highlights and deep shadows in the same frame, your phone's camera often struggles to capture all the details. This is where bracketing comes to the rescue. By taking multiple shots at different exposures, you'll have a better chance of preserving both the highlights and shadows in your final image.
Consider these high contrast scenarios where bracketing can make a considerable difference:
- A sunset with a bright sky and dark foreground
- An indoor scene with bright windows and shadowy interiors
- A portrait subject backlit by strong sunlight
When you bracket these scenes, you're fundamentally creating a safety net for your images. You'll have options to choose from later, or you can combine the exposures in post-processing for a high dynamic range (HDR) result.
This technique allows you to capture details in both the brightest and darkest areas of your scene, resulting in a more balanced and visually appealing image. By mastering bracketing for high contrast scenes, you'll considerably expand your mobile photography capabilities and produce more professional-looking results.
Backlit Subjects
Backlit subjects pose a unique challenge in mobile photography, much like high contrast scenes. When your subject is positioned in front of a bright light source, such as the sun or a window, your camera's sensor struggles to balance the exposure. This often results in a silhouetted subject or an overexposed background.
Camera bracketing can help you overcome this challenge. By capturing multiple shots at different exposures, you'll have more flexibility in post-processing. Set your mobile camera to bracket mode and take three shots: one at the metered exposure, one underexposed, and one overexposed. This technique allows you to capture details in both the shadows and highlights.
When editing, you can blend these bracketed images to create a well-balanced final photo. You'll be able to reveal the details in your subject's face while maintaining the background's ambiance.
Alternatively, you can use HDR mode on your mobile device, which automatically combines bracketed exposures. However, manual bracketing gives you more control over the final result.
With practice, you'll master the art of capturing beautifully lit subjects, even in challenging backlit situations.
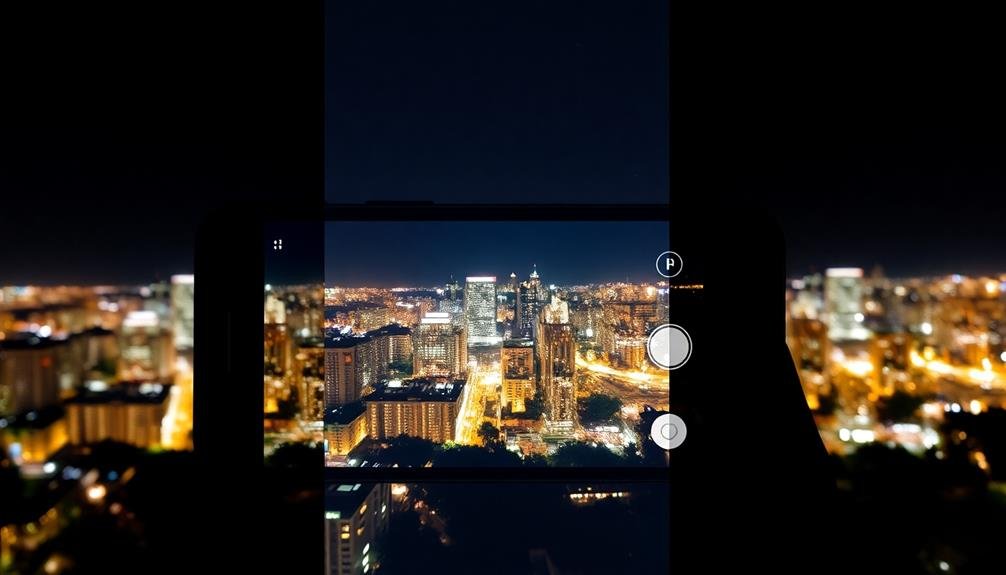
Low Light Environments
In low light environments, mobile photography can be particularly challenging. Camera bracketing becomes an invaluable tool to capture the best possible image in these conditions. By taking multiple shots at different exposures, you're increasing your chances of getting a well-exposed photo, even in dimly lit scenes.
When you're faced with low light situations, bracketing helps you:
- Capture details in shadows without losing highlights
- Reduce noise in darker areas of the image
- Preserve the ambiance of the low light setting
By combining these bracketed shots, you can create a final image that accurately represents the scene as you saw it.
This technique is especially useful for indoor shots, nighttime cityscapes, or twilight landscapes where the dynamic range exceeds your phone camera's capabilities.
Bracketing for Different Subjects
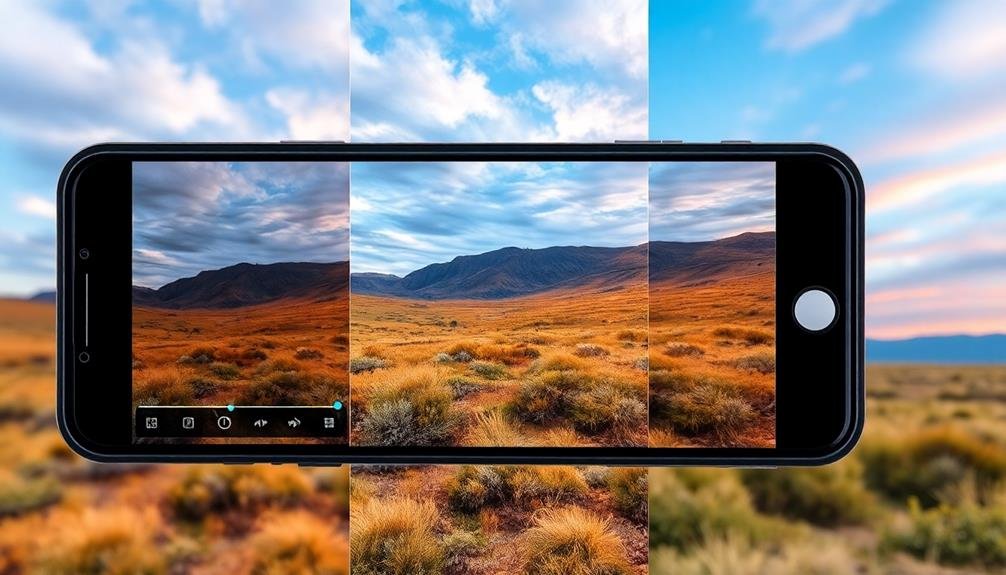
Different subjects demand unique bracketing approaches to achieve ideal results.
When photographing landscapes, you'll want to bracket for exposure, capturing details in both bright skies and shadowy foregrounds. Use a wider range of exposures, typically -2 to +2 EV, to guarantee you've got all the dynamic range covered.
For portraits, focus bracketing can be particularly useful. This technique allows you to capture multiple shots with different focus points, guaranteeing you've got sharp images of your subject's eyes, nose, and other facial features. You can then blend these images in post-processing for a perfectly focused portrait.
When shooting high-contrast scenes like sunsets or cityscapes, try HDR bracketing. This involves taking multiple shots at different exposures and combining them to create a single image with a wider dynamic range.
For action shots or wildlife photography, you might employ burst mode bracketing. This rapid-fire technique captures multiple frames in quick succession, slightly varying settings like shutter speed or aperture, increasing your chances of getting the perfect shot.
Artistic Expression Through Bracketing
Bracketing isn't just a technical tool; it's a gateway to creative expression in mobile photography. By capturing multiple exposures, you're opening up a world of artistic possibilities. You can blend these images to create surreal, dreamlike scenes or emphasize dramatic lighting conditions.
Experiment with HDR bracketing to produce images with an otherworldly glow. Combine exposures to reveal details in both shadows and highlights, creating a photo that's impossible to capture in a single shot. Use exposure bracketing to craft moody, high-contrast images that convey emotion and atmosphere.
Consider these artistic applications of bracketing:
- Create light trails by blending long and short exposures of moving subjects
- Produce ethereal landscapes by merging different focus points
- Develop abstract art by combining various shutter speeds of flowing water
Push the boundaries of your creativity by intentionally "misusing" bracketing. Combine wildly different exposures for an avant-garde look, or use focus bracketing to create unique, multi-layered portraits.
With bracketing, you're no longer limited to what your eyes see; you can craft images that reflect your artistic vision and imagination.
Reducing Camera Shake
Camera shake can ruin even the most perfectly composed shot. When you're shooting in low light or using slower shutter speeds, your mobile device's natural instability becomes more apparent.
Bracketing can help you combat this issue by increasing your chances of capturing at least one sharp image. By taking multiple shots in quick succession, you're reducing the likelihood that all of your images will be affected by camera shake. This is particularly useful when you're shooting handheld in challenging conditions.
You can set your device to bracket exposures, which will automatically adjust the shutter speed for each shot. This means you'll have a range of images with varying levels of potential camera shake.
Additionally, some mobile devices offer image stabilization features that work in tandem with bracketing. By combining these technologies, you're giving yourself the best possible chance of capturing a crisp, clear image.
After your bracketed shots are taken, you can review them and select the sharpest one, or even blend multiple images to create a single, shake-free composite. This technique is especially valuable for low-light photography or when capturing fast-moving subjects.
Bracketing Apps for Smartphones
While many smartphones come with built-in bracketing features, dedicated apps can take your mobile photography to the next level. These apps offer advanced controls and customization options that surpass your device's native camera capabilities.
Popular bracketing apps like Camera+ 2, ProCam, and Lightroom Mobile provide intuitive interfaces and powerful tools for creating bracketed exposures. You'll find features such as:
- Adjustable exposure steps between brackets
- Custom bracket sequences (e.g., -2EV, 0, +2EV)
- Focus stacking for enhanced depth of field
These apps also often include HDR merging capabilities, allowing you to combine your bracketed shots into a single high-dynamic-range image directly on your phone.
When choosing a bracketing app, consider your specific needs and skill level. Some apps cater to beginners with automatic modes, while others offer manual controls for more experienced photographers.
Look for apps that support RAW capture to maximize image quality and post-processing flexibility.
Remember to experiment with different apps to find the one that best suits your workflow. With practice, you'll be able to capture stunning bracketed images that rival those taken with dedicated cameras, all from the convenience of your smartphone.
Post-Processing Bracketed Images
After capturing your bracketed images, it's time to release their full potential through post-processing.
Begin by importing your bracketed set into a photo editing software that supports HDR merging, such as Adobe Lightroom, Photomatix, or Aurora HDR. These programs will align and blend your exposures, creating a single image with an expanded dynamic range.
Once merged, you'll have more flexibility to adjust highlights, shadows, and overall tonal balance. Fine-tune the contrast, brightness, and color saturation to achieve your desired look.
Pay attention to details in both bright and dark areas, ensuring nothing is lost or overexposed.
Some common issues to watch for include ghosting (from moving objects), haloing around edges, and an overly artificial look. Use masking and local adjustments to correct these problems and maintain a natural appearance.
Don't be afraid to experiment with different HDR styles, from subtle enhancements to more dramatic effects.
Common Bracketing Mistakes to Avoid
Several common mistakes can hinder your mobile bracketing efforts, but they're easy to avoid with awareness and practice. One frequent error is failing to hold your phone steady during the bracketing sequence. Even slight movements can result in misaligned images, making it challenging to merge them later. To combat this, use a tripod or rest your phone on a stable surface.
Another mistake is choosing inappropriate exposure intervals. If the gaps between your bracketed shots are too wide, you might miss vital details in the scene's dynamic range. Conversely, if they're too narrow, you won't capture the full range of light. Experiment with different intervals to find the sweet spot for each scene.
Lastly, don't forget to take into account your subject's movement. When bracketing, remember:
- Moving objects can appear ghostly or blurred in merged images
- Wind can cause foliage to shift between shots
- People or animals might change positions during the sequence
To mitigate these issues, choose scenes with minimal movement or use faster shutter speeds when possible.
Frequently Asked Questions
Can Bracketing Affect Battery Life on Mobile Devices?
Yes, bracketing can impact your mobile device's battery life. When you're taking multiple shots in quick succession, it uses more power. You'll notice your battery draining faster if you use this feature extensively during photo sessions.
Are There Storage Space Considerations When Using Camera Bracketing Frequently?
Yes, you'll need to contemplate storage space when using bracketing often. It quickly fills up your device as you're capturing multiple shots for each scene. You might need to clear space or use cloud storage regularly.
How Does Bracketing Impact Smartphone Camera Sensor Longevity?
You needn't worry about bracketing impacting your smartphone camera's sensor longevity. It doesn't cause more wear than regular shooting. Your sensor's lifespan is typically determined by factors like heat, dust, and physical damage, not bracketing use.
Can Bracketing Be Used Effectively With Smartphone Front-Facing Cameras?
Yes, you can use bracketing with front-facing cameras on smartphones. It'll help you capture better selfies in challenging lighting conditions. You'll get multiple exposures to choose from, ensuring you've got the perfect shot for your social media posts.
Are There Privacy Concerns When Using Third-Party Bracketing Apps?
Yes, there can be privacy concerns with third-party bracketing apps. You should be cautious about granting camera access and review app permissions carefully. It's best to stick with reputable developers and read user reviews before installing.
In Summary
Camera bracketing on your mobile device can greatly enhance your photography skills. You'll capture a wider range of light, improve low-light shots, and gain better control over exposure. It's a valuable tool for reducing camera shake and expanding your creative options. With various bracketing apps available and proper post-processing techniques, you'll elevate your mobile photography game. Just be sure to avoid common mistakes, and you'll soon be creating stunning images with your smartphone.


Leave a Reply