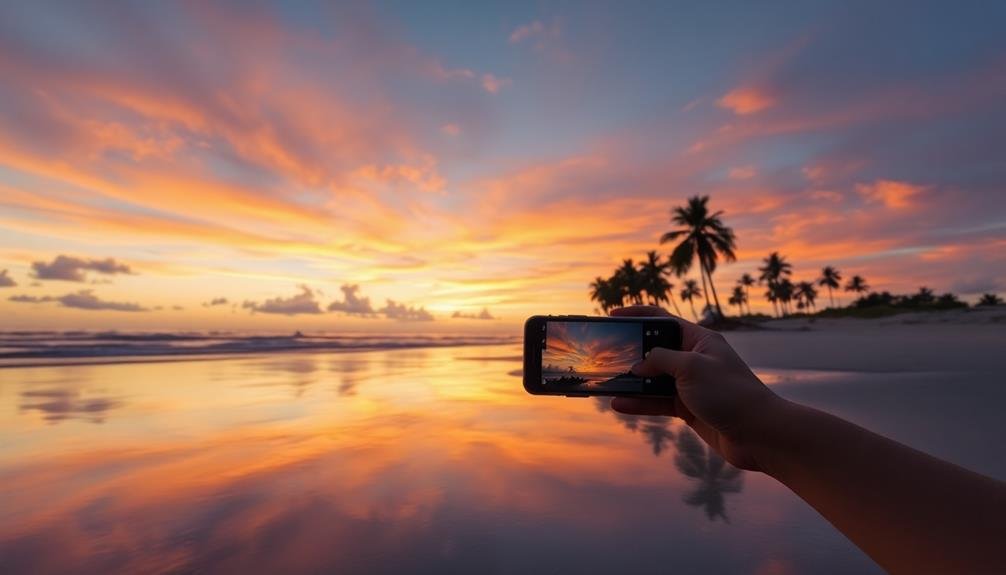
Beach reflections elevate your mobile photos by adding depth, symmetry, and visual interest. They transform ordinary scenes into enchanting compositions, doubling the impact of stunning skies and landscapes. You'll find the best reflections in calm, shallow water during golden hours or low tide. Experiment with angles and compositions to create dynamic images that draw the viewer's eye. Adjust your smartphone's settings to capture vibrant colors and balanced exposures. Overcome challenges like bright sunlight and sand with proper techniques and protective gear. With practice and the right editing strategies, you'll turn simple beach snapshots into breathtaking works of art. Dive deeper to reveal the full potential of reflection photography.
Finding the Perfect Reflection Spot

When you're on the hunt for that ideal reflection spot, look for calm, shallow water near the shoreline. These areas often create mirror-like surfaces, perfect for capturing stunning reflections.
Arrive during low tide, as it exposes more wet sand and creates larger reflective surfaces. Aim for times when the sun is low on the horizon, like early morning or late afternoon, to maximize the reflective quality of the water.
Scout for interesting elements to include in your reflection, such as rock formations, piers, or colorful beach umbrellas. These objects add depth and interest to your composition.
Don't overlook puddles left by receding waves; they can offer unique, contained reflections.
Pay attention to the wind conditions. A gentle breeze can add subtle texture to the water's surface, enhancing the reflection's artistic quality. However, strong winds will disrupt the smooth surface, making reflections difficult to capture.
Experiment with different angles and perspectives. Get low to the ground for more dramatic reflections, or try shooting from higher vantage points for a broader view.
Timing Your Beach Photography Session
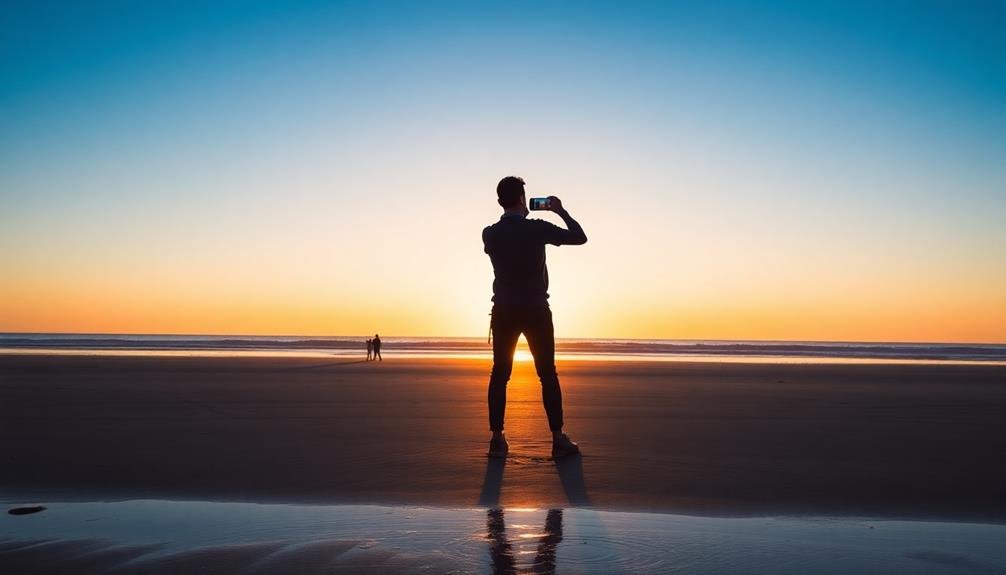
With your perfect reflection spot identified, it's time to contemplate when to capture those stunning beach photos. The golden hours—just after sunrise and before sunset—offer the most magical light for beach reflections. These times provide soft, warm hues that enhance the water's mirror-like quality and create a dreamy atmosphere.
During golden hours, you'll notice:
- Long shadows that add depth and drama to your compositions
- A warm, golden glow that bathes the beach in ethereal light
- Fewer people, allowing for unobstructed shots and peaceful scenes
Don't overlook midday for unique opportunities. While harsh sunlight can be challenging, it's ideal for capturing vivid colors and sharp contrasts. Experiment with silhouettes and use the bright light to emphasize textures in sand and water.
Cloudy days shouldn't deter you. Overcast skies act as natural diffusers, creating even lighting that's perfect for capturing subtle details and muted tones in reflections. They're also great for long-exposure shots, allowing you to smooth out water surfaces for mirror-like effects.
Always check local tide schedules and weather forecasts to plan your session. Timing is essential for catching the perfect balance of light, tide, and atmospheric conditions.
Composition Techniques for Stunning Reflections

How can you elevate your beach reflection photos from good to spectacular? Start by mastering the rule of thirds. Place the horizon line along the top or bottom third of your frame, not dead center. This creates a more dynamic composition and emphasizes either the sky or the reflection.
Next, look for symmetry. Position your camera so that the reflected image mirrors the real subject, creating a perfect balance.
Don't forget to experiment with different angles – get low to the ground for more dramatic reflections.
Use leading lines to draw the viewer's eye into the image. Ripples in the sand, waves, or even footprints can guide attention to your main subject.
Incorporate foreground elements like shells, rocks, or driftwood to add depth and interest to your composition.
Pay attention to negative space. Sometimes, a minimalist approach with lots of empty sky or water can make your reflection stand out even more.
Adjusting Smartphone Camera Settings
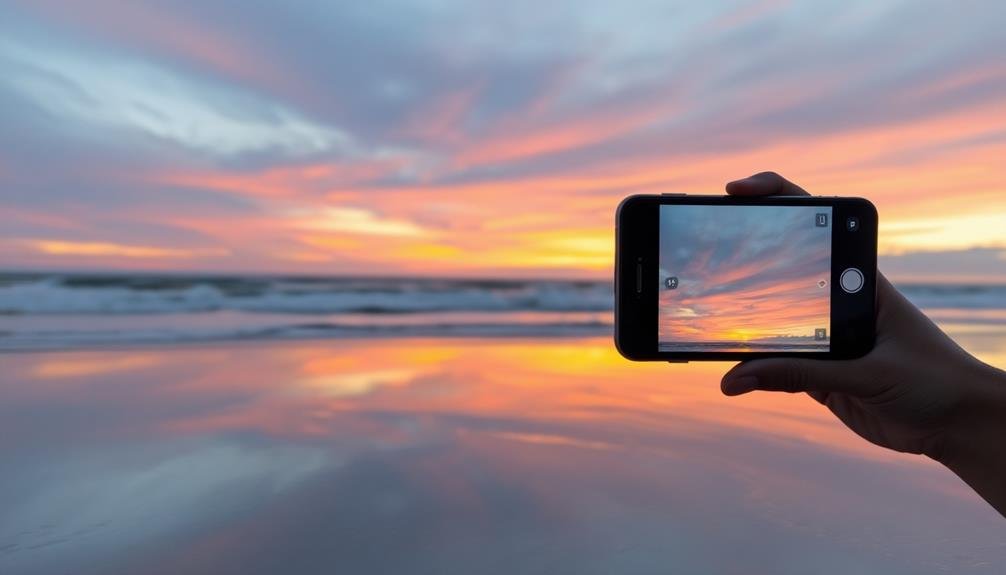
Three key smartphone camera settings can dramatically improve your beach reflection photos. First, adjust your exposure compensation. Reduce it slightly to capture more detail in bright areas like the sky or sand, enhancing the contrast between the reflection and its surroundings.
Next, enable HDR mode to balance the bright sky with darker foreground elements, ensuring you don't lose details in shadows or highlights.
Lastly, focus on your white balance. Auto white balance can sometimes misinterpret the cool tones of water and sky, so try manually setting it to "cloudy" or "shade" for warmer, more appealing colors. Remember to experiment with these settings to find what works best for your specific scene and lighting conditions.
When you've mastered these settings, you'll be able to capture:
- Crystal-clear reflections of clouds in still tide pools
- Vibrant sunsets mirrored in wet sand
- Silhouettes of beachgoers reflected in shallow waves
Don't forget to clean your lens before shooting, as salt spray and sand can affect image quality. With practice, you'll soon be capturing stunning beach reflections that elevate your mobile photography to new heights.
Enhancing Colors in Reflection Photos

Enhancing colors in reflection photos can transform your beach snapshots from ordinary to extraordinary. Start by adjusting your smartphone's white balance to capture the true hues of the scene. Use the HDR mode to balance the bright sky with darker reflections. Experiment with exposure compensation to fine-tune the overall brightness.
Don't shy away from editing apps. Boost saturation slightly to make colors pop, but avoid overdoing it. Increase contrast to add depth and definition to reflections. Play with highlights and shadows to bring out details in both the sky and water.
Consider using color grading techniques to create a specific mood:
| Mood | Sky Adjustment | Water Adjustment | Overall Effect |
|---|---|---|---|
| Warm Sunset | Enhance oranges | Deepen blues | Golden hour glow |
| Cool Dawn | Boost blues | Lighten cyans | Crisp morning feel |
| Moody Storm | Darken grays | Increase contrast | Dramatic atmosphere |
| Vibrant Day | Saturate all | Brighten highlights | Lively, energetic scene |
Overcoming Challenges of Beach Photography

Beach photography presents unique challenges you'll need to overcome for stunning reflection shots.
You'll face intense sunlight that can overexpose your images, requiring careful adjustment of your camera settings and strategic use of natural shades.
Additionally, you'll need to protect your mobile device from sand and water while capturing those perfect shoreline reflections.
Dealing With Bright Sunlight
On a sunny beach day, bright sunlight can wreak havoc on your mobile photography efforts. The intense light creates harsh shadows, washes out colors, and causes squinting subjects.
To combat these challenges, try using your phone's HDR mode, which balances exposure across highlights and shadows. Alternatively, embrace the bright conditions by shooting silhouettes against the sun or capturing lens flares for artistic effect.
When dealing with reflections on water, you'll need to adjust your approach. Use a polarizing filter attachment or app to reduce glare and enhance the vibrancy of sky and water.
For portraits, seek out natural shade or create your own using umbrellas or diffusers. This softer light will flatter your subjects and prevent unflattering shadows.
Consider these techniques to make the most of bright beach conditions:
- Shoot during golden hour for warm, soft light
- Use shadows creatively for dramatic compositions
- Experiment with backlit subjects for a dreamy effect
Managing Sand and Water
While sand and water create stunning backdrops for beach photography, they also pose unique challenges for mobile shooters. To manage these elements effectively, you'll need to protect your device and adjust your techniques.
First, shield your phone from sand with a waterproof case or plastic bag. This prevents grains from damaging your camera lens or internal components.
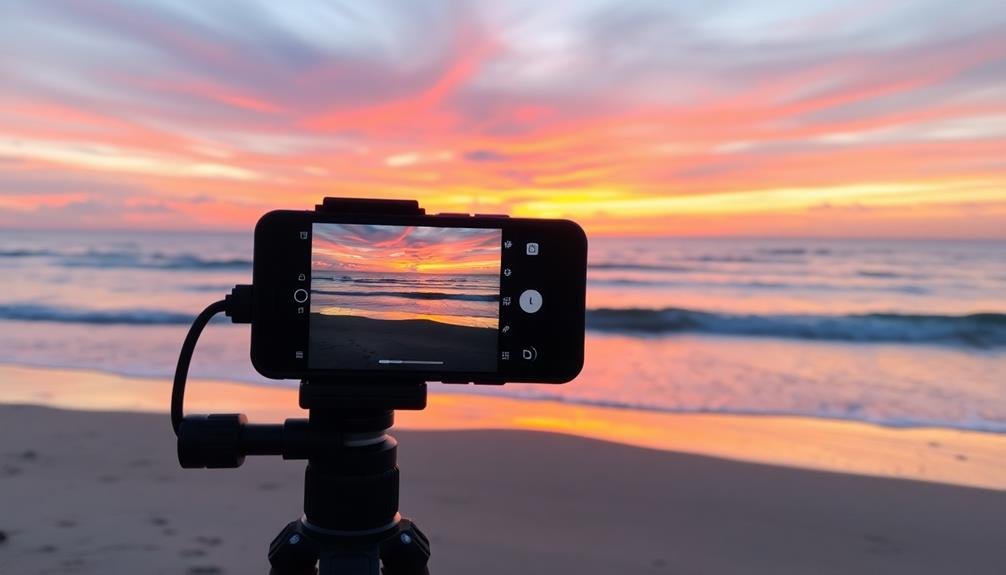
When shooting, keep your phone steady by using both hands or a small tripod to minimize camera shake on uneven surfaces.
For water-based shots, focus on capturing movement. Use burst mode to freeze splashing waves or experiment with slow shutter speeds for dreamy, blurred water effects.
If you're shooting in shallow water, try lowering your phone close to the surface for unique perspectives.
To enhance reflections, look for wet sand during low tide or after waves recede. These mirror-like surfaces can double the impact of your compositions.
When photographing subjects on sand, be mindful of harsh shadows and use fill flash or reflectors to balance lighting.
Lastly, clean your lens frequently with a microfiber cloth to remove salt spray and sand particles that can affect image quality.
Editing Tips for Reflection Images
Capturing stunning reflection images is only half the battle; the real magic happens in post-processing. To enhance your beach reflection photos, start by adjusting the exposure and contrast to bring out the details in both the sky and water.
Use the highlights and shadows sliders to balance the bright and dark areas, ensuring neither is overexposed or underexposed.
Next, focus on color correction. Boost the vibrance slightly to make the colors pop without appearing unnatural. If the reflection appears murky, try increasing the clarity or texture to add definition.
Don't forget to straighten your horizon line for a polished look.
For more dramatic results, consider these advanced editing techniques:
- Use a graduated filter to darken the sky and brighten the foreground
- Apply a radial filter to draw attention to the reflection's focal point
- Create a subtle vignette to frame the image and guide the viewer's eye
Frequently Asked Questions
Can Beach Reflections Be Captured Effectively on Cloudy Days?
Yes, you can capture beach reflections on cloudy days. They'll be softer and more subdued, creating a moody atmosphere. Use a longer exposure to smooth out the water's surface and enhance the reflective quality. Don't forget your tripod!
How Do Tides Affect the Quality of Beach Reflections?
Tides greatly impact your beach reflection shots. During low tide, you'll find smooth, wet sand that's perfect for mirror-like reflections. High tide limits your options but can create dynamic water reflections if you're quick with your camera.
Are There Specific Beach Locations Known for Exceptional Reflection Opportunities?
You'll find stunning reflection opportunities at beaches with calm, shallow waters and wide, flat sand stretches. Some top spots include Bolivia's Salar de Uyuni, Australia's Cable Beach, and Iceland's Diamond Beach. Don't miss sunrise or sunset for the best effects.
What Accessories Can Enhance Beach Reflection Photography With a Smartphone?
You'll want to grab a portable tripod for stability, a polarizing filter to reduce glare, and a waterproof case for protection. Don't forget a microfiber cloth to clean your lens and a reflector to control light.
How Can I Protect My Smartphone While Taking Photos Near Water?
You'll want to protect your smartphone near water. Use a waterproof case or pouch, keep it in a zip-lock bag, or invest in a floating wrist strap. Don't forget to wipe off sand and salt water regularly.
In Summary
You've now got the tools to capture breathtaking beach reflections with your smartphone. Remember, it's all about finding the right spot, timing, and composition. Don't forget to adjust your camera settings and enhance those colors. While beach photography can be challenging, you're well-equipped to overcome obstacles. With some clever editing, you'll transform your mobile photos into stunning works of art. So get out there, experiment, and let those reflections elevate your beach shots to new heights!


Leave a Reply