To capture perfect panoramas on your phone, start by activating panorama mode and following the on-screen guidelines. Adjust exposure compensation to balance bright or dark scenes, and experiment with manual focus for sharp images. Use HDR mode to enhance detail in high-contrast situations. Apply composition techniques like the rule of thirds and leading lines for visually appealing shots. Maintain stability by adopting a steady stance and using support tools when possible. After capturing, fine-tune your panorama with built-in editing tools to adjust exposure, color, and cropping. Master these settings and techniques to elevate your panoramic photography skills.
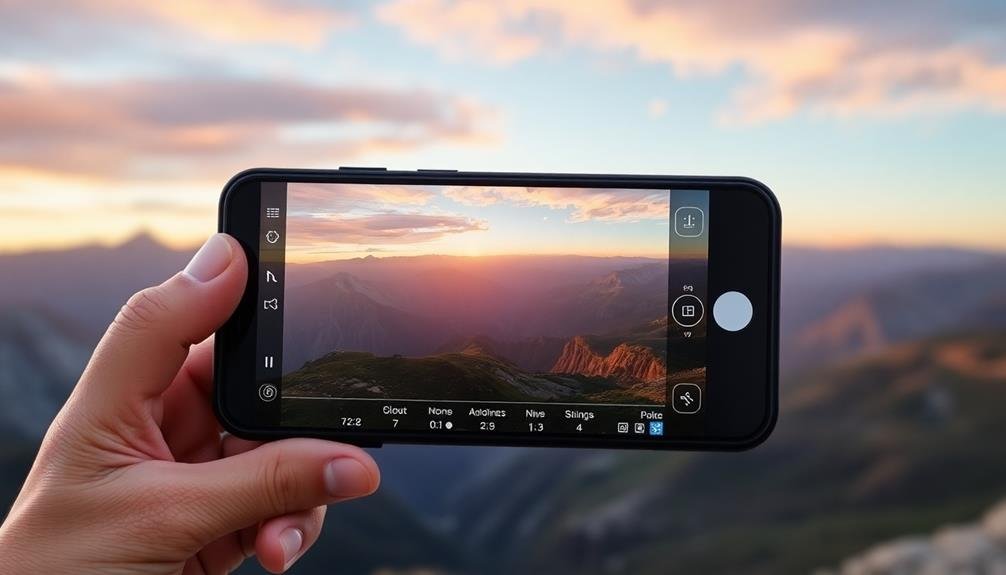
Panorama Mode Selection
Selecting the panorama mode on your phone camera opens up a world of wide-angle possibilities. You'll find this feature in most modern smartphones, typically within the camera app's main menu or by swiping through different shooting modes.
Once activated, you'll see guidelines on your screen to help you capture the perfect panoramic shot.
Before you start, consider the scene you're capturing. Panorama mode works best for landscapes, cityscapes, or any wide vista where you want to showcase the breadth of the view. It's not ideal for moving subjects or scenes with significant variations in light.
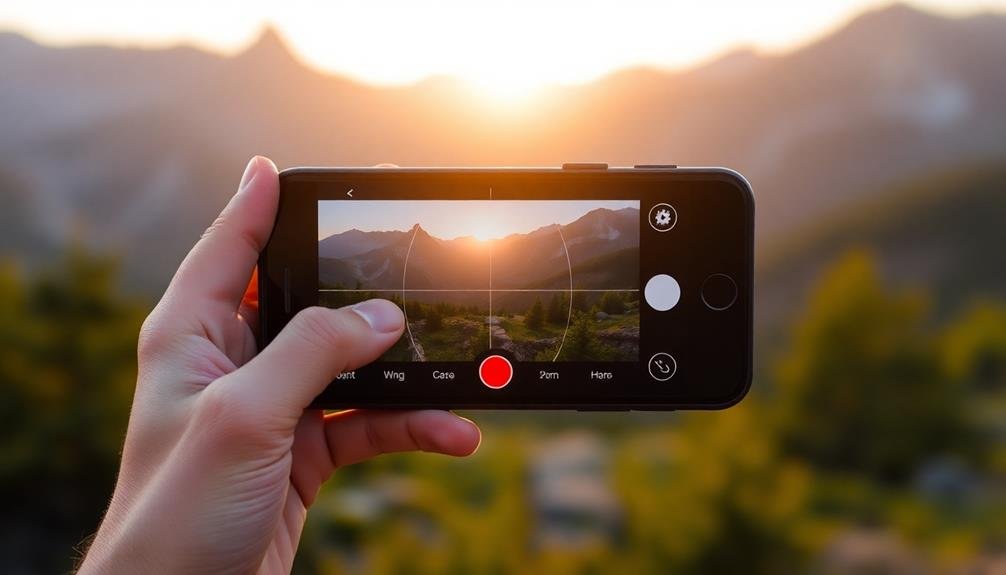
To use panorama mode effectively, hold your phone steady and move it slowly in a horizontal or vertical direction, following the on-screen guide.
Keep a consistent pace and maintain a level position to avoid distortion. Some phones allow you to adjust the direction of your panorama, so experiment with different angles for unique perspectives.
Exposure and Focus Settings
You'll find that mastering exposure and focus settings can greatly elevate your phone photography.
Start by experimenting with exposure compensation to fine-tune the brightness of your images, then explore manual focus techniques for precise control over your subject's sharpness.
Don't forget to try HDR mode, which can help balance high-contrast scenes and capture more detail in both highlights and shadows.
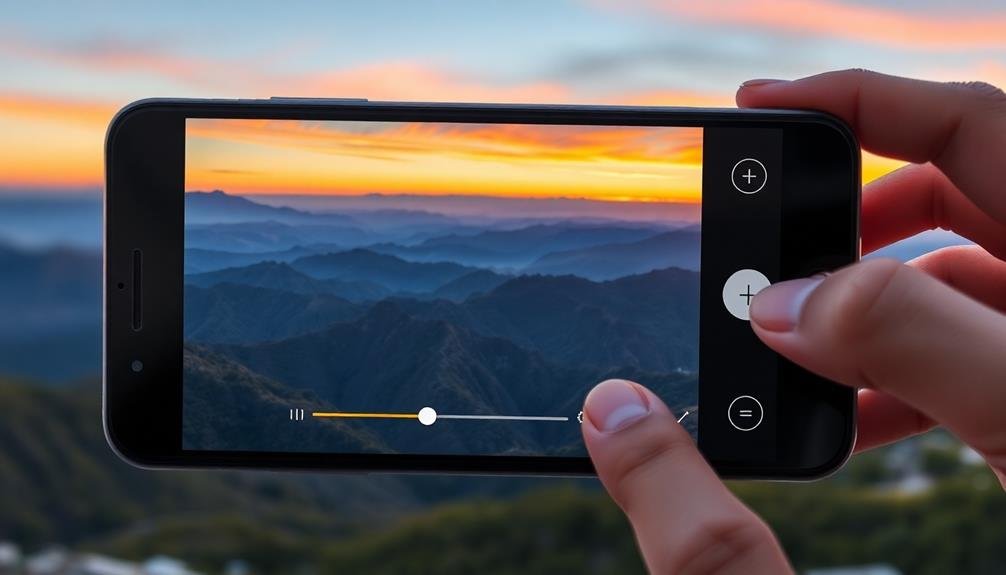
Adjusting Exposure Compensation
With exposure compensation, you can fine-tune your phone camera's brightness settings. This feature allows you to override the camera's automatic exposure when it doesn't accurately capture the scene's lighting. By adjusting the exposure compensation, you'll have more control over the final image's brightness, ensuring your panoramas are perfectly exposed.
To use exposure compensation, look for the +/- icon in your camera app. Sliding towards the + side will brighten the image, while moving towards the – side will darken it. Here's a quick guide to help you understand when to use different exposure compensation values:
| Lighting Condition | Compensation Value | Effect on Image |
|---|---|---|
| Bright Snow Scene | -1 to -2 | Prevents overexposure |
| Backlit Subject | +1 to +2 | Brightens foreground |
| Sunset | -1 to -1.5 | Enhances colors |
| Dark Subject | +0.5 to +1 | Reveals details |
Manual Focus Techniques
Many modern smartphone cameras offer manual focus capabilities, giving you precise control over which parts of your image are sharp. To utilize this feature effectively, tap on the area of your screen where you want to focus, then use the slider that appears to fine-tune the focus. This technique is particularly useful for close-up shots or when you're trying to create a shallow depth of field effect.
For panoramic shots, manual focus can help guarantee consistent sharpness across the entire image. Set your focus to infinity or slightly before it to keep distant objects crisp. When capturing landscapes, you'll want to use a smaller aperture (higher f-number) to increase the depth of field, keeping more of the scene in focus.
Here are four manual focus techniques to enhance your panoramic photos:
- Focus stacking: Take multiple shots at different focus points and blend them in post-processing.
- Hyperfocal distance: Calculate the best focus point to maximize depth of field.
- Zone focusing: Pre-set your focus for quick shots without adjusting.
- Focus peaking: Use this feature to highlight in-focus areas on your screen.
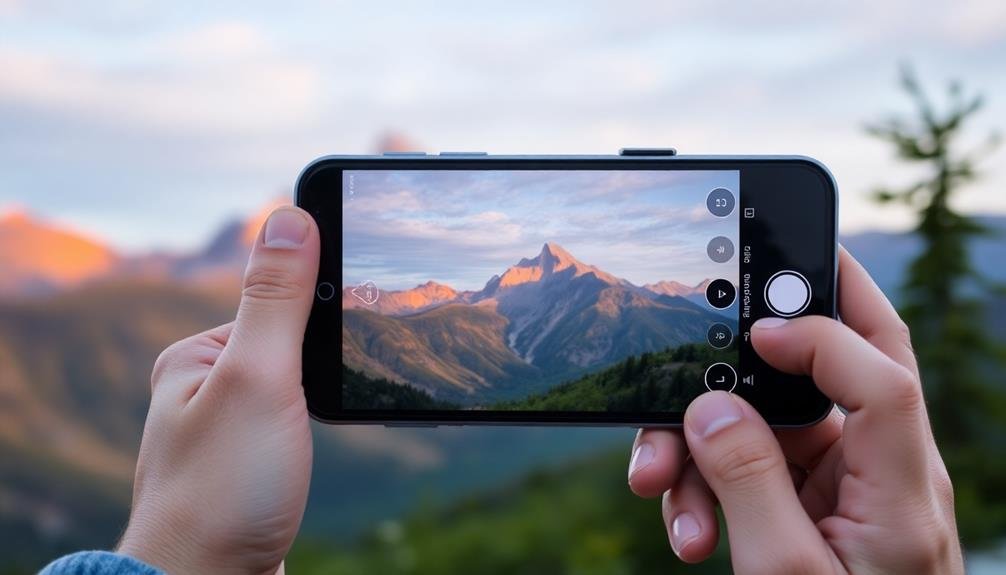
HDR Mode Benefits
HDR mode, short for High Dynamic Range, is a powerful tool in your smartphone camera arsenal. It allows you to capture images with a wider range of light and dark tones, resulting in more balanced and detailed photos. When you enable HDR, your phone takes multiple shots at different exposures and combines them into a single image.
You'll find HDR particularly useful in high-contrast scenes, such as landscapes with bright skies and shadowy foregrounds. It helps preserve details in both highlights and shadows that might otherwise be lost. HDR can also enhance the color and depth of your photos, making them appear more vibrant and true-to-life.
To get the most out of HDR mode, hold your phone steady or use a tripod, as any movement can cause ghosting or blurring. It's best suited for static subjects, so avoid using it for fast-moving objects.
While HDR can dramatically improve your photos in challenging lighting conditions, be mindful that it may increase processing time and file size. Some phones offer an auto-HDR option, which intelligently applies the effect when needed, saving you the hassle of manually toggling it on and off.
Composition and Framing Techniques
Mastering composition and framing techniques can elevate your smartphone photography.
Start by applying the Rule of Thirds, which involves mentally dividing your frame into a 3×3 grid and placing key elements along these lines or at their intersections.
You can also experiment with the Leading Lines technique, using natural or man-made lines within your scene to guide the viewer's eye towards the main subject of your photo.
Rule of Thirds
Photographers swear by the Rule of Thirds, a fundamental principle in composition that can transform your smartphone shots from ordinary to extraordinary.
This technique involves dividing your frame into a 3×3 grid and placing key elements along these lines or at their intersections. Most smartphone cameras have a built-in grid option you can enable in settings.
To effectively use the Rule of Thirds:
- Turn on your phone's grid feature
- Position your main subject at one of the intersections
- Align horizons with the top or bottom horizontal line
- Place vertical elements along the left or right vertical lines
Leading Lines Technique
Beyond the Rule of Thirds, leading lines offer another powerful composition technique to elevate your smartphone photography. These lines guide the viewer's eye through the image, creating depth and drawing attention to your main subject. You'll find leading lines everywhere: roads, bridges, fences, shorelines, and even shadows.
To use this technique effectively, identify strong lines in your scene and position your phone to emphasize them. Experiment with different angles to make the lines more prominent. Try shooting from a low angle to exaggerate a path or road, or from above to capture the patterns of city streets.
Diagonal lines often create the most dynamic compositions, adding energy and movement to your photos. Curved lines, on the other hand, can add a sense of grace and flow. When possible, use converging lines to direct focus to a specific point of interest.
Don't forget to contemplate the direction of your lines. Lines leading from the foreground to the background create depth, while horizontal lines can convey calmness. Vertical lines suggest strength and stability.
Stability and Movement Control
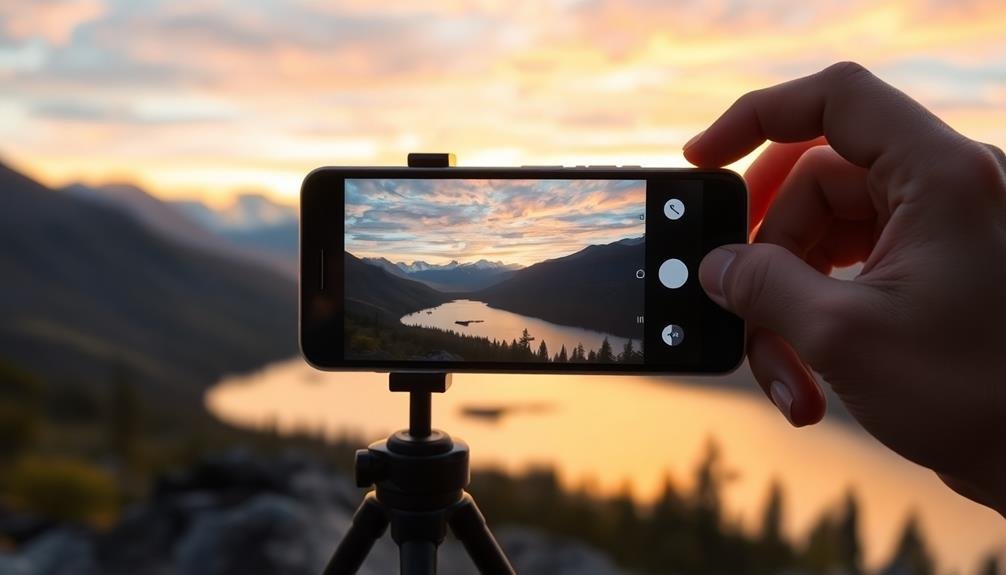
Consistently capturing sharp, well-composed images hinges on your ability to control camera movement. Even the slightest shake can blur your photos, especially in low light conditions. To guarantee your panoramas are crisp and clear, you'll need to master stability techniques.
Start by adopting a stable stance. Plant your feet shoulder-width apart and tuck your elbows close to your body. This creates a solid foundation for your shot. When panning, pivot from your hips rather than your arms to maintain smooth movement.
Consider using additional support tools to enhance stability:
- Tripod: Ideal for long exposures and precise framing
- Monopod: Offers flexibility and portability for on-the-go shooting
- Smartphone gimbal: Provides smooth, stabilized movement for video and panning shots
- Built-in stabilization features: Utilize your phone's optical or electronic image stabilization
Don't forget to use your phone's timer or voice control feature to trigger the shutter. This eliminates the need to touch the screen, further reducing camera shake.
With practice, you'll develop a steady hand and create stunning panoramas that showcase your subject in all its glory.
HDR and Dynamic Range
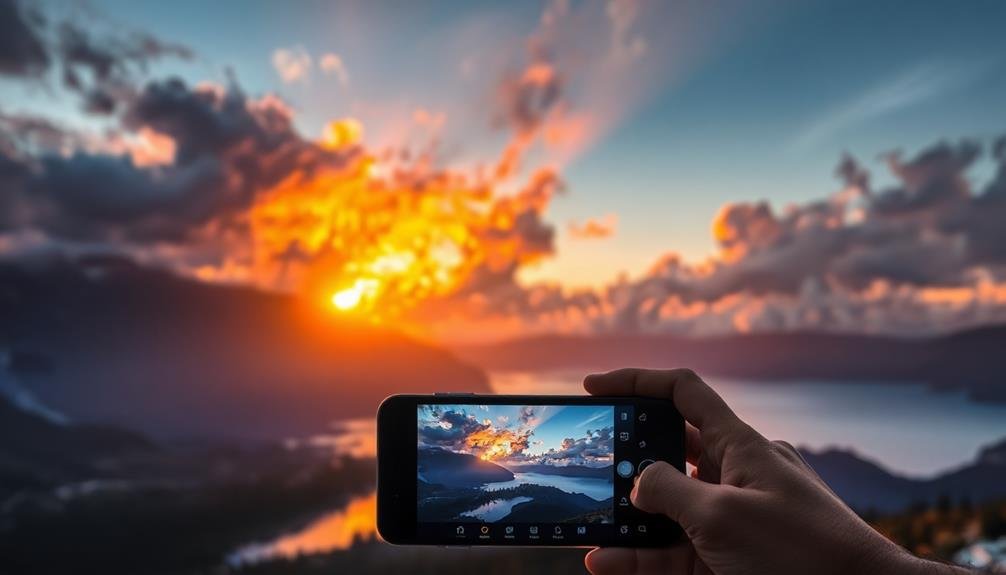
One of the most powerful features in modern smartphone cameras is High Dynamic Range (HDR) mode. This setting allows you to capture images with a wider range of light and dark tones, resulting in more balanced and detailed photos. When you enable HDR, your phone takes multiple exposures of the same scene and combines them into a single image, preserving details in both highlights and shadows.
You'll find HDR particularly useful in high-contrast situations, such as landscapes with bright skies and darker foregrounds, or backlit subjects. Most phones offer an automatic HDR option, which intelligently decides when to use the feature. However, you can also manually toggle it on or off for more control.
While HDR can greatly improve your photos, it's not always the best choice. In low-light situations or when capturing moving subjects, HDR might introduce blur or ghosting.
For scenes with intentional high contrast or dramatic lighting, turning off HDR can preserve the mood you're trying to capture. Experiment with HDR in different scenarios to understand its impact and when it's most effective for your panoramic shots.
Post-Capture Editing Tips
While capturing great photos is important, editing can take your smartphone images to the next level. Most modern phones come with built-in editing tools that allow you to enhance your panoramas and other photos without the need for additional apps.
Start by adjusting the exposure and contrast to bring out the details in both bright and dark areas of your image. Then, fine-tune the color balance to guarantee your panorama accurately represents the scene you captured.
Here are four essential post-capture editing tips for panoramas:
- Crop carefully: Remove any distorted edges or unwanted elements while maintaining the panorama's overall composition.
- Use the straighten tool: Ensure your horizon line is perfectly level for a more professional look.
- Apply selective adjustments: Enhance specific areas of your panorama using masks or brush tools to bring out details or balance lighting.
- Experiment with filters: Try different presets to add mood or style to your panorama, but use them sparingly to maintain a natural look.
Remember to save your edited panorama as a new file to preserve the original.
With practice, you'll develop a keen eye for post-capture enhancements that truly elevate your smartphone photography.
Frequently Asked Questions
Can I Create Panoramas With Older Smartphone Models?
You can often create panoramas with older smartphones. Many models have built-in panorama modes. If yours doesn't, you can download third-party apps that enable this feature. Just verify your device's camera and software are compatible.
How Do I Fix Stitching Errors in Panoramic Photos?
You can fix stitching errors in panoramic photos by using editing software like Photoshop or dedicated panorama apps. They'll help you manually align mismatched areas, adjust exposure differences, and smooth out changes between images for seamless results.
What's the Ideal Weather Condition for Capturing Panoramic Landscapes?
You'll want clear, calm days for panoramic landscapes. Soft, even light during golden hour is ideal. Avoid harsh midday sun or windy conditions. Overcast skies can work well too, providing consistent lighting across your scene.
Are There Apps That Can Create Panoramas From Multiple Separate Photos?
Yes, you'll find many apps that can stitch separate photos into panoramas. Popular options include Adobe Lightroom, Google Photos, and Microsoft ICE. They're user-friendly and can create stunning panoramas from your individual shots with minimal effort.
How Do I Share High-Resolution Panoramas on Social Media Without Losing Quality?
You'll want to use high-quality export settings and choose platforms that support large file sizes. Consider uploading to cloud services or photo-sharing sites, then link to those on social media to maintain resolution.
In Summary
You've now got the tools to capture stunning panoramas with your phone. Remember to select the right mode, adjust exposure and focus, frame your shot carefully, and keep steady as you pan. Don't forget to experiment with HDR for better dynamic range. Once you've taken your panorama, a few quick edits can really make it pop. With practice, you'll be creating breathtaking wide-angle views that'll wow your friends and preserve your memories in style.


Leave a Reply