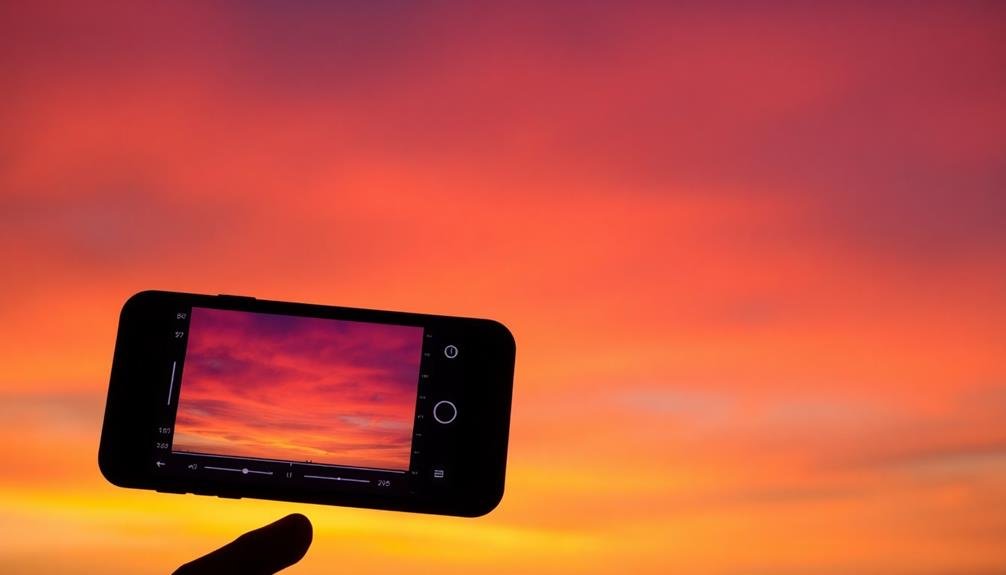
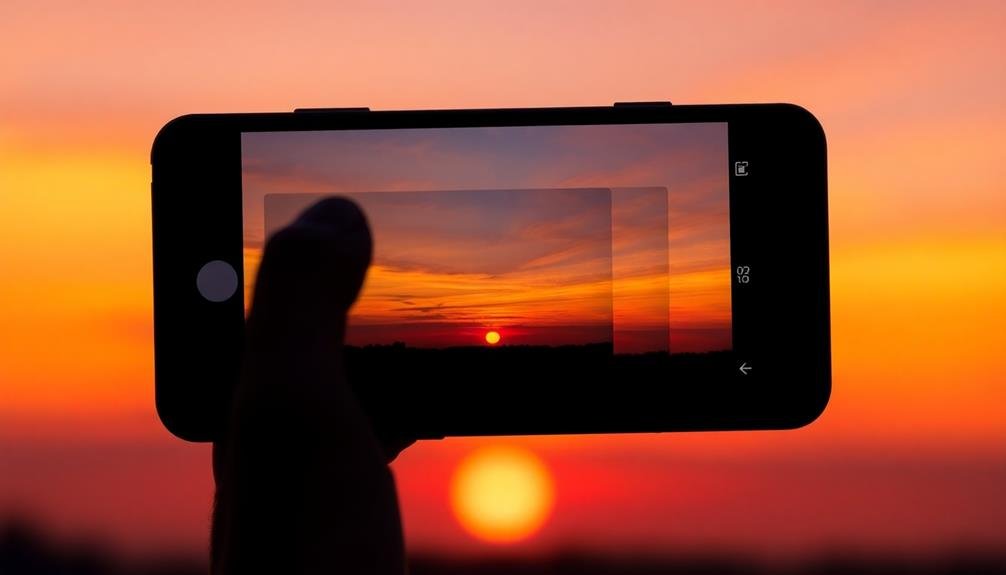
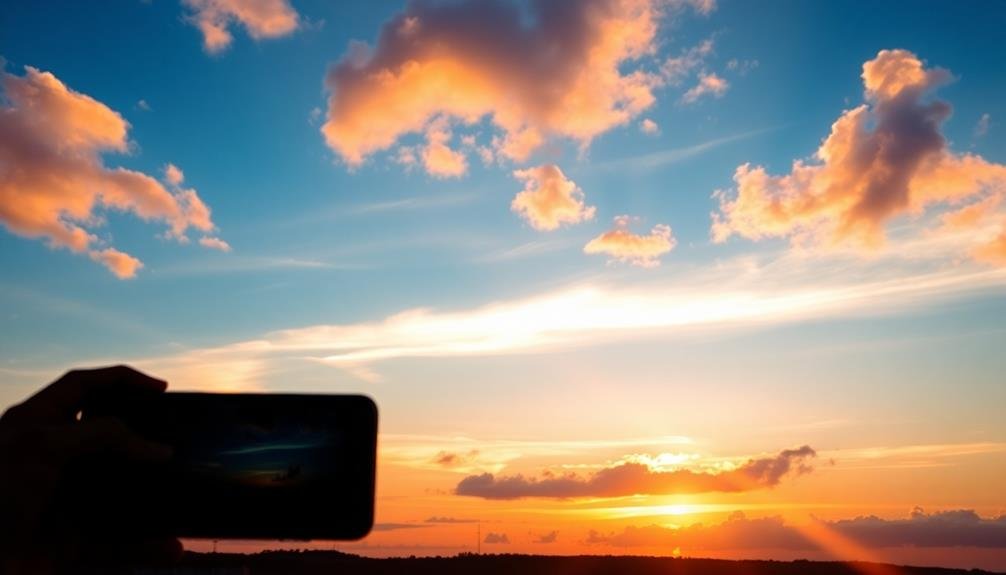
To make time-lapse sunsets pop on your phone, start with an unobstructed view of the western horizon. Use manual camera settings, adjusting exposure as light changes. Stabilize your phone with a tripod and begin capturing 30 minutes before sunset. Frame your shot with interesting foreground elements and consider reflections for added depth. During editing, enhance colors while maintaining realism. Choose the right frame rate for smooth motion or dramatic effect. Don't forget to manage white balance and use HDR for better dynamic range. With these techniques, you'll transform an ordinary sunset into a stunning visual journey. The real magic lies in mastering each element of the process.
Choosing the Perfect Location
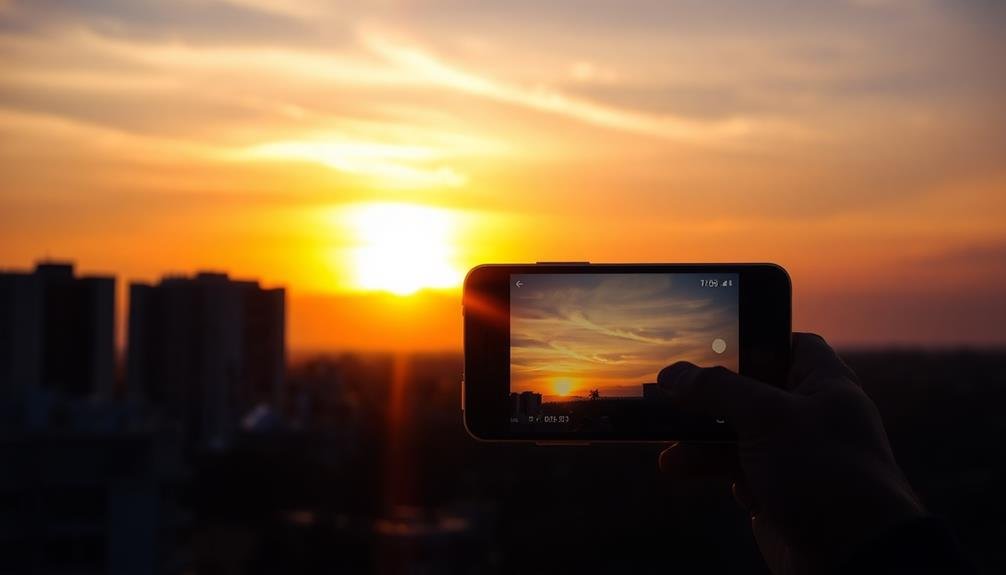
When it comes to capturing stunning time-lapse sunsets on your phone, location is everything. You'll want to find a spot with an unobstructed view of the western horizon, where the sun will set. Look for elevated areas like hilltops, rooftops, or coastal cliffs that offer panoramic views. These vantage points allow you to capture the sun's descent and the changing colors of the sky without interference from buildings or trees.
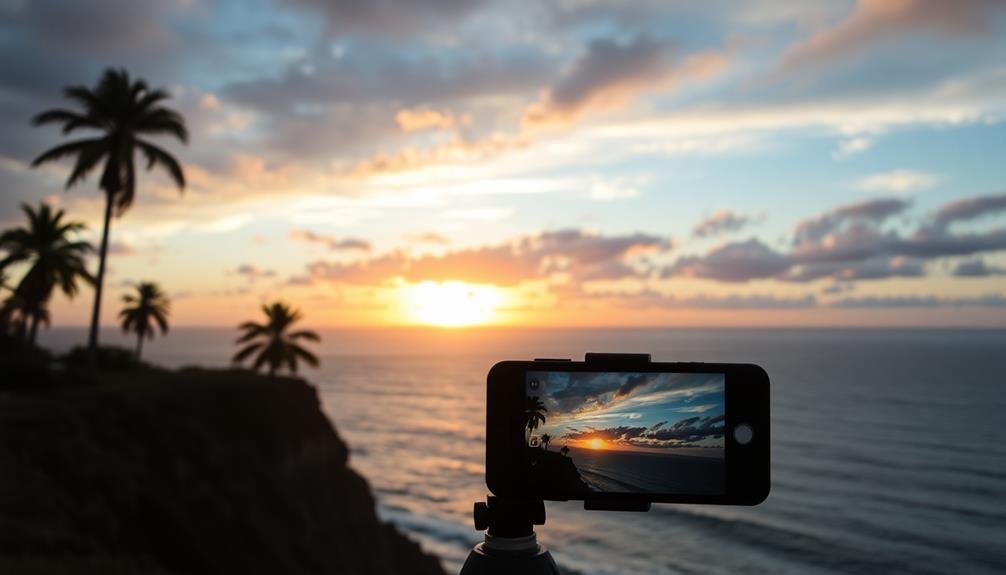
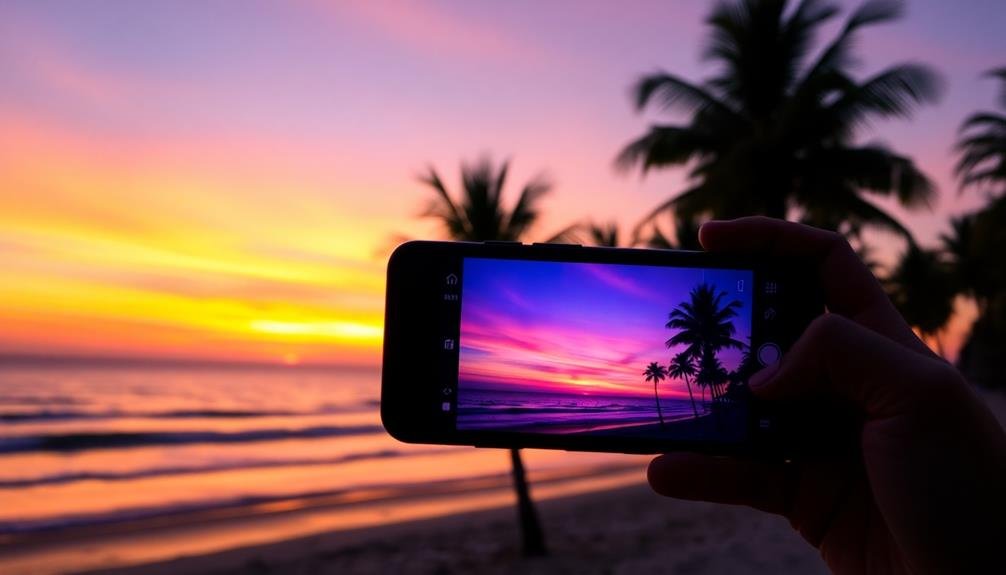
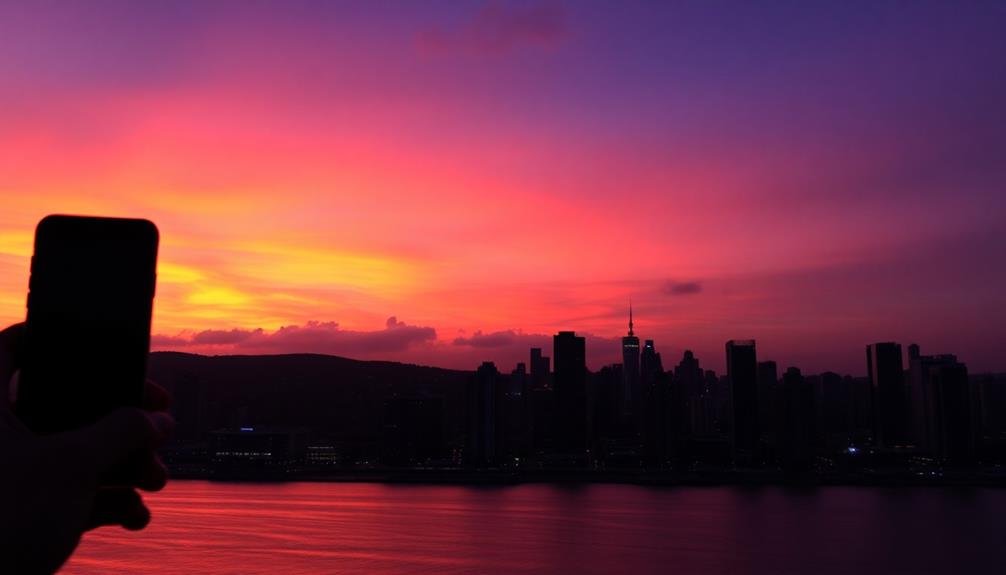
Consider the foreground elements in your shot. Interesting landscapes, silhouettes, or landmarks can add depth and context to your time-lapse. Bodies of water, such as lakes or oceans, can create mesmerizing reflections of the setting sun and colorful sky. Urban settings with city skylines can provide a striking contrast between nature and architecture.
Weather conditions play an essential role in sunset time-lapses. Partly cloudy days often produce the most dramatic results, as clouds catch and reflect the sun's rays, creating a dynamic sky. Check weather forecasts and apps to predict ideal conditions.
Optimal Camera Settings

A well-configured camera is the key to capturing breathtaking time-lapse sunsets on your phone. Start by setting your phone to manual mode, which gives you full control over exposure settings.
Adjust the ISO to a low value, around 100-200, to minimize noise in your images. Set your aperture between f/8 and f/11 for a good balance of sharpness and depth of field.
For shutter speed, begin with 1/30th of a second and adjust as the light changes. Use a neutral density filter if you want longer exposures. White balance should be set to "daylight" to maintain consistent colors throughout the sequence.
Enable RAW format if your phone supports it, as it'll give you more flexibility in post-processing.
Choose an interval between 3-5 seconds for your time-lapse shots. This'll create a smooth shift as the sun sets. Lock your focus on a static element in the frame to prevent the camera from refocusing between shots.
Stabilizing Your Smartphone

Smartphone stability is essential for capturing crisp time-lapse sunsets. Even the slightest movement can ruin your footage, so it's vital to keep your device steady throughout the process. You'll want to invest in a reliable smartphone tripod or mount to achieve this stability.
Look for options that are lightweight, portable, and compatible with your specific phone model.
When setting up your stabilized phone, consider the following tips:
- Choose a solid, level surface to place your tripod
- Use a remote shutter or timer to avoid touching the phone
- Enable your phone's built-in stabilization features
- Lock your focus and exposure settings
- Turn on airplane mode to prevent interruptions
If you're shooting in windy conditions, you'll need to take extra precautions. Try using a weighted base for your tripod or create a windbreak to shield your setup.
For handheld shots, tuck your elbows into your body and hold your breath while capturing each frame. Remember, the steadier your phone, the smoother and more professional your time-lapse sunset will appear.
With these stabilization techniques, you'll be well on your way to creating stunning sunset videos that'll impress your audience.
Timing the Sunset Sequence
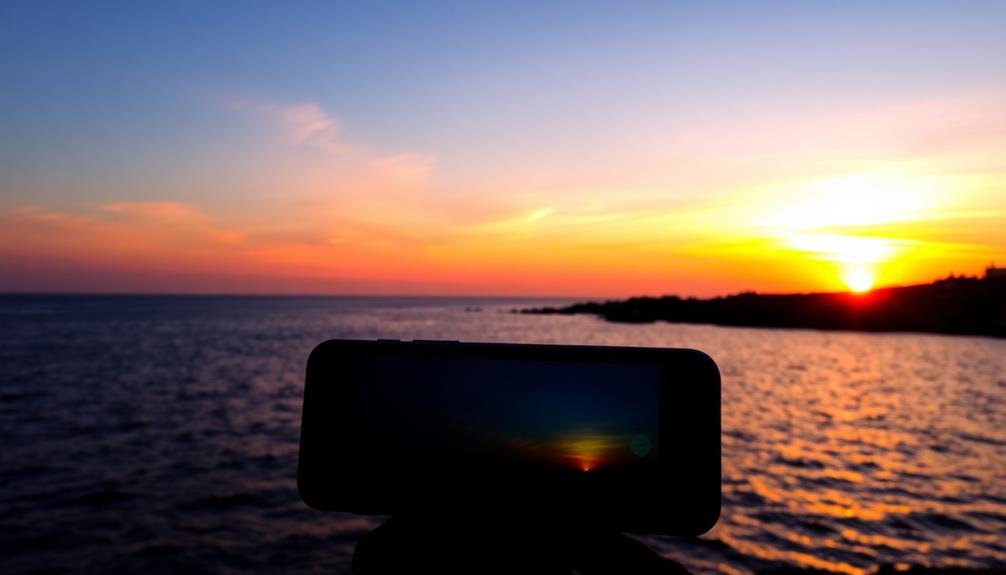
Now that your phone is stable, let's focus on the art of timing your sunset sequence. Start your time-lapse about 30 minutes before the sun begins to set. This allows you to capture the gradual changes in light and color as the sky shifts from day to night.
Pay attention to the weather forecast and choose a day with some cloud cover. Clouds add depth and drama to your time-lapse, reflecting the changing colors of the sunset. Set your phone to take a photo every 5-10 seconds, depending on how long you want your final video to be.
Continue shooting for at least 20-30 minutes after the sun has disappeared below the horizon. This captures the afterglow and the change to twilight, adding a beautiful progression to your time-lapse.
If you're using a dedicated time-lapse app, experiment with different interval settings to find the perfect balance between smooth motion and capturing enough detail.
Composition Techniques for Impact
Composing a stunning sunset time-lapse requires more than just pointing your phone at the sky. You'll need to take into account framing, foreground elements, and the overall narrative of your sequence to create a truly impactful result.
Start by choosing a compelling location with interesting features. Look for silhouettes, reflections, or architectural elements that can add depth to your composition. Place the horizon line strategically, using the rule of thirds to create balance.
Don't shy away from including foreground elements to add scale and context to your time-lapse. Reflect on the movement within your frame. Clouds, water, or even passing vehicles can add dynamic interest to your sunset sequence. Experiment with different angles and perspectives to find the most engaging view.
To elevate your sunset time-lapse, incorporate these advanced techniques:
- Use leading lines to draw the viewer's eye
- Frame the sunset with natural elements
- Include a human element for scale and emotion
- Capture reflections in water or glass surfaces
- Experiment with lens flares for artistic effect
Mastering Exposure and HDR
Capturing the perfect sunset time-lapse often hinges on your ability to master exposure and HDR techniques. As the sun descends, light conditions change rapidly, challenging your phone's camera to adapt. To combat this, start by manually adjusting your exposure. Tap on the brightest part of the sky and drag down to slightly underexpose the scene. This preserves highlight details and creates a more balanced image throughout the time-lapse.
Next, enable your phone's HDR mode if available. HDR combines multiple exposures, capturing a wider range of tones from shadows to highlights. This is particularly useful during sunsets, where the contrast between the bright sky and darker foreground can be extreme. Some phones offer advanced HDR options; experiment with these to find the best results for your scene.
If your phone doesn't have built-in HDR, consider using a third-party app that allows for exposure bracketing. This technique involves taking multiple shots at different exposures and combining them later.
While more time-consuming, it gives you greater control over the final result, ensuring your time-lapse sunset truly pops with vibrant colors and well-balanced exposure.
Utilizing Foreground Elements
To elevate your sunset time-lapse, incorporate foreground elements that add depth and interest to your composition.
You can frame the scene with natural objects like trees or rock formations, creating a visual anchor for the changing sky.
For added drama, experiment with silhouettes of people or distinctive structures, which will create layered depth perception and make your time-lapse more visually compelling.
Framing With Natural Objects
Natural objects in your surroundings can elevate your time-lapse sunset videos from ordinary to extraordinary. By strategically incorporating these elements into your frame, you'll create depth and interest that'll captivate your viewers.
Look for trees, rocks, or architectural features that can serve as natural frames for your sunset. Position your phone so that these objects border the edges of your shot, drawing the eye towards the main event – the setting sun. You might use a lone tree's silhouette to add a striking focal point or frame your sunset through an arch or window for a unique perspective.
Consider these natural framing elements:
- Overhanging tree branches
- Rock formations or cliffs
- Archways or doorways
- Pier pillars or bridge structures
- Flowers or tall grass in the foreground
Remember to experiment with different angles and compositions. You can frame the sunset from below using low-lying vegetation or from above using elevated vantage points.
Don't be afraid to get creative – sometimes the most unexpected framing choices yield the most stunning results. By mastering this technique, you'll transform your time-lapse sunsets into visually compelling narratives that stand out on any social media feed.
Silhouettes for Added Drama
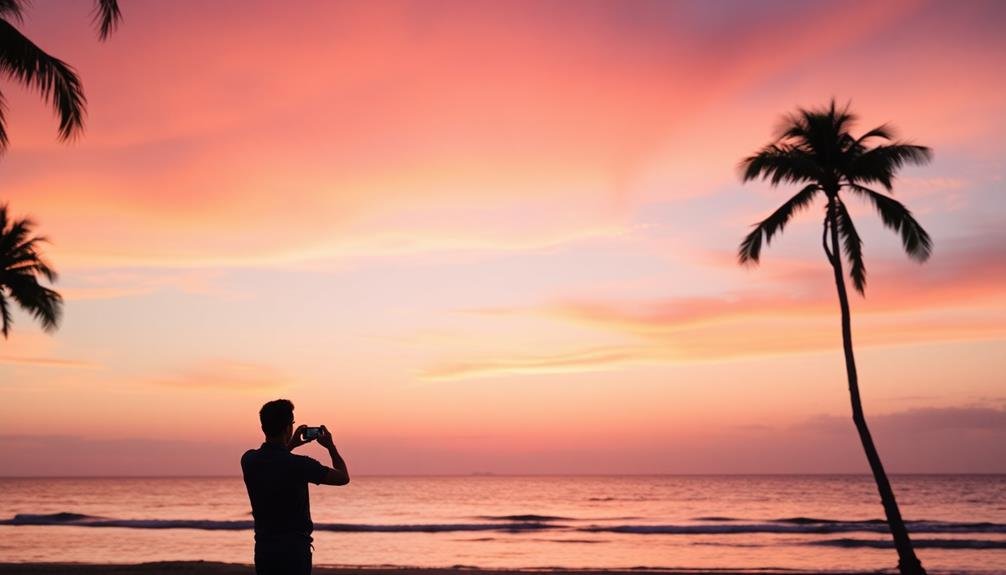
Silhouettes can transform your time-lapse sunset videos into dramatic masterpieces. By incorporating dark, shadowy shapes in the foreground, you'll create a striking contrast against the vibrant colors of the setting sun. Look for interesting objects like trees, buildings, or people to use as silhouettes. Position yourself so that these elements are between you and the sun, ensuring they appear as dark outlines.
To capture the best silhouettes, adjust your camera settings. Reduce exposure compensation to darken the foreground elements while maintaining the sky's colors. Focus on the background to keep the sunset sharp, allowing the silhouettes to remain slightly out of focus for added depth.
Experiment with different compositions. Try placing a single, bold silhouette off-center for a dramatic effect, or include multiple elements to create a more complex scene. Don't forget to reflect upon the rule of thirds when framing your shot.
As the sun sets, you'll notice the silhouettes changing shape and becoming more pronounced. This evolution adds an extra layer of interest to your time-lapse, creating a dynamic and visually engaging video that'll stand out on social media or in your personal collection.
Layered Depth Perception
Adding depth to your time-lapse sunset videos can transform them from flat images into immersive experiences. By incorporating foreground elements, you'll create a layered effect that draws viewers into the scene. Strategically place objects in the foreground to frame your sunset and add visual interest. Trees, rocks, buildings, or even people can serve as compelling focal points.
When selecting foreground elements, consider these factors:
- Contrast with the sky
- Interesting shapes or silhouettes
- Stability during the time-lapse
- Proportion to the overall composition
- Relevance to your location or theme
Position your camera to capture both the foreground and the changing sky. Experiment with different angles and distances to find the perfect balance.
You might need to adjust your camera settings to maintain proper exposure for both the foreground and the sky.
Cloud Formations and Weather
When capturing time-lapse sunsets, you'll want to pay close attention to cloud formations and weather patterns.
Dramatic sky patterns can transform your sunset video from ordinary to extraordinary, with clouds acting as nature's canvas for the changing light.
Shifting weather conditions, such as approaching storms or clearing skies, can add dynamic elements to your time-lapse, creating a compelling narrative within your footage.
Dramatic Sky Patterns
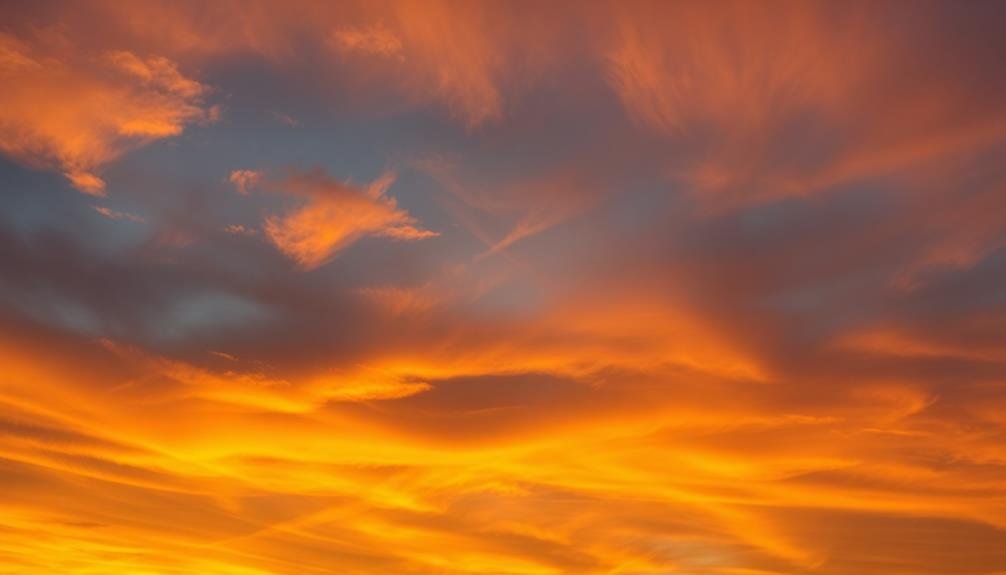
Capturing dramatic sky patterns adds a mesmerizing element to your time-lapse sunsets. As the sun descends, it creates a canvas for nature's most stunning displays. You'll want to keep an eye out for unique cloud formations, color gradients, and light interactions that can transform an ordinary sunset into an extraordinary visual experience.
To maximize the impact of dramatic sky patterns in your time-lapse, consider these key elements:
- Cirrus clouds: Wispy, high-altitude clouds that catch and reflect vibrant colors
- Cumulonimbus clouds: Towering storm clouds that create dramatic silhouettes
- Altocumulus clouds: Mid-level clouds that often form a "mackerel sky" pattern
- Sun rays: Beams of light piercing through gaps in the clouds
- Contrails: Man-made vapor trails from aircraft that can add linear elements
As you set up your phone for the time-lapse, position it to capture the most dynamic area of the sky. This might mean including a wider frame to showcase the full expanse of cloud formations or focusing on a specific area where colors are most intense.
Shifting Weather Conditions
Shifting weather conditions can transform your time-lapse sunset into a dynamic masterpiece. As clouds move across the sky, they create ever-changing patterns and textures that add depth and interest to your video.
You'll want to keep an eye out for various cloud types, from wispy cirrus to puffy cumulus, as they'll interact differently with the fading light.
Pay attention to approaching weather fronts, as they often bring dramatic shifts in cloud cover and atmospheric conditions. A clearing storm can produce spectacular results, with dark clouds parting to reveal golden sunlight.
Conversely, an incoming system might introduce layers of clouds that catch the sun's rays in stunning ways.
Don't overlook the impact of wind on your time-lapse. Stronger breezes can accelerate cloud movement, creating a more energetic feel in your video.
Light winds, on the other hand, allow for subtler changes that unfold gradually. You might even capture the formation of fog or mist as temperatures drop, adding an ethereal quality to your sunset.
Color Grading in Post-Processing
Color grading breathes new life into your time-lapse sunset videos. It's the final touch that can transform your footage from ordinary to extraordinary.
When you're working on your sunset time-lapse, you'll want to focus on enhancing the natural beauty of the sky while maintaining a realistic look.
Start by adjusting the overall exposure and contrast to bring out the details in both the highlights and shadows. Then, fine-tune the white balance to capture the warmth of the setting sun. You can use color wheels or curves to create a more dramatic effect by emphasizing the oranges, reds, and purples typically seen during sunset.
Consider these key aspects when color grading your sunset time-lapse:
- Saturation: Boost colors without making them appear unnatural
- Highlight recovery: Prevent the sun from becoming a blown-out white blob
- Shadow detail: Retain information in darker areas of the frame
- Color temperature: Adjust to emphasize the golden hour glow
- Vignetting: Add subtle darkening around the edges to draw focus to the sky
Frame Rate Considerations
As you plan your sunset time-lapse, frame rate becomes an essential factor in determining the final look and feel of your video. The frame rate you choose affects how smooth or dramatic your time-lapse appears. For smooth, fluid motion, aim for higher frame rates like 30 or 60 frames per second (fps). This works well for capturing gradual color changes and cloud movements.
If you're after a more dramatic, fast-paced effect, consider lower frame rates like 24 fps or even 15 fps. These create a choppier, more stylized look that can emphasize rapid changes in the sky.
Remember, your capture interval also plays a role. For a 30-second video at 30 fps, you'll need 900 individual frames. Experiment with different combinations of frame rates and intervals to find what works best for your scene.
Keep in mind that higher frame rates require more storage space and processing power. If your phone has limited capacity, you might need to opt for a lower frame rate or shorter overall video length.
Ultimately, the right frame rate depends on your artistic vision and the specific sunset you're capturing.
Dealing With Changing Light
As you capture a time-lapse sunset, you'll need to adapt to the rapidly changing light conditions.
You can start by adjusting your phone's exposure settings throughout the process, ensuring your footage maintains proper brightness as daylight fades.
It's also essential to handle the wide dynamic range of a sunset scene, while allowing your camera's white balance to adapt naturally to the shifting color temperatures.
Adjusting Exposure Settings
During a sunset time-lapse, you'll need to adjust your exposure settings to handle the rapidly changing light conditions. As the sun descends, your phone's camera will try to compensate for the diminishing light, often resulting in overexposed or underexposed frames.
To combat this, use manual exposure controls if your phone offers them. Start by setting your exposure for the brightest part of the scene, usually the sky near the sun. As the light fades, gradually increase your exposure to maintain detail in both the highlights and shadows. This technique, called exposure ramping, helps create a smooth shift throughout your time-lapse.
Consider these tips for better exposure control:
- Use exposure compensation to fine-tune brightness
- Lock focus on a stationary object to maintain consistency
- Enable HDR mode for better dynamic range
- Experiment with different metering modes
- Adjust ISO and shutter speed manually if possible
Handling Dynamic Range
Dynamic range poses a significant challenge when capturing sunset time-lapses on your phone. As the sun descends, the contrast between bright and dark areas increases dramatically, often exceeding your camera's capabilities. To handle this, you'll need to employ a few techniques.
First, use HDR mode if your phone offers it. This feature combines multiple exposures to capture a wider range of tones. If HDR isn't available, consider using exposure bracketing, taking multiple shots at different exposures and blending them later.
Another effective method is to use graduated neutral density filters. These darken the bright sky while leaving the foreground untouched, helping balance the exposure. If you don't have physical filters, some apps offer digital versions that can be quite effective.
Pay attention to your phone's histogram. It'll show if you're losing detail in highlights or shadows. Adjust your exposure accordingly, aiming to preserve as much information as possible in both areas.
Lastly, don't be afraid to let some areas go dark. Silhouettes can create striking compositions, especially during sunsets. By embracing the contrast, you can create more dramatic and visually appealing time-lapses.
White Balance Adaptation
Adapting to the rapidly changing light conditions is essential when capturing sunset time-lapses on your phone. As the sun descends, the color temperature shifts dramatically, affecting the overall mood and appearance of your footage.
To guarantee your time-lapse looks natural and visually appealing, you'll need to manage your phone's white balance settings effectively.
Many smartphone cameras offer automatic white balance, which can work well in some situations. However, for sunsets, you might want to take manual control. Here are some tips for handling white balance during sunset time-lapses:
- Use a preset white balance mode like "Daylight" or "Cloudy"
- Gradually adjust white balance as the light changes
- Experiment with a custom white balance setting
- Consider using a neutral gray card for reference
- Try the "Golden Hour" mode if your phone has it
Editing Apps for Time-Lapse

After capturing your time-lapse sunset footage, you'll want to polish it to perfection. Several editing apps can help you enhance your time-lapse and make your sunset truly pop. Popular options include LumaFusion, Videoshop, and Filmmaker Pro.
LumaFusion offers professional-grade editing tools, allowing you to adjust color, contrast, and add transitions between clips. It's ideal for more experienced editors who want granular control over their time-lapse.
Videoshop is user-friendly and perfect for quick edits. You can easily trim your footage, adjust speed, and add filters to enhance your sunset's colors. It's great for beginners or those who want to make quick adjustments on the go.
Filmmaker Pro strikes a balance between simplicity and advanced features. It provides tools for color grading, speed ramping, and even adding text overlays to your time-lapse.
When editing, focus on enhancing the natural beauty of your sunset. Adjust exposure to bring out details in darker areas, boost saturation to make colors more vibrant, and experiment with speed changes to create a dynamic flow in your time-lapse.
Frequently Asked Questions
How Long Should a Time-Lapse Sunset Video Typically Last?
You'll want your time-lapse sunset video to last between 15 to 30 seconds. It's long enough to capture the beauty but short enough to keep viewers engaged. Adjust based on your specific sunset and desired effect.
Can I Use Filters on My Smartphone for Better Sunset Time-Lapse Results?
Yes, you can use filters on your smartphone for better sunset time-lapse results. They'll enhance colors, contrast, and overall aesthetics. Experiment with various filters to find the perfect look for your sunset video. Don't overdo it, though!
What's the Best Way to Share Time-Lapse Sunset Videos on Social Media?
To share your time-lapse sunset videos on social media, you'll want to:
- Trim the video to a concise length
- Add a catchy caption
- Use relevant hashtags
- Post at peak engagement times
- Consider platform-specific formats
How Much Storage Space Do Time-Lapse Sunset Videos Usually Require?
You'll find that time-lapse sunset videos can take up considerable space. They're often high-resolution and lengthy, potentially requiring 100MB to 1GB or more. Your storage needs will depend on the video's duration and quality settings.
Are There Any Legal Considerations When Filming Time-Lapse Sunsets in Public Places?
When filming time-lapse sunsets in public places, you'll generally be fine. However, be aware of privacy laws, avoid trespassing, and respect any posted restrictions. If you're including people, it's best to get their permission first.
In Summary
You've now got the tools to create stunning time-lapse sunsets on your phone. Remember, it's all about location, settings, stability, timing, and composition. Don't forget to experiment with color grading and frame rates. As you practice, you'll master the art of capturing changing light. With the right editing apps, you'll transform your raw footage into breathtaking sequences. So grab your phone, find a beautiful spot, and start creating sunset magic that'll wow your audience.


Leave a Reply