To capture stunning close-up food photos on your mobile, start by using natural lighting near windows. Find the right angle, whether it's overhead for flat dishes or 45-degrees for layered foods. Focus on texture details to enhance appetizing appeal, and experiment with composition techniques like the rule of thirds. Adjust your white balance settings for accurate colors, and use mobile editing apps to fine-tune your images. Create depth by strategically placing props that complement the main dish. These tricks will elevate your food photography game, but there's more to explore if you want to truly master the art of mobile food photography.
Use Natural Lighting Effectively
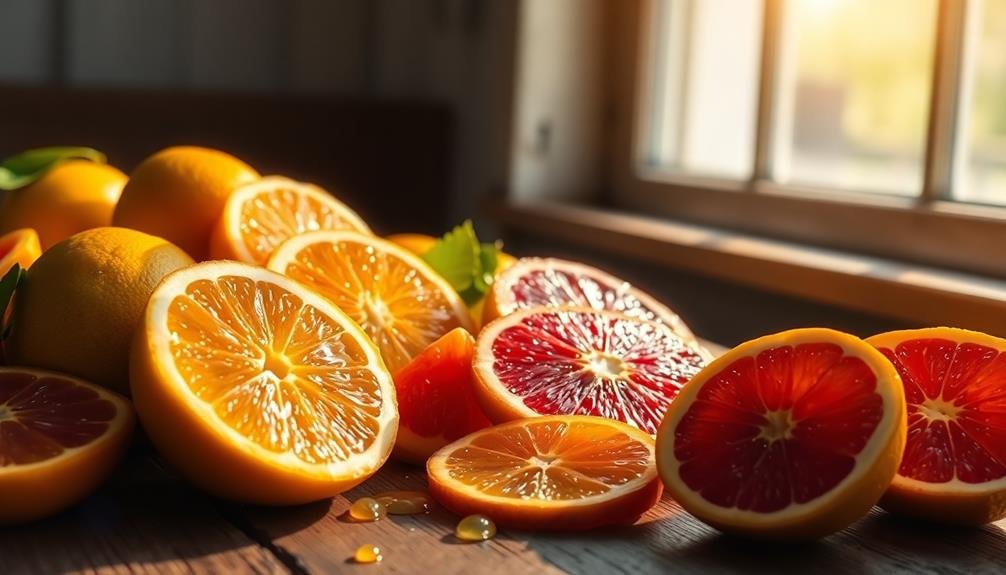
For stunning close-up food photos on your mobile, natural lighting is key. Position your dish near a window to capture soft, diffused light that enhances textures and colors.
Avoid direct sunlight, which can create harsh shadows and overexpose your image. Instead, opt for overcast days or use a sheer curtain to soften bright light.
Experiment with different angles to find the most flattering light for your subject. Side lighting can accentuate textures, while backlighting can create a warm, inviting glow.
If you're shooting outdoors, early morning or late afternoon light provides a golden hue that can make your food look irresistible.
Don't rely on your phone's flash, as it can wash out colors and create unflattering reflections. Instead, use a white piece of paper or a small reflector to bounce light onto shadowy areas.
This technique helps balance the lighting and reveals more detail in your close-ups.
If natural light is scarce, consider investing in a small, portable LED light designed for mobile photography.
These affordable tools can mimic natural light and give you more control over your lighting setup, ensuring your close-up food photos always look appetizing.
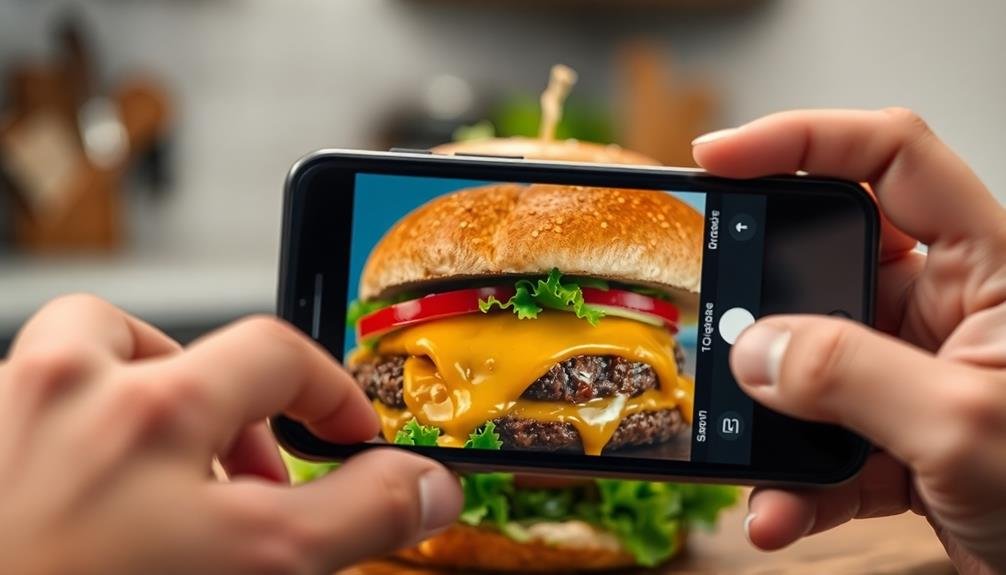
Find the Right Angle
Angles can make or break your close-up food photos. When you're shooting with your mobile device, experiment with different perspectives to find the most flattering view of your dish.
Start by trying the classic overhead shot, which works well for flat foods like pizzas or neatly arranged plates. For dishes with height or layered elements, a 45-degree angle can showcase depth and texture effectively.
Don't be afraid to get low and shoot from eye level with your food. This angle can create drama and make your subject appear larger than life. For drinks or tall desserts, try a straight-on shot to highlight their vertical structure.
Remember to contemplate the background and how it complements your subject at each angle.
As you're finding the right angle, pay attention to the composition. Use the rule of thirds to create balance in your frame. Move your phone around to see how shadows and highlights change, and choose the angle that best accentuates the food's most appealing features.
Keep practicing, and you'll develop an intuitive sense for which angles work best for different types of dishes.
Focus on Texture Details

Once you've found the perfect angle, it's time to zoom in on the finer details. Texture is an essential element in food photography that can make your images more appetizing and visually interesting. To capture texture effectively, focus on areas that showcase the food's unique surface characteristics.
For crispy foods like fried chicken or pastries, highlight the crunchy exterior by adjusting your phone's focus to emphasize the textural elements. When photographing creamy dishes, like ice cream or smoothie bowls, capture the smooth, velvety surface by ensuring proper lighting to avoid harsh shadows.
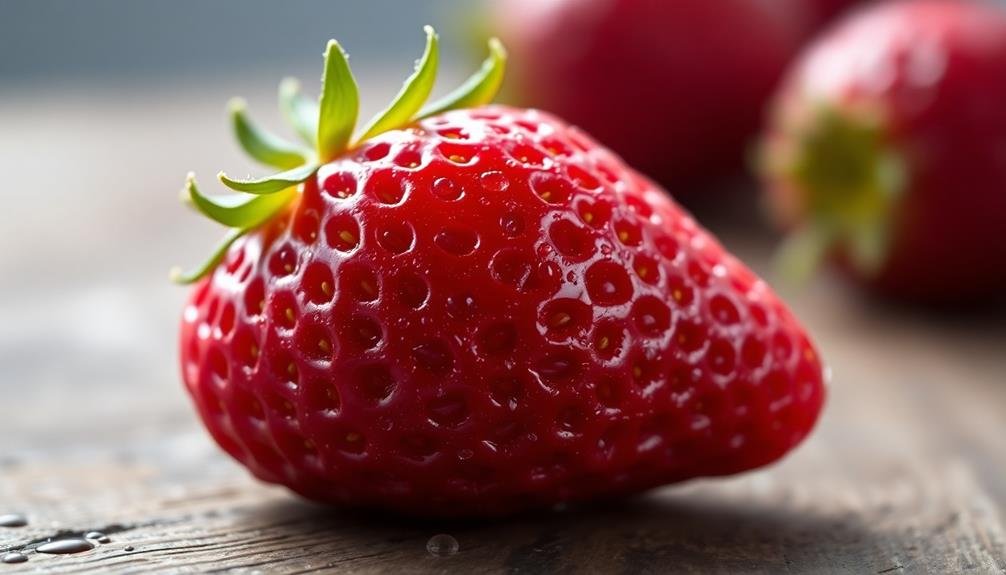
Use your phone's macro mode or a clip-on macro lens to get extremely close to your subject. This allows you to capture intricate details like the individual seeds on a strawberry or the delicate layers of a croissant. Experiment with different focus points to draw attention to specific textural elements.
Pay attention to contrasting textures within the same dish. For instance, in a salad, focus on the crisp lettuce leaves alongside juicy tomatoes and creamy avocado. These textural variations add depth and interest to your food photos, making them more engaging for viewers.
Experiment With Composition Techniques

Elevate your close-up food photography by experimenting with composition techniques.
Try applying the Rule of Thirds, placing key elements along imaginary grid lines to create a balanced and visually appealing image.
Don't forget to explore negative space, using empty areas strategically to draw attention to your main subject and create a sense of simplicity or sophistication in your food photos.
Rule of Thirds
The Rule of Thirds is a fundamental composition technique that can dramatically improve your food photos. Imagine dividing your screen into a 3×3 grid with two horizontal and two vertical lines. The key is to place your main subject along these lines or at their intersections, rather than in the center of the frame.
When applying the Rule of Thirds to food photography:
| Left Third | Center Third | Right Third |
|---|---|---|
| Place sauce | Main dish | Garnish |
| Utensils | Focal point | Drink |
| Texture | Supporting elements | Negative space |
You'll create more dynamic and visually appealing images by following this grid. Try positioning your main dish slightly off-center, aligning it with one of the vertical lines. Use the intersections to highlight key elements like a perfectly grilled steak or a colorful garnish.
Don't forget about negative space – it's just as important as your subject. Leaving some empty areas in your composition can draw attention to the food and create a sense of balance. Experiment with different placements and see how it affects the overall impact of your photos. You'll soon develop an intuitive sense of how to apply the Rule of Thirds effectively.
Negative Space Utilization
Mastering negative space is a game-changer for your food photography. It's the empty area around your main subject that can dramatically enhance your composition.
When you're shooting close-ups of food, don't be afraid to leave some breathing room around your dish. This technique draws the viewer's eye to the focal point while creating a sense of balance and elegance in your image.
To effectively use negative space in your food photos:
- Experiment with asymmetrical compositions, placing your dish off-center
- Use plain backgrounds or tablecloths to create clean, uncluttered spaces
- Try shooting from different angles to find the most appealing negative space
Adjust White Balance Settings
You'll find that adjusting your white balance settings can greatly improve your food photos' color accuracy.
While auto white balance often works well, manual adjustments allow for greater control in challenging lighting conditions.
Try experimenting with preset white balance options like "cloudy" or "fluorescent" to match your specific lighting environment and achieve more natural-looking colors in your close-up food shots.
Manual vs. Auto Adjustment
When it comes to capturing mouthwatering food photos, adjusting your white balance settings can make all the difference. Most mobile cameras offer both manual and auto white balance adjustment options, each with its own advantages.
Auto white balance is convenient and works well in many situations. It's a great starting point for beginners, as it automatically analyzes the scene and attempts to neutralize color casts. However, it can sometimes misinterpret the lighting, especially in mixed-light environments or when faced with unusual food colors.
Manual white balance adjustment gives you more control over your image's color temperature. While it requires more effort, it allows you to:
- Capture the true colors of your food accurately
- Compensate for tricky lighting situations
- Create deliberate warm or cool tones for artistic effect
To manually adjust white balance, you'll need to select a preset (like daylight or tungsten) or use a custom setting. Experiment with different options to find what works best for your specific scene.
Lighting-Specific White Balance
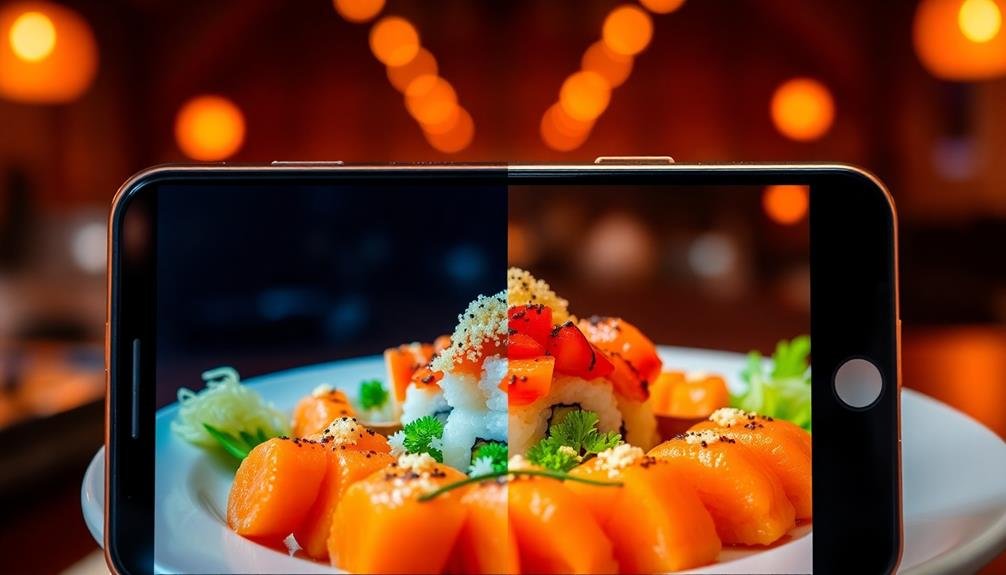
Depending on the lighting conditions you're working with, specific white balance adjustments can considerably enhance your food photos. Most mobile cameras offer preset white balance options, but you'll need to choose the right one for your lighting situation. If you're shooting indoors under artificial light, select the "tungsten" or "fluorescent" setting to counteract the warm or cool tones. For outdoor shots, use "daylight" or "cloudy" presets to capture accurate colors.
Some advanced camera apps allow manual white balance adjustments. You can use a white or gray card to set a custom white balance, ensuring your food's colors appear true to life. Remember that different light sources can dramatically affect how your food looks, so always adjust your white balance accordingly.
| Light Source | White Balance Setting | Effect on Food Colors |
|---|---|---|
| Sunlight | Daylight | Natural, balanced |
| Cloudy sky | Cloudy | Warmer tones |
| Shade | Shade | Cooler tones |
| Tungsten | Tungsten | Removes yellow cast |
| Fluorescent | Fluorescent | Removes green cast |
Edit With Mobile Apps
Numerous mobile apps offer powerful editing tools to enhance your close-up food photos. You'll find options ranging from basic adjustments to advanced retouching features.
Start by exploring popular apps like Snapseed, VSCO, or Lightroom Mobile. These apps allow you to fine-tune exposure, contrast, and color balance, bringing out the best in your food shots.
When editing, focus on highlighting the textures and details of your dish. Adjust the sharpness and clarity to make the food appear more appetizing.
Don't forget to experiment with vignettes or selective focus to draw attention to the main subject. Many apps also offer filters and presets specifically designed for food photography.
However, use these sparingly to maintain a natural look. Instead, create your own custom presets to develop a consistent style across your food photos.
Consider these advanced editing techniques:
- Use curves adjustments to enhance contrast and color
- Apply selective edits to specific areas of the image
- Experiment with color grading to create a unique mood
Create Depth With Props

While editing can enhance your food photos, adding depth through carefully chosen props can elevate your images even further.
To create depth, start by selecting props that complement your main dish without overpowering it. Use items like cutlery, napkins, or ingredients used in the recipe to add layers to your composition.
Place props strategically to guide the viewer's eye towards the main subject. Position some items in the foreground to create a sense of dimension, while others can be partially out of focus in the background. Experiment with different arrangements to find the most appealing composition.
Consider using props with varying heights and textures to add visual interest. A tall glass of water or a bottle of wine can provide vertical elements, while textured linens or wooden cutting boards can add depth through contrasting surfaces.
Don't overcrowd your frame; less is often more in food photography. Choose a few key props that enhance the story of your dish rather than distracting from it.
Frequently Asked Questions
How Do I Prevent Shadows When Using Flash for Food Photography?
To prevent shadows when using flash for food photography, you'll want to diffuse the light. Try using a white napkin or paper over your flash, or bounce the light off a white surface nearby to soften it.
What's the Best Background Color for Showcasing Different Types of Food?
You'll find that neutral backgrounds work best for most foods. Use white to make colors pop, black for contrast, and light gray for versatility. Don't forget wooden surfaces for a rustic feel. Experiment to see what complements your dish!
How Can I Capture Steam or Smoke in Food Photos?
To capture steam or smoke in food photos, you'll need good lighting and timing. Position a dark background behind the food, use side lighting, and shoot quickly when the steam's at its peak. Don't forget to adjust your camera settings.
Are There Specific Mobile Phones Better Suited for Food Photography?
You'll find many smartphones excel at food photography. Recent iPhones, Google Pixels, and Samsung Galaxy models offer impressive camera systems. Look for phones with multiple lenses, good low-light performance, and macro capabilities for the best food shots.
How Do I Photograph Reflective Surfaces Like Silverware Without Glare?
You can reduce glare on silverware by adjusting your angle, using diffused lighting, or placing a white card nearby. Try shooting from different positions and experiment with natural light to minimize reflections on shiny surfaces.
In Summary
You've now got the tools to take mouthwatering food photos with your phone. Remember, it's all about lighting, angles, and details. Don't be afraid to experiment with composition and editing apps. With practice, you'll develop your own style. Keep these tips in mind, and you'll soon be capturing stunning close-ups that'll make everyone's stomach growl. So grab your phone, find some delicious subjects, and start snapping. Your Instagram feed will thank you!


Leave a Reply