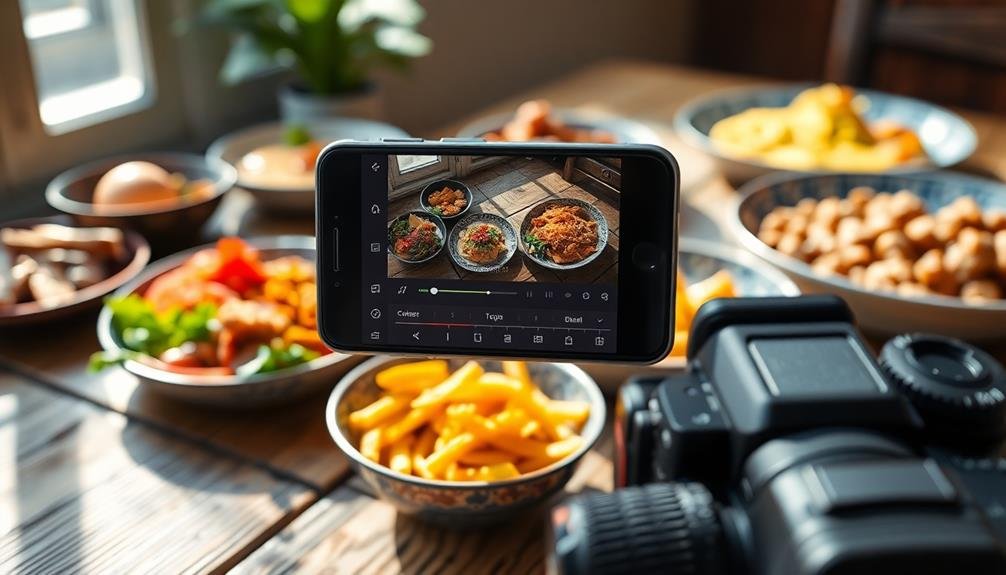
To elevate your mobile food pics, start by adjusting brightness and contrast to enhance visibility while preserving details. Fine-tune white balance for natural colors, and boost saturation slightly to make hues pop. Crop your shots for better composition, using the rule of thirds. Sharpen details selectively to bring out textures, and remove distracting elements with editing tools. Experiment with filters to set the mood, but keep effects subtle. Don't forget to adjust shadows and highlights to reveal hidden textures and prevent overexposure. Finally, add text overlays for context or branding. These pro tips will transform your food photos from average to appetizing.
Adjust Brightness and Contrast

Adjusting brightness and contrast is essential for making your food photos pop. These basic edits can transform a dull image into a vibrant, appetizing one.
Start by increasing the brightness to guarantee your dish is well-lit and visible. Be careful not to overdo it, as excessive brightness can wash out details. Aim for a balance where the food looks inviting but maintains its natural appearance.
Next, focus on contrast. Boosting contrast can enhance the textures and colors of your food, making it more visually appealing. It helps separate different elements of the dish and creates depth.
However, don't push the contrast too far, as it can lead to an unnatural look. Subtle adjustments often work best.
Many mobile editing apps offer sliders for brightness and contrast. Experiment with these controls to find the sweet spot for each image.
Remember, every photo is unique, so there's no one-size-fits-all approach. Pay attention to how the adjustments affect highlights, shadows, and mid-tones.
You'll want to preserve details in both light and dark areas while enhancing the overall visual impact of your food photograph.
Fine-Tune White Balance
Understanding color temperature is key to fine-tuning your food photos' white balance.
You'll want to adjust the warmth and coolness sliders to accurately represent the food's true colors.
Understanding Color Temperature
The concept of color temperature is essential for achieving natural-looking food photos on your mobile device. Color temperature refers to the warmth or coolness of light, measured in Kelvin (K). Understanding this principle will help you adjust your food images to appear more appetizing and true to life.
Lower color temperatures (2000-3000K) produce warm, orange-yellow tones, while higher temperatures (5000K+) result in cooler, blue-white hues. Most smartphones allow you to adjust color temperature in your camera settings or editing apps. When editing food photos, aim for a neutral white balance around 5000K as a starting point.
Pay attention to your light source. Natural daylight typically has a color temperature of 5000-6500K, ideal for food photography. Artificial lighting can vary widely, so you'll need to compensate in your edits. If your image appears too warm, increase the color temperature. If it's too cool, decrease it.
Remember that certain foods look more appealing with slight adjustments to color temperature. Warm tones can enhance golden-brown baked goods, while cooler tones can make fresh produce appear crisper.
Experiment with subtle changes to find the most appetizing balance for each dish.
Adjusting Warmth/Coolness Sliders
Most mobile photo editing apps feature warmth and coolness sliders, which allow you to fine-tune the white balance of your food images. These sliders let you adjust the overall color temperature of your photo, making it appear warmer (more yellow/orange) or cooler (more blue).
When editing food photos, you'll often want to lean towards warmer tones, as they tend to make dishes look more appetizing. Slide the warmth control slightly to the right to add a golden hue that enhances the appeal of baked goods, grilled meats, and comfort foods.
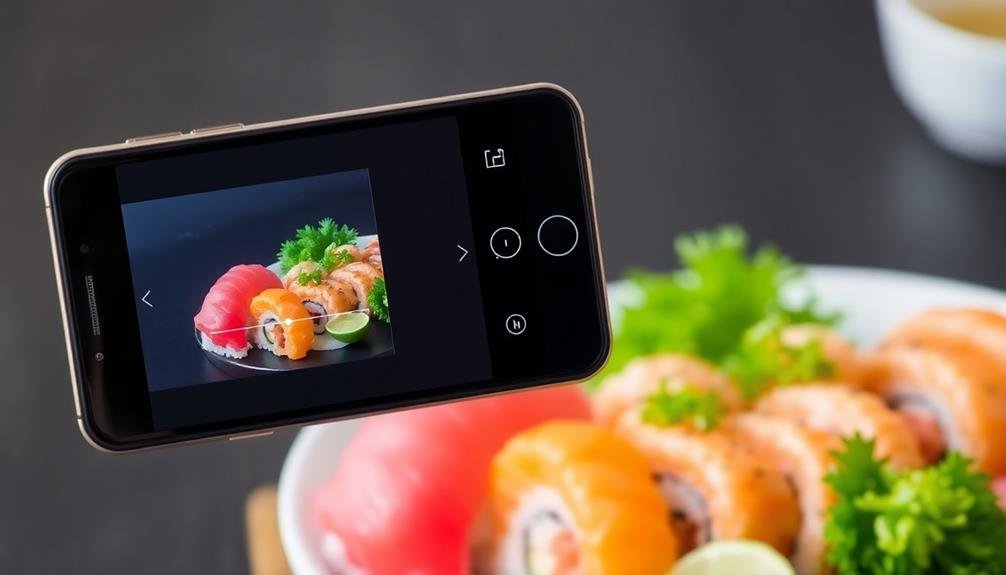
However, be cautious not to overdo it. Too much warmth can make your food look artificial or overly processed. For dishes that should appear fresh and crisp, like salads or sushi, you might want to keep the temperature neutral or even slightly cool.
Experiment with small adjustments to find the perfect balance. Pay attention to how the changes affect the food's appearance and the overall mood of the image.
Enhance Colors With Saturation
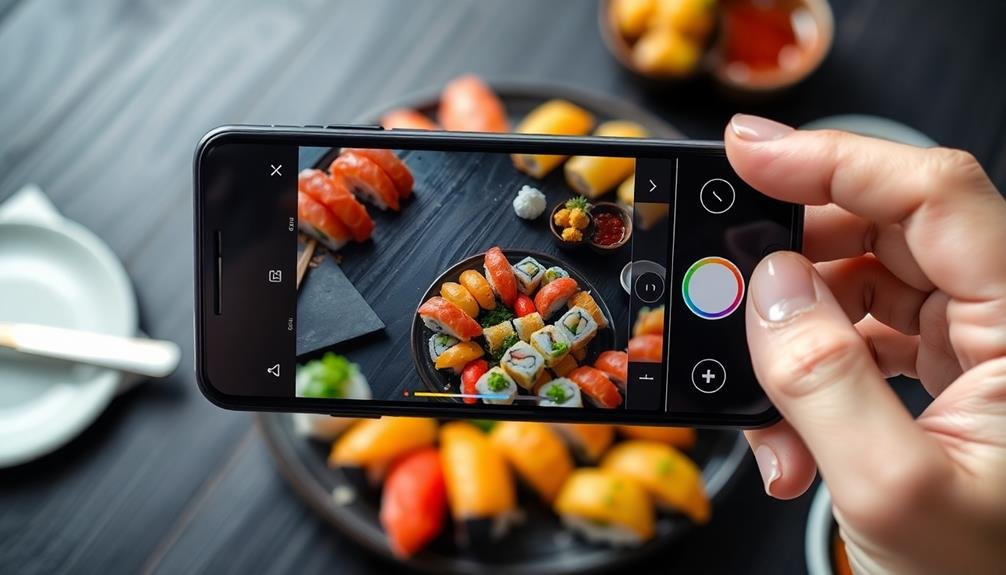
Once you've framed your shot perfectly, it's time to make those food colors pop. Saturation is your secret weapon for enhancing the vibrancy of your food photos. It intensifies the existing colors, making them more vivid and appealing.
However, use this tool judiciously; oversaturation can make your image look unrealistic and unappetizing.
Start by slightly increasing the overall saturation of your photo. Pay close attention to how it affects different elements in your image. You'll notice that reds, greens, and yellows often benefit the most from increased saturation.
For dishes with multiple colors, consider using selective saturation to boost specific hues without affecting others. This technique can help draw attention to key ingredients or create a more balanced composition.
Crop for Better Composition
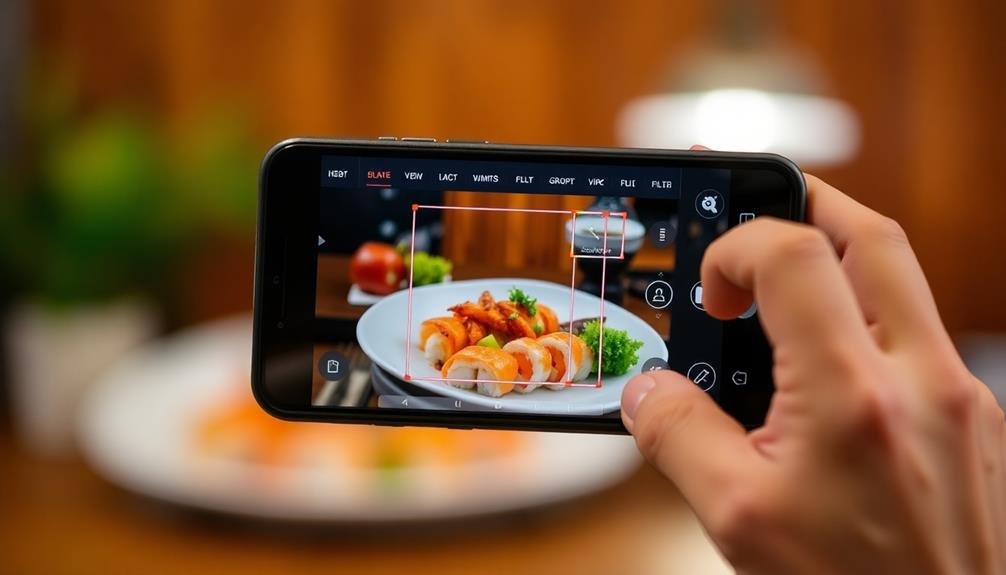
After enhancing your food's colors, it's time to perfect your image's composition through cropping. Cropping allows you to remove distracting elements and focus on the main subject of your food photo. Start by analyzing your image and identifying the most appealing parts of the dish.
Use the rule of thirds to guide your cropping decisions. Imagine a 3×3 grid overlaid on your photo and position key elements along these lines or at their intersections. This creates a more balanced and visually pleasing composition.
Don't be afraid to crop tightly, especially for close-up shots of textures or details. Consider the aspect ratio when cropping. Square crops work well for Instagram, while vertical crops are ideal for Pinterest and Instagram Stories. Horizontal crops are great for blog posts and Facebook.
Experiment with different ratios to find what works best for your intended platform. Pay attention to negative space – the empty areas around your subject. Used effectively, it can draw attention to your food and create a sense of elegance.
Sharpen Details Selectively

Sharpening is an essential step in enhancing your food photos, but it's important to apply it selectively. Over-sharpening can make your images look unnatural and create unwanted artifacts. Instead, focus on sharpening specific areas that need definition, such as the texture of bread, the edges of a steak, or the details in a salad.
Most mobile editing apps offer sharpening tools, but they may apply the effect globally. To sharpen selectively, use a brush or masking tool to target specific areas. Start with a low intensity and gradually increase it until you achieve the desired effect.
Pay attention to the food's natural textures and avoid over-sharpening smooth surfaces like sauces or creamy desserts. For best results, sharpen your image after adjusting exposure and color. This guarantees you're enhancing the actual details rather than noise or imperfections.
If your app allows it, use a high-pass filter for more precise sharpening control. Remember, the goal is to enhance the food's appeal without making it look artificial. By sharpening selectively, you'll create more professional-looking food photos that capture the true essence of your culinary creations.
Apply Subtle Vignettes
Applying a subtle vignette to your food photos can dramatically enhance the focal point of your dish.
You'll create a moody atmosphere that draws the viewer's eye to the center of the image, where your culinary creation takes center stage.
Enhance Focal Point
A subtle vignette can work wonders for your food photos, drawing the viewer's eye to the main subject.
But to truly enhance your focal point, you'll need to go beyond just darkening the edges. Start by identifying the star of your image—whether it's a perfectly seared steak or a delicate dessert.
Then, use your editing app's tools to make that element pop. Increase the sharpness and clarity of your focal point slightly, being careful not to overdo it. Boost the contrast and saturation in that area to make colors more vibrant. You can also use selective brightening to draw attention to specific details.
To create emotional impact with your enhanced focal point:
- Use warm tones to evoke feelings of comfort and indulgence
- Highlight textures to make viewers almost taste the food
- Create depth by blurring the background slightly
Create Moody Atmosphere
Subtle vignettes can transform your food photos, creating a moody atmosphere that elevates your entire image. To apply a vignette, darken the edges of your photo while keeping the center bright. This technique draws the viewer's eye to the main subject and adds depth to your composition.
Start by using your mobile editing app's vignette tool. Adjust the intensity slowly, aiming for a natural look that doesn't overpower the image. You'll want to create a gradual shift from the darker edges to the brighter center. Experiment with both circular and rectangular vignettes to see which complements your photo best.
For a more customized approach, try creating a manual vignette. Use selective adjustment tools to darken specific areas around the edges of your frame. This method allows for more control over the vignette's shape and intensity. Remember, the goal is to enhance the mood subtly, not to make it obvious you've applied an effect.
When done correctly, vignettes can add a touch of drama and sophistication to your food photos. They're particularly effective for low-light or intimate dining scenes, helping to create a cozy, inviting atmosphere that makes your food look even more appetizing.
Frame Dish Effectively
Within the domain of food photography, framing your dish effectively is essential for creating visually appealing images. One powerful technique to enhance your frame is applying a subtle vignette. This darkening of the image edges draws the viewer's attention to the center, where your mouth-watering dish takes center stage.
To add a vignette in most mobile editing apps, look for the "Vignette" or "Fade" tool. Adjust the intensity and size of the vignette to complement your image without overpowering it. Remember, subtlety is key. A well-applied vignette should be barely noticeable but still effective in guiding the eye.
When framing your dish with a vignette, consider these emotional impacts:
- Intimacy: A gentle vignette creates a cozy, intimate atmosphere around the food.
- Focus: By softening the edges, you'll intensify the viewer's focus on the dish's details.
- Depth: The darkened edges can add a sense of depth, making the food appear to pop off the screen.
Experiment with different vignette intensities and shapes to find what works best for each unique dish and composition. You'll soon discover how this simple technique can elevate your food photography to new heights.
Remove Distracting Elements

Once you've framed your shot, it's time to eliminate any distracting elements that might detract from your food's appeal.
Start by examining the background and edges of your image. Look for items like utensils, napkins, or other dishes that aren't part of the main subject. Use your photo editing app's crop tool to remove these distractions if possible.
If cropping isn't enough, try using a healing or clone tool to erase unwanted objects. These tools allow you to replace distracting elements with nearby textures, effectively making them disappear.
Pay attention to small details like crumbs, smudges, or imperfections on the plate or table surface.
For more advanced editing, consider using selective blur or vignette effects to draw focus to the main dish. This technique can help soften or obscure background elements without removing them entirely.
If your food is on a patterned surface, you might want to simplify it by reducing its contrast or saturation.
Experiment With Filters

When experimenting with filters for your food photos, you'll want to stay aware of popular trends.
Consider whether subtle adjustments or bold effects best complement your dish. You can start by exploring your app's filter options and testing how they enhance your image's mood and appeal.
Popular Filter Trends
As far as mobile food photography goes, experimenting with filters can transform your images from ordinary to extraordinary. Popular filter trends in food photography are constantly evolving, but some have stood the test of time.
Warm, golden hues remain a favorite for creating a cozy, inviting atmosphere, while cool, desaturated tones can evoke a modern, minimalist vibe. You'll also find that subtle vintage effects are still widely used to add nostalgia and charm to food images.
When applying filters, remember that less is often more. Oversaturated or heavily filtered images can appear artificial and unappetizing. Instead, aim for subtle enhancements that complement your food's natural colors and textures.
Many popular editing apps offer food-specific filters designed to enhance the appearance of various dishes.
To tap into current filter trends, consider these options:
- Soft, matte finishes for a dreamy, ethereal look
- High-contrast black and white for dramatic, artistic shots
- Subtle color pops to highlight specific ingredients
Subtle vs. Bold Effects
While popular filter trends offer a great starting point, the real magic happens when you experiment with subtle and bold effects. Subtle adjustments can enhance your food photos without overpowering the natural beauty of the dish.
Try slightly increasing contrast, warming the color temperature, or gently boosting saturation to make colors pop. These minor tweaks can give your image a polished look without appearing over-edited.
On the other hand, bold effects can create eye-catching, artistic interpretations of your food. Play with high contrast black and white filters, dramatic vignettes, or vibrant color overlays to transform ordinary shots into striking visuals.
Don't be afraid to push boundaries and create unique styles that set your food pics apart.
The key is finding the right balance for each image. Some dishes benefit from a light touch, while others shine with bolder treatments.
Experiment with both approaches and observe how they impact the overall mood and appeal of your food photography. Remember, the goal is to enhance the appetizing qualities of the dish, not overshadow them.
With practice, you'll develop an intuitive sense of when to go subtle or bold.
Adjust Shadows and Highlights
You've captured the perfect shot of your meal, but the lighting isn't quite right. Don't worry; adjusting shadows and highlights can transform your image from dull to delectable. Most mobile editing apps offer these features, allowing you to bring out hidden details and create a more balanced exposure.
Start by tweaking the shadows. Lifting them slightly can reveal textures in darker areas without washing out the image. Next, adjust the highlights to prevent overexposure in brighter spots. Be careful not to push either too far, as this can lead to an unnatural look.
For food photography, pay special attention to:
- The main dish's texture and detail
- Reflections on utensils or glassware
- Depth and dimension in garnishes or side items
Remember, subtle adjustments often yield the best results. Aim for a natural look that enhances the food's appeal without appearing over-processed.
If your image looks too flat after adjustments, try increasing the contrast slightly to add depth.
Add Text Overlays
Text overlays can elevate your food photos from simple snapshots to engaging social media content. When adding text to your images, choose fonts that complement your food's style and your personal brand. Stick to one or two fonts maximum to maintain a clean, professional look.
Consider the placement of your text carefully. Avoid covering the main subject of your photo, and instead, look for negative space where text can be easily read. Use contrasting colors to guarantee your text stands out against the background. White text with a subtle shadow often works well on darker areas of the image.
Keep your message concise and impactful. Use text to highlight key information like the dish's name, ingredients, or a clever caption. You can also add your social media handle or logo as a watermark to protect your content.
Experiment with different text sizes and orientations. Mixing large and small text can create visual interest, while angled text can add a dynamic element to your composition.
Remember to maintain readability as your top priority.
Frequently Asked Questions
How Can I Make My Food Photos Look More Professional Without Expensive Equipment?
You can enhance your food photos without costly gear. Focus on natural lighting, experiment with angles, and use simple props. Edit with free mobile apps to adjust brightness, contrast, and colors. Don't forget to style your dish creatively.
What Lighting Conditions Are Best for Capturing Appetizing Food Photos?
You'll get the most appetizing food photos with soft, diffused natural light. Position your dish near a window, but avoid direct sunlight. If it's too bright, use a sheer curtain to soften the light. Avoid harsh overhead lighting.
Are There Specific Angles That Work Better for Different Types of Dishes?
Yes, there are specific angles that work better for different dishes. You'll want to experiment with overhead shots for flat foods, 45-degree angles for layered dishes, and straight-on shots for tall items like burgers or cocktails.
How Can I Create a Consistent Style Across My Food Photography Portfolio?
To create a consistent style, you'll want to stick to a specific color palette, lighting setup, and editing process. Choose a signature filter or preset, maintain similar compositions, and use recurring props or backgrounds across your food photography portfolio.
What Are Some Common Mistakes to Avoid When Editing Food Photos?
Avoid over-saturating colors, excessive filtering, and unrealistic edits. Don't crop too tightly or use harsh shadows. Steer clear of inconsistent white balance and overexposure. Remember, you're showcasing food, so keep it natural and appetizing for your viewers.
In Summary
You're now equipped with pro-level tips to elevate your food photography game. Don't be afraid to experiment and find your unique style. Remember, practice makes perfect. The more you edit, the better you'll become at spotting what works best for each image. With these techniques at your fingertips, you'll soon be creating mouthwatering, Instagram-worthy food pics that'll have your followers drooling. So grab your phone, snap that shot, and start editing!


Leave a Reply